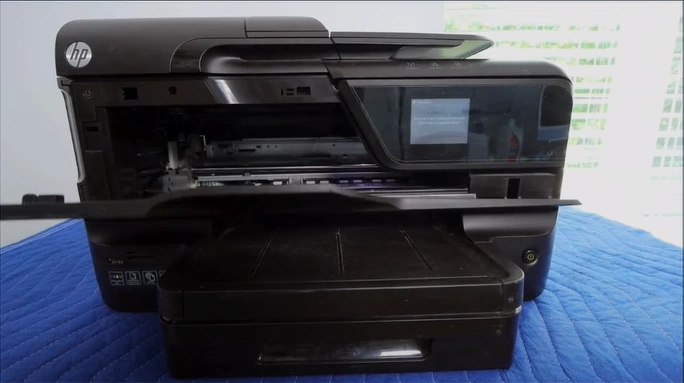
How to Fix HP Officejet Pro 8600 Printer Failure Error?

Is your HP Officejet Pro 8600 printer showing a failure error? Many users can experience this problem with their printer without any prior warning. A number of reasons, such as configuration issues, wrong settings, technical glitches, firmware issues, and others, can result in printer failure errors and stop your work. Moreover, this situation is common in printers, but it can sometimes be difficult to troubleshoot.
Fixing the problem is important to save the printer from further damage. So, ready to learn how to fix the HP Officejet Pro 8600 printer failure? Let’s take a look at the several best possible solutions to get the printer working again!
Solution 1: Reinstall the Cartridges
The printer failure problem is likely to happen if there are some problems with the cartridges. Use the given steps to ensure that the cartridges are installed properly.
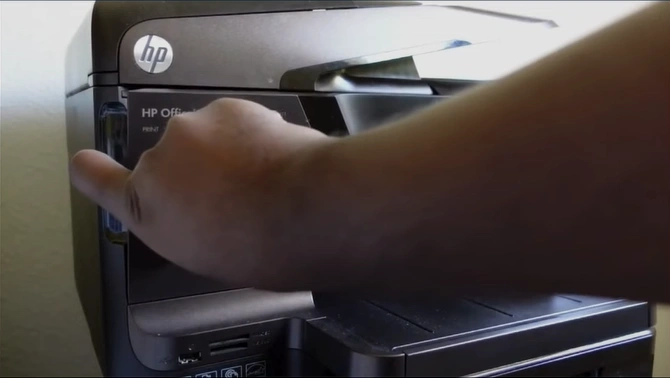
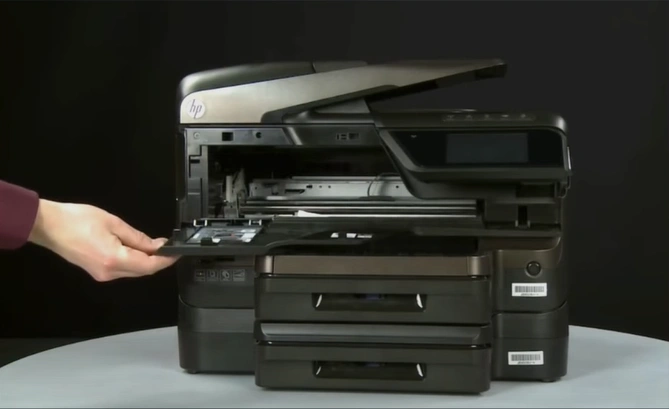
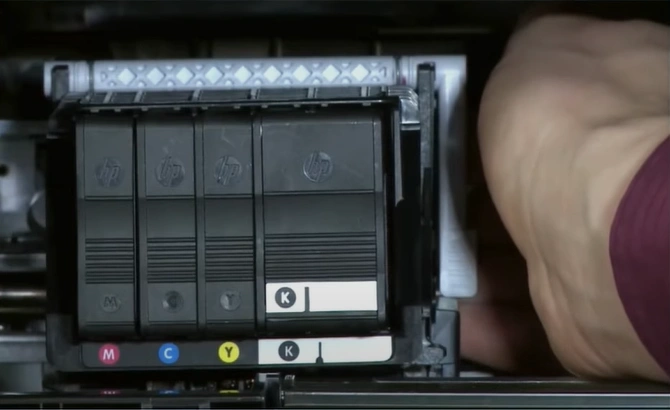
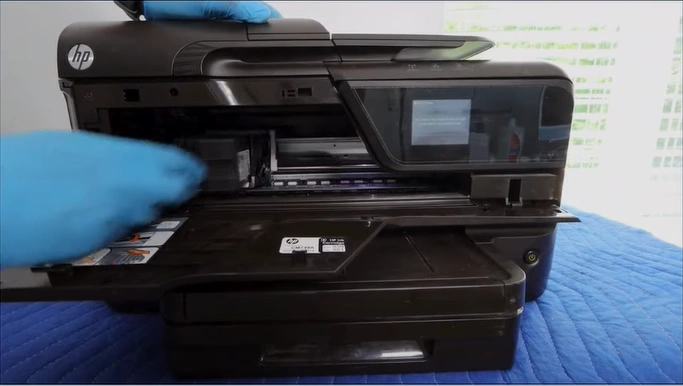
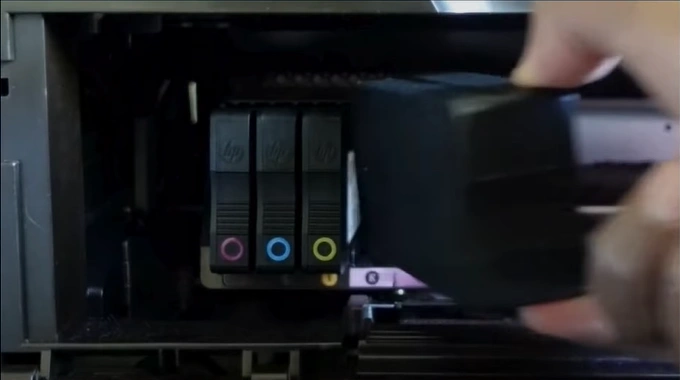
1. Pull down the ink cartridge access door and wait for the ink cartridges to come into the placement position.
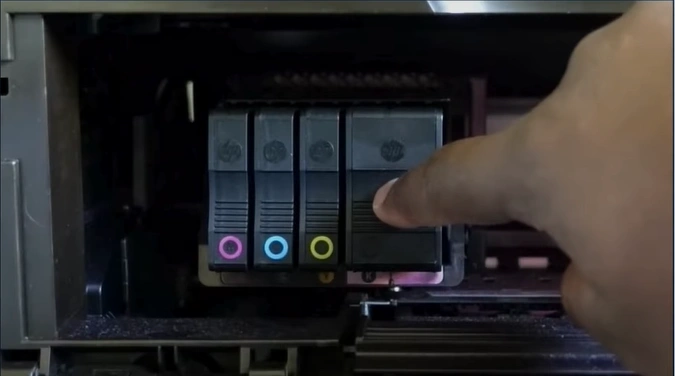
2. Next, press any ink cartridge towards the back to let it pop out.
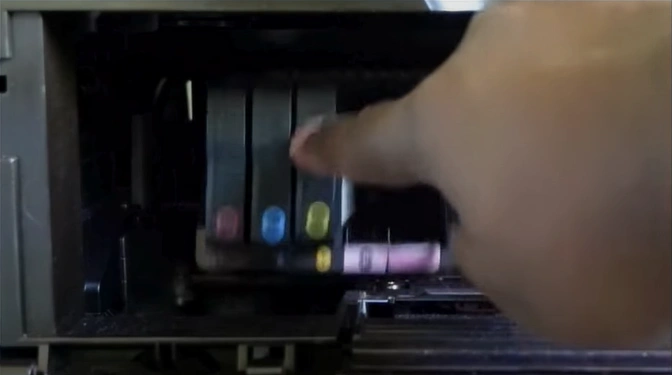
3. Insert the ink cartridge back into the printhead latch.
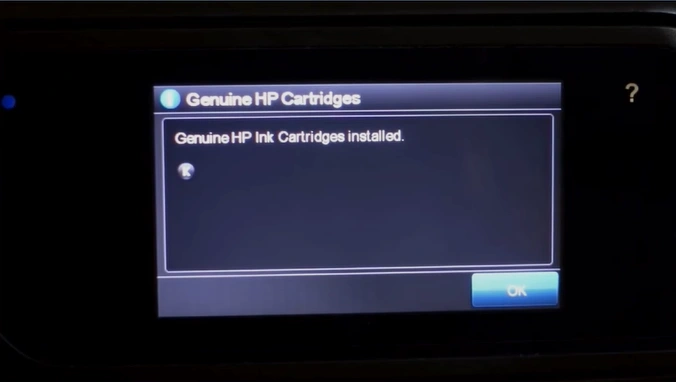
4. Now, move to the printer display screen and tap OK.

5. Check if there are any improvements in your printer.
Solution 2: Inspect the Jammed Papers
Paper jams are another major cause of errors in your printer. With the help of these steps, ensure there are no paper jam issues with your device.
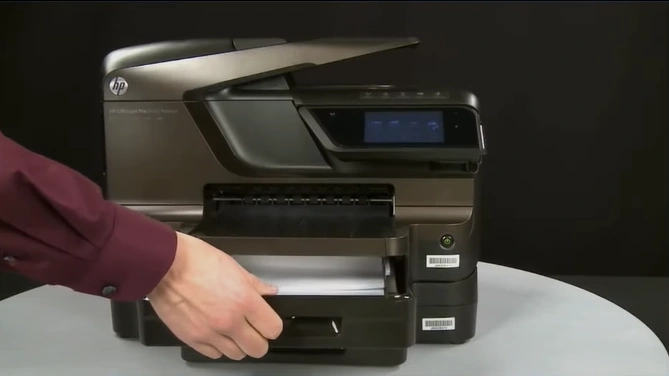
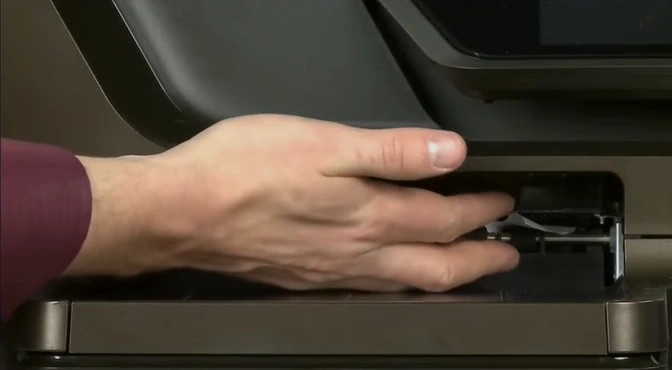
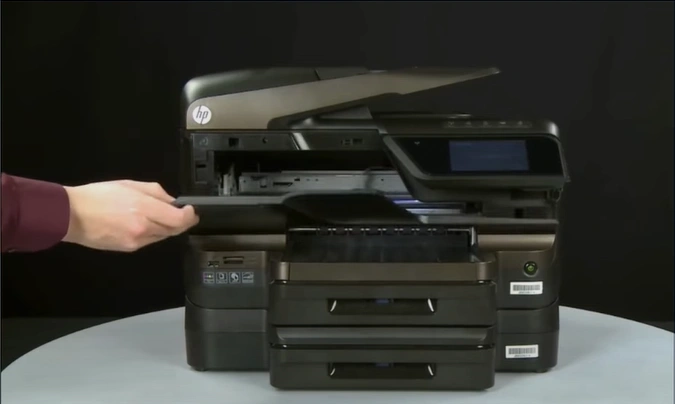
1. Open the front paper tray 1 and gently remove all the papers.
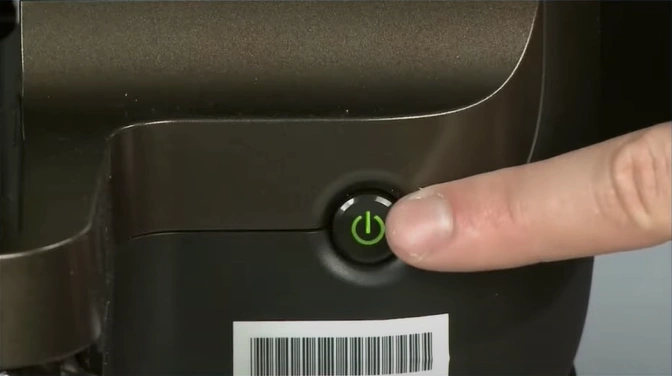
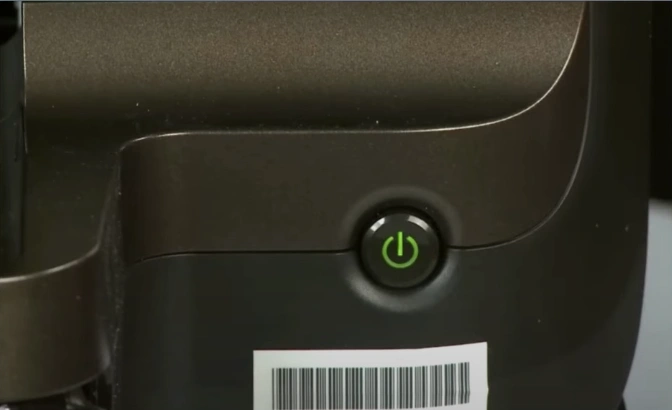
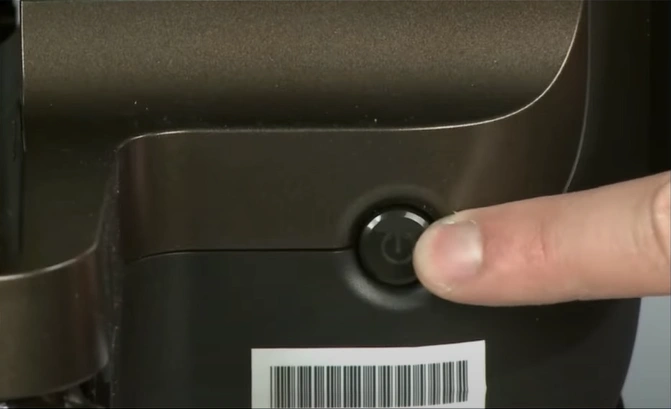
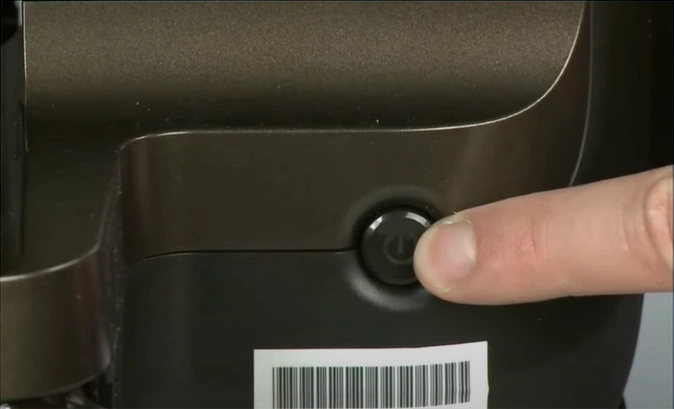
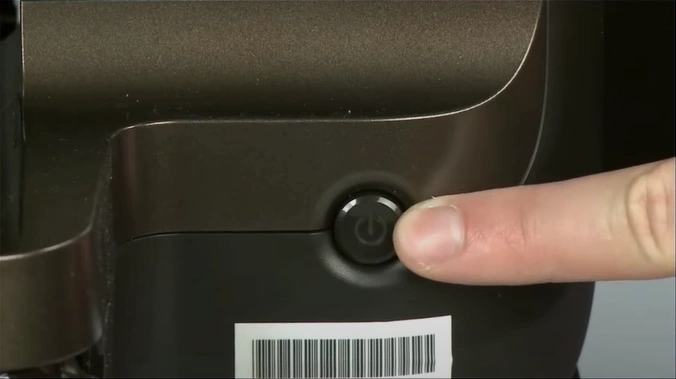
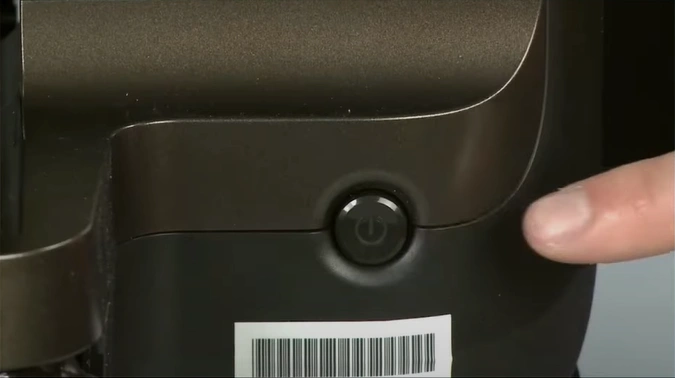
2. Turn the printer off with the power button.
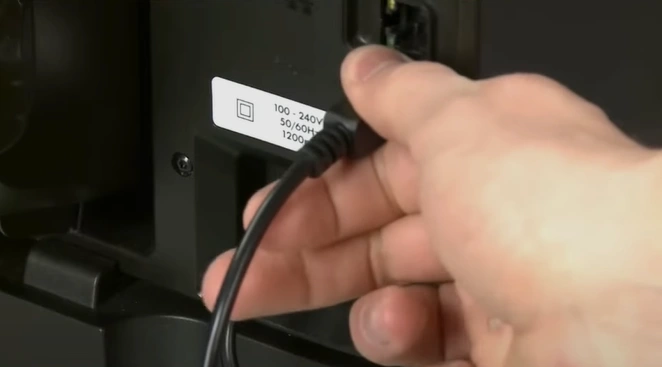
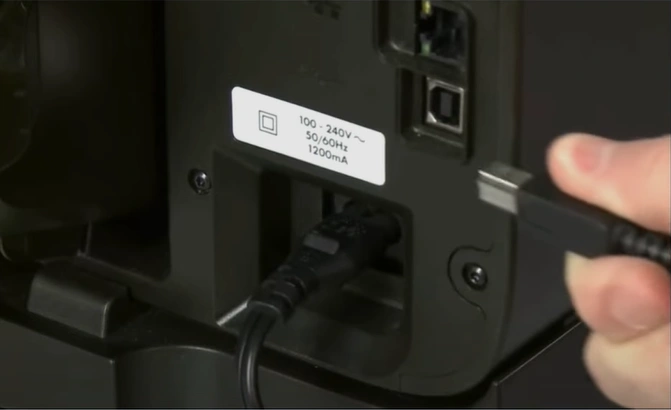
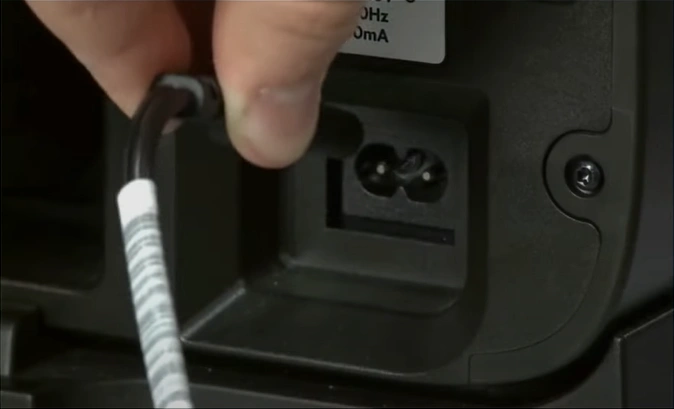
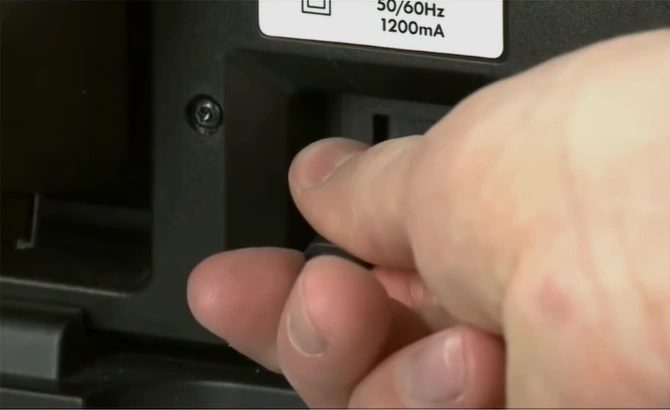
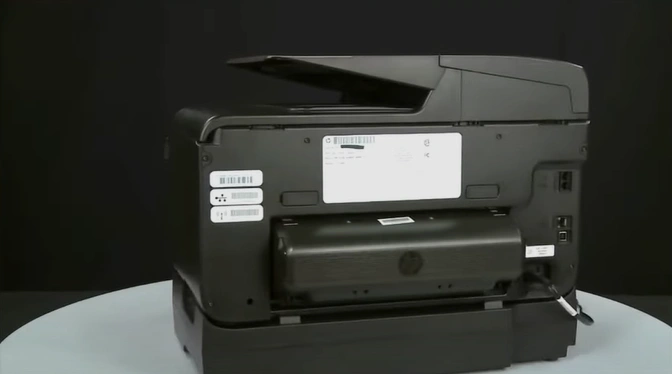
3. Go to the back of the printer and remove the USB cable and power plug.
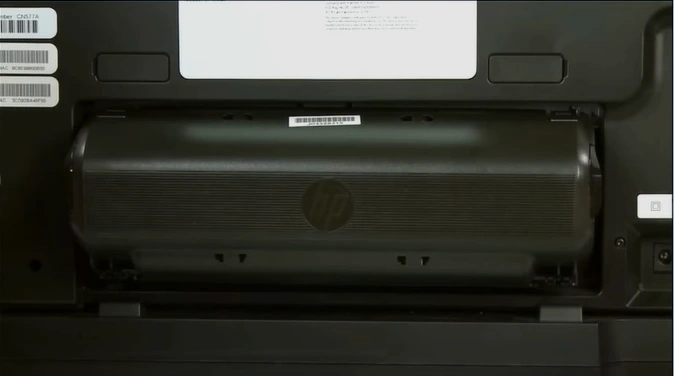
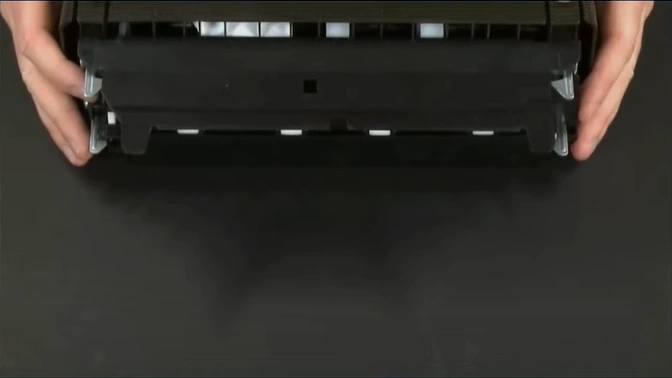
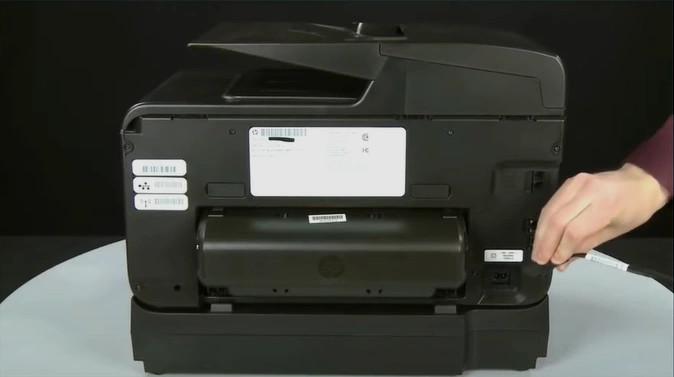
4. In addition, remove the Duplexer by pushing the tab on the left and right sides.
5. And gently take out the jammed papers.
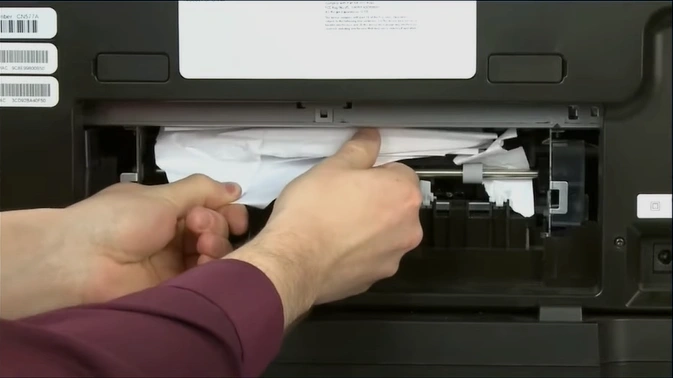
6. Check thoroughly inside the printer for any jammed pieces of paper.
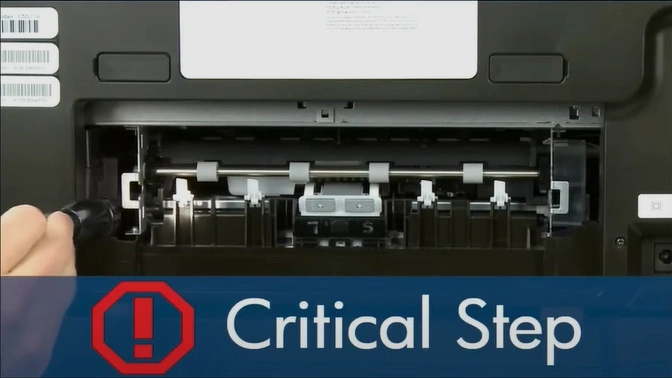
7. Take the duplexer and press the tab to open it to check for any jammed papers.
8. Now, lift the printer off the Tray and remove any jammed papers from there, too.
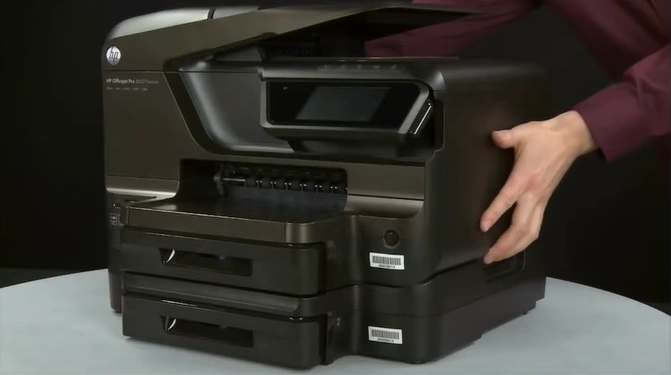
9. Furthermore, check the output tray for jammed papers.
Solution 3: Check the Carriage Path
The following steps will help you check the carriage path of the papers to ensure everything is good and resolve the issue. Follow the steps correctly.
1. Firstly, turn your printer off.
2. Then, remove the USB cable and power cord.
3. Next, open the cartridge access door to check for any obstructions or jammed papers.
4. Close the cartridge access door.
5. Plug back in the power cord.
6. Now, turn your HP printer on.
7. Open the cartridge access door again, then wait for the ink cartridges to come into the replacement position.
Also Read:- How to Connect HP ENVY 6458e to WiFi?
8. Moreover, disconnect the power cord while the printer is powered on.
9. Push the grey lever, then remove the print head assembly. (Note- Don’t leave the printhead assembled and cartridge open for over 5 minutes.)
10. Now, look inside the carriage path for any obstructions.
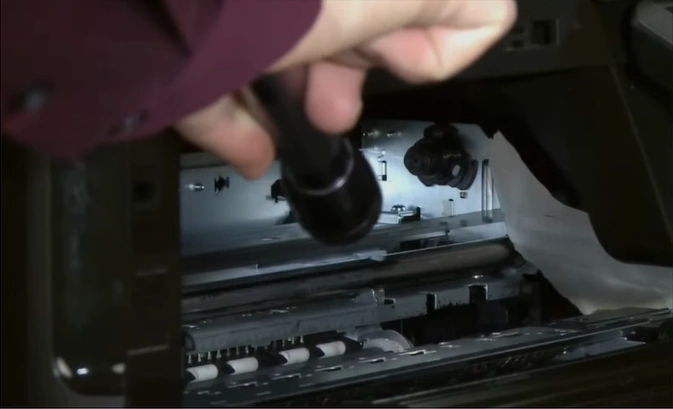
11. Reinstall the print head assembly.
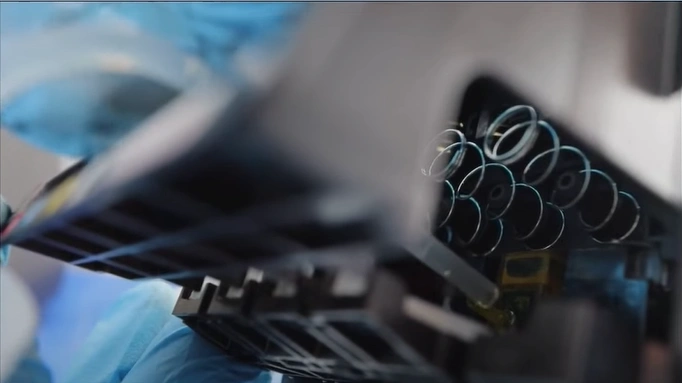
Solution 4: Clean the Printhead
You should follow the steps below to clean the printhead of your HP device and fix the failure problem.
1. First of all, turn on your HP printer.
2. Now, gently open your ink cartridge access door and wait for the ink cartridges to come into the replacement position.
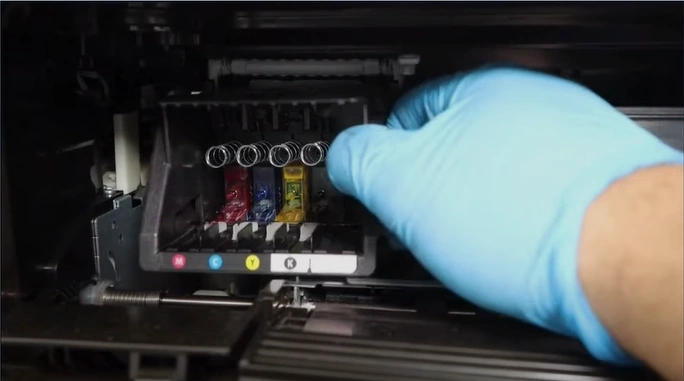
3. Take out all the ink cartridges.
4. Open the grey lever, then remove the printhead.
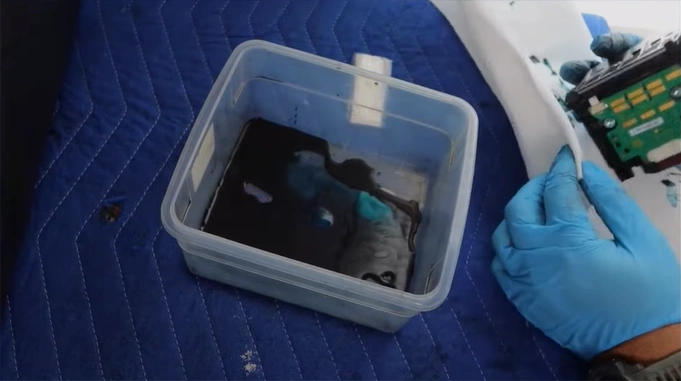
5. Then, take a syringe with a plastic tube attached and fill it with warm water.
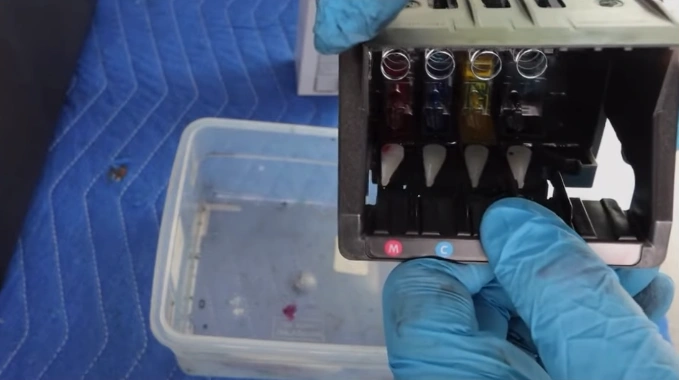
6. Attach the plastic tube to the nozzle, then slowly push the warm water.
7. Also, clean the printhead with a clean and dry cloth before inserting it back.
8. Inspect the printer to confirm if it is still showing the failure issue.
Solution 5: Check For the Firmware Updates
The printer gets in an error state if it faces any firmware or driver issues. Follow the steps below to ensure the firmware is running on the current version.
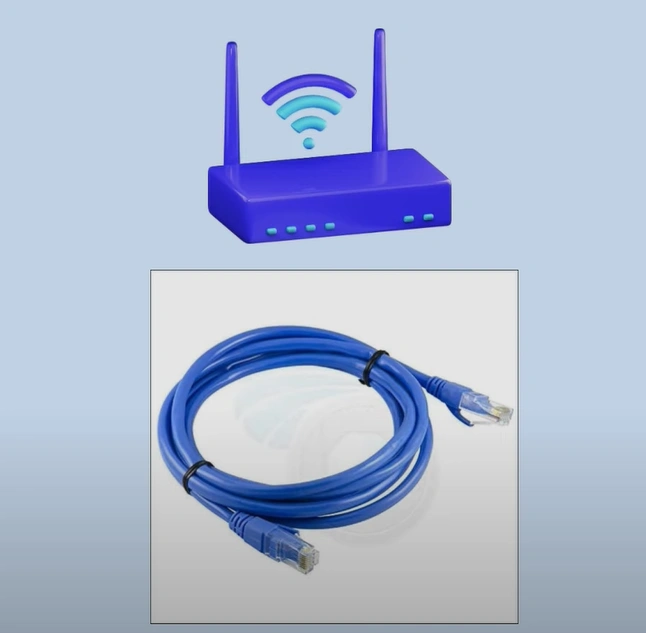
1. Ensure that the printer has a stable network connection via wireless or Ethernet.
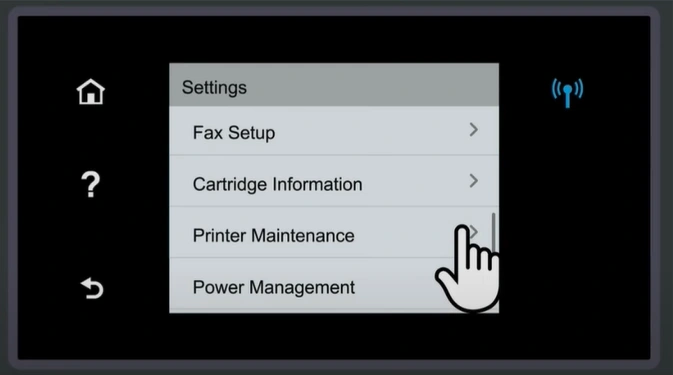
2. On the Control Panel, open the Setup, Service, or Settings menu.
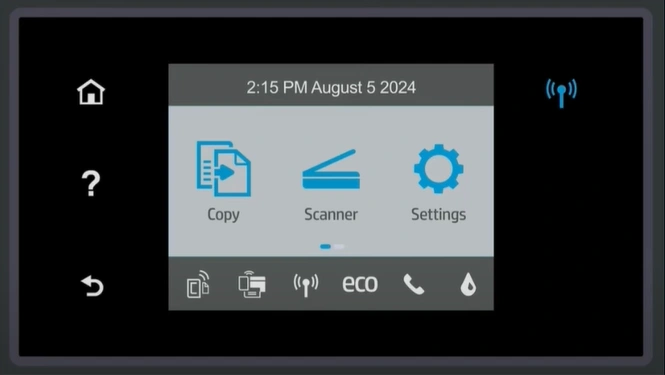
3. Tap on the Preferences, Printers Maintenance, or Tools option.
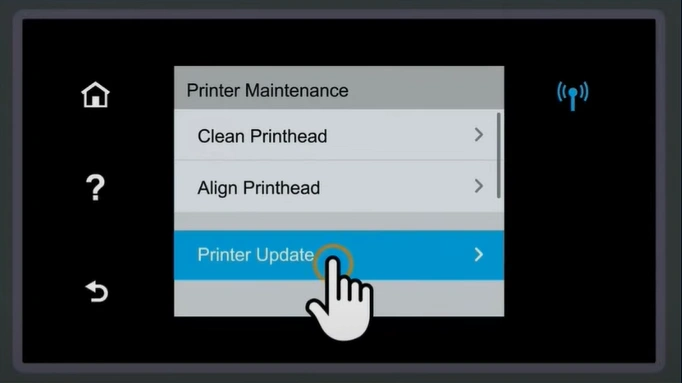
4. After that, select the Web Services or Printer Update option.
5. Then, accept the web service’s terms of usage.

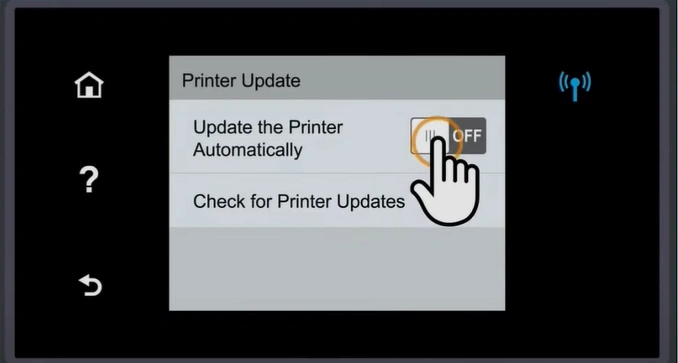
6. Turn on the “update the printer automatically” toggle.
Solution 6: Reset the Printer
Resting the printer is among the most effective methods to fix minor technical problems and get the device working smoothly. Here is how you can properly reset your HP printer.
1. Begin by turning your printer on.
2. Then, disconnect the power cord from the rear of the printer.
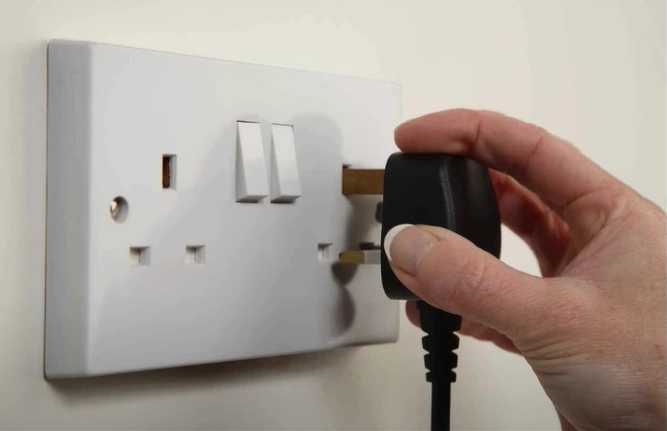
3. Next, you should unplug the power cord from the wall outlet.
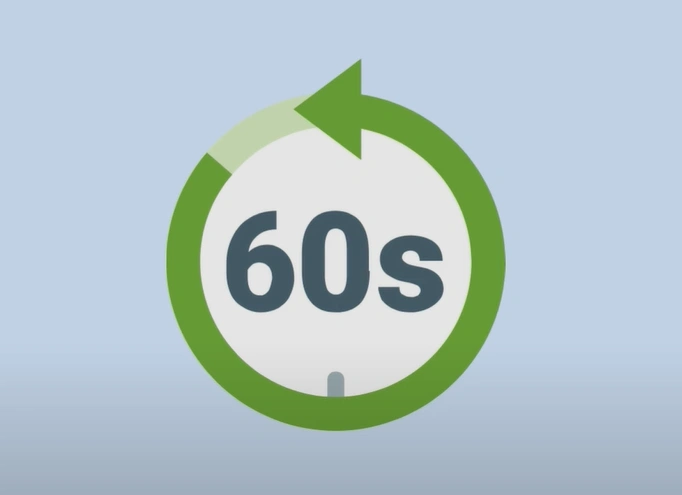
4. Wait at least 60 seconds.
5. Afterward, plug the power cord back into the wall outlet.

6. Reconnect the power cord to the printer.
7. Now, turn your printer on.
Solution 7: Test With a Different Cartridge
If there are some problems with your ink cartridge, then you might face some problems with the printer. With the help of the steps below, see if you are able to fix the issue using the different cartridges.
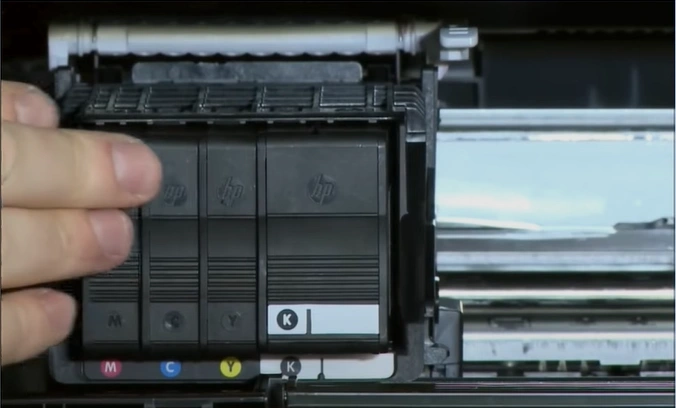
1. First, open the ink cartridge access door and wait for the ink cartridge to come into the replacement position.

2. Press any ink cartridge towards the back to let it pop out.
_1746264632.webp)
3. Insert the ink cartridge back into the printhead latch.
4. Next, tap OK on the display screen.
5. See if your printer is out of the failure state.
Here, we have shared the full understanding of possibly the best fixes for troubleshooting the HP Officejet Pro 8600 printer failure error effectively. Use all these methods and ensure you follow the steps properly to get your printer working error-free once again. Apart from that, you should check the other points in your printer and fix them to get the printer working perfectly. Also, look for further guidance if necessary.

