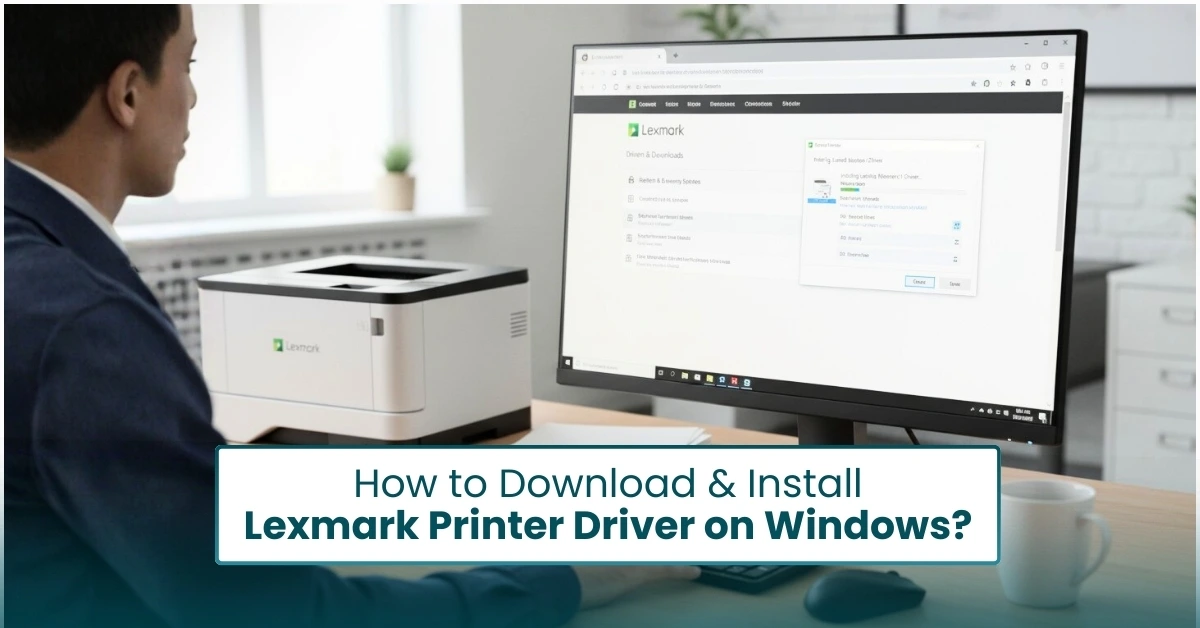
Find the correct driver for your Lexmark laser printer or MFP, get it installed on Windows or Mac, and sort out the errors that stop a setup partway through.
A Lexmark printer can look perfectly fine on its own display and still refuse to print, because the real problem is sitting on your computer. The driver translates whatever you send from a browser, a PDF, or a Word file into instructions your exact model understands. When the driver is wrong for your model, left over from an old install, or swapped out by Windows for a generic one, you get a printer that shows as offline, jobs that never leave the queue, or a print window with no options for trays, two-sided printing, or finishing.
Below, you'll find how to get the official driver, install it, fix an installation that fails, and keep it current. There's also a plain-English rundown of the printer driver changes Microsoft rolled out on Windows 11 in 2026, since they affect how Lexmark printers get set up today.
A quick note: Printer Tales is an independent troubleshooting resource and isn't affiliated with Lexmark or Xerox. Download driver files only from Lexmark's official support site, support.lexmark.com.
Before You Install: A 2-Minute Checklist
Most failed Lexmark driver installs come down to a detail that was missed at the very beginning. Check these first.
- Your exact model number. It's printed on the front of the printer, for example MB2236 or CS820. If you need the full machine type, look for the label that also carries the serial number. The model is listed next to the word TYPE.
- Your system type. On Windows 11, open Settings > System > About and look at System type. It tells you whether you're on a standard 64-bit PC or a Windows on ARM laptop, and those need different driver packages.
- How the printer connects. For a network printer, make sure the printer and computer are on the same network and write down the printer's IP address. Most Lexmark models show it on the home screen or on a printed network setup page. For a USB printer, plug in the cable and turn the printer on.
- Administrator access. The installer makes system-level changes, so you'll need to approve a Windows permission prompt or enter your Mac password. On a work computer, you may need your IT team.
How to Download the Lexmark Printer Driver
Lexmark drivers are free. Websites that ask you to pay for a driver, or push their own "driver updater" tool first, aren't worth the risk. Go straight to the source:
- Open support.lexmark.com and select Drivers & downloads.
- Type your model number into the search field and select Find Drivers & Downloads.
- Check the operating system on the results page. The site tries to detect it automatically. If it guesses wrong or can't tell, choose your OS and version from the list yourself.
- Go to the Recommended Driver section and click Download Driver Package.
- Save the file somewhere easy to find. Your Downloads folder works fine.
Which download do you actually need?
- Recommended driver package: The right pick for almost everyone. It's the full software for your model, and on multifunction printers it also brings in the scan and fax drivers.
- Lexmark Universal Print Driver: A single driver that works across a long list of Lexmark laser printers and MFPs. It's handy in offices running several Lexmark models, since IT only has to deploy and maintain one driver.
- Additional downloads: A filterable list of every file available for your model, sorted by type, OS, language, and release date. Linux users should look here, in the section Lexmark labels Additional downloads compatible with.
- ARM64 packages: If your laptop runs Windows on ARM, choose a driver built for ARM64. Lexmark publishes ARM64 versions of some drivers, including its v4 universal driver.
- Print Support Application: For Windows 11 PCs that use Microsoft's built-in printer driver, Lexmark's download page now offers the Xerox Print and Scan Experience app. Xerox bought Lexmark in July 2025, which is why a Xerox-branded app shows up on Lexmark pages.
If you prefer a deeper walkthrough with screenshots, see our guide to downloading and installing the Lexmark driver on Windows.
How to Install the Lexmark Printer Driver
On Windows 10 and Windows 11
- Open your Downloads folder and double-click the driver package. It's a self-extracting file, so it unpacks itself and launches the installer.
- When Windows asks whether to let the app make changes, click Yes.
- Read and accept the license agreement.
- If the installer asks what you want to do, choose to install the printer. When the driver is already on the computer, pick the option to reinstall it or add another driver.
- Select your printer from the list the installer finds on your network. If it isn't listed, use the option to enter it manually and type the IP address you wrote down earlier. For a USB printer, choose the USB connection.
- Let the installation finish. You may be offered extra Lexmark utilities afterward. They're optional, and skipping them won't affect printing.
- Print a test page: go to Settings > Bluetooth & devices > Printers & scanners, click your Lexmark printer, and choose Print test page.
On a Mac
Start by deciding whether you need a download at all. According to Lexmark, a Mac running macOS 10.7 or later can print to an AirPrint-certified Lexmark printer without installing any driver. AirPrint handles everyday printing well. Install Lexmark's own driver when you want your model's full set of custom printing features.
To add the printer with AirPrint (no download):
- Open System Settings > Printers & Scanners.
- Click Add Printer, Scanner, or Fax (older macOS versions show a + button).
- Select your Lexmark printer from the list. For a network printer that doesn't appear, click the IP tab and enter its IP address.
- Leave the Use menu set to AirPrint or Secure AirPrint, then click Add.
To install the full Lexmark driver:
- Download the Mac package for your model from support.lexmark.com. If the site says to use AirPrint for your model, that's Lexmark telling you there's no separate Mac driver to install.
- Open the downloaded file, run the installer inside it, and enter your Mac password when asked.
- Go back to Printers & Scanners and add the printer as described above.
- This time, open the Use menu, choose Select Software, and pick your exact Lexmark model before clicking Add.
For more on connecting a Lexmark printer to either system from scratch, see Lexmark printer setup on Windows and Mac.
Fixing a Failed Lexmark Printer Driver Installation
An install can fail in a few different ways. The installer may quit with an error, it may search for your printer and come up empty, or it may say it finished while the printer never shows up in Windows. Match what you're seeing to the fixes below.
The installer closes, rolls back, or shows an error
- Confirm you have the right package. A driver for a different model family, or a standard 64-bit driver on a Windows on ARM laptop, will fail every time. Go back to your model's download page and check the OS selection.
- Download it again. A download that was interrupted can look normal and still be damaged. Delete the old file and grab a fresh copy.
- Run it with admin rights. Right-click the downloaded file and choose Run as administrator.
- Check your security software. If your antivirus quarantines or blocks the installer, restore the file and allow it. Only do this for a file you downloaded from support.lexmark.com.
The Print Spooler isn't running
Windows can't install any printer driver while its print service is stopped.
- Press Windows + R, type services.msc, and press Enter.
- Find Print Spooler and double-click it.
- If the status says Stopped, click Start. Set Startup type to Automatic so it keeps running after a restart.
- Run the Lexmark installer again.
An old Lexmark driver is getting in the way
Leftover driver files from an earlier install are one of the most common reasons a new one won't take. Clearing them out gives the installer a clean start.
- Go to Settings > Bluetooth & devices > Printers & scanners, select the Lexmark printer, and click Remove.
- On the same page, scroll to Related settings and open Print server properties.
- Select the Drivers tab, highlight each Lexmark driver, click Remove, and choose Remove driver and driver package.
- Restart the computer, then install the latest package from Lexmark.
The installer can't find the printer
- Make sure the printer isn't connected to a guest Wi-Fi network, which usually keeps devices from seeing each other.
- Print a network setup page from the printer to confirm its current IP address. If the address changed since the last time you set it up, the old one won't work.
- Turn off any VPN on the computer while you install, since it can hide devices on your local network.
- Enter the IP address manually in the installer instead of relying on the automatic search.
Windows protected print mode is turned on
Windows 11 version 24H2 added an optional security setting called Windows protected print mode. When it's on, Windows only allows its built-in IPP printer driver, so a Lexmark driver package can't create a working printer. You can check it under Settings > Bluetooth & devices > Printers & scanners.
- To keep it on (common on managed work PCs), print through Microsoft's built-in driver and add the Xerox Print and Scan Experience app for extra controls such as tray and finishing options on supported Lexmark models.
- To use the full Lexmark driver instead, an administrator can turn the setting off on that same page and then run the installer.
The printer is an older Lexmark inkjet
Lexmark left the inkjet printer business years ago, and many of its older inkjet all-in-ones never got drivers for Windows 10 or Windows 11. If no driver is listed for your model and OS, Windows' built-in driver may give you basic printing at best, and scanning usually won't work. At that point, replacing the printer tends to be the practical answer.
Did the trouble start right after Windows installed an update? Our guide to Lexmark printer issues after a Windows update covers that step by step. For problems with the first-time setup itself, see Lexmark printer setup issues.
How to Update the Lexmark Printer Driver
Updating makes sense after you move to a new version of Windows or macOS, when a print feature stops working, or when Lexmark releases a newer driver for your model. If printing works and none of that applies, there's no need to chase updates.
Get updates from Lexmark, not Windows Update
Older advice tells you to open Windows Update and click Check for updates. That's a less dependable route than it used to be. Starting January 15, 2026, Microsoft stopped publishing new printer drivers to Windows Update for Windows 11. Windows Update is still worth running for security and spooler fixes, but for a newer Lexmark driver, go to the source:
- Open support.lexmark.com, go to Drivers & downloads, and search your model.
- Look at the version and release date listed under Recommended Driver.
- If it's newer than what you installed, or you honestly can't remember when you installed it, download the package and run it. The installer can reinstall over your existing setup.
- Restart the computer and print a test page.
Printer firmware is a separate update
The same Lexmark page may also list Recommended Firmware. Firmware runs inside the printer itself, not on your computer, and updating it won't replace your driver. If you do update firmware, follow Lexmark's instructions for your model and don't turn off the printer or interrupt the process while it runs.
On a Mac
If you print through AirPrint, keeping macOS current under System Settings > General > Software Update is all you need. If you installed Lexmark's Mac driver and printing breaks after a major macOS upgrade, check your model's Lexmark page for a newer package.
Want more detail? Read our full article on updating your Lexmark printer driver.
Why Windows 11 Uses a Microsoft Driver for Your Lexmark Printer
If you added your Lexmark printer recently and found Microsoft IPP Class Driver listed instead of a Lexmark driver, nothing is broken. Microsoft is phasing out manufacturer printer drivers on Windows 11 in stages, and the built-in IPP driver is now the default choice.
The timeline Microsoft has published:
- January 15, 2026: Microsoft stopped publishing new printer drivers to Windows Update for Windows 11 and Windows Server 2025.
- July 1, 2026: Windows began preferring its built-in IPP class driver whenever it has a choice, so a compatible Lexmark printer usually sets itself up with the Microsoft driver.
- July 1, 2027: Updates to manufacturer printer drivers will be limited to security fixes.
What this means for you
Lexmark's own installers still work. Microsoft has said Windows will keep allowing manufacturer driver packages to install, and that it has no plans to switch off features those drivers already provide.
For everyday printing, the Microsoft driver is usually enough. If you're missing options your printer supports, like specific trays or finishing, you have two routes. You can install the full Lexmark driver package, or you can keep the Microsoft driver and add the Xerox Print and Scan Experience app, which Lexmark recommends for bringing back detailed job controls.
How to check which driver your printer is using
- Go to Settings > Bluetooth & devices > Printers & scanners and click your Lexmark printer.
- Open Printer properties and select the Advanced tab.
- The Driver field shows the driver in use. After installing Lexmark's package, you can choose the Lexmark driver from this list and click Apply.