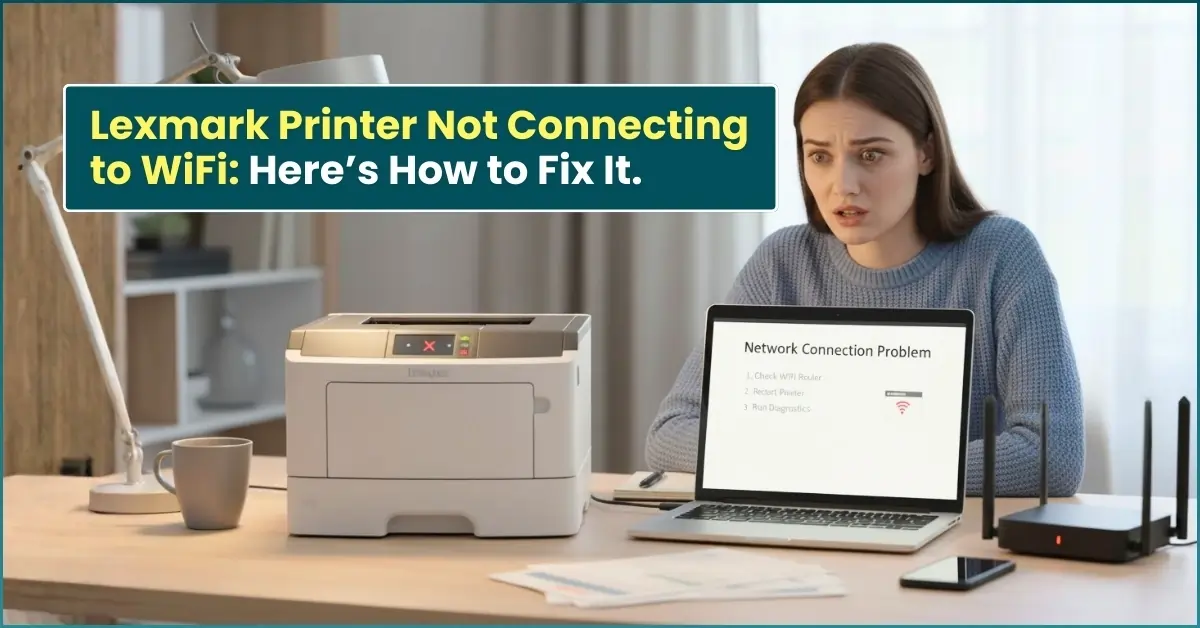
Most of the time the printer isn't broken, it's one setting standing between it and your router. Work through the steps below in order and you'll almost always find the one that's off.
Why This Keeps Happening
A Lexmark printer that drops off Wi-Fi or refuses to join it in the first place is rarely a hardware failure. It's almost always one of a handful of things: the printer is pointed at the wrong network adapter, its security setting doesn't match the router's, the password was typed wrong, or the router is running on a band the printer can't see. These are the same checkpoints Lexmark's own support team walks customers through, in the same order, because they catch the problem most of the time.
Try These First (2 Minutes)
- Restart both devices. Power off the printer and your router, wait 30 seconds, then turn the router back on first and the printer second.
- Confirm you're joining the right network. If your router broadcasts more than one SSID (common with mesh systems or dual-band routers), make sure you're selecting the one you think you are.
- Retype the password carefully. Capitalization, spaces, and similar-looking characters (0 vs O, 1 vs l) cause more failed connections than anything else.
- Move the printer closer to the router, at least temporarily, to rule out a weak signal.
- Unplug the Ethernet cable if one is connected. A printer with both an Ethernet cable and Wi-Fi active can default to the wired connection and ignore the wireless one.
If none of that fixes it, move on to a full setup below.
Set It Up Again With the Wireless Setup Wizard
This is the method Lexmark's own documentation recommends, and it works on most current touchscreen models.
Before you start: update the printer's firmware if a prompt is available (more on that below), and make sure no Ethernet cable is plugged in.
From the control panel:
- Touch the Wi-Fi icon or notification banner, then select Set up now (on models without that prompt, go to Settings > Network/Ports > Wireless > Setup On Printer Panel > Choose Network instead).
- Select your Wi-Fi network from the list.
- Type your network password exactly as it appears on your router.
- Select Done and wait for the printer to confirm a connection.
Menu wording varies a little between Lexmark models, but the path is always some version of Settings, then Network/Ports, then Wireless.
No touchscreen? Lexmark also offers the Lexmark Mobile Assistant app (Google Play or the App Store), which connects to the printer's temporary setup network and walks you through the same steps from your phone.
Connect With WPS Instead
If your router has a physical WPS button, this is often faster than typing a password at all.
Push-button method:
- On the printer, go to Settings > Network/Ports > Wireless > Wi-Fi Protected Setup > Start Push Button Method.
- Within two minutes, press the WPS button on your router.
- The printer confirms the connection automatically.
PIN method (for routers without a WPS button, but with WPS settings in the admin page):
- Go to Settings > Network/Ports > Wireless > Wi-Fi Protected Setup > Start PIN Method and note the 8-digit code the printer generates.
- Log into your router's admin page (its IP address is usually printed on a label on the printer or router).
- Enter the router's username and password, find the WPS settings, enter the printer's 8-digit PIN, and save.
WPS is not available on every router, particularly older or carrier-supplied ones, so skip to the next section if you don't see the option.
The Setting Almost Everyone Misses: Active Adapter
This is the very first thing Lexmark's own diagnostic flow checks, and it's the reason a printer can look correctly set up but still refuse to connect: the printer's Active Adapter setting can get stuck on "Ethernet" or "Auto" in a state that favors a wired connection it no longer has.
To check it: go to Settings > Network/Ports > Network Overview > Active Adapter and confirm it's set to Auto. If it's already on Auto, toggle it to a specific option and back, then retry the Wi-Fi setup above.
Match the Wireless Security Mode
If the printer's expected security type doesn't match what your router is actually broadcasting (for example, the printer is set to WPA2 but the router negotiated WPA3, or vice versa), the connection will fail without a clear error message. Check this under Settings > Network/Ports > Wireless > Wireless Security Mode and set it to match your router's current configuration, which you can find in your router's admin page under wireless or security settings.
Check Whether Your Router Is Broadcasting 5GHz Only
Nearly every Lexmark printer, including current color laser models, has a single-band radio that only sees 2.4GHz networks. If your router is set to broadcast a single combined SSID that's currently running 5GHz only, or if "band steering" has pushed every device onto 5GHz, the printer simply won't see a network to join.
The fix: in your router's settings, split the bands into two separate network names (for example, HomeWiFi for 2.4GHz and HomeWiFi_5G for 5GHz), then connect the printer to the 2.4GHz one specifically.
Update the Firmware Before You Try Again
Outdated firmware causes wireless issues that look like a network problem but aren't. If the printer can still reach the internet by any connection, go to its Embedded Web Server (type the printer's IP address into a browser), select Device, then Update Firmware, and click Check for updates. Don't power off the printer while an update is running.
No connection at all yet? Download the latest firmware and driver package for your exact model at Lexmark's official downloads page and install it from a computer instead.
Connected to Wi-Fi But Still Shows "Offline" in Windows?
If the printer's own display shows a Wi-Fi connection but your computer still lists it as offline or won't send jobs, the network issue is already fixed, this part is on the Windows side.
- Open Settings > Bluetooth & devices > Printers & scanners, select your Lexmark printer, and choose Set as default printer.
- Open the print queue for that printer and clear Use Printer Offline if it's checked.
- Cancel any stuck jobs in the queue, right-click each one and select Cancel.
- If jobs still won't clear, restart the Print Spooler service from the Services app (search "Services," find Print Spooler, right-click, Restart).