How to Connect Printer to Cricut Design Space?

Cricut Design Space is open on your computer screen, and you’re ready to start your first “Print Then Cut” project. But before you begin, there’s one important step left - connecting your printer to Design Space.
A printer is essential for turning your designs into something real, whether you are making custom stickers, printable iron-ons, or other creations.
If connecting your printer to Design Space feels a bit daunting, don’t worry - you’re not alone. We’ve outlined the complete process in simple steps. Just follow along, and soon you’ll be ready to bring your creative ideas to life. So, let’s get started.
Steps to Connect a Printer to Cricut Design Space
Connecting a printer to the Design Space software can make your crafting so much easier. Follow the steps in the section below to properly connect your printer to Design Space:
Step 1: To begin, ensure that both your printer and computer are connected to the same wireless network.
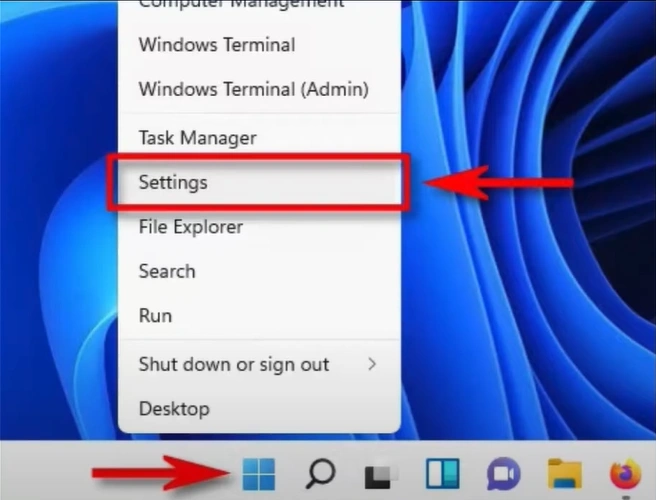
Step 2: On the computer with Design Space installed, click the Windows Start button and select Settings.
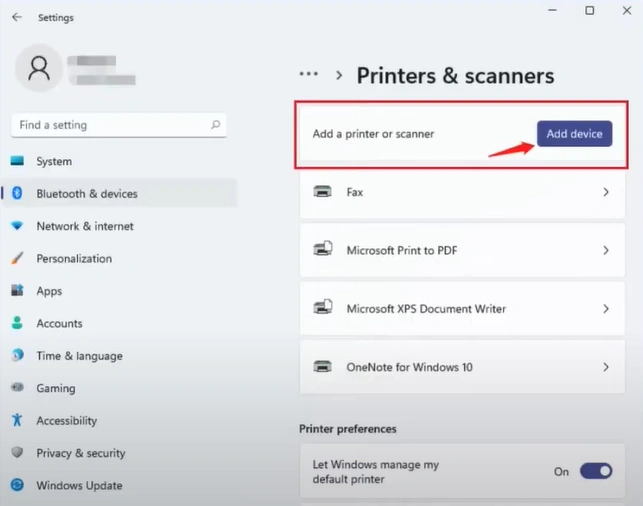
Step 3: Select Bluetooth & Devices, then click Printers & Scanners.

Step 4: Click Add Device, and the system will start searching for printers on the same network.
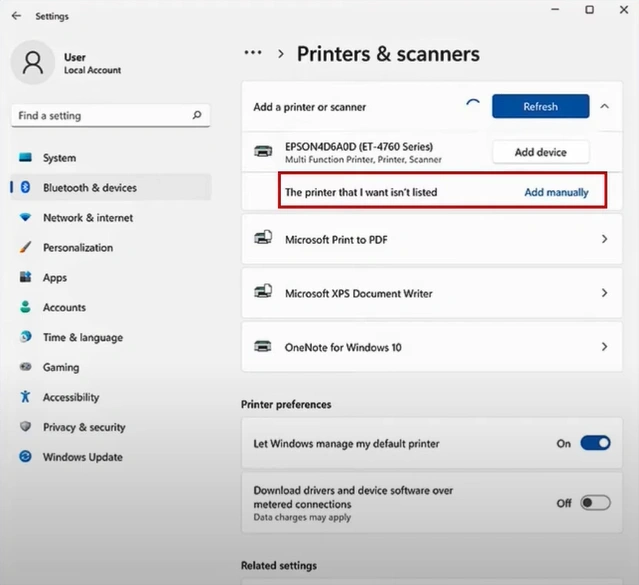
Step 5: If it can detect your printer, click Add Device next to your printer.

Step 6: If it cannot detect the printer, click Add Manually.
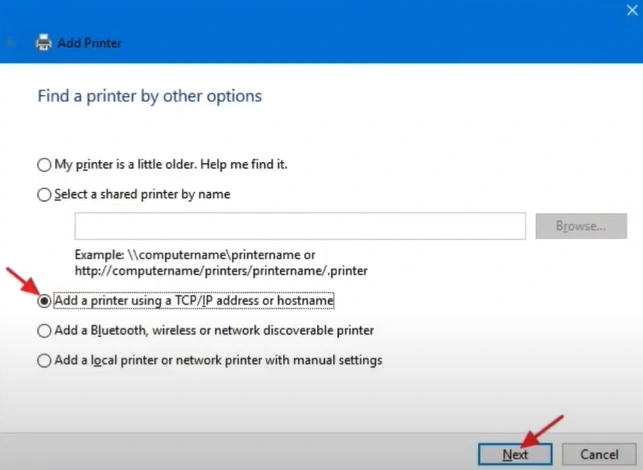
Step 7: Select “Add a printer using an IP address or hostname,” then click Next.
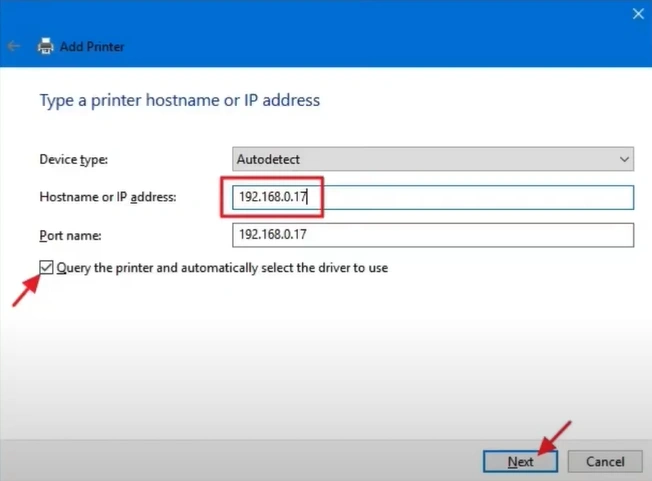
Step 8: Set the device type to Autodetect, enter the printer’s hostname or IP address, and then click Next.
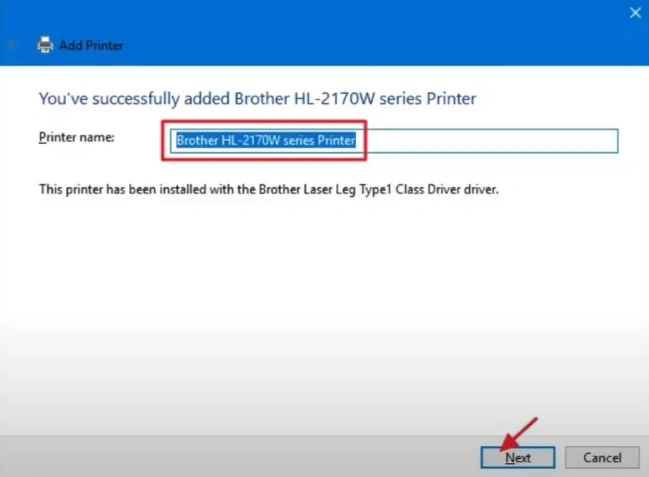
Step 9: Once you’ve successfully added the printer, click Next and complete the process by following the steps displayed on the screen.
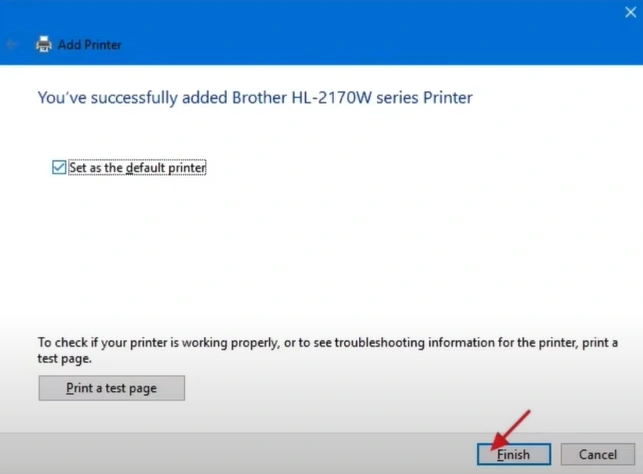
Step 10: Click Finish once done.
Step 11: Now, open Design Space and get your Print Then Cut design ready.
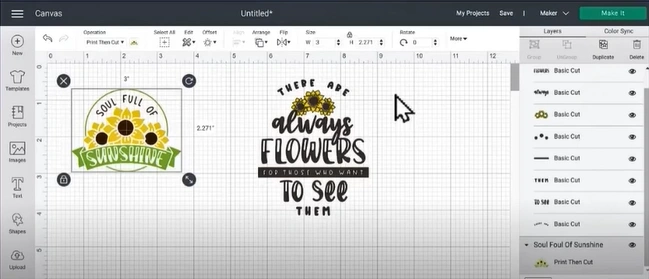
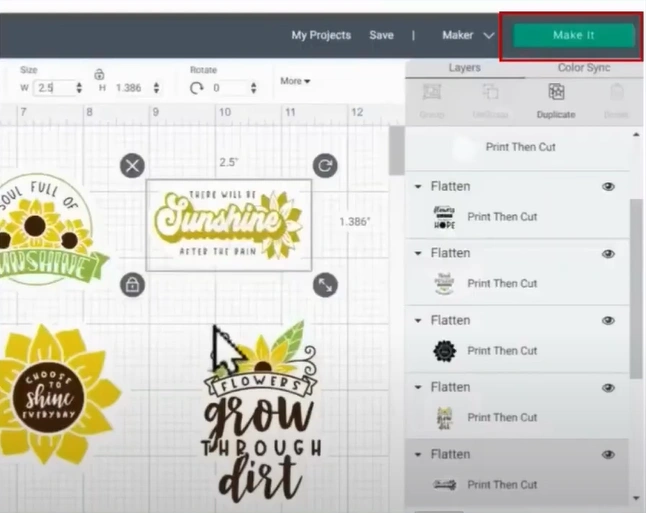
Step 12: Once you have the design ready, click Make It, then click Continue in the prepare screen.
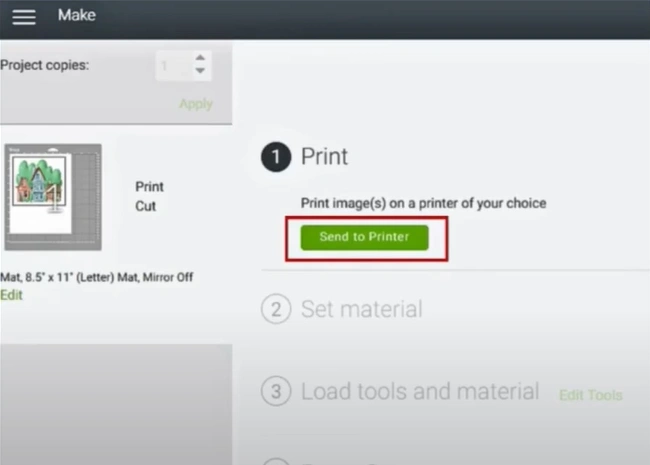
Step 13: Click Send to Printer. Design Space should now detect your printer. Once it appears, click Print.
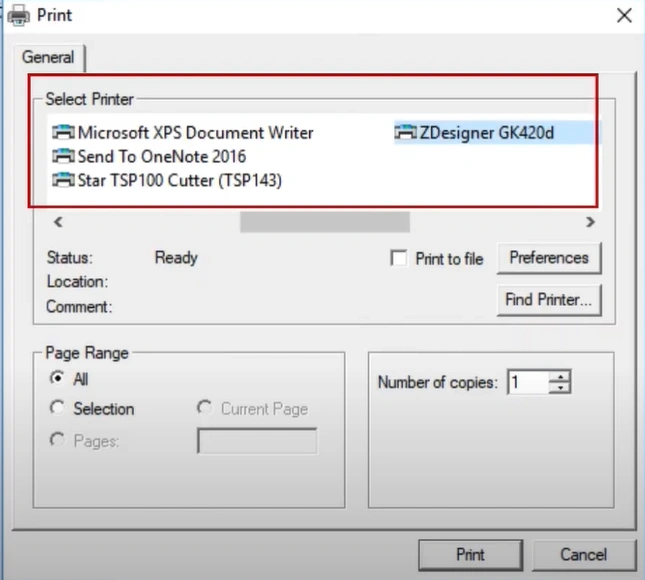
Step 14: If you want to change the printer, select the printer from the new pop-up window.
In a Nutshell
Without a printer, your “Print Then Cut” project can’t move forward. So, follow the steps we have discussed and get started. Go to Settings, add a device, prepare your design, and then send it to the printer. Make your Print Then Cut projects a breeze by connect a printer to Cricut Design Space.
Remember: Always check that your printer is powered on and properly connected. Use the appropriate material settings to get optimal print quality. Also, always use white or light-colored paper for Print Then Cut projects, since Cricut sensors read the black registration marks.

