How to Connect Sawgrass SG500 Sublimation Printer to WiFi?
Connecting your Sawgrass SG500 sublimation printer to WiFi enables you to get a flawless printing experience. Choosing wireless connections eliminates the need for Ethernet cables and other unnecessary cords and wires.
The process of connecting the Sawgrass SG500 printer is simple, but it is crucial to have prior knowledge if you are establishing the connection for the first time. In addition, as a beginner, there is a chance of facing some issues during the wireless setup. Therefore, to make the setup process easier, follow the complete instructions.
Proper Steps to Connect Sawgrass SG500 Sublimation Printer to WiFi
1. Press the Menu button/key on the control panel.
_1746173712.webp)
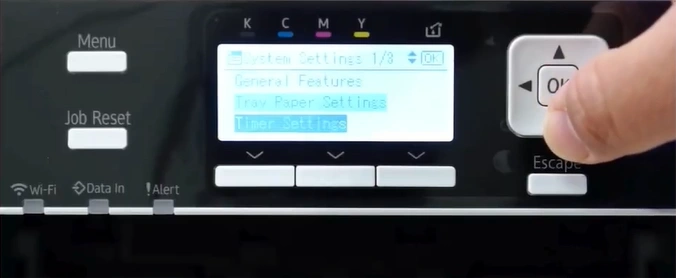
2. Scroll and select System Settings.
_1746173753.webp)
3. Scroll and open Interface Settings.
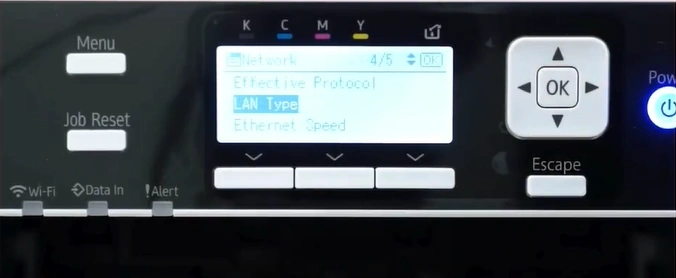
4. Select the Wireless LAN option.
5. Select the Wireless LAN Easy Setup.
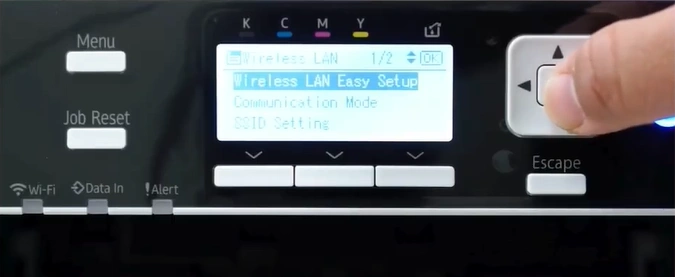
6. Choose SSID Auto Search.
_1746174088.webp)
7. Tap on your wireless network.
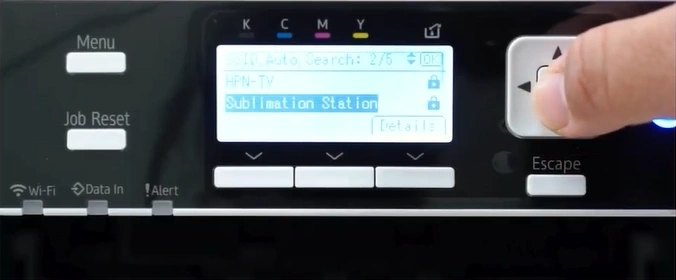
8. Now, press Enter.
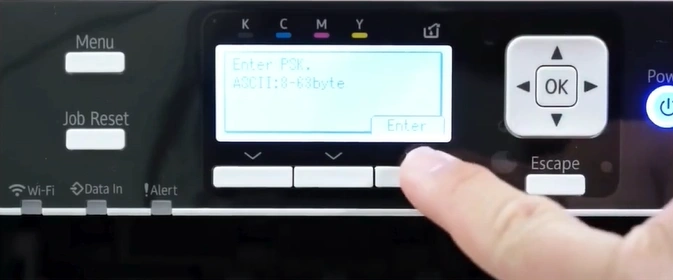
9. Enter the password and press Accept.
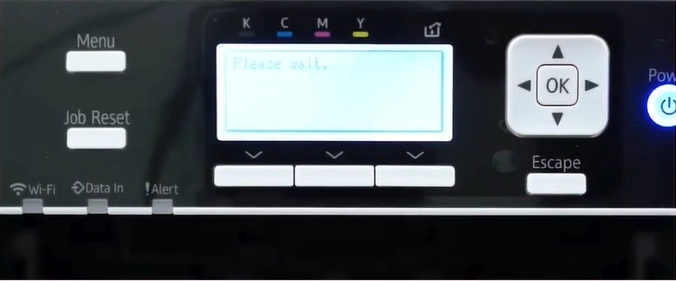
10. Once successfully connected, press Exit.
_1746174257.webp)
11. Now, you can continue using your printer after connecting to a device.
Wrap Up
These are the simple steps to connecting the Sawgrass SG500 sublimation printer to WiFi. Follow the steps to complete the connection and start using your device. But if you get into any issues during the process, it would be good to get additional help and guidance for a successful connection.

