A paper jam is one of the most common errors on any Konica Minolta printer or bizhub copier, and most of them take less than five minutes to clear once you know where to look. This guide walks through why jams happen, exactly where to check on your machine, and what to do if the jam message won't clear even after the paper is gone.
When your Konica Minolta printer flashes a paper jam warning, the touch panel isn't just guessing. It's reading a sensor that detected paper somewhere it shouldn't be, or paper that didn't move when it should have. The fix almost always comes down to finding that spot, clearing it carefully, and closing everything back up the right way. Rushing this step, or forcing paper out of a hot fusing unit, is the most common way a five-minute fix turns into a service call.
Common Causes of a Paper Jam
Most jams trace back to one of these:
- The wrong paper for the job. Paper that's too thick, too thin, or the wrong size for the tray you loaded it in won't feed correctly.
- Paper that's absorbed moisture. Humidity changes the weight and stiffness of a ream, especially if it's been sitting open in the tray. Curled or slightly damp sheets are a frequent cause of misfeeds.
- Misaligned paper guides. If the side and end guides in the tray aren't snug against the stack, sheets can shift and feed in at an angle.
- Dirty or worn feed rollers. Rollers pick up dust and paper fiber over time. A worn pickup roller eventually feels smooth instead of slightly tacky, and stops gripping paper reliably.
- A dirty or obstructed sensor. The sensors that track paper movement through the machine can be tripped by dust or a torn scrap of paper, even when nothing is visibly stuck.
Where Paper Jams Usually Happen
On most Konica Minolta and bizhub models, the touch panel shows a location or section number pointing to where the jam occurred. There are three general areas to check:
- The paper trays. Release the tray lock, pull the tray out fully, and look for sheets caught at the back or along the feed path.
- The document feeder (if you were scanning or copying). Lift the feeder cover and check for a sheet caught between the rollers.
- The side or rear compartment. This is where the fusing and duplex units live. Open the side door and look for green release levers, which give access to these sections.
The fusing unit runs hot enough to burn skin, so if you see a "Caution: Hot" label near a jam, let the machine sit for a few minutes before reaching in.
How to Clear the Jam, Step by Step
- Note the section number the touch panel is pointing to. Some models offer an on-screen "start guidance" walkthrough. Use it if it's available.
- Open the indicated tray or door and look for paper before touching anything else.
- Pull jammed paper slowly and evenly in the direction it was already feeding. Never yank it backward, which is more likely to tear it.
- If a sheet tears and part of it is still inside, check the rollers and fusing area carefully for the remaining piece. A leftover scrap will trigger the jam message again.
- Close every tray and door you opened. Half-closed panels are one of the most common reasons a jam warning won't clear, even once the paper is out.
- Print a test page to confirm the machine is feeding normally.
Still Shows a Jam After You've Removed the Paper?
If the display still reports a jam and you've checked every tray and compartment, the paper is probably gone but a sensor hasn't reset. Try this before calling for service:
- Open and close the door at the exact section number shown on the panel, even if you already checked it. This alone resets the sensor on many models.
- Check for a small torn scrap near the sensor flags, not just the main paper path. A fragment the size of a fingernail is enough to trip a sensor.
- Wipe down the feed rollers with a soft, dry cloth if you haven't cleaned them recently. Dust buildup can make a sensor read a false jam.
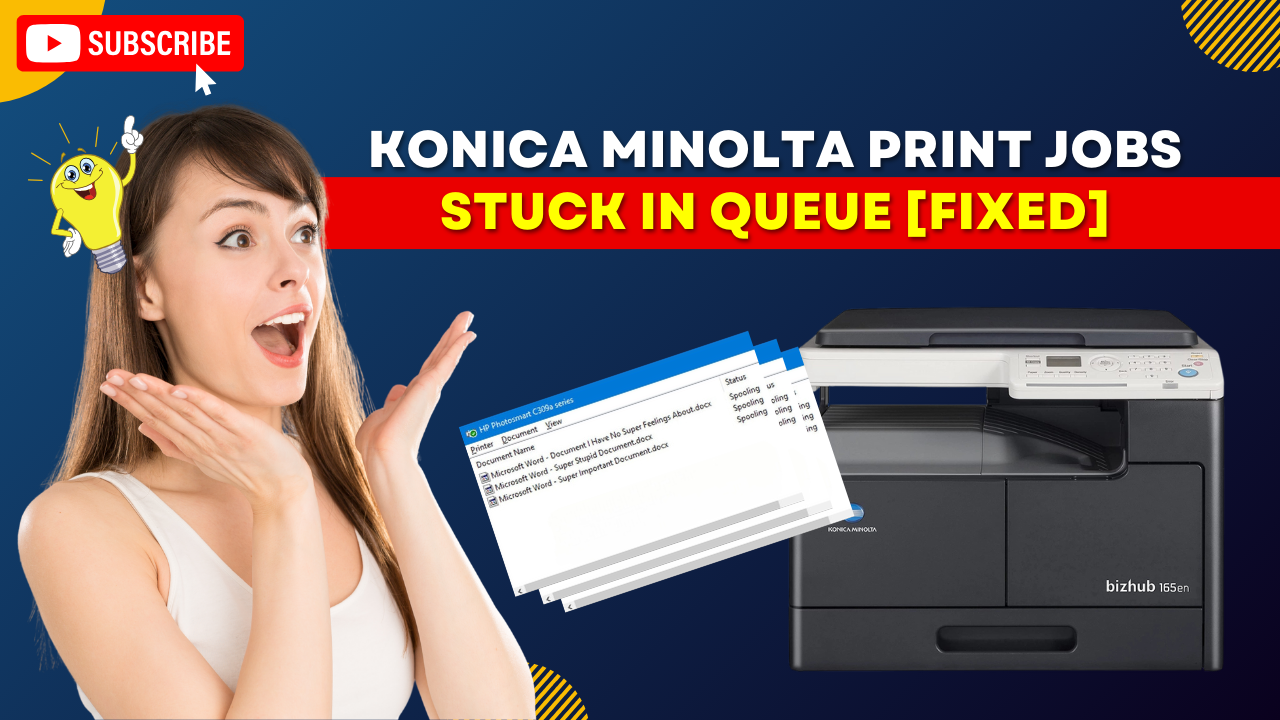
- Restart the print job from your computer. On Windows, open Services, stop the Print Spooler, clear any stuck jobs from
%windir%\System32\spool\PRINTERS, then restart the Print Spooler. On a Mac, remove the stuck job from the printer queue in System Settings > Printers & Scanners. This clears a job that's been resending after the original jam, which can look like the error is repeating even though the paper path is already clear.
If the message still won't clear after this, the sensor itself may have failed, and that's a job for a technician rather than something to force.
Preventing Future Jams
- Keep paper in its sealed ream until you're ready to load it, especially in humid rooms.
- Fan the stack before loading it so sheets don't stick together.
- Match the paper weight and size to what the tray is set for, and use the bypass tray for anything heavier than standard copy paper.
- Check that the tray guides sit snug against the stack, not loose and not pinching it.
- Wipe down feed rollers every few months as part of routine cleaning, more often in a dusty office.