How to Add Konica Minolta Printer to Mac?

Konica Minolta printers are famous for their sleek designs and cutting-edge features. These printers offer great results in printing, scanning, and copying documents. A few key features you get in Konica Minolta printers are high printing speed, an easy-to-use control panel, robust build quality, advanced wireless connectivity options, and others.
In addition, they come with multiple OS compatibility options and an easy setup process. However, it is wise for first-time users to learn the whole process to avoid any mistakes during the connection. If you also want to connect your Konica Minolta printer to a Mac, do not worry; we are going to share everything you need to learn. So, let’s begin!
Steps to Add Konica Minolta to Mac Using Printer Driver
1. Launch a web browser, visit the official Konica Minolta website, and download the suitable printer driver.
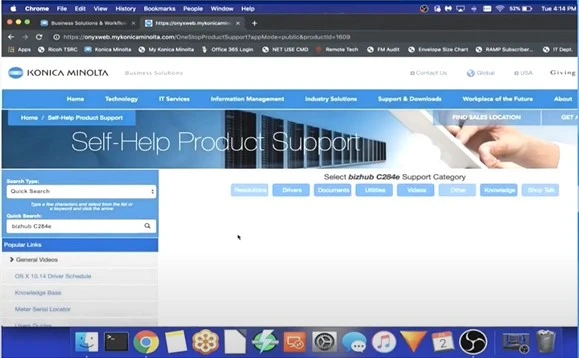
2. Next, double-click on the downloaded file to open the package installation.
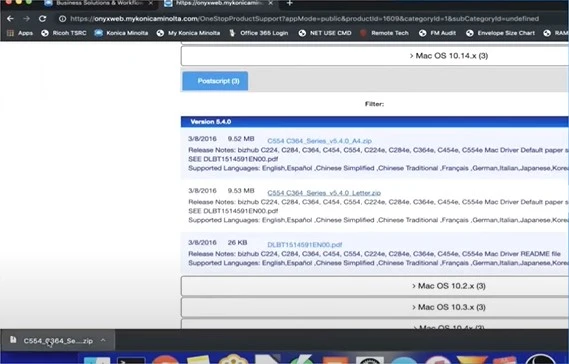
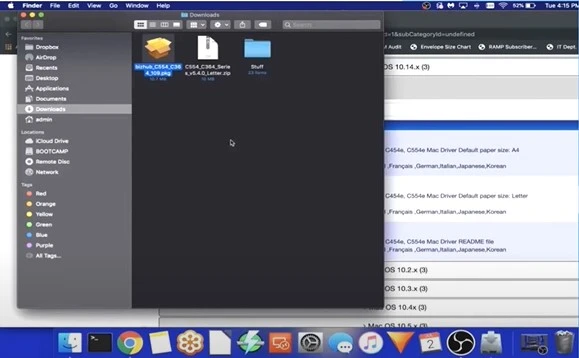
3. After that, double-click on the driver package and click on Continue in the introductions screen.
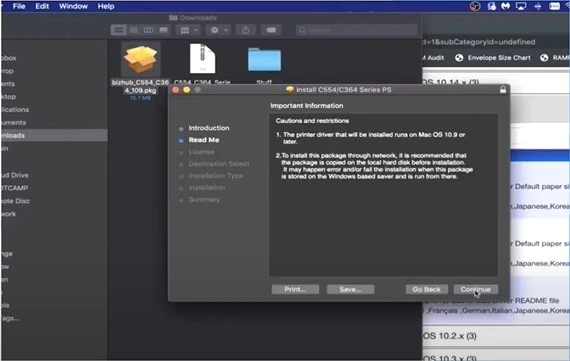
4. Furthermore, choose the Continue option once again in the Important Information screen.
5. Now, in the software license agreement window, click on Continue and then choose Agree in the prompt.
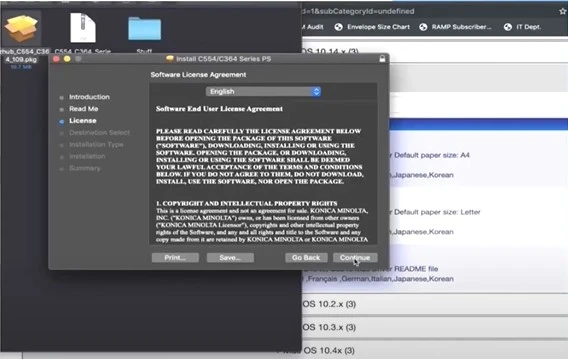
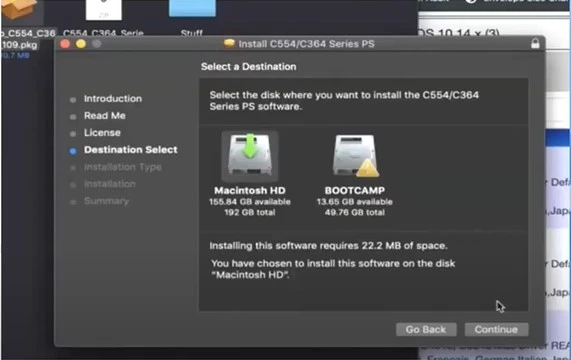
6. Select a destination, store the software, and click on Continue.
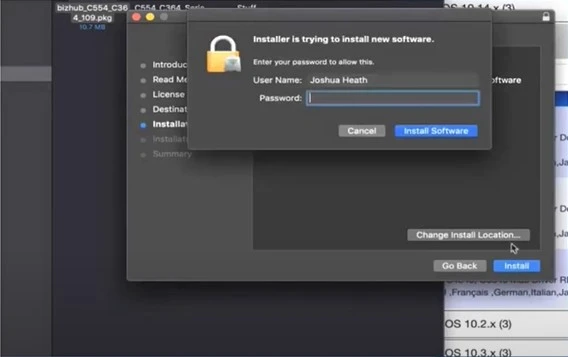
7. In the Installation Type screen, click on Install, add the admin password, and click on Install Software in the prompt.
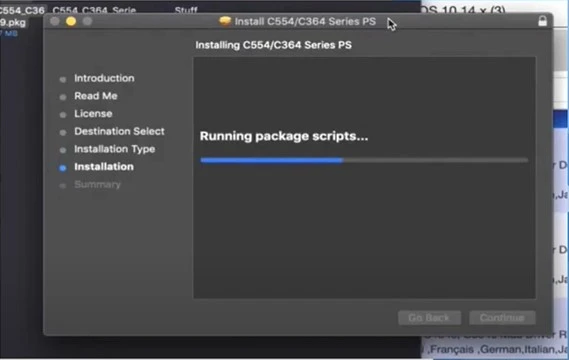
8. Now, wait for the installation process to complete.
9. When you get the installation complete screen, and click on Close.
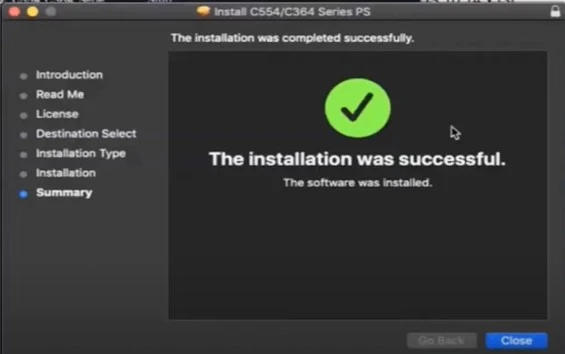
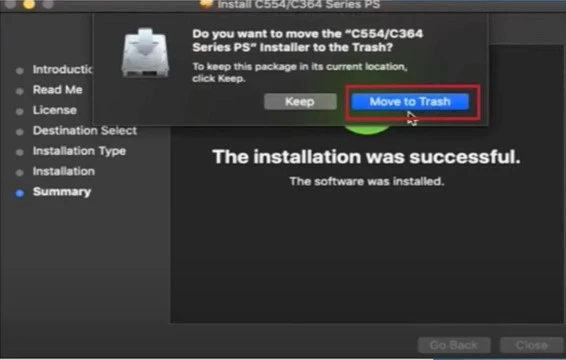
10. When you get the prompt asking whether to move the driver installation to the Trash, click on Move to Trash.
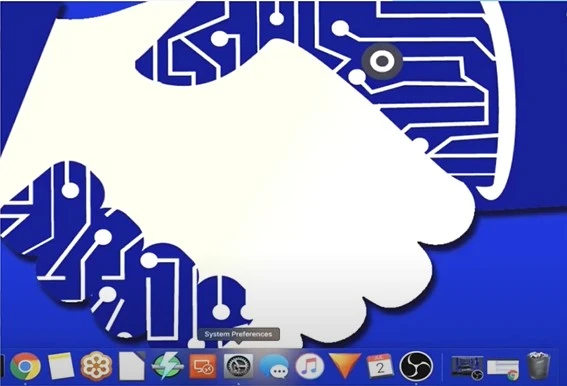
11. Afterward, minimize the open window and choose the System Preferences option.
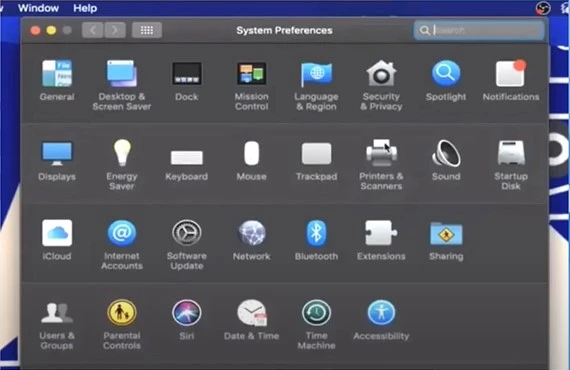
12. Then, move to the Printers and Scanners option.
13. Now, in the open printers and scanners window, click on the (+) sign button on the lower left side of the screen.
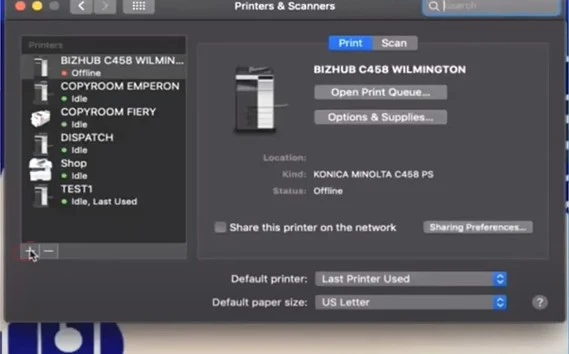
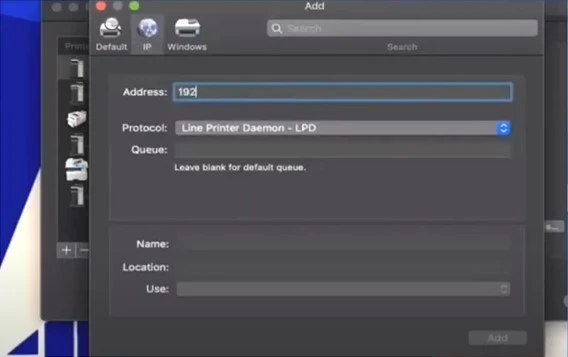
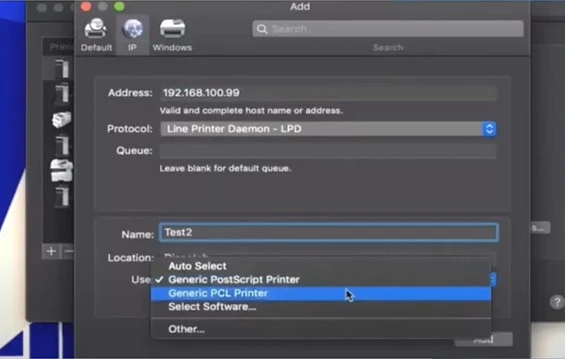
14. Next, go to the IP tab and enter the IP address of the printer in the Address field.
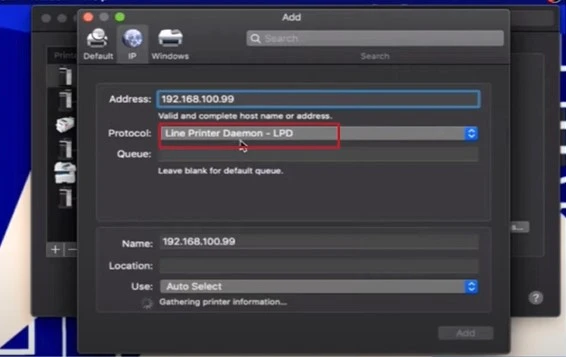
15. Moreover, in the Protocol field, make sure the Line Printer Daemon- LPD is chosen.
Also Read:- How to Fix Konica Minolta Printer Offline Problem?
16. In addition, in the name field, rename the printer if you like to do so.
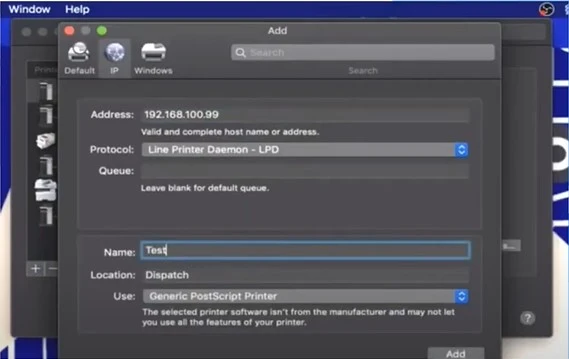
17. From the Use drop-down menu, click on the option Select Software.
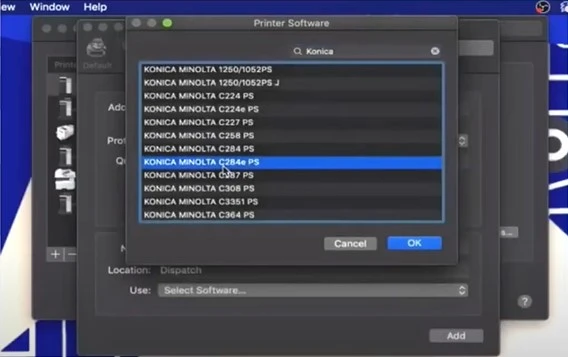
18. In the printer software window, select your Konica Minolta printer and click OK.
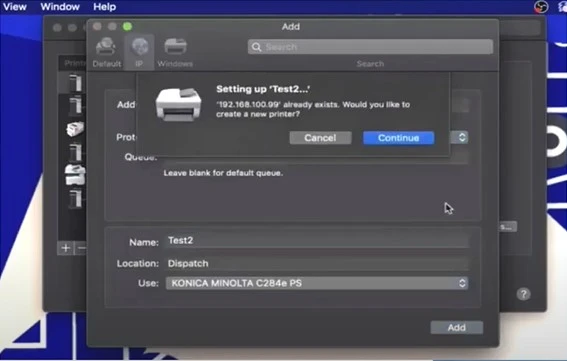
19. Once done, click on Add, then Continue in the Setting Up prompt.
20. In the settings up printer screen, click on the check box for all three options.
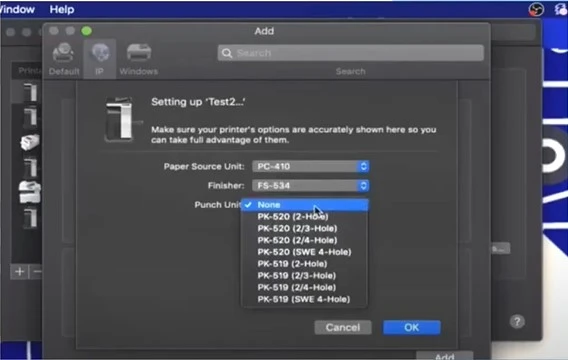
21. Finally, the printer connection process will be complete.
Conclusion
Here, we have mentioned a proven and simple guide to properly add a Konica Minolta printer to a macOS device. You can get some errors during the procedure, so make sure everything is working properly on your printer and computer. Apart from that, it is best to go for the additional resources and help if the connection process becomes too complex for you.

