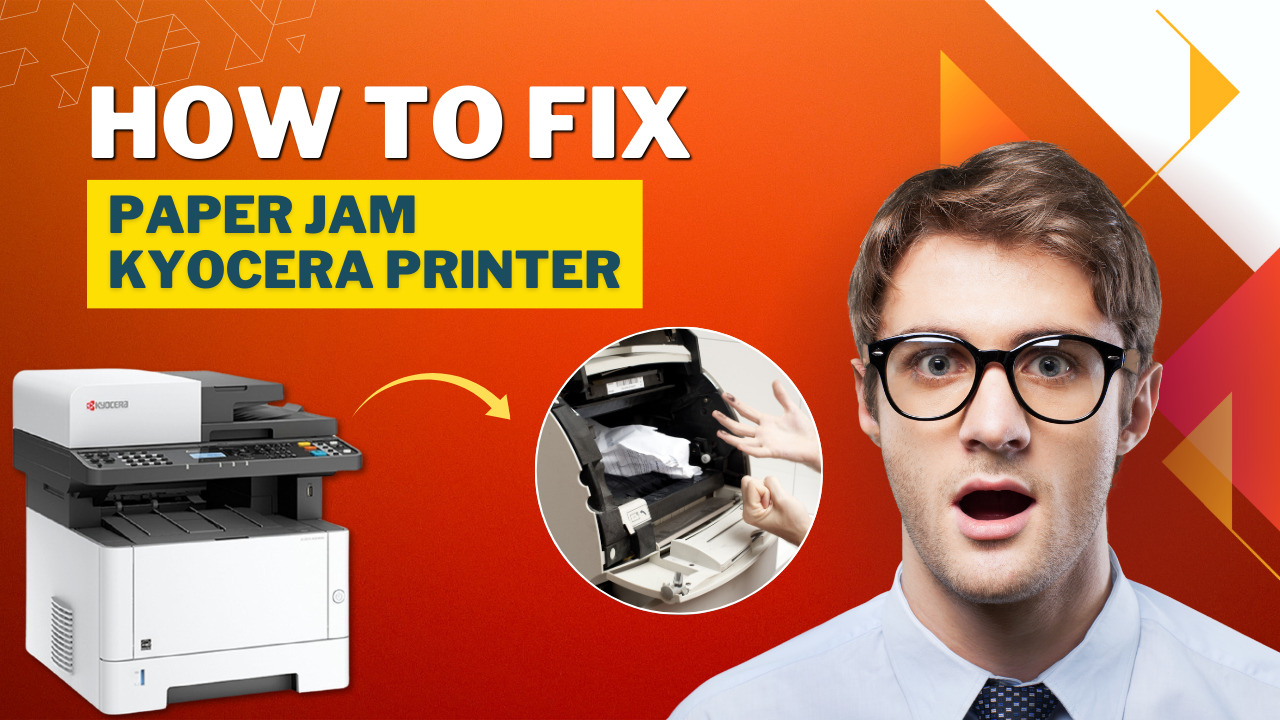
A paper jam message means the printer's sensors felt a sheet where it shouldn't be, whether that's a whole page bunched up inside the machine or a torn corner the size of a coin. Either one will stop every print job until it's cleared, and on some Kyocera units the display keeps flashing "Paper Jam" even after the visible sheet is gone, because a scrap or a bit of dust is still fooling the sensor.
Door and lever placement differs across Kyocera's ECOSYS, TASKalfa, and older FS lines, so treat the steps below as the general routine and let your own control panel point you to the exact spot. This guide is independent and not affiliated with Kyocera. If your model's Operation Guide says something different, follow that instead.
How to Clear a Paper Jam on a Kyocera Printer
Read This First
- Heat. The fuser, the roller near the rear of the machine that bonds toner to the page, runs hot enough during a print job to cause a burn. Kyocera's operation manuals warn against touching this area right after printing and recommend leaving the power on and letting the unit sit for a few minutes, or switching it off first, before you reach in.
- Tools. Skip the pens, scissors, and screwdrivers. A metal edge can scratch the drum or bend a sensor flag, and a bent flag is what causes the "phantom" jams that show up with no paper in sight.
- Toner. A jammed sheet can carry loose toner powder. Hold it by the edges, and if any gets on your skin or clothes, rinse with cool water. Hot water sets the toner instead of lifting it.
Step 1: Read the Display Before You Open Anything
Kyocera's control panel names the jam location, using terms like cassette, MP tray (the manual feed slot), duplexer, document processor, or rear cover. On many current touchscreen models you can press the Help key to see an on-screen walkthrough for that exact spot. Note what it says before you start opening covers, since it saves you from checking areas that are already clear.
Step 2: Decide Whether to Power the Printer Down
If the message points to a cassette or the MP tray, you can usually leave the printer on and pull the jam with the power running. If the jam is at the fuser, the rear cover, or anywhere you'd need to reach past internal components, turn the printer off and let it cool first. Leaving the power on for a cassette jam is fine; forcing your hand into a warm fuser area is not.
Step 3: Open the Cassette, MP Tray, or Duplexer/Rear Cover
Pull out the paper cassette that's misfeeding and check the feed area at the back of the tray. For an MP tray jam, lift the tray and look where the sheet enters the machine. For a duplex jam, the message usually means a sheet was flipped for double-sided printing and never made it back through, so open the rear cover to reach the duplex path directly, then check the cassette too, since a duplex jam can leave a partially fed sheet sitting there as well.
Step 4: Pull the Paper the Way It Travels, Then Check for Scraps
Grip the sheet with both hands as close to the jam as you can reach and pull steadily in the direction it was already moving. Yanking it sideways or backward is what tears it. If the paper does tear, that's the important part: go back over the area with a flashlight and remove every scrap. Kyocera's own manuals are direct about this: a loose scrap left inside is a leading cause of the next jam. Don't reload paper that jammed; set it aside.
Step 5: Close Everything Firmly and Print a Test Page
Reinsert the cassette until it clicks into place, and close the rear cover and any other panel you opened. A door that isn't fully seated can keep the jam message on screen even after the paper is gone. Power the printer back on if you switched it off, wait for it to finish warming up, and send a single test page before you queue up anything bigger. If the jam message clears but nothing prints, that's a separate driver or queue issue. If the same spot jams again, the causes below explain why.
Why Your Kyocera Printer Keeps Jamming
Most repeat jams trace back to the paper itself or how it's loaded, not a broken printer. Work through this list before assuming you need a repair.
- Paper loaded unevenly or a cassette packed past its fill line. Square the stack against the tray's back and side guides before closing it, and never load past the marked limit. A guide set too loose lets sheets travel crooked; one set too tight can crease the top sheet as it feeds.
- Damaged, low-quality, or mismatched paper. Torn edges, creases, and staples or paper clips left in a stack all cause misfeeds. So does mixing weights or sizes in the same cassette, or using stock heavier or lighter than what that tray is set for in the printer's paper settings.
- Paper that's absorbed too much moisture. Kyocera's operation manuals specify a moisture content of roughly 4 to 6 percent for standard paper, and thickness in the 0.086 to 0.110 mm range. Paper that's picked up excess humidity swells at the edges and turns wavy, and once that damp sheet hits the heated fuser, it can curl sharply enough to jam on the way out. This is a well-documented issue on Kyocera's TASKalfa duplex units in particular, where a curled sheet has to make a tighter turn through the flip mechanism.
- Static from dry air. The opposite problem shows up in low humidity: sheets cling together with static charge and feed two or three at a time, which the printer reads as a jam. Fanning the stack before loading it breaks up that static.
- Worn or dirty pickup, feed, and separation rollers. These rubber rollers lose grip as they pick up dust and paper fiber, and they wear down with age regardless of cleaning. Kyocera bundles roller replacement into its maintenance kits, and the page count that triggers an "Install MK" or maintenance message varies widely by model, so check your Operation Guide or ask your service provider for your specific interval rather than assuming a number.
- A dusty or out-of-alignment cassette. Paper trays collect dust over months of use. Slide the cassette out, wipe down the guides and the metal base plate, and confirm the tray is seated fully when you put it back.
Preventing the next jam:
- Store unopened reams in a cool, dry spot, in their original wrapping, and let a fresh ream sit in the same room as the printer for about 48 hours before you load it, so it adjusts to the room's humidity.
- Fan a new stack before loading it to separate any sheets that are clinging together.
- Keep a dedicated cassette for each paper type or weight instead of swapping stock in and out of the same tray.
- Wipe the feed rollers with a lint-free cloth every few months, especially in a dusty office.