How to Add Kyocera Printer to Mac?
Kyocera is a well-known device for its unmatched printing features. These printers come with multiple OS device compatibility options. You can easily connect the Kyocera printer to Mac and other devices with utmost ease. But, for some users, it can be a bit challenging due to some faults or lack of the correct connection process. If you are having the same issue, then you are going to get all the essential info you need here. Here, you will learn about the connection method using the IP address and USB printer. Let’s begin the process!
Method 1: Add Printer Using IP Address During Initial Setup
You can connect your Kyocera printer to a Mac device with the help of the IP address during the initial setup. These are the steps you need to follow.
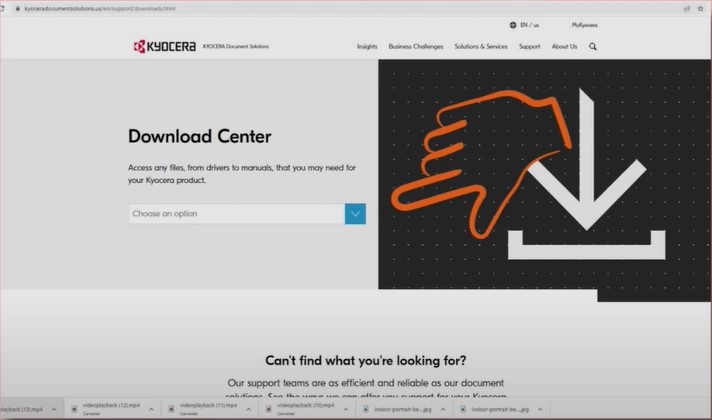
1. First of all, launch a browser on your device and then visit the official Kyocera setup page.
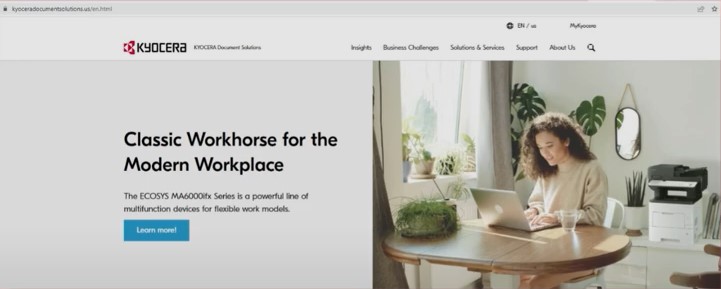
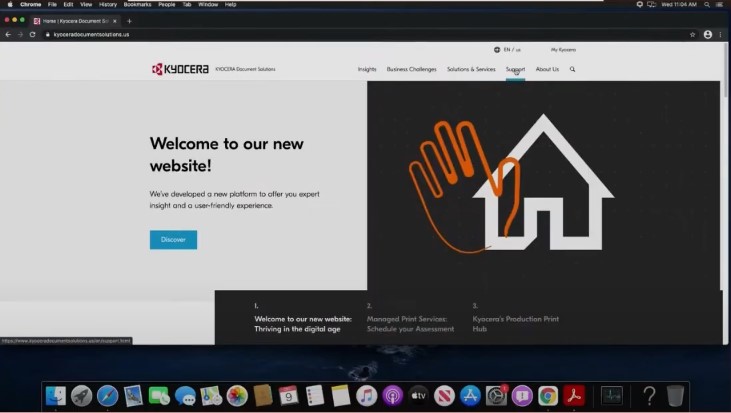
2. Move to the Support tab and click on Download Center.
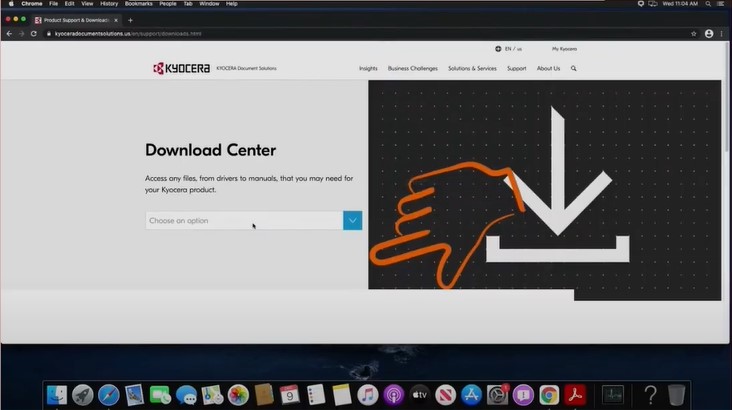
3. Now, in the search bar, type the name of your Kyocera printer model and download the compatible driver.
4. Furthermore, double-click on the downloaded file, then double-click on the folder that’s been extracted.
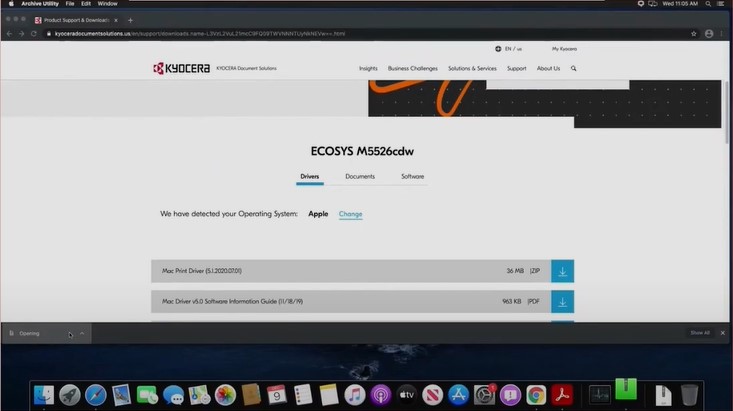
5. Then double-click on the disk image Kyocera file, then double-click on the Kyocera package file.
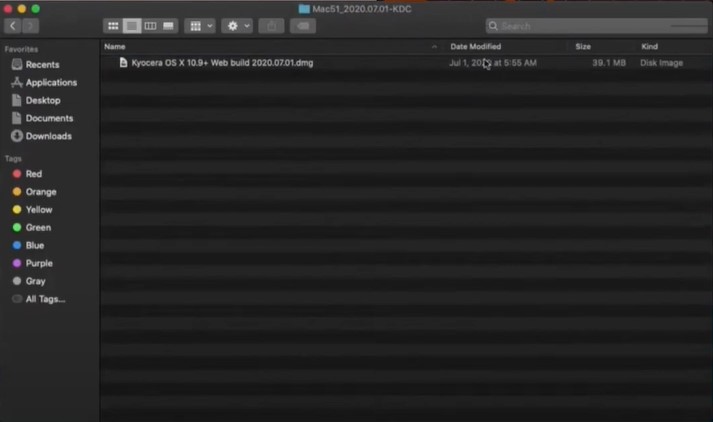
6. Once the installation window pops up and opens, click on Continue in the introduction.
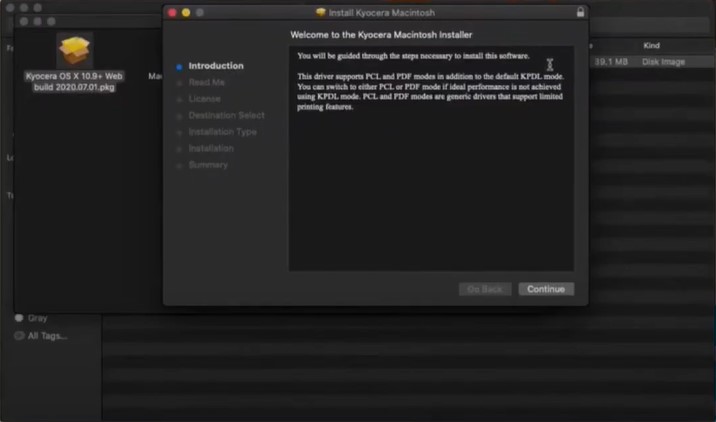
7. You need to choose the Continue option once again on the Read Me and License Agreement page.
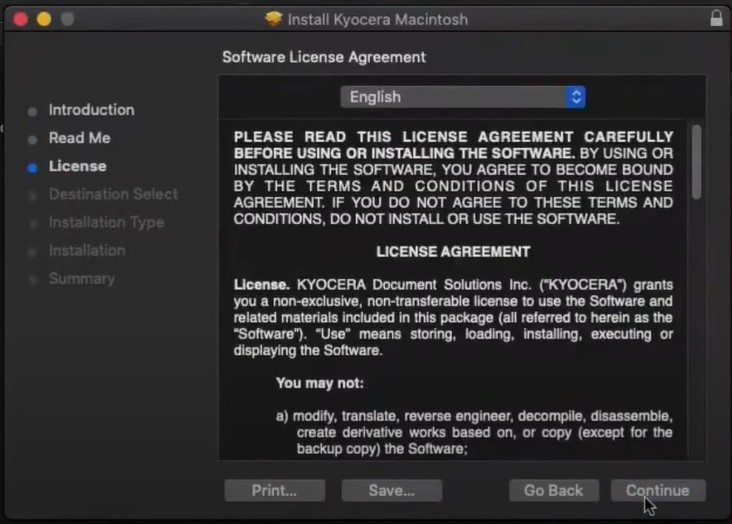
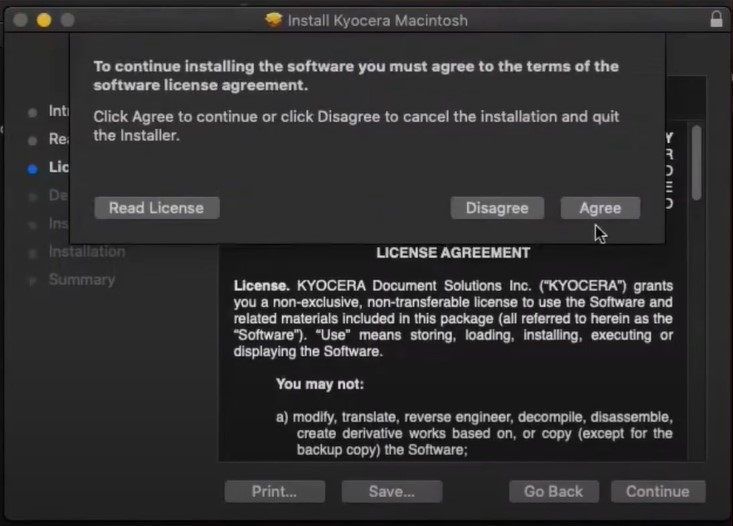
8. In the license agreement prompt, choose the Agree option.
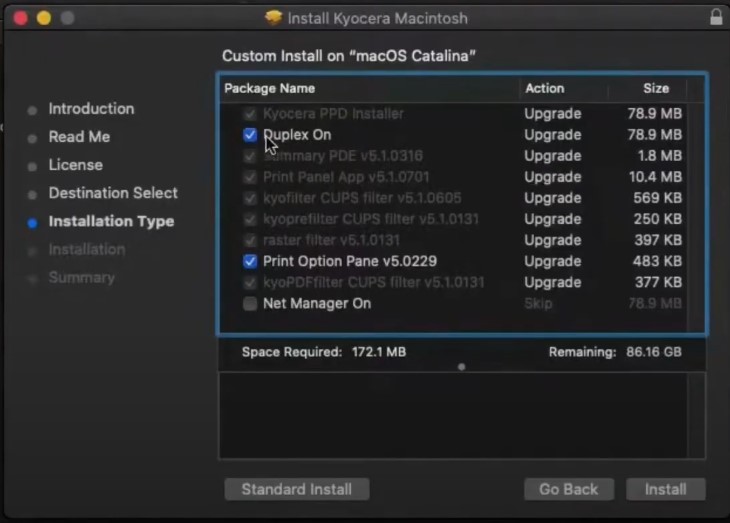
9. For the Installation Type, choose Customize, uncheck the option Duplex On, then click on Install.
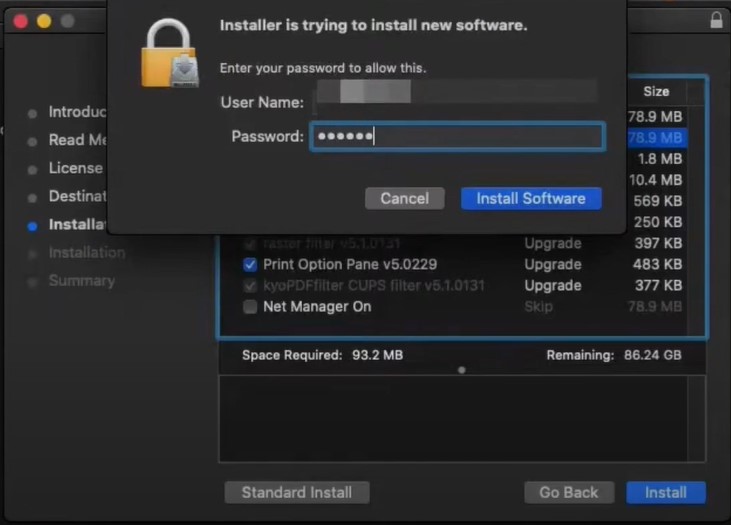
10. On the “Installation is trying to install new software prompt” pop-up, enter the administrative password and install the software.
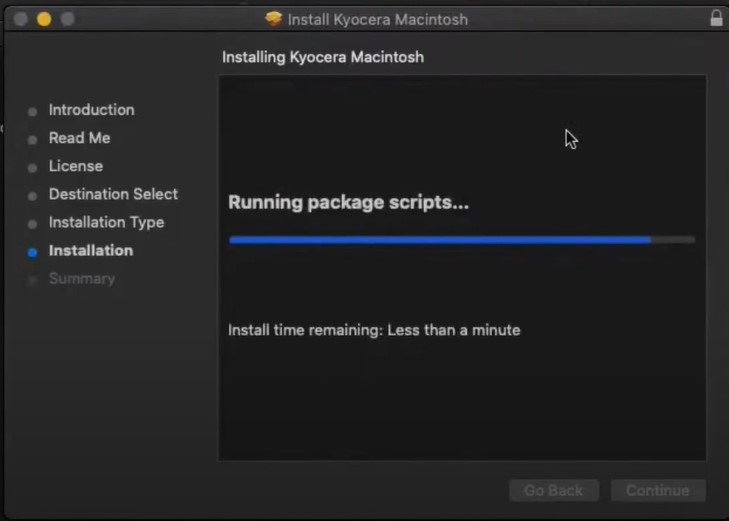
11. Wait for the installation to finish; once you get the “The installation was successful” screen, click on Close.
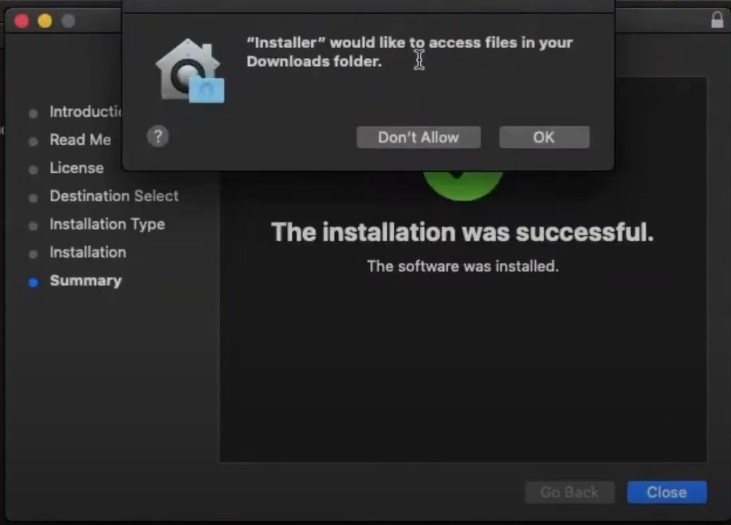
12. If you get a prompt saying that the installer would like to access the download folder, click on OK.
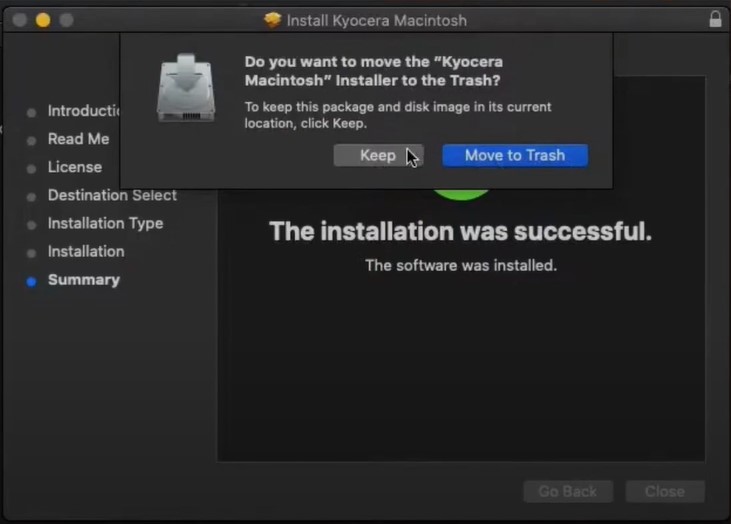
13. If you are asked whether you want to move the driver file to trash, select the option Move to Trash or Keep.
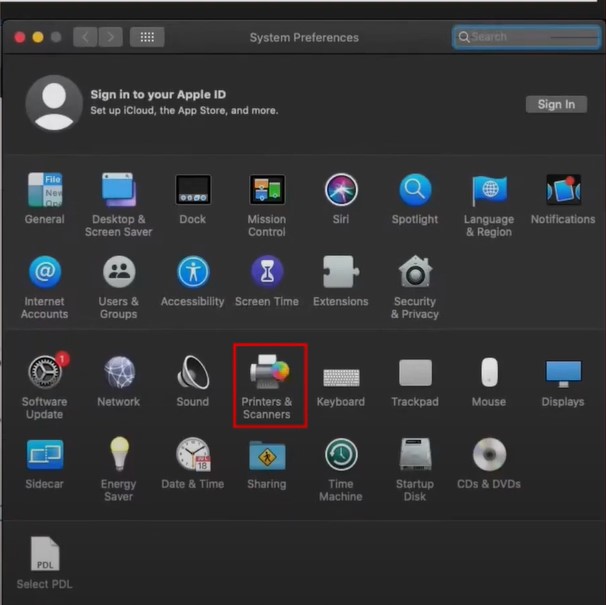
14. Next, choose the option system preferences and select Printers & Scanners.
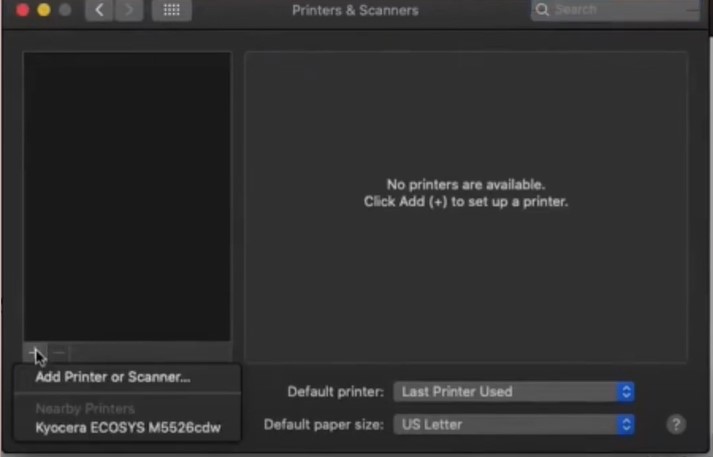
15. In the printers and scanners screen, click on the plus (+) sign and select the option Add printer or scanner.
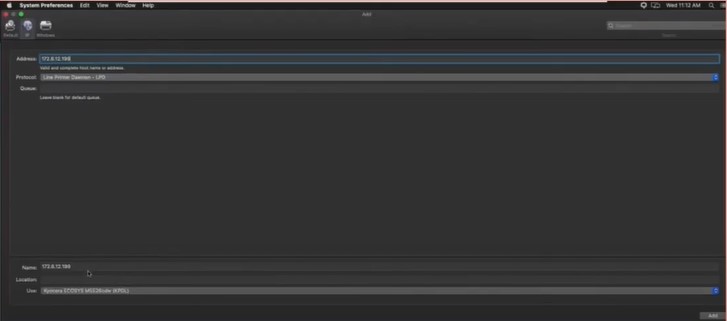
16. On the next screen, move to the IP tab.
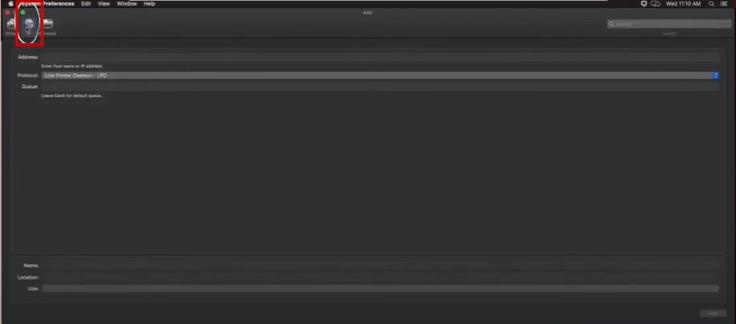
17. In the address field, enter the IP address of the printer, which can be obtained by clicking on the information button on the printer.
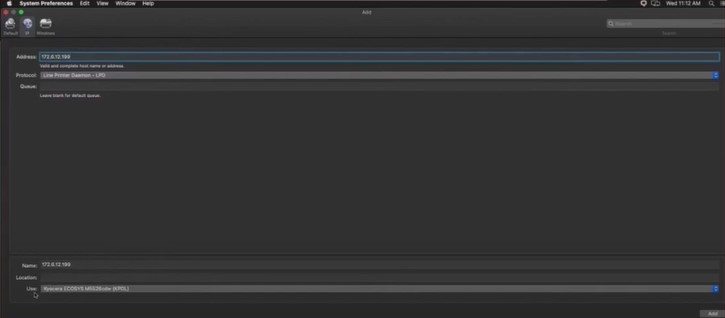
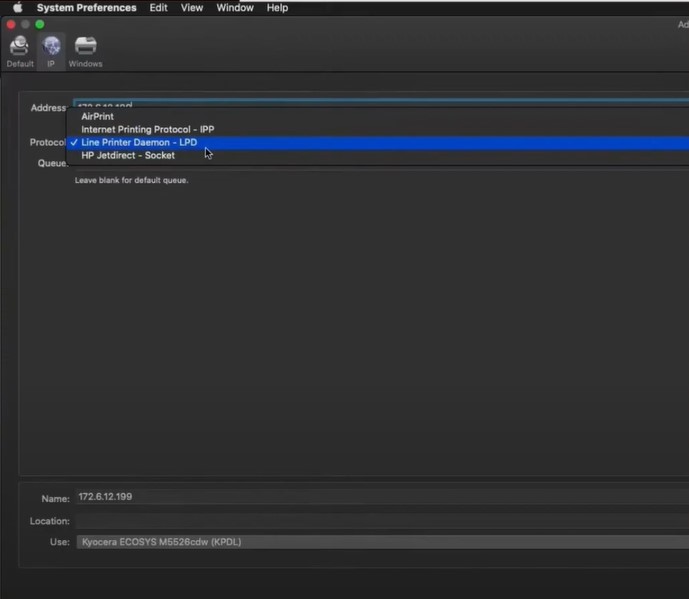
18. From the drop-down menu, click on the Protocol option.
19. In the name field, you can delete the IP address and rename the printer.
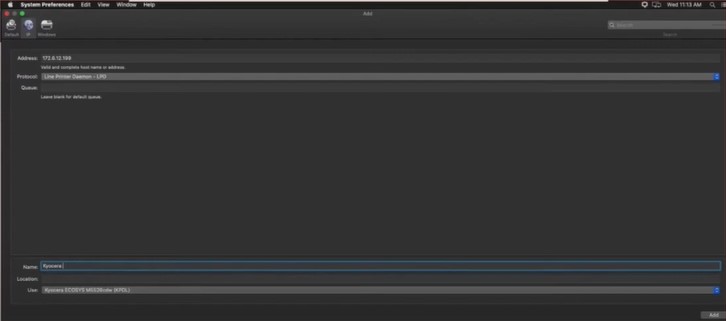
20. In the Use field, the Kyocera model will automatically fill when you enter the IP address and then click on Add.
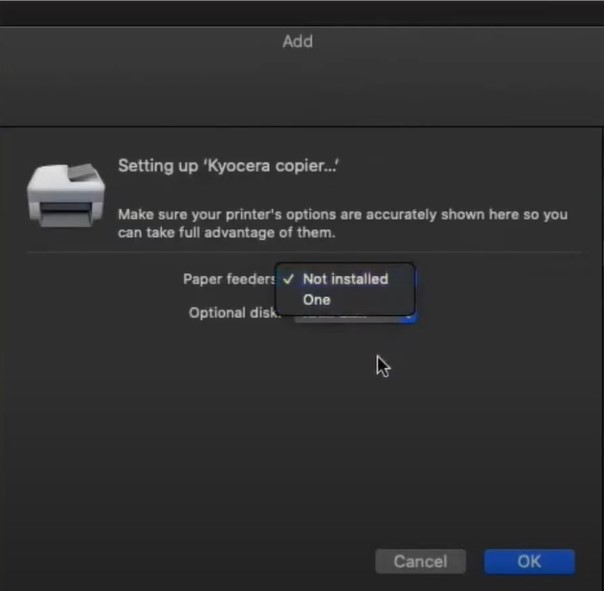
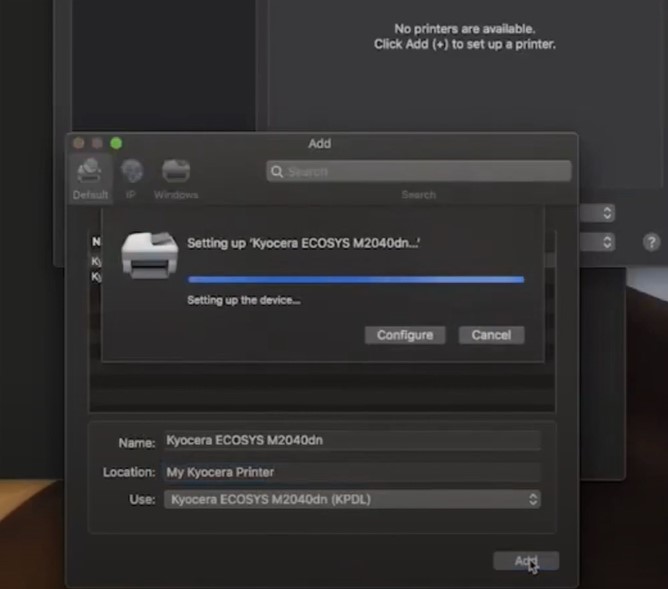
21. When the Setting up ‘Kyocera copier…’ prompt appears, you can select additional features for your machine and click on OK.
Method 2: Add the Printer Using a USB Cable
Here are the complete procedures you can follow to add the Kyocera printer with the help of a USB cable.
1. If you have not downloaded the printer driver, visit the official Kyocera website to download the product and then follow through the installation process.
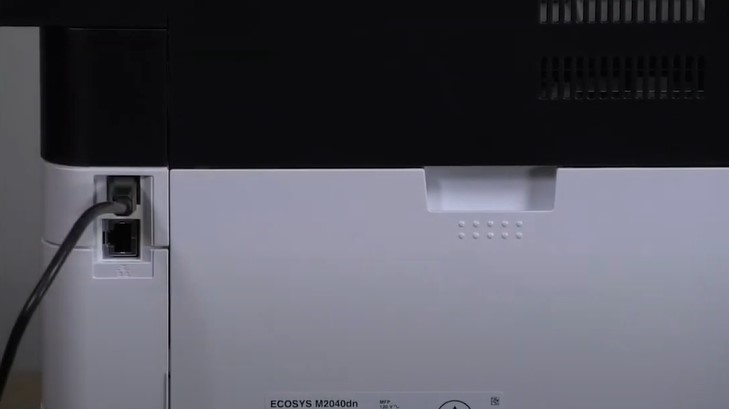
2. Now, connect a USB cable to the printer and the other end to your Mac computer.
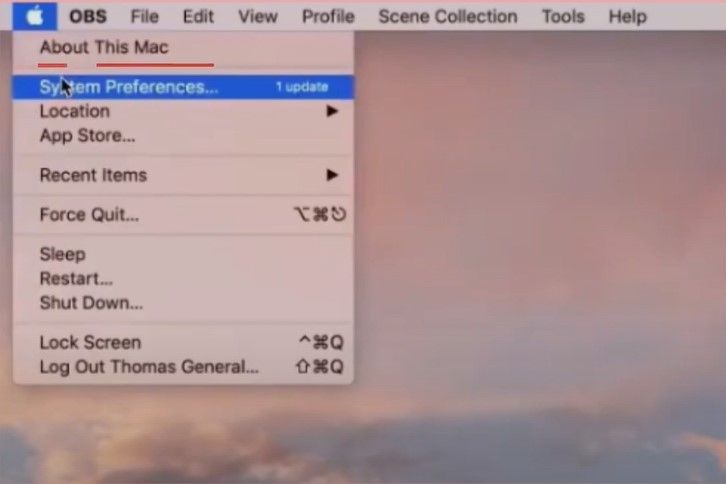
3. Next, click on the Apple icon and go to System Preferences.
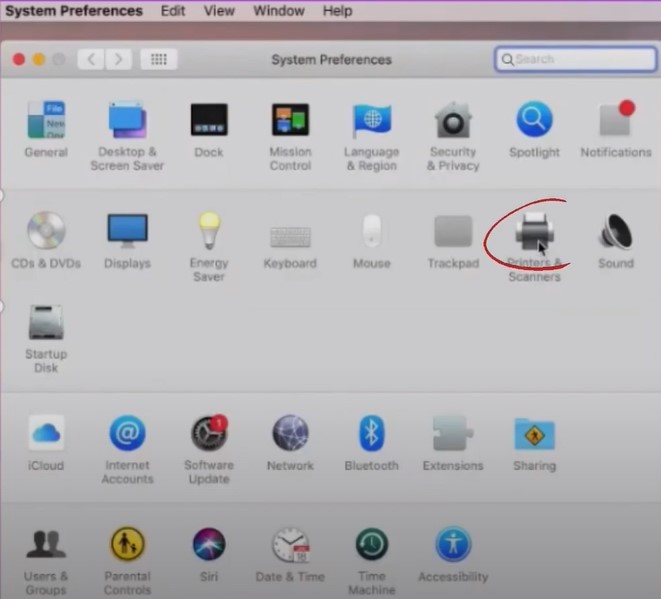
4. In the System Preferences screen, choose Printers & Scanners.
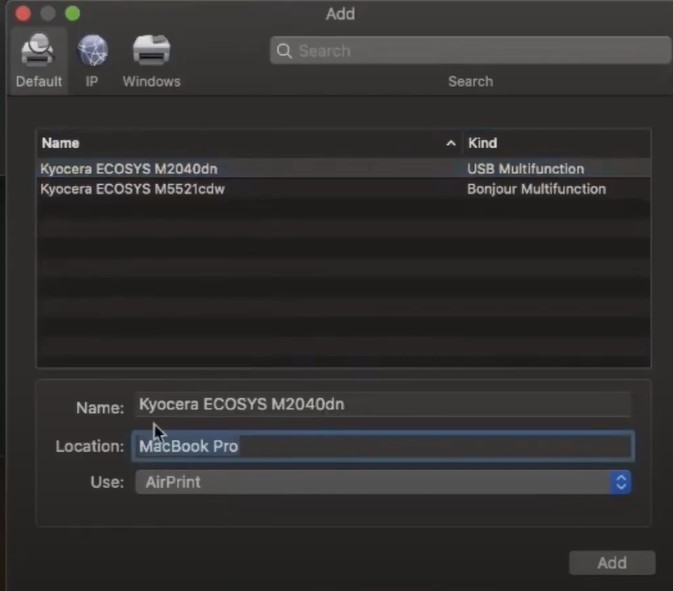
5. Click on the plus (+) button and look for your printer with “Kind” defined as USB.
 button and look for your printer_1721731814.jpg)
6. After that, you can change the location according to your preference by going to the Location field.
7. In the Use field, select the Kyocera printer from the list.
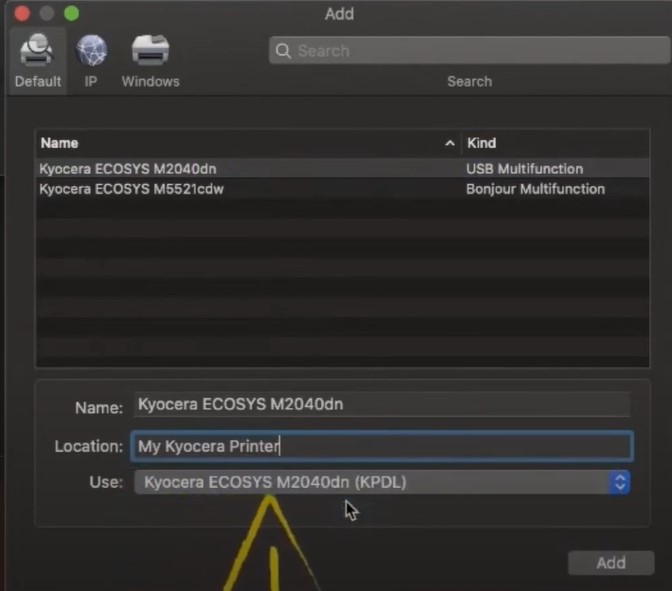
8. Then click on Add, and the printer will appear on the Printers & Scanners window.
9. Finally, the USB connection process of your Kyocera printer will be complete.
Final Words
During the connection process, it is common to get some problems. However, these problems can be solved easily by using our two effective and easy-to-follow. Follow all the steps carefully to establish the connection in no time. Besides that, if necessary, try to look for additional resources and help.

