How to Connect Chromebook With USB Printer?
Nowadays, many printers come with Chromebook compatibility to help users complete their printing tasks. The process to connect the printer and Chromebook via USB is straightforward, but it is a little different from the traditional methods we use for Windows OS. As a result, you may face some issues during the connection process, especially if you are doing it for the first time. So, to avoid any problems, you can take the help of the below proven steps to connect your Chromebook and USB printer without any hassle.
Steps to Connect a Chromebook to a USB Printer
Step 1: Connect the printer and Chromebook with a USB cable.
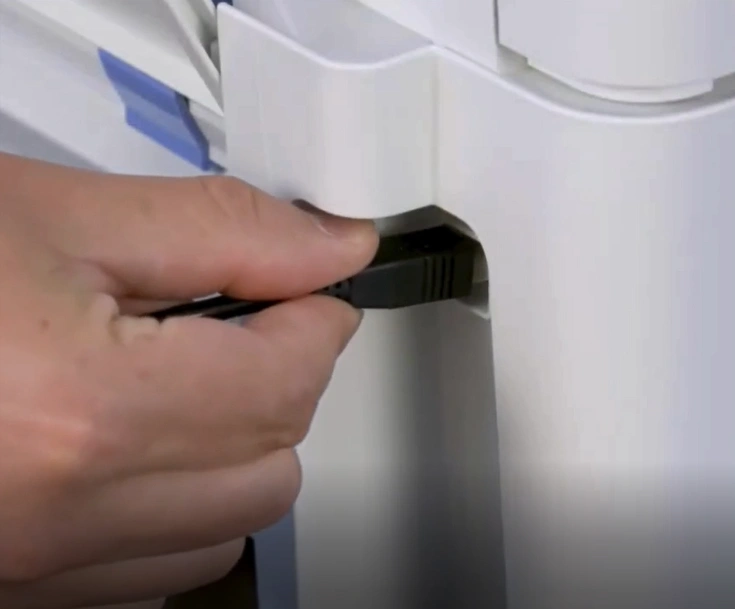
Step 2: When connected, you will get a USB Printer Connected notification.

Step 3: Click on the clock in the lower right corner of the screen.
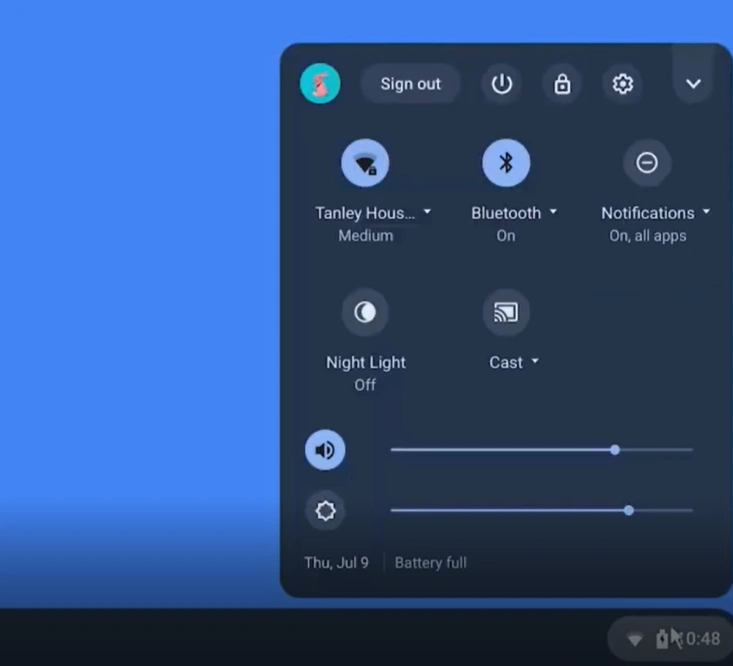
Step 4: Now, you should go ahead and click on the Settings icon.

Step 5: In the Settings screen, expand Advanced in the left panel.

Step 6: Open the Printer folder and click on Printers.

Step 7: Click on Add Printers.

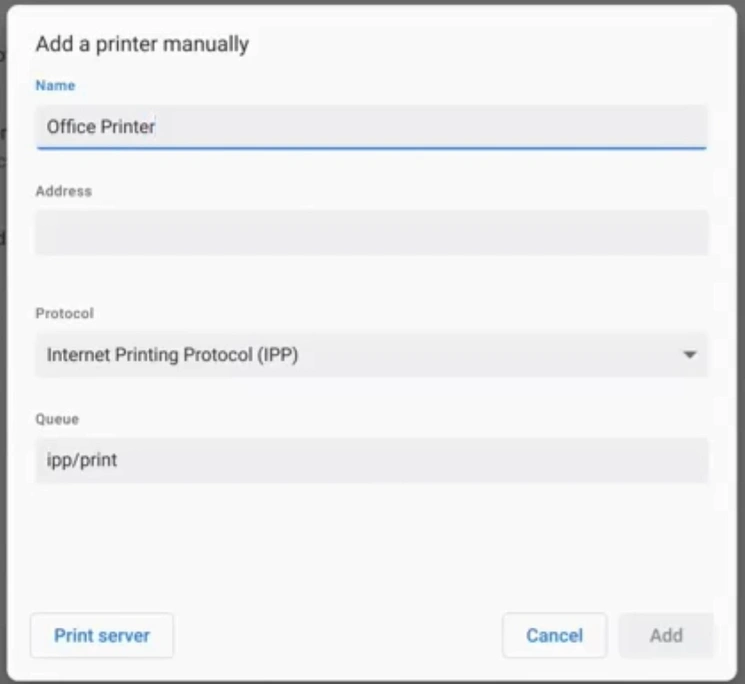
Step 8: Now, add a printer that will open on the screen.
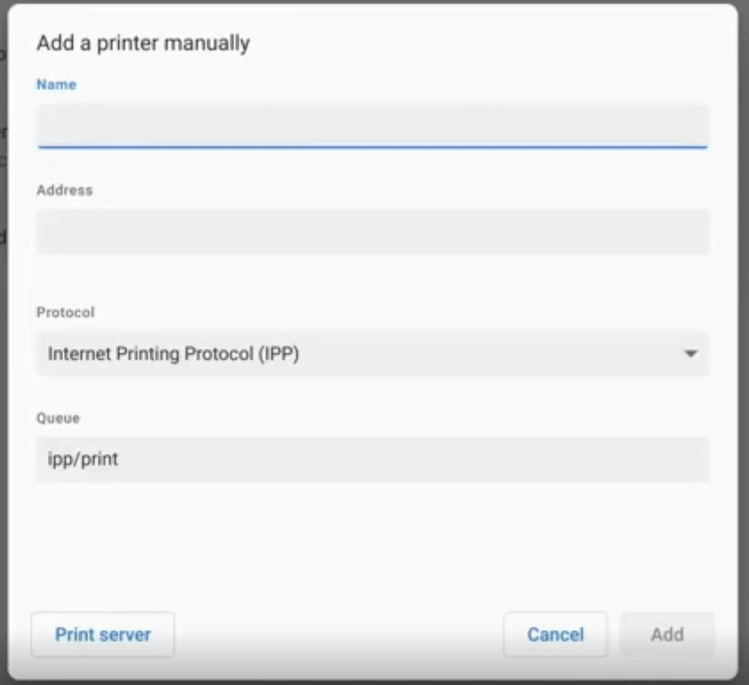
Step 9: Type your printer name.
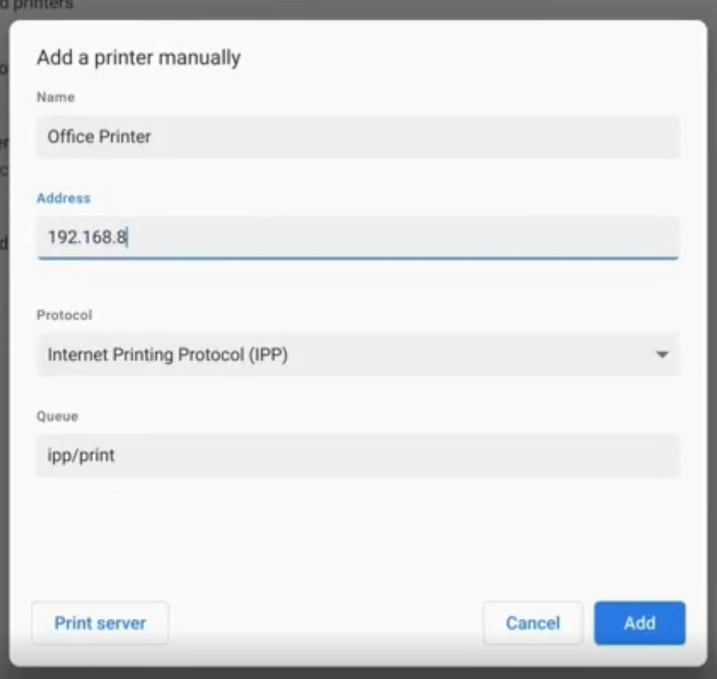
Step 10: Next, type your IP address.
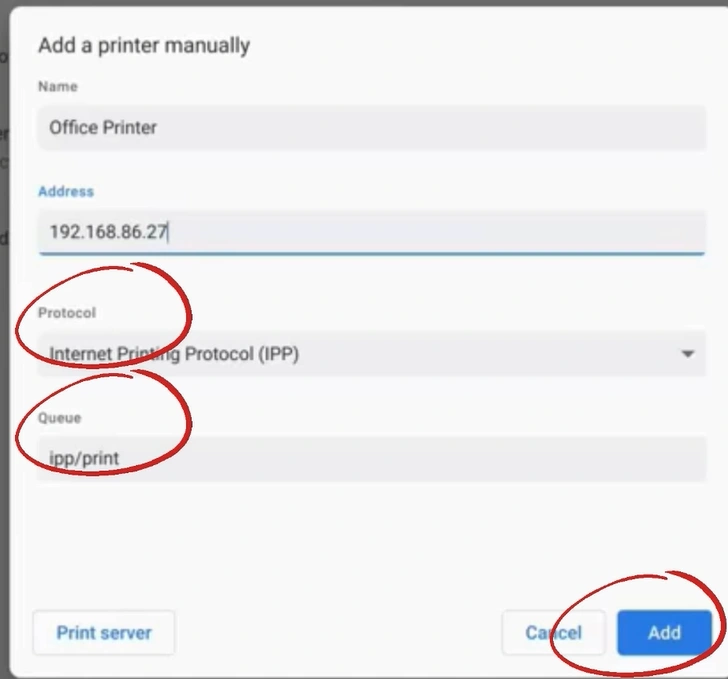
Step 11: Leave the Protocol and Queue as they are and click on Add.
Step 12: Now, you should be able to fill in the Advanced printer configuration.
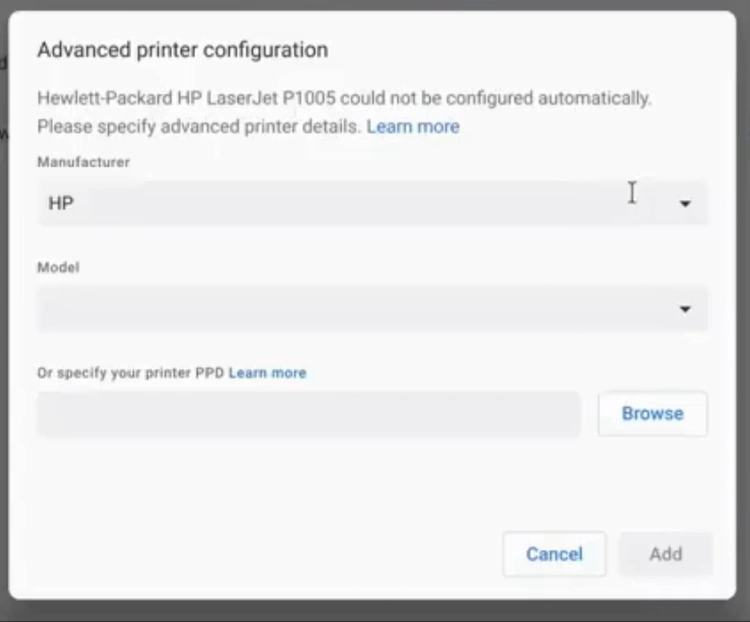
Step 13: Then, fill in the manufacturer's details.
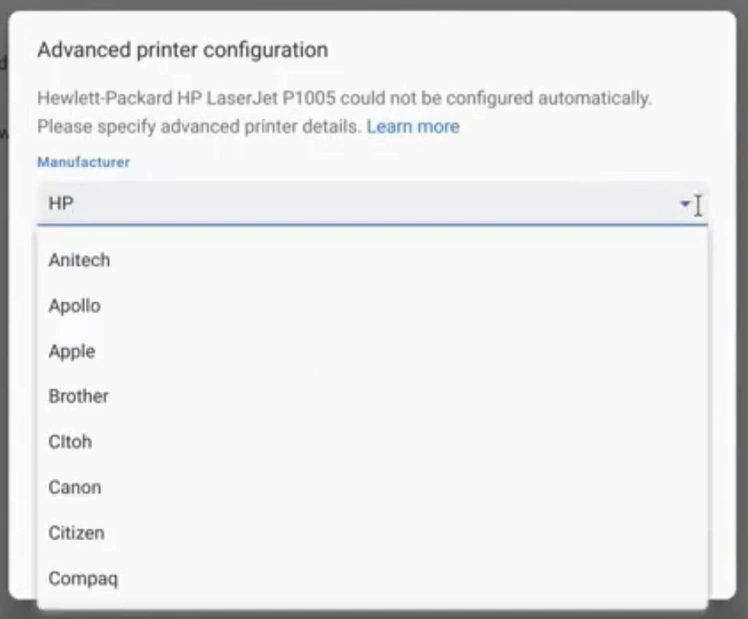
Step 14: Finally, select your model and click on Add.

Wrap Up
By following the extensive methods we have shared, you can easily establish the USB connection between your Chromebook and USB printer. Follow all the steps mentioned here to make a successful connection without facing any issues. However, if necessary, make sure to reach out for further help.
Related Article

