How to Connect Lexmark Printer to the Computer?
Lexmark belongs to the top printer brands available in the market. These printers come with impressive connectivity features and offer great results when you are printing. However, various printers come with different connectivity options. Plus, if you are trying to connect your brand-new Lexmark printer for the first time, it is obvious that you will have some issues. But you do not need to stress out cause we have got everything you need.
Here, you will acquire in-depth knowledge of two proven methods of connecting Lexmark printers to computer devices with the utmost ease. Let’s begin the process now!
Method 1: Manually Add Printer Using .inf File
Follow-up are the steps you can follow to connect the Lexmark printer using the .inf file.
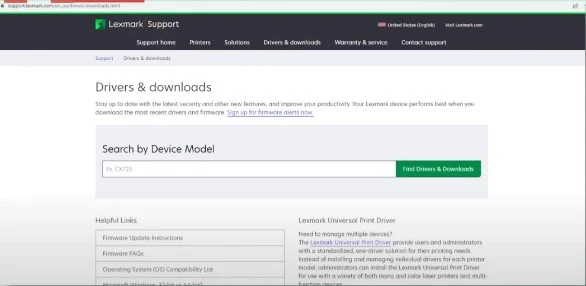
1. If you have not downloaded the printer driver, visit the official Lexmark website and download the compatible driver for the printer you are using.
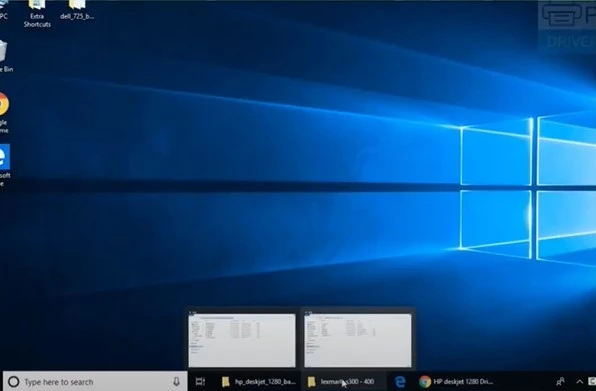
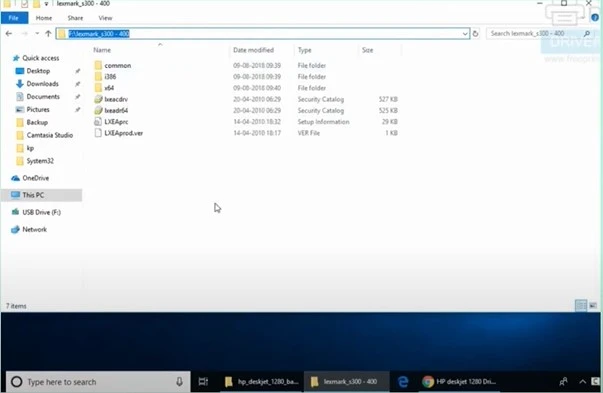
2. Then move to the File Explorer and locate the printer driver .inf file. (inf file is a text file in the driver package containing information on the device installation components used to install a driver package.)
3. Next, you are required to copy the address of the file.
4. Now, click on the Windows Start button to choose the Settings option.
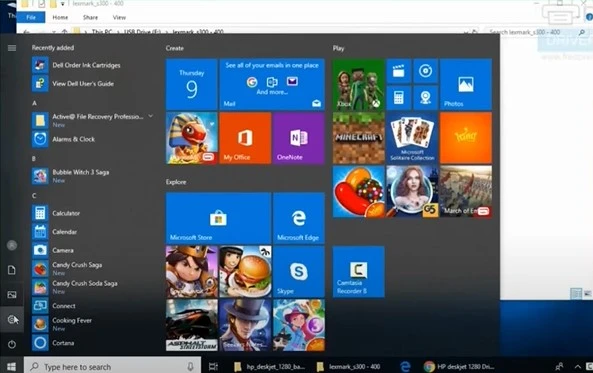
5. Choose the Device option and then go to Printers & Scanners.

6. After that, click on the +Add a printer Scanner option and then wait for your system to search for the available nearby printers.
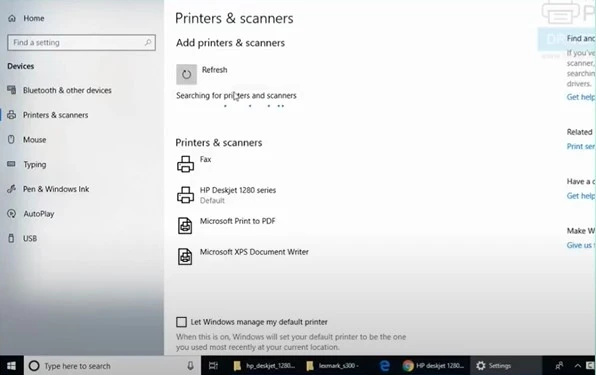
7. If the Lexmark printer is not displayed, click on The Printer I Want Isn’t Listed.
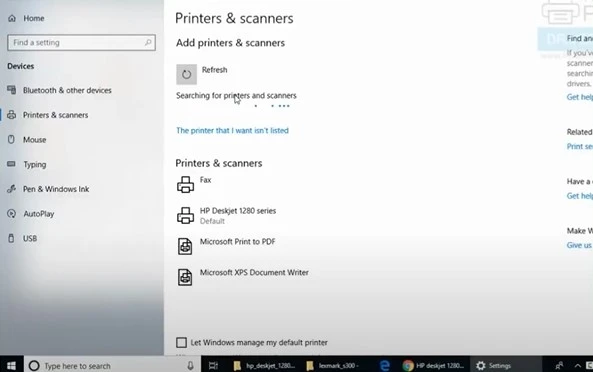
8. In the Add Printer window, select Add a Local Printer or Network Printer With Manually and click on Next.
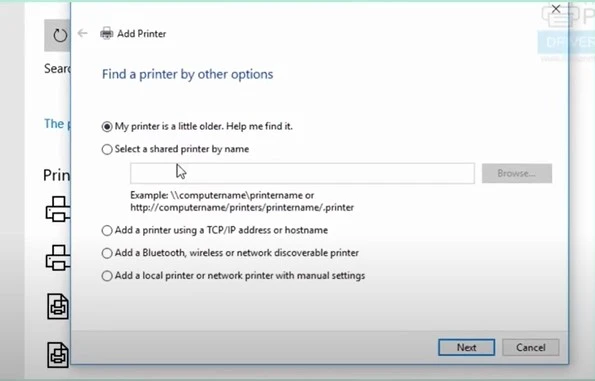
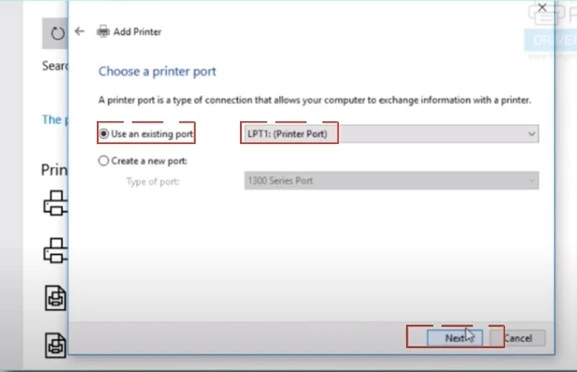
9. After that, choose Use and Existing Port and, select the port name where your printer is connected, and choose Next.
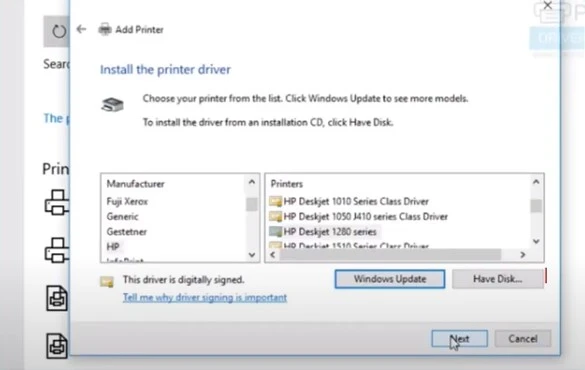
10. When you get to the printer driver screen, choose the option Have Disk.
11. In the Install From Disk prompt, paste the copied link in the Copy Manufacturer’s File Form field and select OK.
_1724927513.webp)
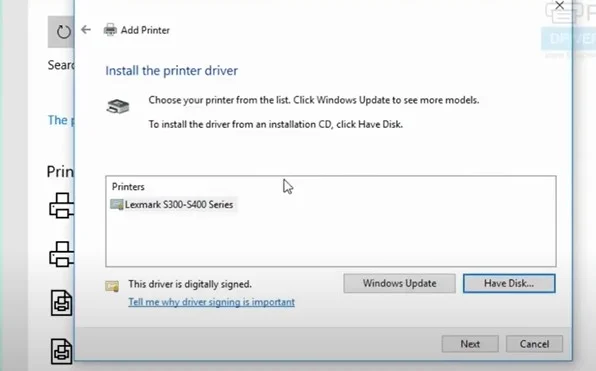
12. Afterward, click on the displayed series under printers and click on the Next option.
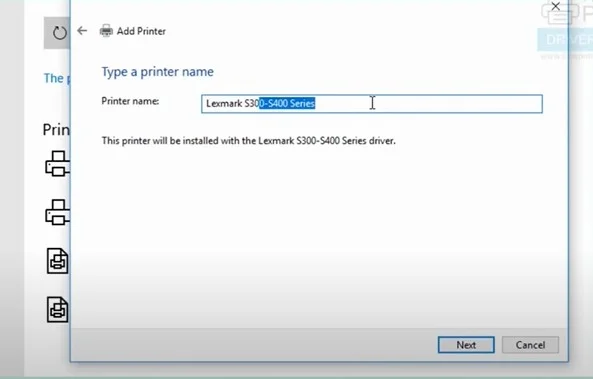
13. Select the Change Name option if you want to do so, and then select Next.
14. It will begin installing the printer on your device; it may take some time.
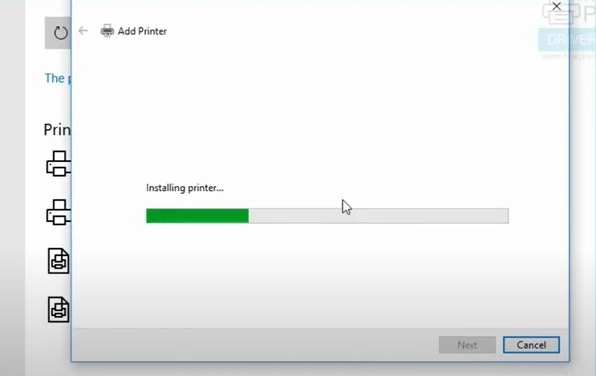
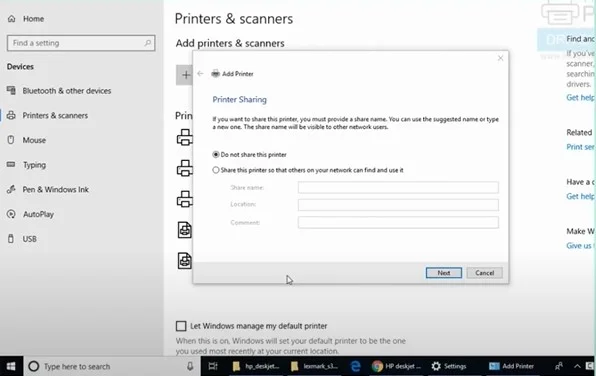
15. When you get to the Printer Sharing screen, choose your preferred option and click Next.
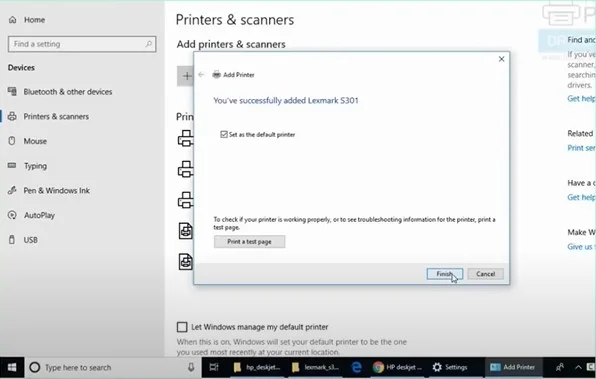
16. If the Successfully Added printer screen comes up, click on Finish.
Method 2: Add Printer Using IP Address
You can also connect the printer to the computer using the IP address. Here are the steps you need to follow for that.
1. First, you need to make sure your printer is connected to the same network as your computer device.
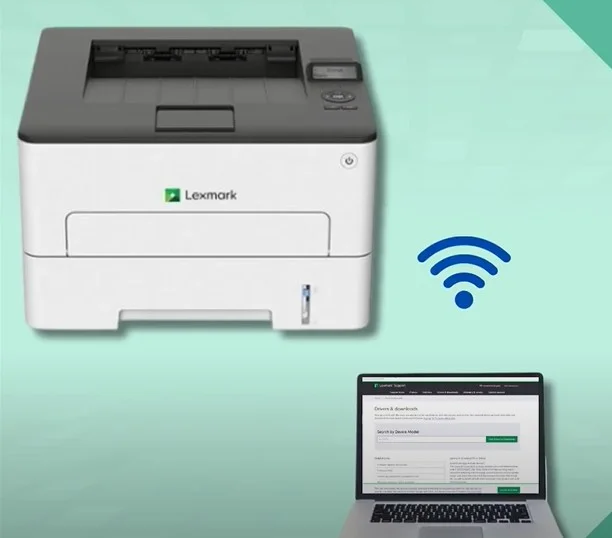
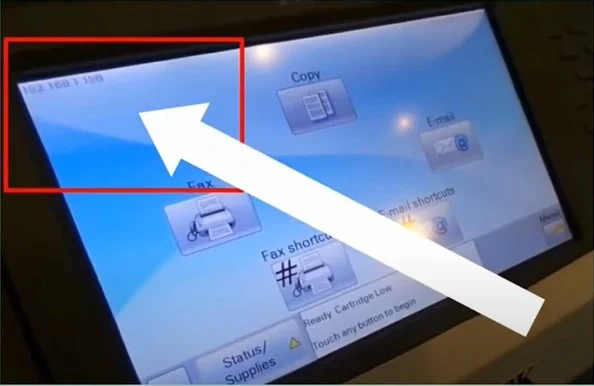
2. Then, you need to note down the IP address located on the printer display screen.
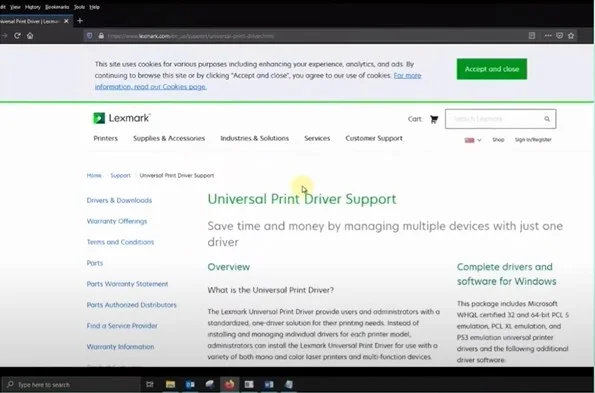
3. Now, open any web browser, visit the official Lexmark website, and download the compatible driver for your printer.
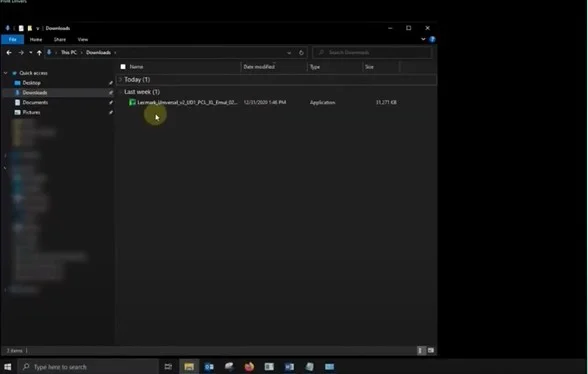
4. Next, navigate to the downloaded file and double-click on it to run the file.
5. On the prompt, click Yes to allow the product to make changes on your device.

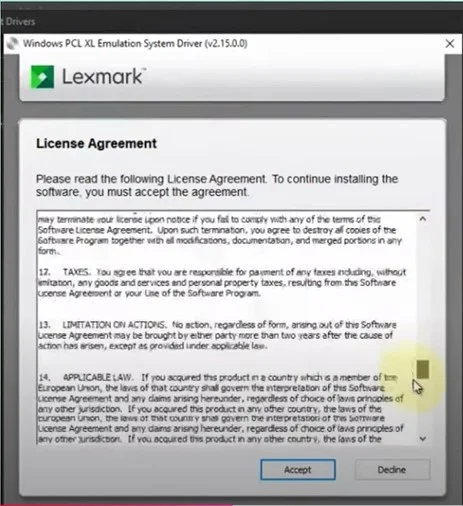
6. Read the license agreement and click on the Accept option.
7. On the Select an Installation Type screen, select Extract, then ensure that the ‘Launch the add printer wizard after extraction completes’ checkbox is selected.
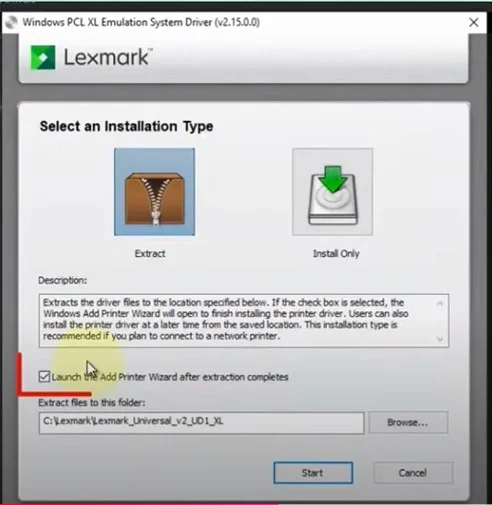
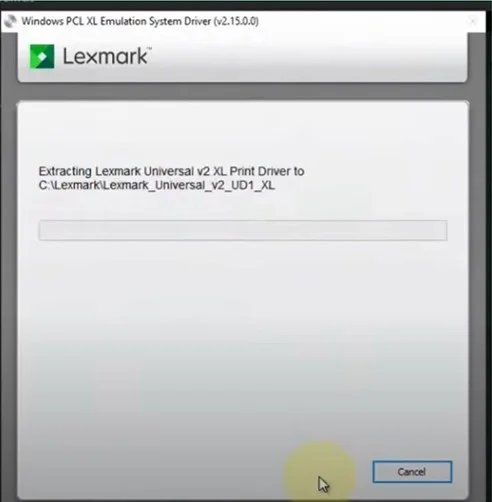
8. Click on the Start, and the extraction process will begin.
Also Read:- How to Reset Lexmark Printer Quickly? [The 4 Best Methods]
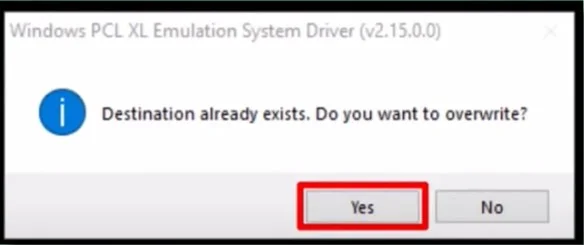
9. If you get a notification that says the destination already exists, click Yes to overwrite and continue.
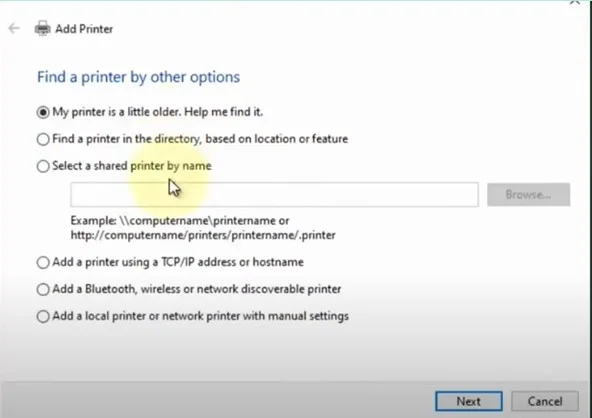
10. Then, on the Find a Printer by other options page, select ‘Add a printer using the TCP/IP or hostname’ and click on Next.
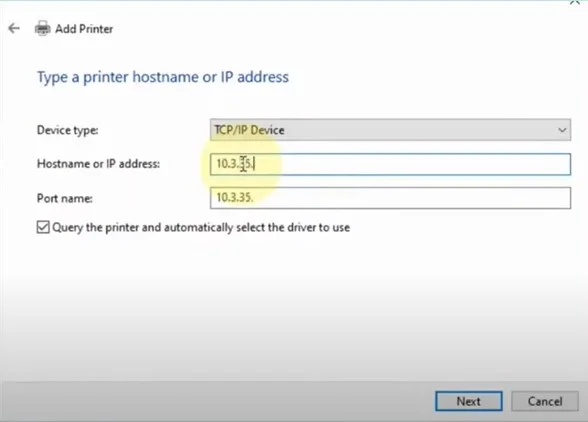
11. Next, you are required to change the Device Type to TCP/IP Device, enter the printer’s IP address, and then click Next
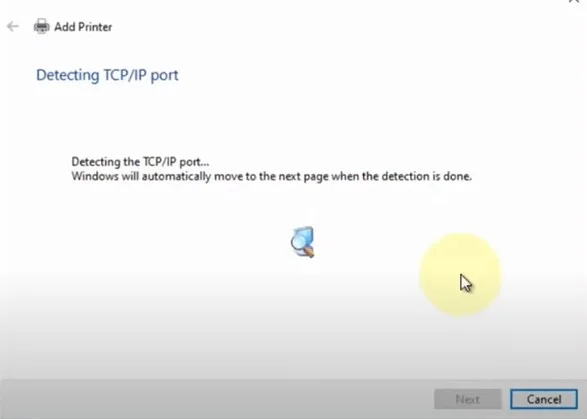
12. It will start detecting the TCP/IP port, then click Next button in the Install the Printer Driver screen.
13. After that, change the printer’s name, click Next, and wait for it to install the printer.
_1724928655.webp)
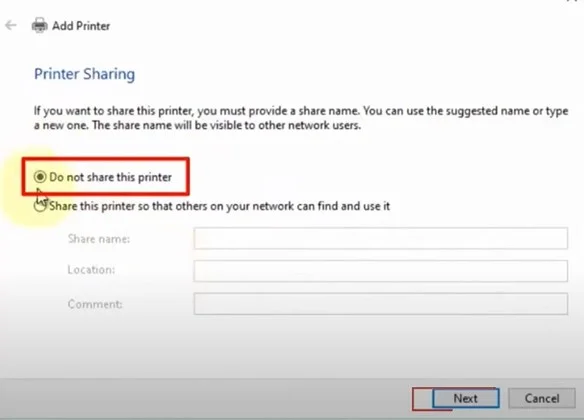
14. When you are on the printer sharing screen, click on the ‘Do not share this printer’ radio button and click on the Next button.
15. On the next page, you can select the print a test page or Finish option as per your choice.
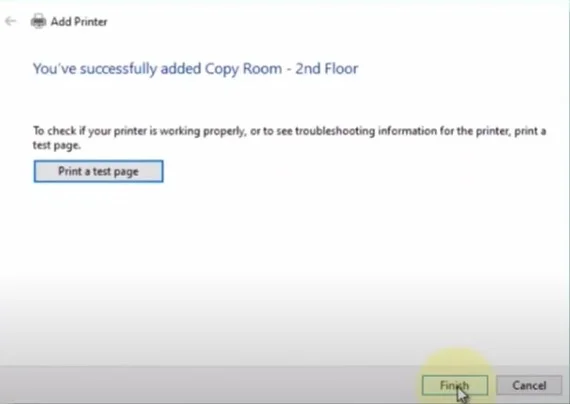
16. Finally, the connection process will be complete, and the printer will be ready to use.
Conclusion
The printer connection process becomes seamless when you have the right knowledge of the whole process. As a result, it is necessary to have a knowledge of the whole procedure beforehand. You can utilize our evidence-based methods to complete the connection process without facing any problems. You can also look for further guidance if the process seems complex or if any errors appear while using these methods.

