Have you ever encountered the issue of “printer in error state” when trying to print some important document?
This issue can be frustrating to deal with because it will not let you print your documents.
Generally, you face this issue when you’ve updated your system from an older version to a recent version. In this step-by-step tutorial, you will get to know how to resolve this issue, but before resolving it, let us discuss some of the causes of this issue.
Common Causes of Toshiba Printer in Error State
Several errors may cause this issue to occur. Here are some common causes of Toshiba Printers in error state.
- The error is displayed when the printer is jammed.
- There is insufficient ink or paper.
- Open printer cover
- The printer is not connected properly
- Corrupted printer driver
These causes can lead to various problems for printer users. However, there is no need to panic; follow this step-by-step tutorial and fix this issue.
Step-By-Step Guide to Fix Printer in Error State Issue
If you are a printer user, you may have encountered a Toshiba printer in an error state. This issue will pop up on your PC screen, telling you that your “printer is in error state”.
At this point, your printer cannot do the work. Therefore, we have provided every possible solution to fix the Toshiba printer in the error state.
Step 1: Check the connection properly
- First, check the physical state of your printer to check that there is no problem with any of the components; this may cause a “printer in error state”.
- You have to check the connection between your printer, and computer is functioning normally. Ensure the devices are correctly connected; try this with a different network and USB port. It can be either (Bluetooth or Wireless) or the cable that you use for connection without any problem.
- To check the paper jam, turn off the printer and close all the trays properly. If it has a paper jam, you have to remove it slowly.
- Check whether the printer has sufficient ink; if not, then refill it.
- If you have a printer with wifi connection, turn on the printer's wifi and modem router.
Step 2: Troubleshoot your printer
- To troubleshoot the printer, you have to follow these steps:-
- To open the app settings, press Windows + I
- Before troubleshooting, check on security and update.
- Let the troubleshooter detect the problem and fix the printer to work properly.
- Once the troubleshooter completes the process, restart Windows and check if the issue is resolved.
Step 3: Check whether the print spooler service is running
- Follow these steps to check:-
- Click Windows + R
- In the box, type services. msc and click enter.
- After this, it will be the Windows service console.
- Locate the services print spooler, and ensure the services are automatic.
- To set the service to automatic, you need to right-click on the service and click automatic.
- Press apply and then click ok.
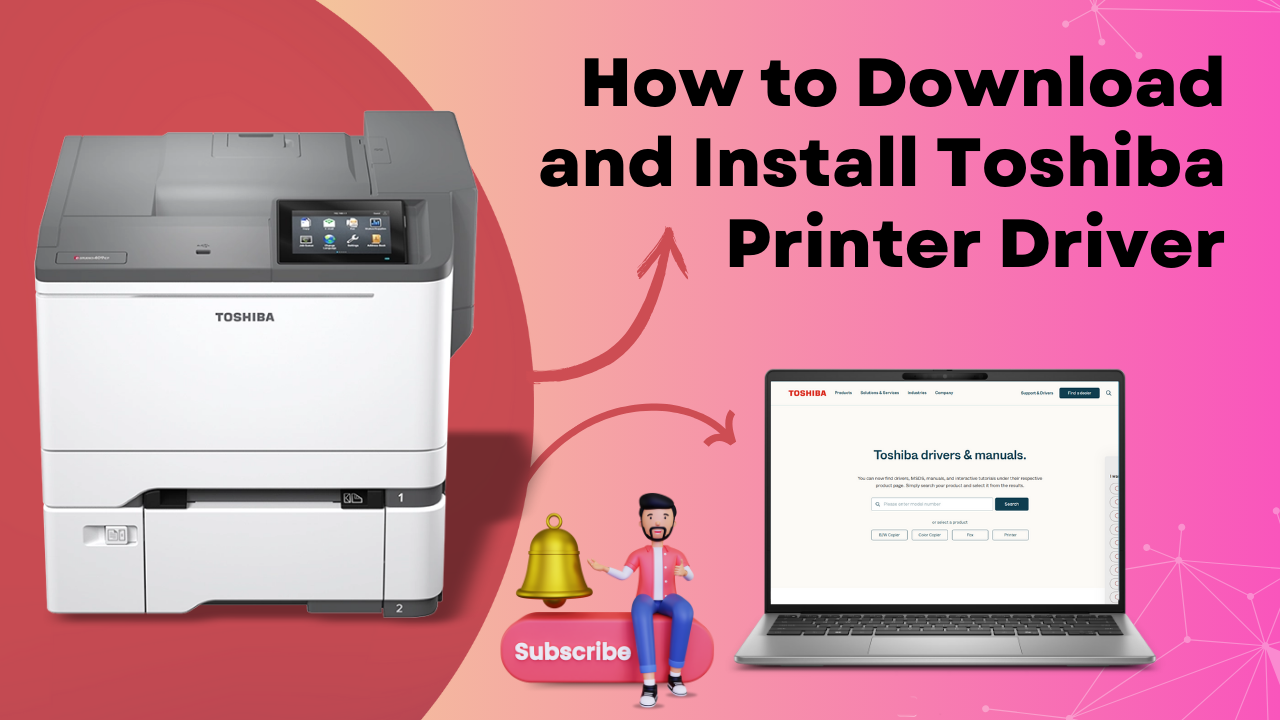
Step 4: Update the driver manually
- If still, the issue occurs, you need to go ahead and update your printer driver. You have to search for the printer driver from the official printer website. Manually download the driver’s recent version.
- Once the setup process begins to download, double-click it. The setup file will start updating the recent driver. All you have to do is follow the instructions on-screen.
- Ensure that your printer is always linked to your laptop.
Step 5: Install the driver again
- To open the device manager, right-click on the start menu. If you want to expand the list from the device manager window, click the printer option.
- From the list, you can find your printer and right-click it. To delete the present driver from the menu, select “Uninstall Device”.
- After clicking on the uninstall device, a warning will appear on your screen. The device is about to be uninstalled from the system. Just click OK to continue.
- To allow the modifications, you have to restart the computer after the uninstall method is complete.
- Restarting connects your printer to the system, and it should automatically begin installing the printer.
- After the driver has been installed, reboot your laptop.
Windows Update
- Press the Start button > open Settings
- Press security and update
- Select update windows
- Press check for updates
- If any updates are found, start the update and let it complete. Once it is done, restart your computer.
After rebooting the PC, check whether updating Windows fixed the issue.


