How to Connect Toshiba Printer to Wi-Fi?

Toshiba has numerous outstanding devices that provide the best-in-class printing experience. These printers come with loads of impressive features for printing, scanning, and copying for use in homes, offices, shops, colleges, enterprises, and others. Moreover, it comes with wired and wireless connectivity options for connecting to another device and setup.
Plus, the process of connecting Toshiba Primer to Wi-Fi is straightforward if users have prior experience. However, it could be a little challenging if you are doing it the first time. In this case, it is best to have the proper knowledge beforehand. Hence, this write-up shares all the essential methods you need to establish a Wi-Fi connection.
Method 1: Connect Via Wireless Router
You can use the wireless router connection method to establish the Wi-Fi connection of your Toshiba printer. These are the steps you need to follow for that.
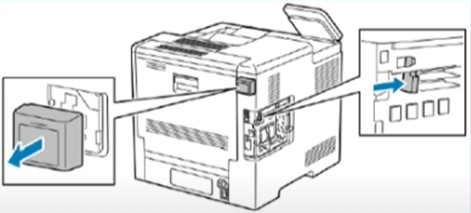
1. Initially, insert the wireless LAN module on the side of the printer.
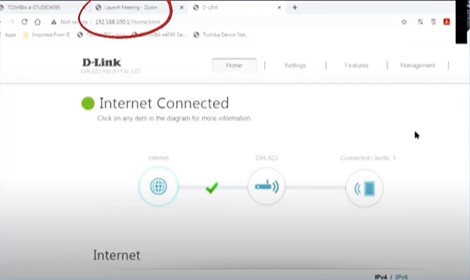
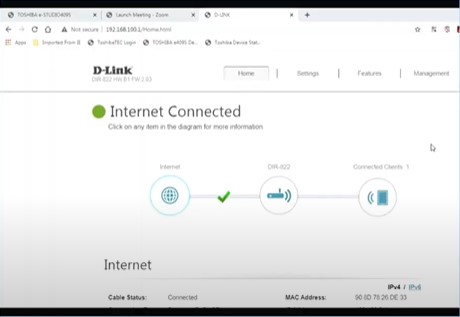
2. Open the web browser, type in the Wi-Fi IP address in the bar, and open the wireless router settings.
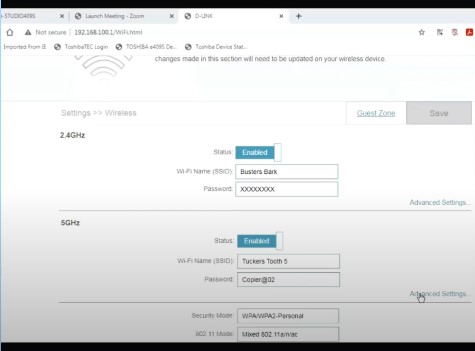
3. Next, hover over the Settings tab and choose the Wireless option.
4. Afterward, you need to check the connections and settings of the wireless router.
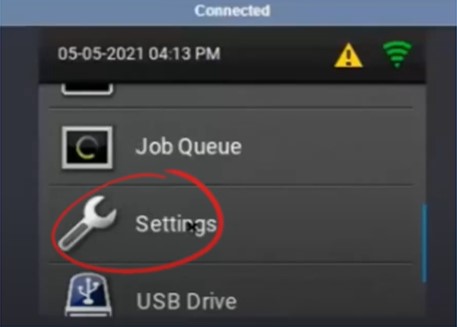
5. Now, go to your printer’s LCD control panel and navigate to settings.
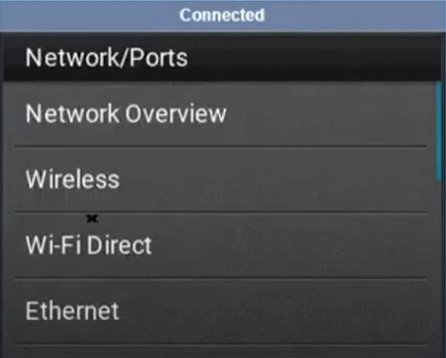
6. Then, you need to choose the Networks/Ports option and then tap on Wireless.
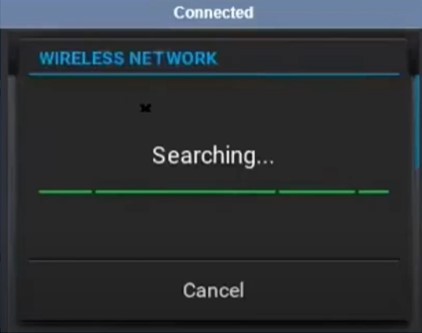
7. In addition, select Setup on the printer panel, and it will start searching for available wireless networks.
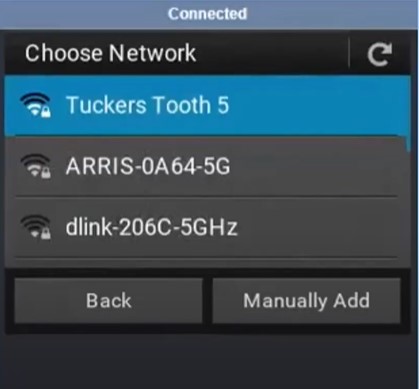
8. Furthermore, choose the wireless network, then click on Compatibility, and ensure that the setting is suitable for the printer.
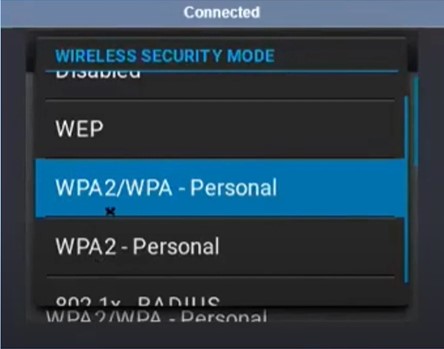
9. Head back, then select Wireless Security Mode and ensure that WPA2/WPA is selected.
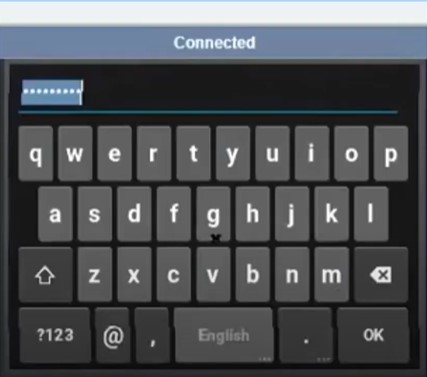
10. Now, move back and select PSK, enter your wireless passcode, and press the OK option.
11. Once done, move to your home screen and ensure that you are connected to the network.
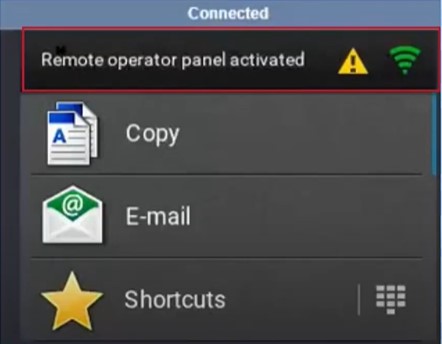
12. If the connection process is not complete yet, then move to the next step.
Method 2: Connect To Network Over the LAN
Here are the steps you need to follow to connect your Toshiba printer to Wi-Fi easily.
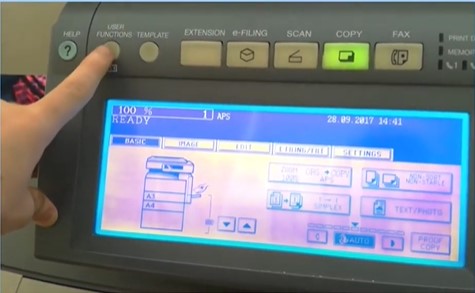
1. First and foremost, press the User function button located on the upper left side of the control panel.
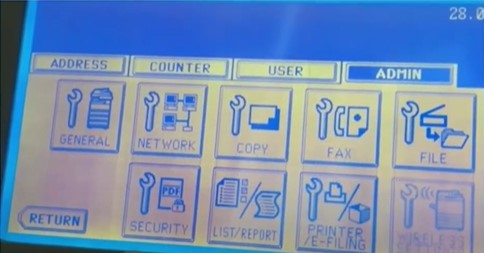
2. After that, tap on Admin on the LCD screen and then press the password option.
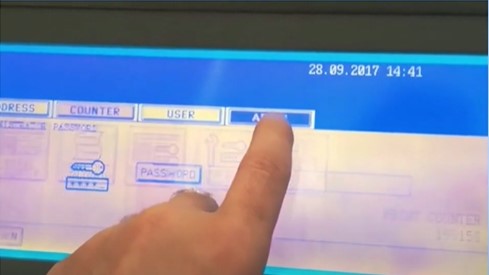
3. Now, enter the password and press the Enter option.
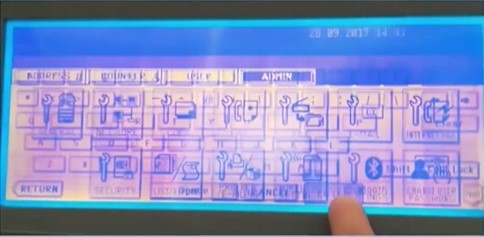
4. Next, you need to choose the Network option and then select IPv4.
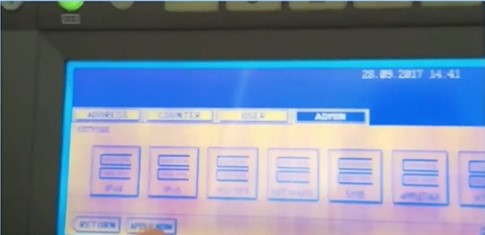
5. Moreover, choose the option of IP Address, Subnet Mask, and Gateway address and select Enter.
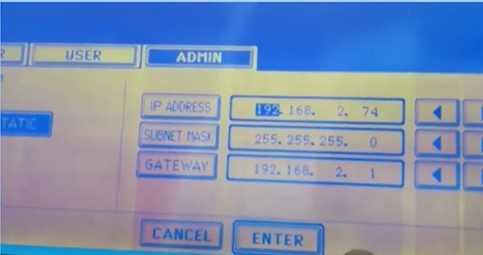
6. After that, choose the Apply Now option and tap on the Return.
7. Finally, the Toshiba printer connection process will be complete.
Conclusion
You can use any of our connection methods to connect your Toshiba printer to Wi-Fi easily and start printing the documents. Before you start the connection process, ensure that your printer is within the Wi-Fi connection range. In addition, follow all the steps carefully to avoid facing any issues. Besides that, we will recommend you ask for additional assistance if you are still unable to connect your Toshiba printer to Wi-Fi.

