When your Toshiba printer job gets stuck in the queue, no matter how hard you try, you won’t be able to print until the issue is resolved.
Corrupted print jobs and printer driver issues are the main reasons behind print jobs stuck in the queue. You can solve it on your own without the help of any printer technician.
Fix It in 20 Minutes Without Expert Help
A print job stuck in the queue is not something so serious, and you can fix it in less than 20 minutes. If you know these four methods, you can fix this error effortlessly.
First 5 Minutes: Restart Your Toshiba Printer
A restart will clear any technical glitch inside the Toshiba printer. Make sure that you only restart the printer and not your device, as the issue lies in your printer.
- Press the power button on your Toshiba printer until the solid green light turns off.
- Then, remove the printer’s power cable from the power switchboard on the wall.
- Wait for a while, usually for 60 seconds. Then, reconnect the printer’s power cable to the power switchboard on the wall.
- Finally, press the power button on the printer until the green light turns on.
Next 10 Minutes: Cancel the Pending Documents
When lots of print jobs accumulate in the queue, it causes issues such as a print job getting stuck. In this condition, you can clear the print queue and delete all the pending print jobs. Use these steps to cancel the print jobs.
- Click the Start button on the taskbar at the bottom of the Computer screen and search for the Printers & Scanners option.
- Then, click on your Toshiba printer and click the Open Queue option.
- Now, the queue will be open, showing all the print jobs. Right-click on each print job and click Cancel to delete it.
If the print job were in the middle of printing, it would stop automatically. That’s how you will cancel the pending documents.
After 15 Minutes: Restart the Print Spooler Service
The print spooler service is a feature on the computer that manages the printing processes. If you stop and restart this service, the stuck job will be released.
- To start, click the Windows Start button on your computer’s taskbar and type Services.
- Select the Services option and open it.
- Now, scroll down to find the Print Spooler option. Then, right-click on the Print Spooler option and select Restart.
After that, give it some time to stop and then start again. Your 20 minutes are complete, and your issue will also be resolved.
Still Not Working After 20 Minutes? Try This Method
Reinstall the Printer Drivers
After following all the methods, you can finally reinstall the printer drivers, which are a crucial part of a printer. Therefore, you need to reinstall them if they are causing the issues.
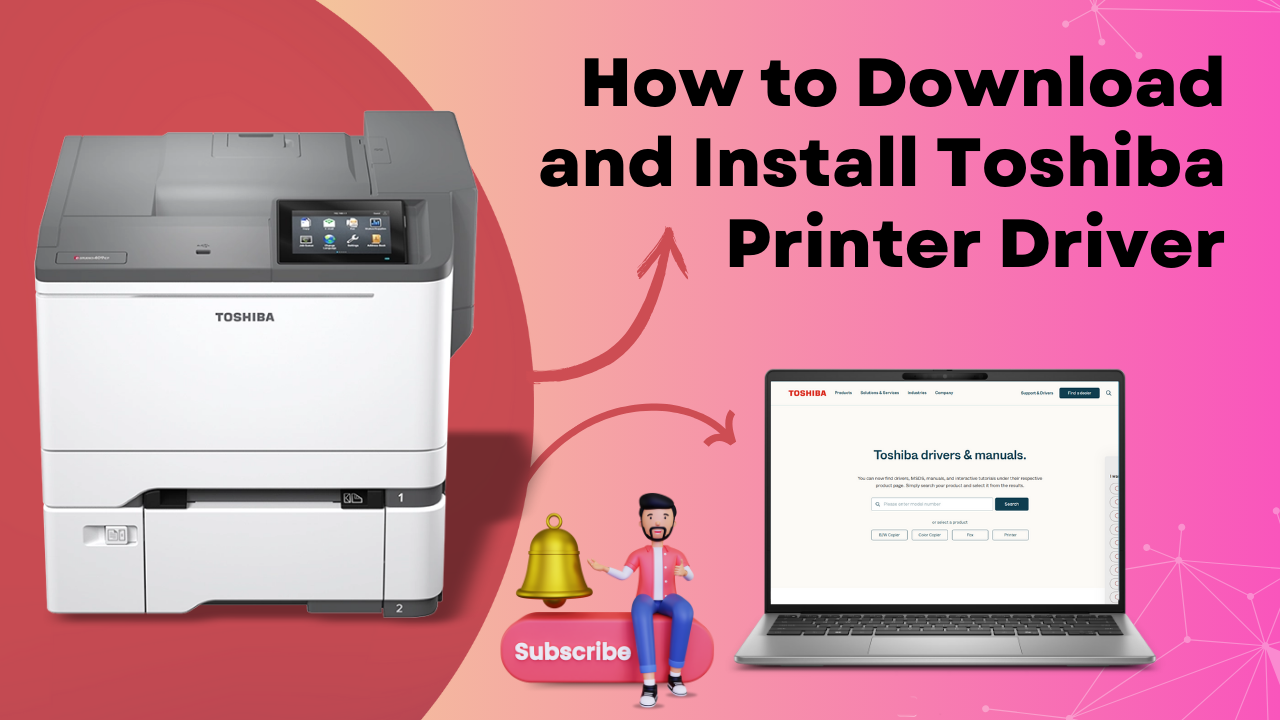
Step 1: Download the Printer Drivers
- Visit the business.toshiba.com/support-drivers website on an internet browser.
- Then, choose the Download a Driver option from the options on the right side of the screen, and click Next.
- Enter your Toshiba printer name in the given box and press Enter.
- Now, click the Drivers option when a new page appears on the screen.
- Then, a menu will appear. Select a driver file, and click the download button (a downwards arrow) next to the driver file.
Let the printer drivers download and save to your computer’s Downloads folder.
Step 2: Install the Printer Drivers
- Click the Windows and E keys together, and click the Downloads option from the left side.
- You will see your driver’s file. Double-click on it to unzip and extract it.
- Once you extract the file, double-click the extracted file and let the installation run.
An error can occur when a print job is stuck in the print queue due to an overburdened print queue, connection issues, or outdated printer drivers. Over time, the printer needs to be refreshed to deliver seamless printing.