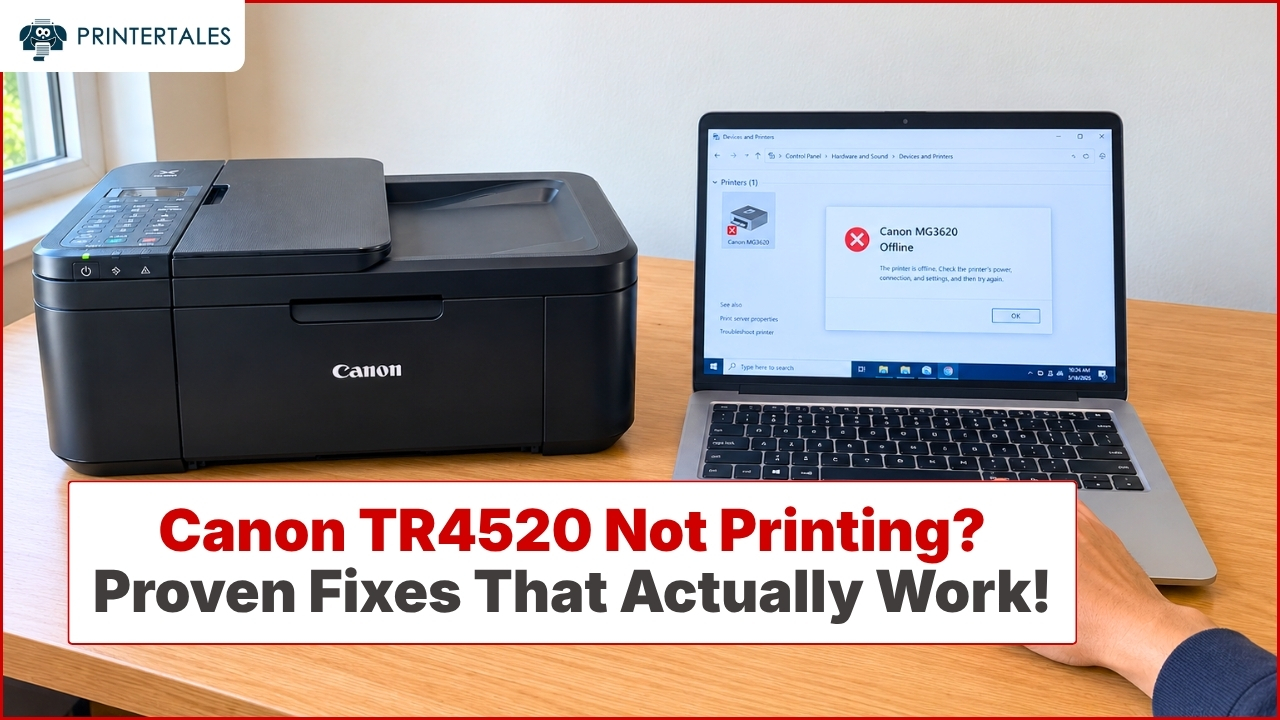
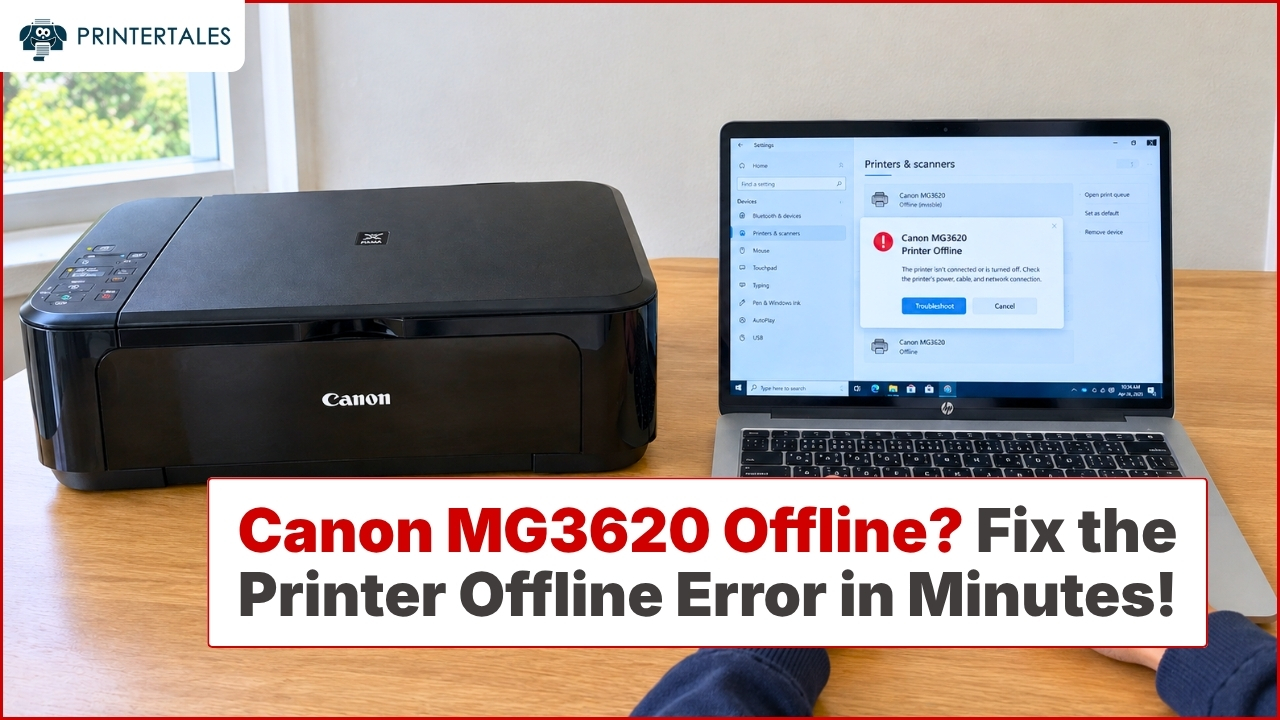
A Windows update is supposed to make your PC run better, not break your printer. Yet plenty of Canon owners open a document the morning after an update and find that nothing prints. The job sits in the queue, the printer shows as "offline," or Windows claims the driver is missing entirely.
The good news: this is almost always a software problem, not a hardware failure. Your Canon printer is fine. The update simply changed something on the Windows side, and the printer needs to be reconnected to it properly. This guide walks you through why it happens and how to get printing again on Windows 10 and Windows 11.
Why a Windows Update Breaks Your Canon Printer
Three things tend to go wrong when Windows installs a major update.
The printer driver gets replaced or removed. Windows Update sometimes swaps your working Canon driver for a generic Microsoft one, or rolls it back to an older version. The generic driver may print basic pages but lose features like duplex printing, borderless photos, or scanning. In some cases the driver is dropped completely and the printer disappears from your device list.
The connection settings reset. After an update, Windows can forget which port your USB printer uses or drop the pairing for a wireless printer. The printer is powered on and connected, but Windows is looking in the wrong place, so it reports the device as offline or unavailable.
The old driver is no longer compatible. If your Canon model is a few years old and you upgraded to a newer version of Windows 11, the driver you had installed may predate that Windows build. Canon usually releases an updated driver to match, but Windows won't install it for you automatically.
The fix for all three is the same: remove whatever driver is on the system now, install the current one from Canon, and reconnect the printer cleanly.
Quick Checks Before You Reinstall Anything
Try these first. They take two minutes and often solve the problem on their own.
- Restart both devices. Turn the printer off, shut down the PC completely, wait 30 seconds, then power both back on. This clears a surprising number of post-update glitches.
- Check the cable or Wi-Fi. For USB, reseat the cable at both ends and try a different port directly on the computer (not a hub). For wireless, confirm the printer and PC are on the same network and that you didn't get moved to a guest or 5 GHz network the printer can't see.
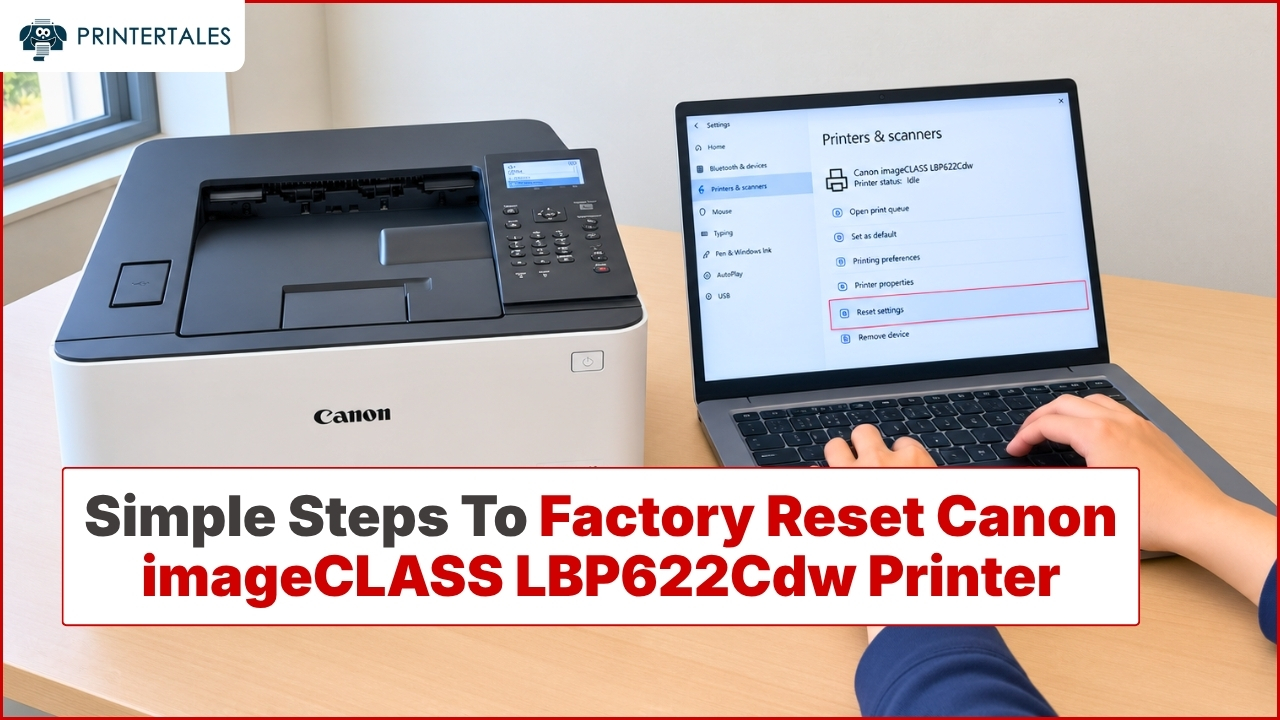
- Clear the "Use Printer Offline" setting. Open Settings > Bluetooth & devices > Printers & scanners, click your Canon printer, open Printer properties or the print queue, and make sure Use Printer Offline and Pause Printing are both unchecked.
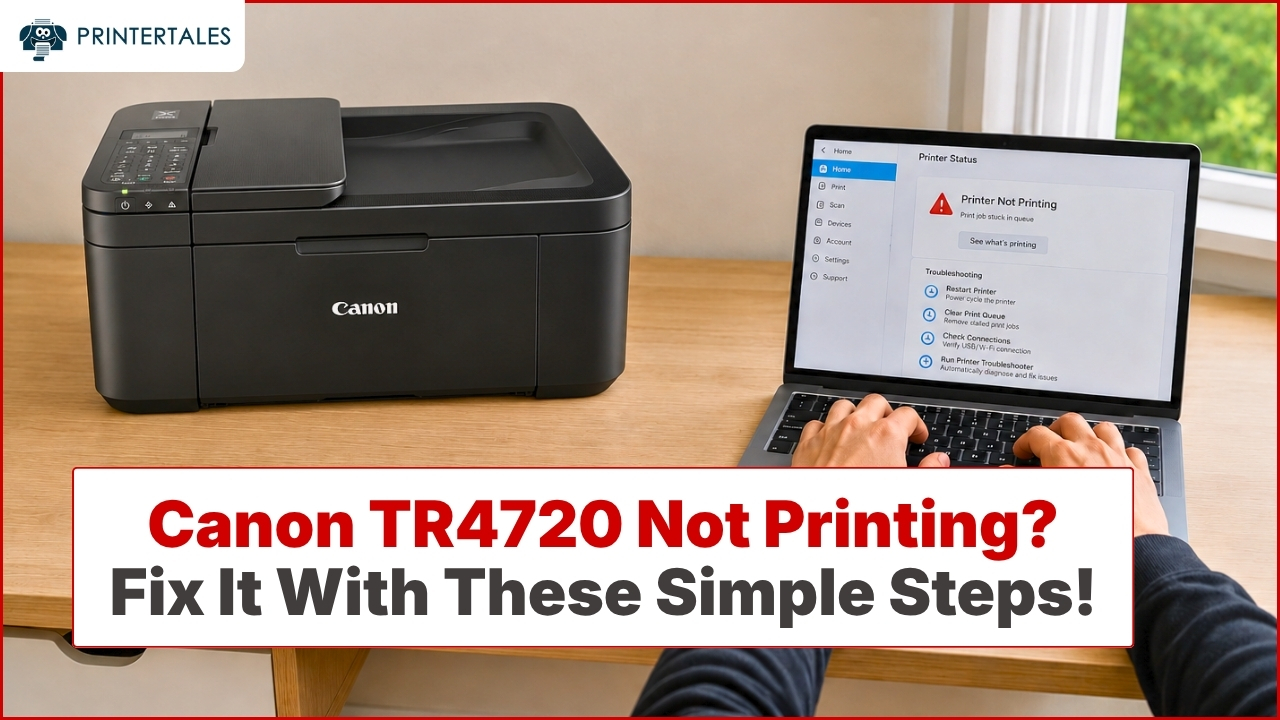
- Clear the stuck print queue. Cancel every job in the queue. One corrupted job can block everything behind it.
- Set your Canon as the default printer. Windows updates sometimes switch the default to "Microsoft Print to PDF." Set the Canon back as default in the same Printers & scanners screen.
- Run the printer troubleshooter. Go to Settings > System > Troubleshoot > Other troubleshooters and run the Printer troubleshooter. It can reset the print spooler and repair the port automatically.
If the printer still won't work, move on to a full driver reinstall.
Step 1: Download the Latest Canon Driver
Get the correct driver before you remove the old one, so you're not stuck without a printer mid-process.
- Find your exact model number. It's printed on the front or top of the printer (for example, PIXMA TR8620, MAXIFY GX6020, imageCLASS MF445dw).
- Go to Canon's official support site: https://www.usa.canon.com/support (or https://global.canon/en/support/ outside the U.S.).
- Type your model into the search box and open its support page.
- Select Drivers & Downloads, then choose your operating system. Pick the right one carefully: Windows 11 or Windows 10, and 64-bit if offered (almost all modern PCs are 64-bit).
- Download the full driver package or Canon printer driver, not just the firmware or a utility. Save it somewhere easy to find, like your Desktop or Downloads folder.
Don't run the installer yet.
Step 2: Fully Remove the Current Printer Driver
A clean removal is what makes this work. Leftover driver files are the reason a simple reinstall often fails.
Remove the printer device
- Open Settings > Bluetooth & devices > Printers & scanners.
- Click your Canon printer, then click Remove and confirm.
Remove the driver itself
- Press Windows + R, type
printui /s /t2, and press Enter. This opens Print Server Properties on the Drivers tab. - Select your Canon driver in the list and click Remove.
- Choose Remove driver and driver package, then click OK and confirm.
Uninstall any Canon software
- Open Settings > Apps > Installed apps.
- Uninstall anything from Canon related to this printer (driver, "Printer Driver," IJ Printer Assistant, MP Drivers, scan utilities you no longer need).
Reset the connection
- Turn the printer off.
- Unplug the USB cable, or if it's wireless, leave it off for now.
- Restart your computer.
Step 3: Install the New Driver and Reconnect
- After the PC restarts, double-click the driver file you downloaded from Canon.
- Keep the USB cable disconnected until the installer asks for it.
- Accept the license agreement and choose your connection type:
- USB: plug the cable into the computer only when the installer prompts you, then turn the printer on.
- Wireless: choose the network setup option and follow the prompts to pick your Wi-Fi network and enter the password. The printer and PC must be on the same 2.4 GHz network.
- Let the installer finish detecting the printer, then click Finish.
- Open Printers & scanners, confirm your Canon appears, and set it as the default.
- Print a test page from the printer's properties window.
Your printer should now work exactly as it did before the update.
If It Still Won't Print
- Restart the Print Spooler service. Press Windows + R, type
services.msc, find Print Spooler, right-click it, and choose Restart. - Check for a pending Windows update. Sometimes a follow-up patch fixes a printing bug the first update introduced. Go to Settings > Windows Update and install everything available.
- Roll back the update. If the printer broke right after a specific update and nothing else helps, go to Settings > Windows Update > Update history > Uninstall updates, remove the most recent quality update, and reboot. Then pause updates for a week while Canon or Microsoft releases a fix.
- Try a different USB cable or port. A failing cable produces the same "offline" and "not detected" symptoms as a driver problem.
- Temporarily disable your antivirus or VPN during wireless setup. Security software occasionally blocks the printer discovery step.