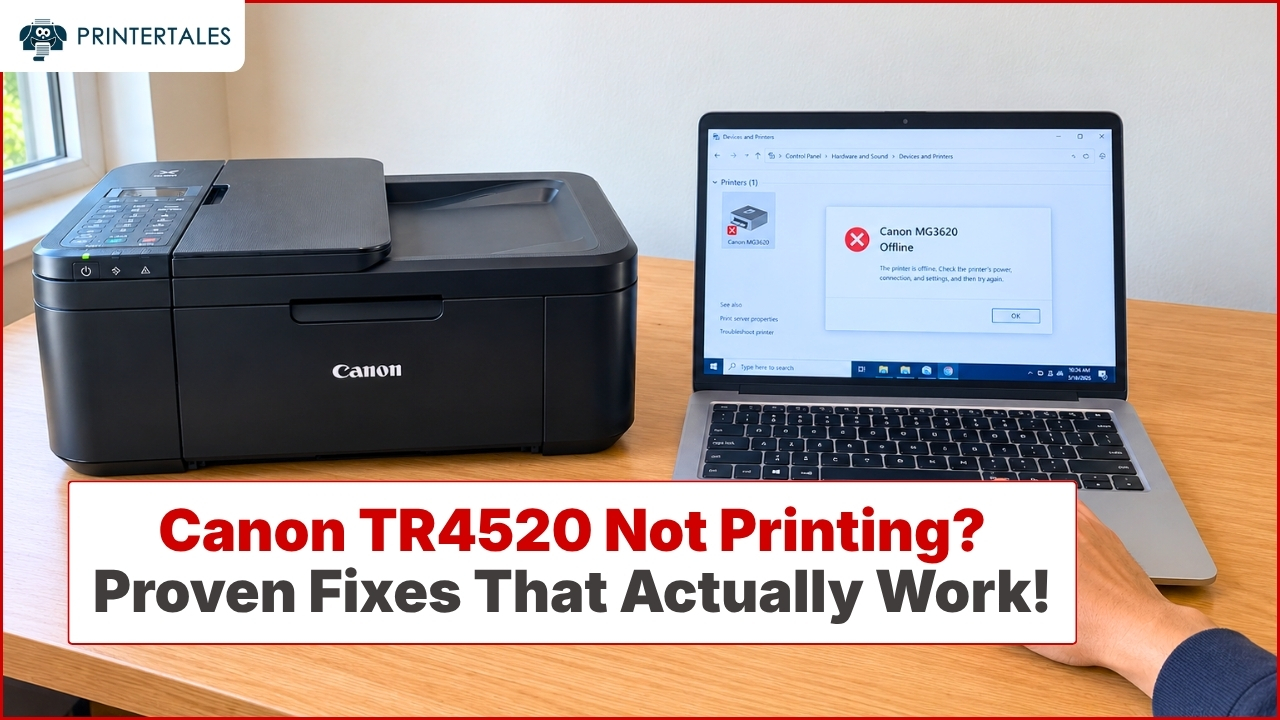
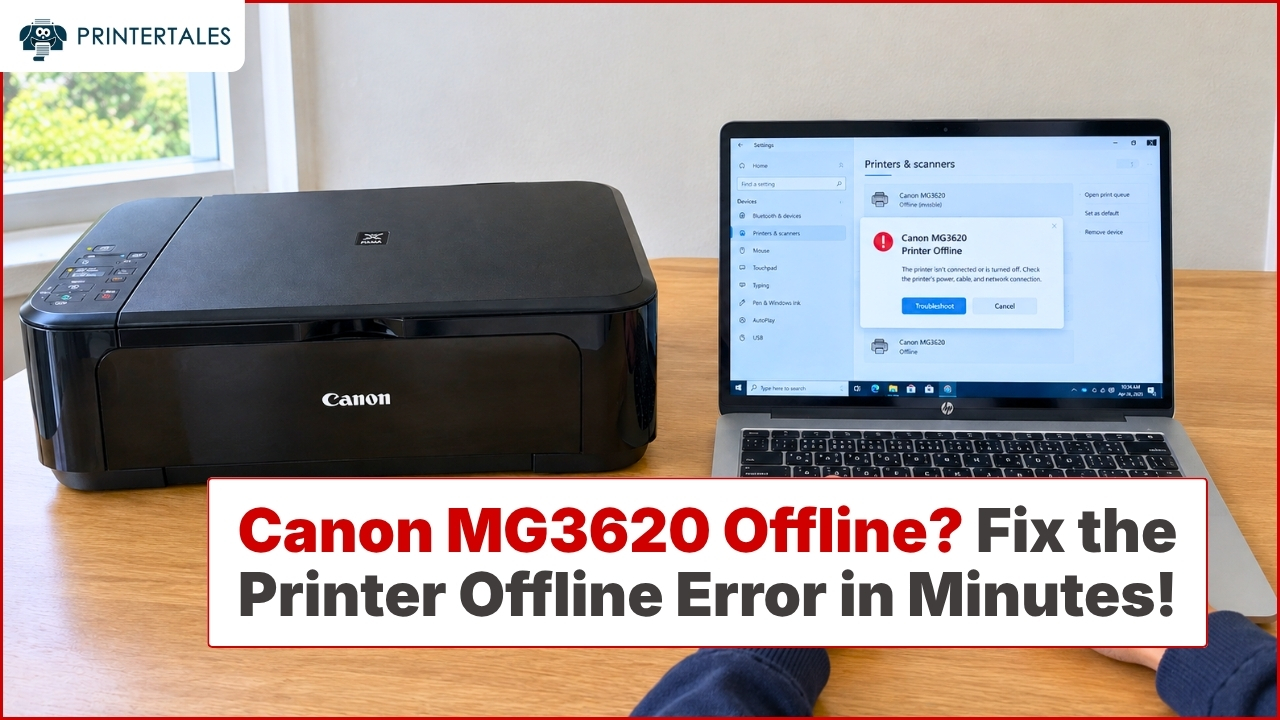
You've typed the password correctly. Every phone and laptop in the house is online. But your Canon printer still says it can't connect, or it connects and then disappears the moment you hit Print.
The good news is that the printer is rarely broken. Usually the printer and the router just disagree about something: which Wi-Fi band to use, which type of security to use, or whether devices on the network are allowed to talk to each other. Newer routers and mesh systems change these settings behind the scenes, so a printer that worked for years can stop working right after you upgrade your internet.
Start with the quick checks below. If they don't solve it, keep going: the guide covers what's actually going wrong, every way to connect a PIXMA, MAXIFY, or MegaTank printer, and the router settings that fix the stubborn cases.
Start Here: Six Quick Checks That Fix Most Cases
Go through these in order. None of them takes more than a couple of minutes.
1. Find Out Whether Your Printer Can Use 5 GHz
Many Canon printers only work on the 2.4 GHz band. The PIXMA TR4720, for example, supports 802.11b/g/n on 2.4 GHz and nothing else. Newer models such as the PIXMA TS3720/TS3722, the MegaTank PIXMA G3270, and the MAXIFY GX2020 are dual band, so they can use either one.
Look up your model's specs on Canon's site. If the wireless section doesn't mention 5 GHz or 802.11a/ac, plan on connecting to 2.4 GHz.
2. Retype the Wi-Fi Password Slowly
Wi-Fi passwords are case sensitive, and small printer screens make it easy to slip. A capital O and a zero, or a lowercase l and a capital I, can look almost the same. If the password is printed on your router's label, read it from there instead of from memory.
While you're at it, check that you picked the right network name. Your neighbors' networks and your own guest network often show up in the same list.
3. Restart Everything in the Right Order
- Turn off the printer.
- Unplug the modem and router for about 30 seconds, then plug them back in.
- Wait until the internet light is steady and your phone is back online.
- Turn the printer back on.
Canon's own troubleshooting suggests giving the router about five minutes before powering the printer back up, so don't rush step 3.
4. Set Up the Printer Close to the Router
Canon's manuals put the indoor range at about 164 feet (50 meters), and only when nothing is in the way. Real homes are rarely that open. Walls, floors, metal, concrete, and microwave ovens (which use the same 2.4 GHz band) all weaken the signal.
For setup, bring the printer into the same room as the router, or at least onto the same floor. Once it's connected and printing, you can move it back and see whether the connection holds.
5. Clear Any Error on the Printer First
A flashing alarm lamp, an open cover, a paper jam, or an ink warning can stop the printer from finishing Wi-Fi setup. Fix whatever the printer is complaining about first, then try connecting again.
6. Print a Network Settings Page
This single sheet tells you more than any amount of guessing. On models with a screen, look in the LAN settings menu for an option to print LAN details. On button-only models, it's a button combination that varies by model. On the PIXMA MG3600, for example, you hold the Wi-Fi button until the ON lamp flashes, then press it once more. Your model's manual on ij.manual.canon lists the exact steps.
Here's what to look for on the printout:
- Connection: should show the printer as connected (Active).
- SSID: the network name the printer is using. Make sure it's the one you expect.
- Signal strength: Canon says anything under 80% can slow down printing or scanning or cause errors.
- IP address: 0.0.0.0, or an address that starts with 169.254, means the printer never got a working address from the router.
- MAC address: write this down. You may need it for the router fixes further down.
The printout includes details about your network, so keep it somewhere safe or shred it when you're done.
Why Your Canon Printer Won't Connect to Wi-Fi
If the quick checks didn't work, one of these is almost certainly the reason. Figuring out which one applies to you saves a lot of trial and error.
Both Wi-Fi Bands Share One Name
Many newer routers, most mesh systems, and a lot of internet provider gateways put 2.4 GHz and 5 GHz under a single network name. The feature goes by names like band steering or Smart Connect. A printer that only works on 2.4 GHz can have trouble with this setup. Canon's own advice is to turn band steering off, or give each band its own name.
The Router Is Set to WPA3 Only
WPA3 is the newest Wi-Fi security standard, and many newer routers offer a WPA3-only mode. Recent Canon printers list WPA3 support in their specs, but many older ones only understand WPA2. A WPA2-only printer won't join a WPA3-only network no matter how many times you enter the password.
Canon also warns that WPS push-button setup may not work when the router's security includes WPA3, even on printers that support it.
Something Changed on the Router
A new router, a new internet provider, a factory reset, or even a new Wi-Fi password all leave the printer with outdated connection details. Canon printers don't find the new network on their own. You'll need to run Wi-Fi setup on the printer again.
The Network Won't Let Devices Talk to Each Other
Some routers stop wireless devices from seeing each other. Depending on the brand, this is called a privacy separator, AP isolation, client isolation, or SSID separator. Guest networks usually have it turned on, and Canon notes that mobile hotspot routers generally do too.
This is the cause that confuses people most. The printer can show as connected to Wi-Fi and still reject every print job, because your computer isn't allowed to reach it.
The Router Filters Devices or Isn't Handing Out Addresses
With MAC address filtering on, the router only lets in devices from an approved list, and a new printer won't be on it. If the router's DHCP function is off, it won't give the printer an IP address at all. Canon lists both of these as causes of the "Failed to connect to the wireless router" message.
The Network Name Is Hidden
When a router hides its network name (SSID), the network won't appear in the printer's list. You'll need to type the name in yourself or unhide it for setup.
The Printer's IP Address Changed
This is the classic "it worked yesterday" problem. The printer is still on Wi-Fi, but after a router restart it got a new IP address. Your computer may keep sending jobs to the old address, so the printer shows as offline even though nothing is wrong with it.
Wired LAN Is Turned On
Canon printers with an Ethernet port can't use wired and wireless connections at the same time. If wired LAN is enabled, Wi-Fi and Wireless Direct are switched off until you change it back in the printer's LAN settings.
The Problem Is on Your Computer or Phone
Sometimes the printer is fine and the device you're printing from is the one that can't see it. Common reasons:
- Security software is blocking Canon's software from reaching the printer.
- A VPN is routing your traffic away from your home network.
- Windows marked your Wi-Fi as a Public network, which turns off network discovery. Set your home network to Private.
- On an iPhone or iPad, the Canon PRINT app hasn't been given Local Network access, which apps need on iOS 14 and later.
- An old printer entry or half-finished driver install from an earlier setup is getting in the way.
How to Connect Your Canon Printer to Wi-Fi
Choose the method that matches your printer. If it has a screen with menus, start with Method 1. If it only has buttons and lights, go to Method 2. Menu names vary a little between models, so if something doesn't match exactly, pick the closest option.
Method 1: Connect from the Printer's Screen
- Open LAN settings. On many models, it's under Setup or Settings. On touchscreen models, you can usually tap the network icon on the home screen.
- Select Wi-Fi, then Wi-Fi setup, then Manual connect. Some older models call this Wireless LAN setup and Standard setup instead.
- Pick your network from the list. If your router uses separate names for each band, choose the 2.4 GHz one unless your printer supports 5 GHz.
- Enter the password carefully, watching for capital letters and characters that look alike.
- When the printer confirms the connection, check that the Wi-Fi icon is steady rather than flashing.
Network not in the list? If your router hides its name, look for the option to enter the network details yourself. Otherwise, move the printer closer to the router and search again.
Method 2: Button-Only Printers (Easy Wireless Connect)
Printers without a menu screen use Easy Wireless Connect. Your phone or computer sends your Wi-Fi details to the printer, so you never have to type a password on the printer itself.
- Get the software. On a phone, install the Canon PRINT app (it used to be called Canon PRINT Inkjet/SELPHY). On a computer, go to ij.start.canon, enter your model, and download the setup file. Type the address exactly as shown. It doesn't end in .com.
- Connect your phone or computer to the Wi-Fi network you want the printer on.
- Put the printer into Easy Wireless Connect mode. On most models, you press and hold the Wi-Fi or Wireless Connect button until a lamp or icon starts flashing, then let go. On the TS3300 series, for example, you hold the Wi-Fi button until the Wi-Fi icon flashes on the small display. Check your manual for your model's exact button.
- Open the app or setup software and follow the prompts to add the printer. During setup, the printer briefly broadcasts its own network with a name that starts with Canon_ij_. If your phone asks to join it, tap Join.
- Confirm it worked. When setup finishes, the Wi-Fi lamp or icon should stay lit.
iPhone or iPad can't find the printer? Go to Settings > Privacy & Security > Local Network and turn on Canon PRINT.
Method 3: WPS Push Button
WPS is the quickest method if your router has a WPS button and uses WPA2 security.
- Start WPS on the printer. On screen models, go to LAN settings > Wi-Fi > Wi-Fi setup > WPS (Push button method). On button models, press and hold the button your manual lists for WPS until the lamp or icon flashes. On the TS3400 series, for example, that's the Wireless select button.
- Press and hold the WPS button on the router within 2 minutes. Some screen models ask you to press the router's button first and then confirm on the printer, so follow the on-screen prompts.
- Wait for a steady light. The printer's Wi-Fi lamp or network icon stops flashing and stays lit once it's connected.
If your router's security includes WPA3, Canon says WPS may not work at all. Use Method 1 or Method 2 instead. It's also worth trying WPS a second time before giving up, since the 2-minute window is easy to miss.
Method 4: Add the Printer on Windows 11 or Windows 10
Getting the printer onto Wi-Fi is only half of it. Your PC still has to find it.
- Download the full driver and software package for your model from Canon's support site or ij.start.canon. The current version from Canon's site is a safer bet than an old installation disc.
- Run the installer and choose the wireless or network connection when it asks.
- If the installer can't find the printer, add it through Windows:
- Windows 11: Settings > Bluetooth & devices > Printers & scanners > Add device
- Windows 10: Settings > Devices > Printers & scanners > Add a printer or scanner
- Select your Canon printer and print a test page.
Printer keeps showing as offline in Windows? Add it by IP address instead. In Windows 11, click Add device, wait for Add manually to appear, and click it. Choose Add a printer using an IP address or hostname, set the device type to TCP/IP Device, and enter the IP address from your network settings page. Then open the printer's properties, go to the Ports tab, and make sure Enable bidirectional support is checked. Canon lists this as a check when the printer can't be found.
This works best if you also reserve that IP address in your router (see router fix 7 below). If you skip that step, a new address after a router restart puts you right back where you started.
Method 5: Add the Printer on a Mac
- Open System Settings > Printers & Scanners. On older versions of macOS, it's System Preferences.
- Click Add Printer, Scanner, or Fax.
- Select your Canon printer when it appears and click Add.
- In the Use menu, AirPrint handles everyday printing on most current Canon models. If you need features specific to your model, install Canon's macOS driver.
Printer not showing up? Make sure the Mac is on the same network as the printer, not a guest network. Then click the IP (globe) button in the Add Printer window, enter the IP address from your network settings page, and choose AirPrint as the protocol if your printer supports it. If it doesn't, choose Internet Printing Protocol.
Canon IJ Network Tool: Now Called Wi-Fi Connection Assistant
If you've been searching for the Canon IJ Network Tool, you may have noticed it's hard to find under that name. Canon replaced it with the IJ Network Device Setup Utility, then renamed that utility Wi-Fi Connection Assistant. Older manuals and forum posts still use the old names, but the job is the same: finding Canon printers on your network and fixing the connection between your computer and the printer.
What the Wi-Fi Connection Assistant Does
It has two main tools:
- Diagnose and Repair runs five checks: whether your computer is connected to the router, whether it can load web pages, whether it can find the printer, how strong the printer's Wi-Fi signal is, and whether the printer's port settings on your computer match the network setup. That last check is the one that catches the changed-IP-address problem.
- Printer Network Setup lists the Canon printers it finds and lets you set up or change their Wi-Fi settings from your computer. On some models, it can also do the first-time setup over a USB cable.
A couple of limits are worth knowing. Canon says some models don't support Diagnose and Repair, and the Windows version can do more than the Mac version.
How to Get It and Use It
- On Canon's support site, find your printer model and open its drivers and downloads section, or search for "Wi-Fi Connection Assistant."
- Download the Windows or Mac version and install it.
- Turn on the printer and make sure your computer is on the same network.
- Open the tool. On Windows, go to Start > All apps > Canon Utilities > Wi-Fi Connection Assistant. On a Mac, look in the Canon Utilities folder inside Applications.
- Run Diagnose and Repair first and follow its suggestions.
- If it finds the printer but the connection still isn't working, switch to Printer Network Setup to update the printer's Wi-Fi details. Some changes ask for the printer's administrator password. Your model's manual explains what the default is.
Still Not Connecting? Router-Level Fixes
Purpose: Solve the hard cases that come from router, mesh, and security settings
Keyword focus: Canon printer 2.4 GHz mesh; Canon printer WPA2/WPA3; reserve IP address for printer; Canon printer firewall ports
Copy:
Still Not Connecting? Router Settings That Fix Stubborn Cases
These changes are made in your router's app or its web settings page. The login details are often printed on the router's label, next to the Wi-Fi password. If your internet provider supplied the router, some of these options may be locked or tucked away in the provider's app.
Change one thing at a time and test after each change. That way you know what actually fixed it.
1. Give the 2.4 GHz Band Its Own Name
Turn off band steering or Smart Connect, then give each band its own name, such as HomeNet-2G and HomeNet-5G. Connect the printer to the 2.4 GHz name. Canon specifically recommends this for mesh routers.
If you rent a gateway from Xfinity, the Xfinity app has a Split Bands setting on eligible gateways, though it isn't available on every setup (it can be missing when xFi Pods or extenders are in use, for example).
2. When Your Mesh System Won't Split the Bands
Some mesh systems don't let you separate the bands at all. Google Nest Wifi and Google Wifi, for example, always use one name for both.
- eero: In the eero app, go to Settings > Troubleshooting > My device won't connect > My device is 2.4 GHz only, then tap Temporarily pause 5 GHz. That turns 5 GHz off for about 10 minutes, which is enough time to set up the printer. Other devices on your network may slow down during that window.
- Google Nest Wifi and Google Wifi: Some owners have better luck running setup with the printer right next to the main router point. An Ethernet cable avoids the problem completely.
3. Switch WPA3-Only Security to WPA2/WPA3 Mixed Mode
If your router is set to WPA3 only, change it to WPA2/WPA3 (sometimes called transition or mixed mode) with AES encryption. Canon notes that WPA3 routers can work with WPA2 printers, but only when they're set up to allow them. If your router has a Protected Management Frames (PMF) setting, set it to Capable or Optional rather than Required.
Stay away from WEP and TKIP-only modes. They're outdated, and Canon doesn't list them as supported options.
4. Turn Off Device Isolation
Find the setting called privacy separator, AP isolation, client isolation, or SSID separator on your main network and turn it off. Keep the printer on your main network, not the guest network, since guest networks usually isolate devices on purpose.
5. Check MAC Filtering and DHCP
If MAC address filtering is on, add the printer's MAC address (from the network settings page) to the allowed list, or turn filtering off briefly to test. While you're in there, make sure DHCP is turned on so the printer can get an IP address.
6. Unhide Your Network Name
Turn on SSID broadcast while you set up the printer, or type the network name in by hand during setup. You can hide it again afterward if you like, though the printer will then depend on you having typed the name exactly right.
7. Reserve a Fixed IP Address for the Printer
In your router's DHCP settings, look for DHCP reservation, address reservation, or static lease, and tie an IP address to the printer's MAC address. The printer then gets the same address every time it reconnects, and your computer always knows where to find it. If your printer connects fine but keeps dropping offline, this is usually the most reliable fix.
8. Let Canon Software Through Your Firewall
If you use a third-party security suite, allow Canon's printer software through its firewall. Canon printers use a discovery protocol called BJNP, which runs on UDP ports 8611 to 8614. You can also pause the firewall for a moment to test, but turn it back on right after.
9. Update the Router and Printer Firmware
Canon lists updating your router's firmware as a fix in its network troubleshooting guide, and router updates often fix compatibility bugs. On the printer side, many models let you update from Setup > Device settings > Firmware update. The printer needs a working internet connection to do this.
10. Turn Off Wi-Fi 6 Extras for Older Printers
Wi-Fi 6 routers add features that some older devices don't handle well. ASUS, for example, recommends turning off 802.11ax/Wi-Fi 6 mode, Target Wake Time, Wi-Fi Agile Multiband, and Protected Management Frames to help older smart devices connect. Other router brands have similar switches under different names.
Try these one at a time on the 2.4 GHz band only. If one doesn't help, turn it back on before trying the next.
11. Reset Only the Printer's Network Settings
When the printer holds on to old, broken settings, clear just the network part and start fresh:
- Screen models: On many models, go to Setup > Device settings > Reset setting > LAN settings only.
- Button-only models: It's a button sequence that varies by model, so check your manual.
Then run Method 1 or Method 2 again. Don't choose Reset all unless you really want to start over. It wipes every setting on the printer, including the administrator password.
12. Use a Cable If You Can
If your printer has an Ethernet port, plugging it straight into the router avoids every wireless problem on this list. Phones and laptops on Wi-Fi can still print to it, as long as they're on the same network. Just remember that wired and wireless can't run at the same time on Canon printers. A USB cable is the last resort if only one computer needs to print.