Fix Epson ET 4760 Not Printing Issue
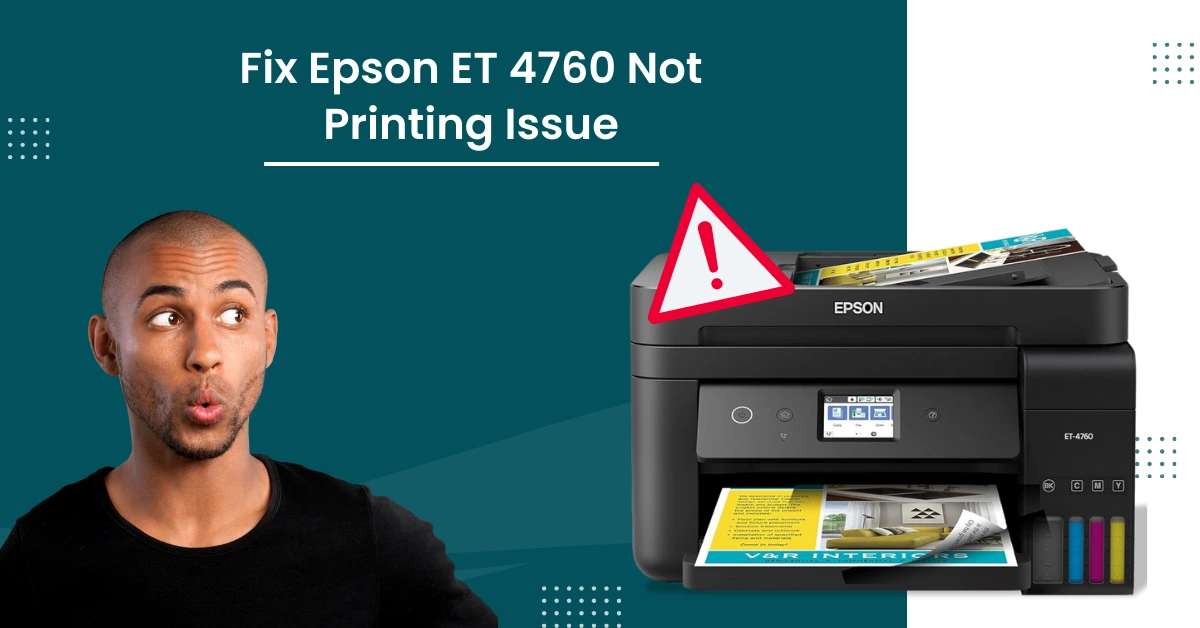
Epson ET 4760 is a power-packed and cartridge-free all-in-one compact printer. No need to worry about filling ink due to its supersized and easy-to-fill ink tanks. In addition, with cutting-edge features and decent printing speed, this device is worthwhile for personal and home office use. ‘
Moreover, despite promising a long-life and hassle-free printing experience, you are likely to see some minor/major issues with the device, which is normal, by the way. However, with the right and effective troubleshooting methods, you can easily eliminate the problem. Are you searching for solutions to fix the Epson ET 4760 not printing issue? This blog is the right place for you. Gain in-depth info about the top 3 methods to fix the issue in no time.
Method 1: Set your Printer to Skip Blank Pages
Use the following steps to set the printer to skip the blank pages to resolve its printing problem.
1. Click on the Windows search button and select Settings.
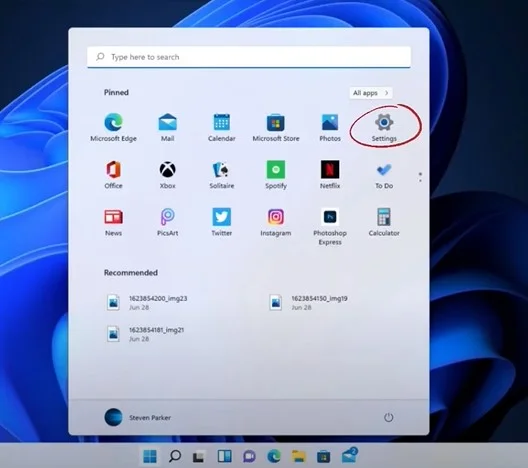
2. Select Bluetooth & Devices, then go to Printers and Scanners.
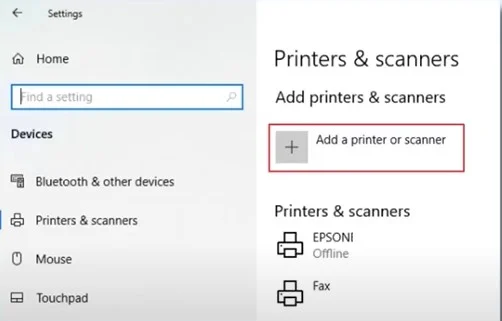
3. Choose your printer from the list, click on Manage, then select Printing Preferences.
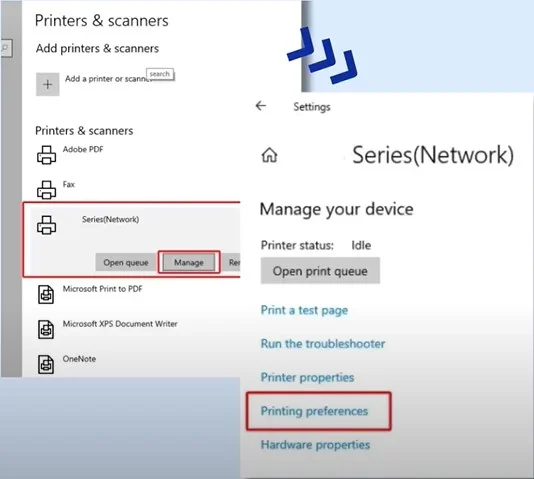
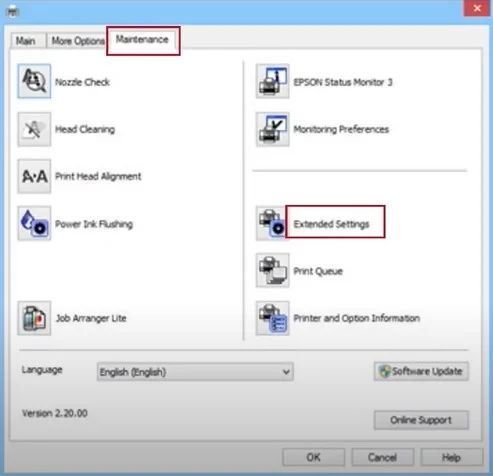
4. In the printing preferences window, move to the Maintenance tab and click on Extended Settings.
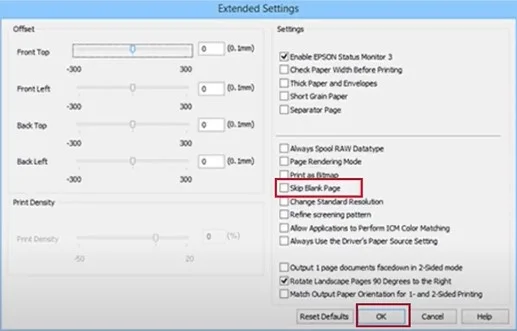
5. In the Extended Settings window, select Skip Blank Page and click on OK.
Method 2: Perform Power Cleaning
In order to fix the printing problem on your Epson printer, you can perform the power cleaning by following the following procedure.
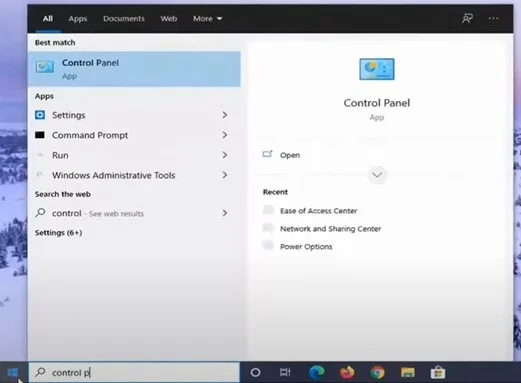
1. From the Windows Start menu, search for the Control Panel and open it.
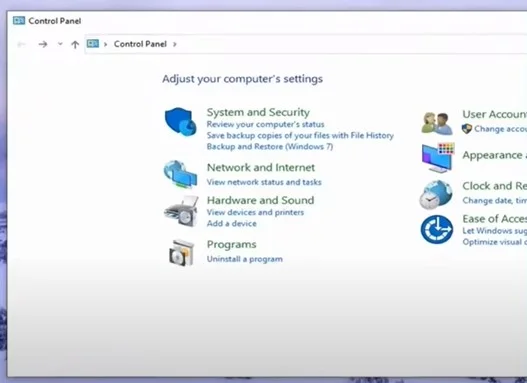
2. Click on View Devices and Printers under Hardware and Sound.
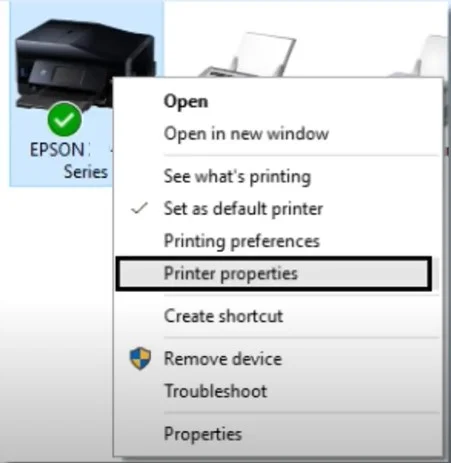
3. Then, right-click on your printer and select Printer Properties.
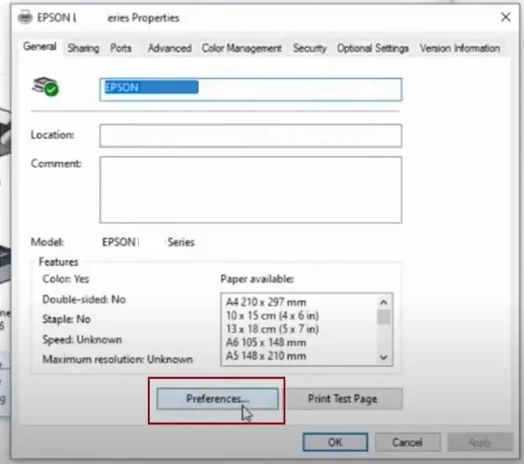
4. Next, in the General tab, click on Preferences.
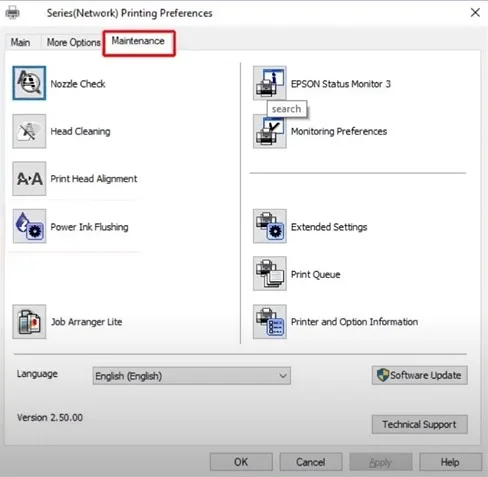
5. Now, in the Printing Preferences window, go to the Maintenance tab.
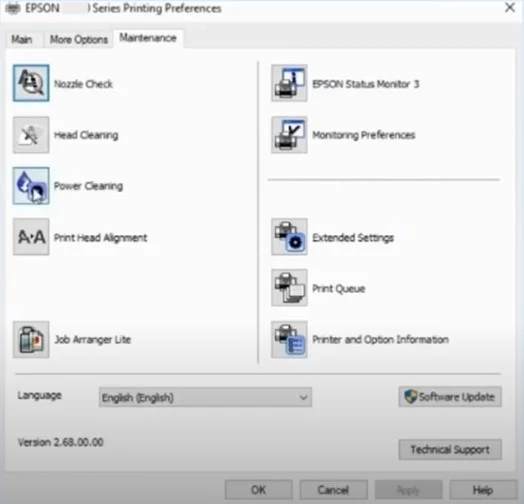
6. Choose power cleaning and click Next to proceed.
7. When you get the Epson Notification Service window, you can accept or decline it based on your preferences.
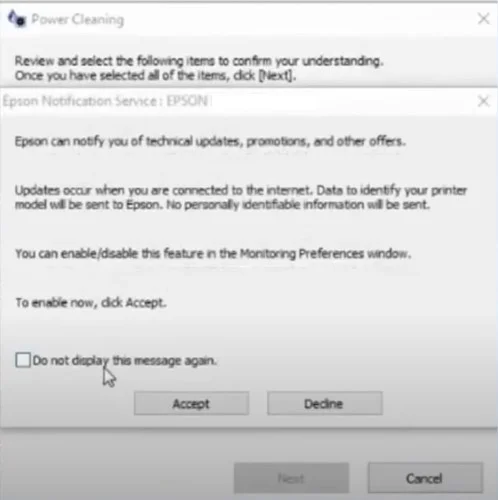
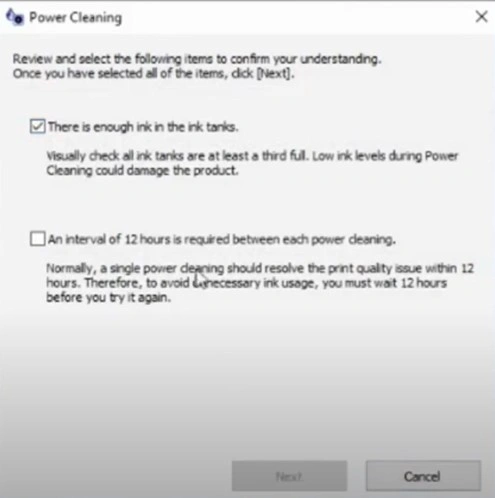
8. Furthermore, on the Power Cleaning screen, click on both checkboxes and click on Next.
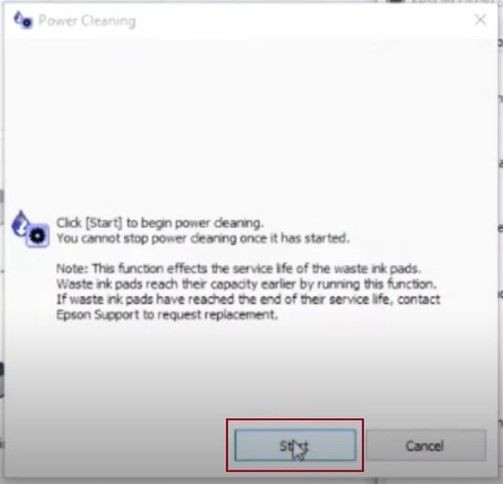
9. Then, click Start to begin the power cleaning process.
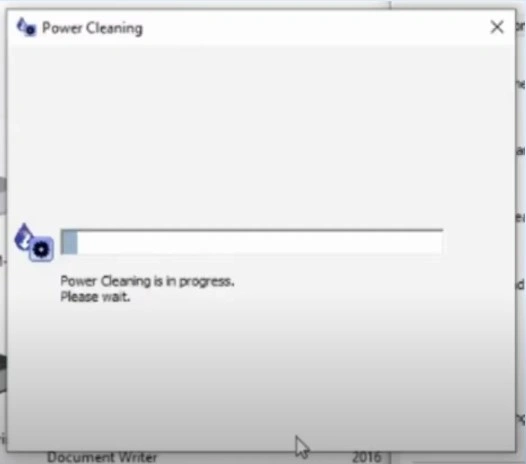
10. The power cleaning process will take a while.
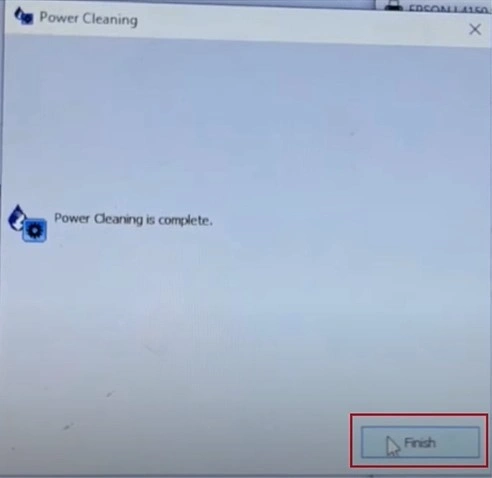
11. Once you get the Power Cleaning is Complete screen, click Finish.
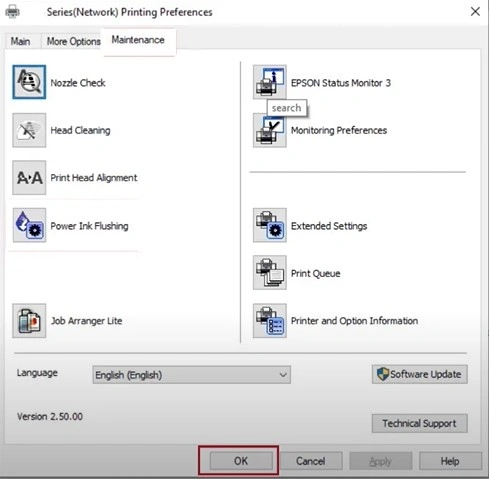
12. In addition, click OK in the printing preference window.
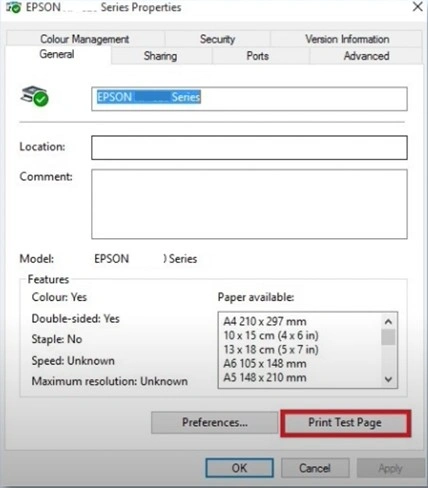
13. In the Properties Window, click on the Print Test Page option.
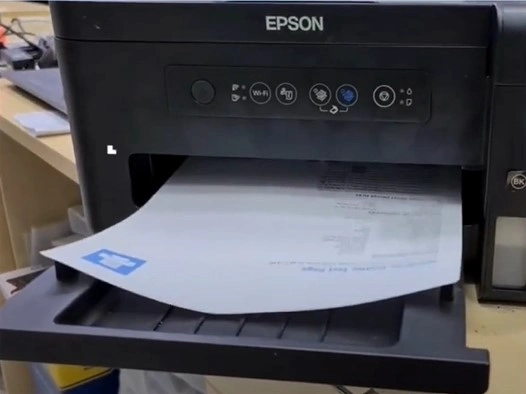
14. Check the printed test page to see if the issue is resolved.
Method 3: Flush the Print Head Manually
If there are any issues with your Epson printer print head, then it can show some problems while printing. With the help of the following guide perform the print head cleaning manually.
1. Go to the printer display panel, navigate to Maintenance, and tap on it.
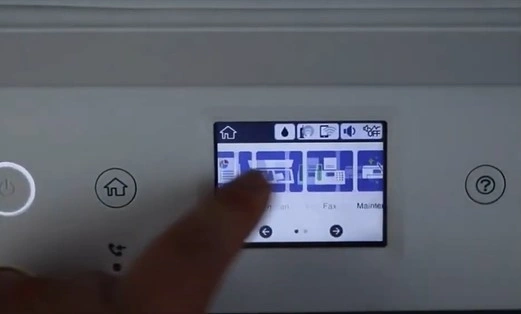
2. Choose Print Head Nozzle and then press Print.
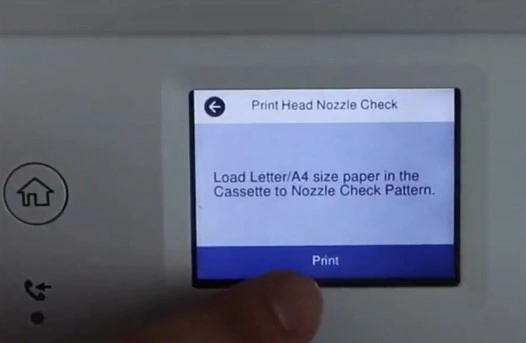
3. Then, the printer will print a nozzle check pattern and look for missing lines.
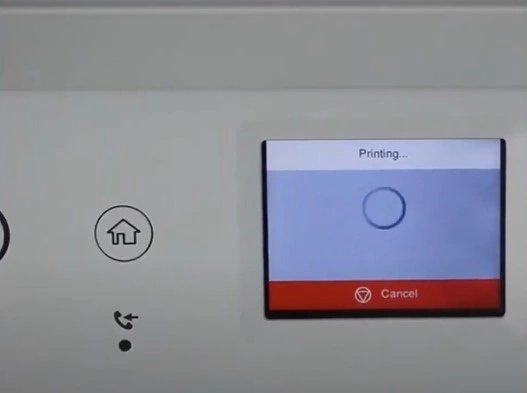
4. If there are missing lines press Print again; while it’s printing unplug the power cord from the printer.
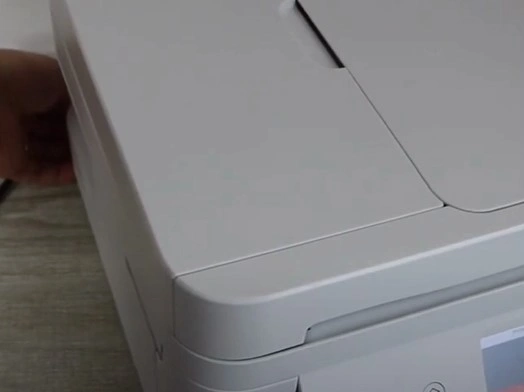
5. Lift the cover and slide the print head from one side to another.
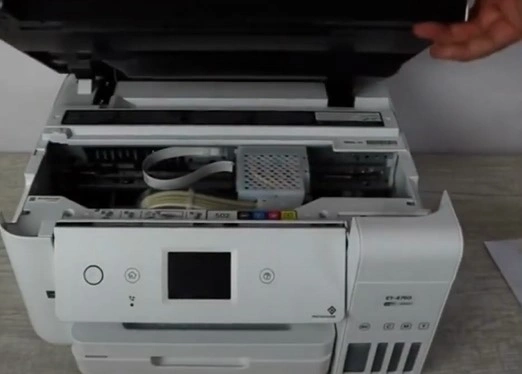
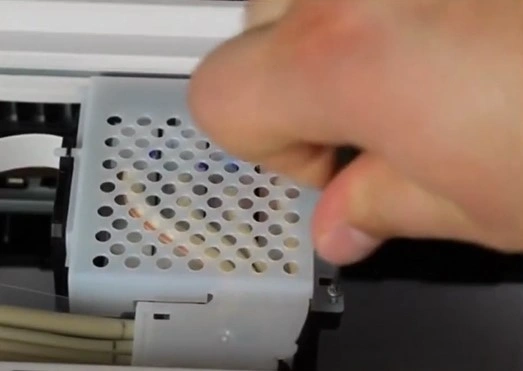
6. Unscrew the top cover of the print head, then unlatch and remove it.
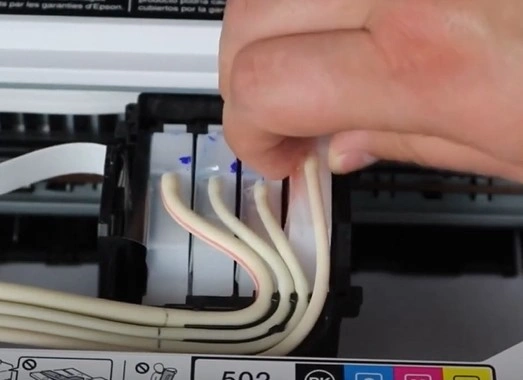
7. Remove the default print cartridges from the print head.
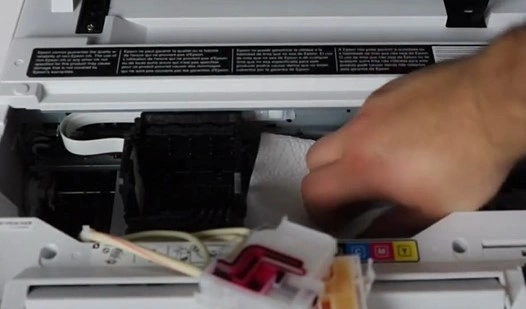
8. Grab a disposal paper towel, fold it, then place it underneath the print head.
Also Read:- How to Fix Epson WF 2540 Offline?
9. Furthermore, get the cleaning solution in a syringe and attach the silicone tubing to the nozzle.
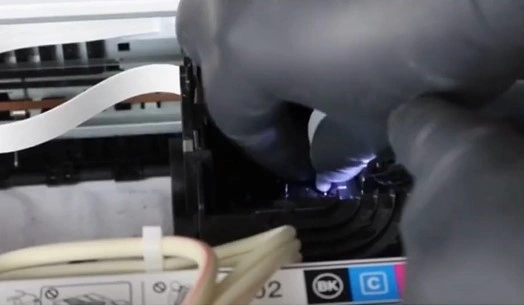
10. Push in the cleaning solution slowly, then repeat the same steps in all the other nozzles.
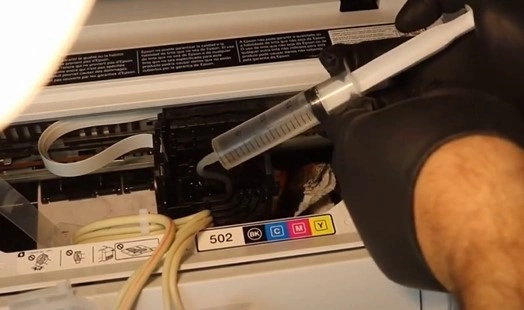
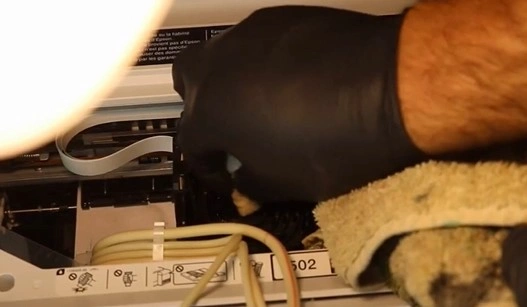
11. Once done, remove the disposal paper and clean up the excess solution.
12. Insert default cartridges into their original place.
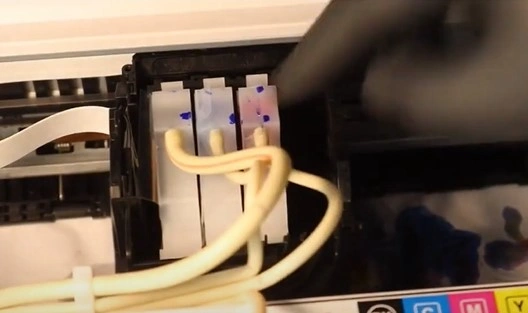
13. Place the print head cover and screw it in its place.
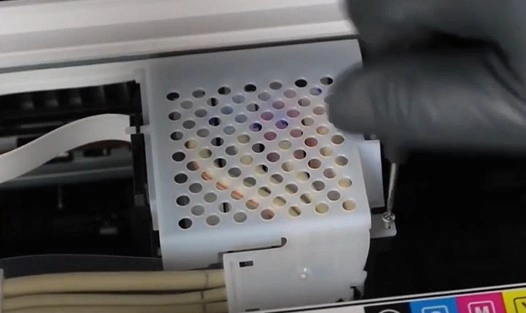
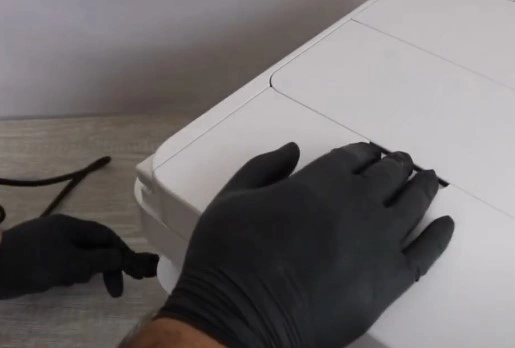
14. Moreover, close the cover and replug the power cord.
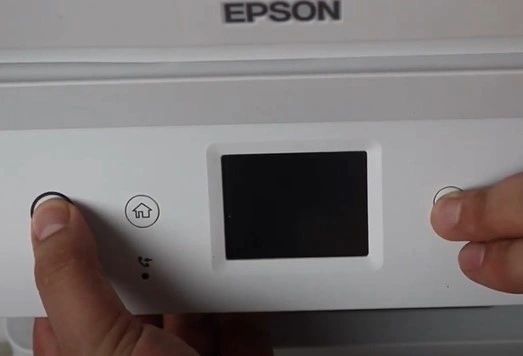
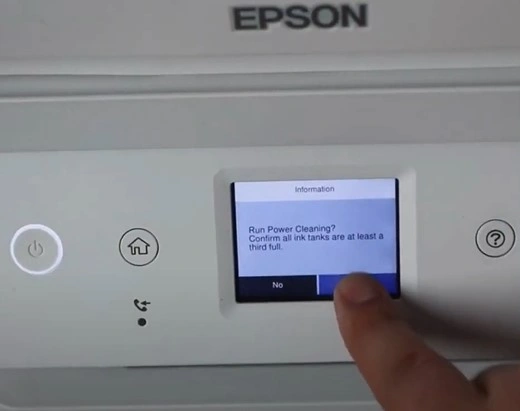
15. With the printer powered Off press and hold the power and help button until you see the Run power cleaning? Screen.
16. Press Yes, and the Power Cleaning Process will take a significant amount of time.
Final Words
We have shared all the vital methods to troubleshoot the “not printing” error in your Epson ET4760 printer. Make sure to follow each step of all three methods carefully to quickly get your printer printing perfectly again. In addition, it would be best to seek more help and resources if the issue still remains on your device.

