How to Fix Epson Printer ET 2800 Won't Print Color?
Have you started noticing the problems while printing the documents on your Epson ET 2800 printer? Worry not! It is a common problem and usually appears out of the blue in many printers. Moreover, a plethora of reasons, like a clogged nozzle, low color ink level, empty cartridge, incorrect, damaged printhead, cartridge installation, etc., can result in this problem.
Getting rid of this problem is not as complex as it seems. However, knowing the right troubleshooting methods is crucial to eliminating the issue entirely. So, ready to learn how to fix the Epson ET 2800 not printing color issue? Get a complete understanding of the top 3 solutions to enjoy flawless printing.
Method 1: Cleaning Nozzle
With the help of the guide below, complete the nozzle cleaning process.
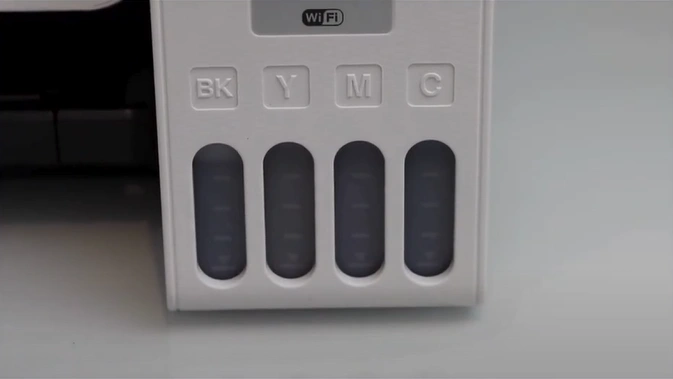
1. Make sure the ink tank level is above 30 percent.
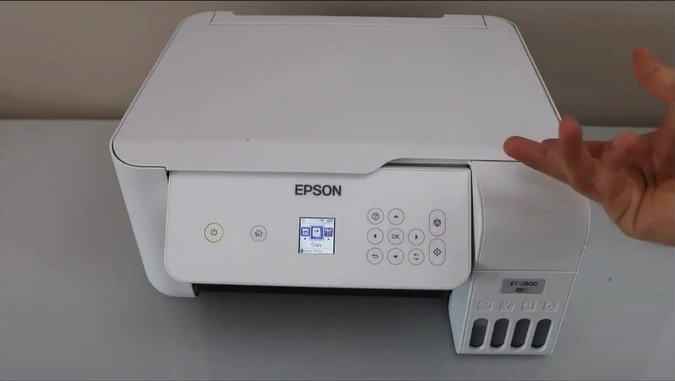
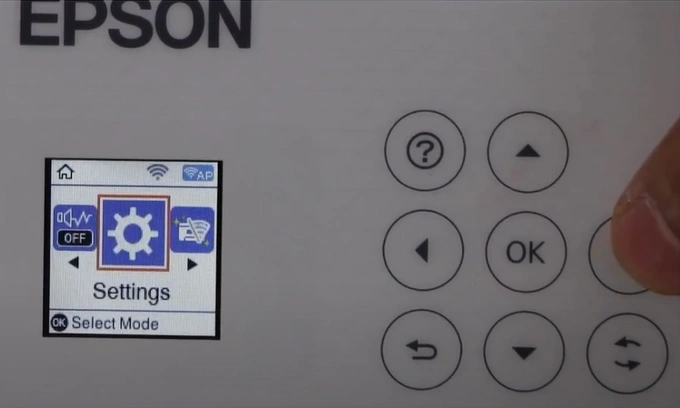
2. Go to the operation panel, scroll right, and open settings.
_1742893775.webp)
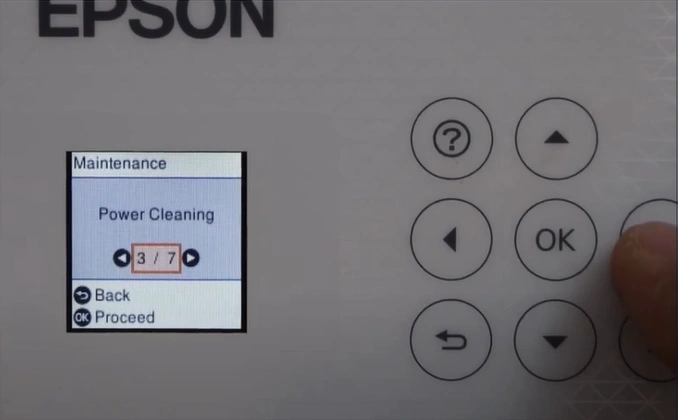
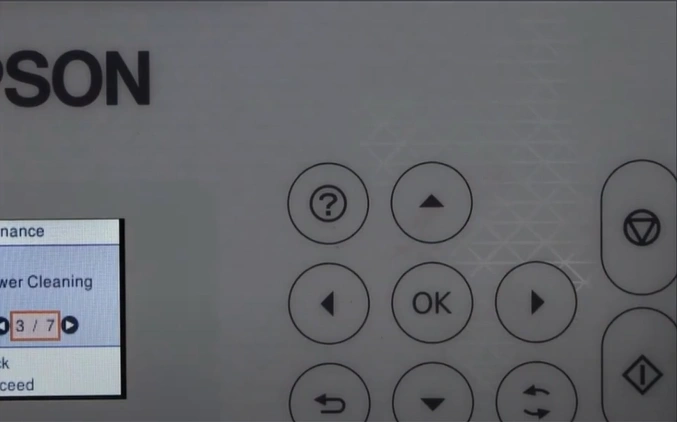
3. Select Maintenance, go to Power Cleaning, and select OK.
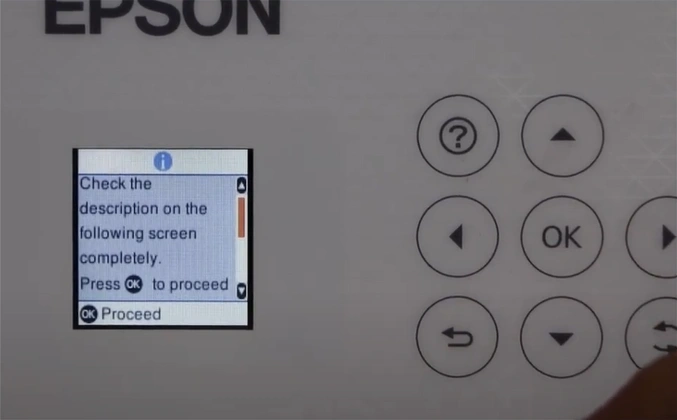
4. Review the information, then press OK to proceed.
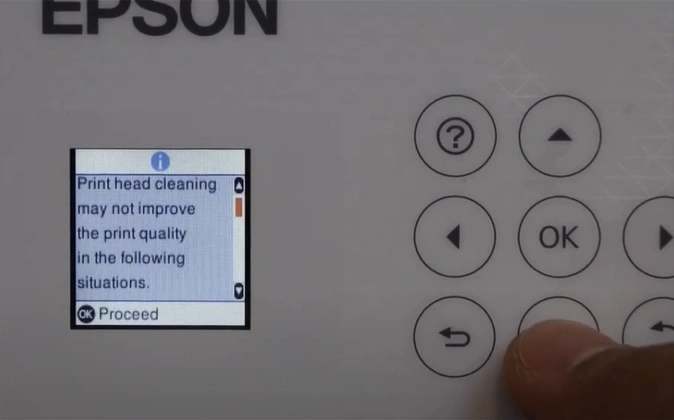
5. Press OK again to check the description.
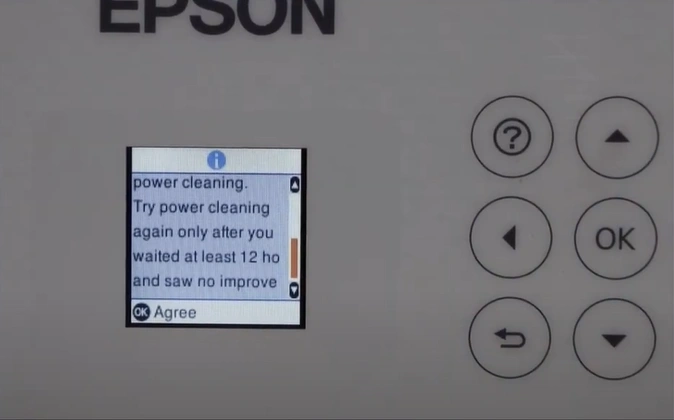
6. Read the three descriptions and press OK to agree.
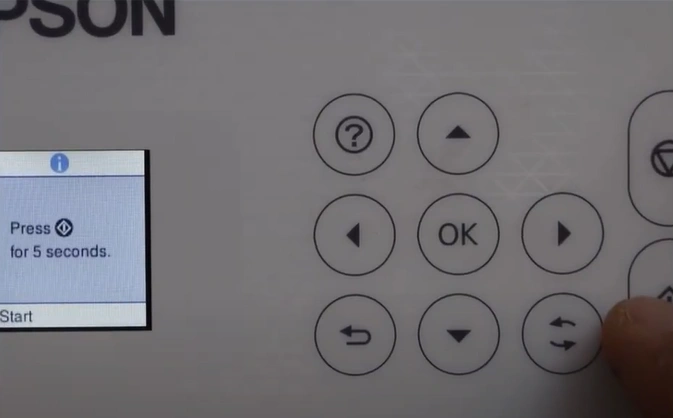
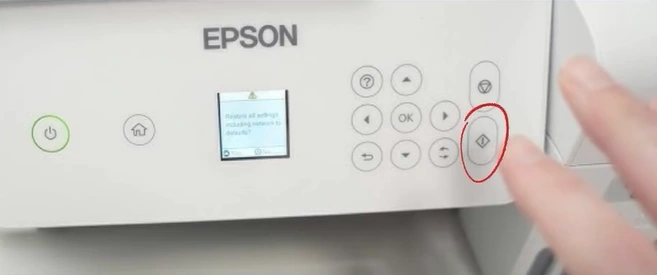
7. If prompted, press the start button for 5 seconds.
8. After cleaning, power cleaning press OK.
Method 2: Clean Printhead Manually
You can clean your printer print head manually by following the below steps.
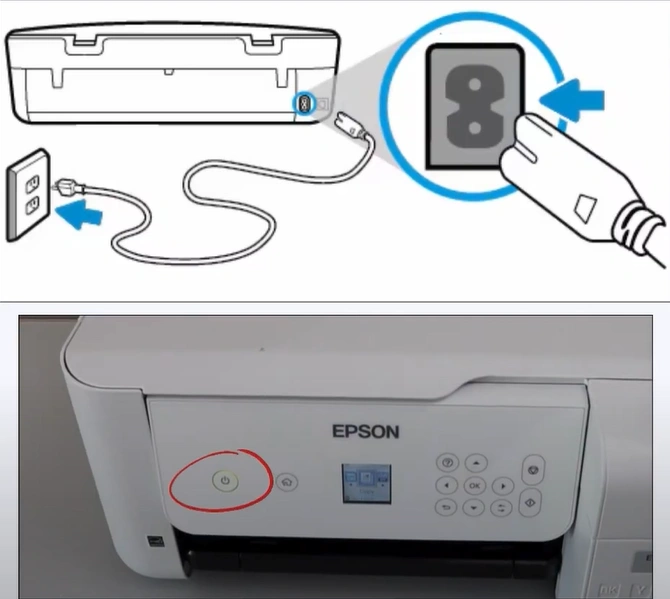
1. Turn on your Epson printer.

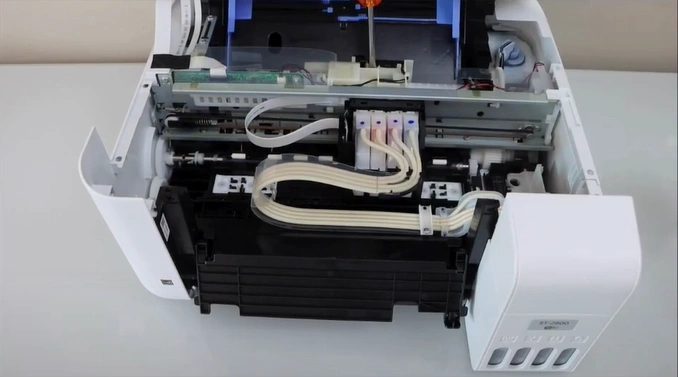
2. Lift the control panel, then open the inner cover.
3. Give a copy command, then unplug the power cable when the print head moves to the left.
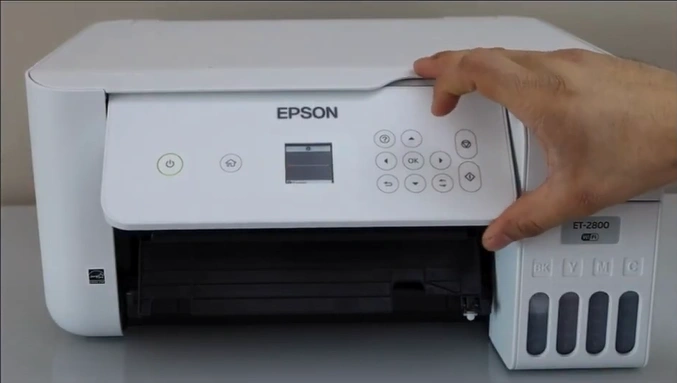
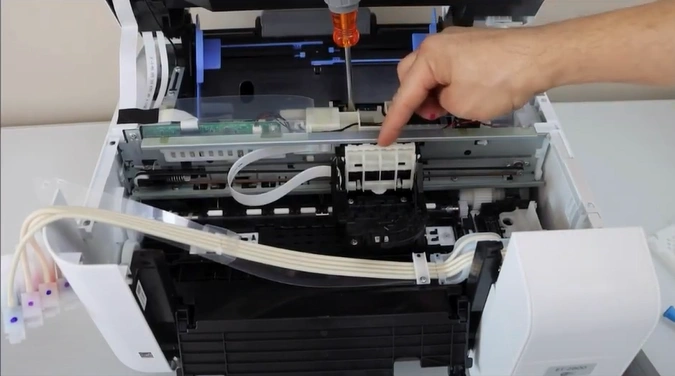
4. Lift the scanner unit.
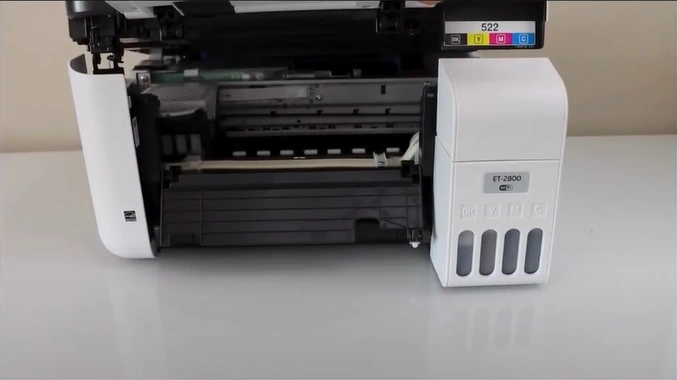
5. Remove the screws to lift the scanner unit.
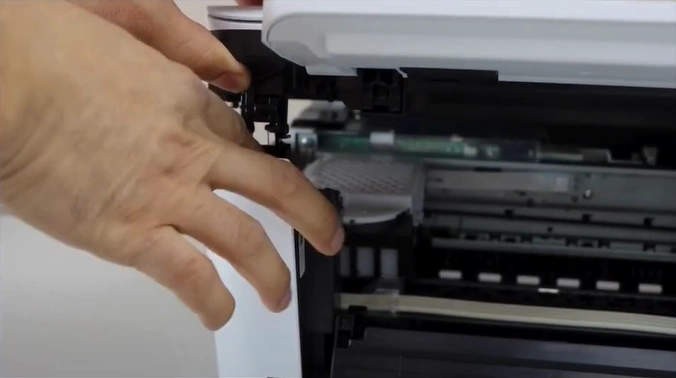
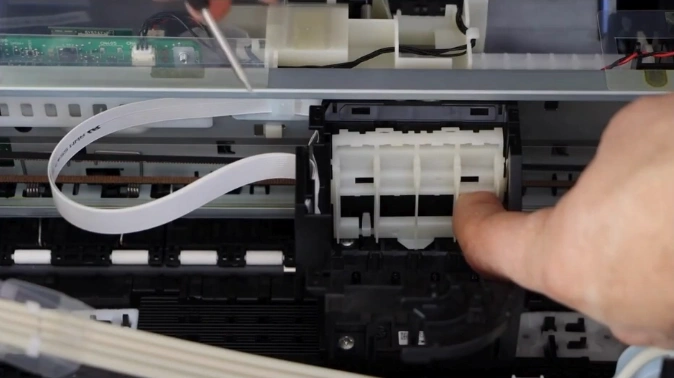
6. Move the printhead to the middle and remove the top cover.
7. Press the tab inwards and remove the ink cartridge.

8. Press the tab of the plate from the left and right and remove it.
9. Now, open the three screws.
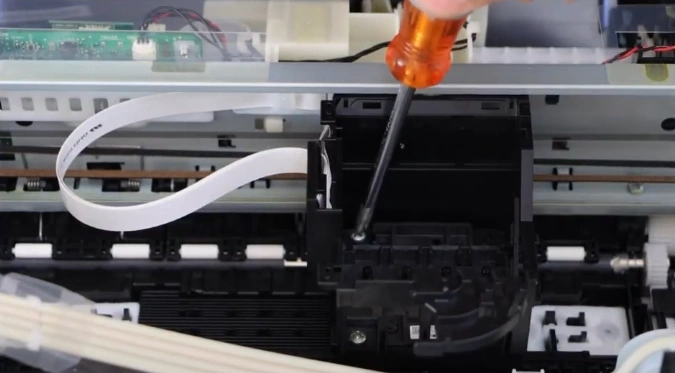
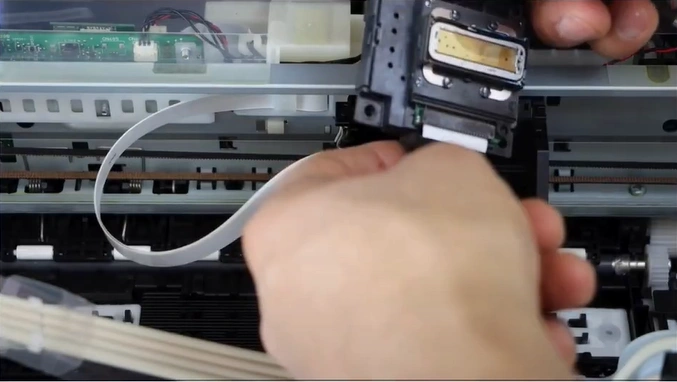
10. Carefully take out the print head.
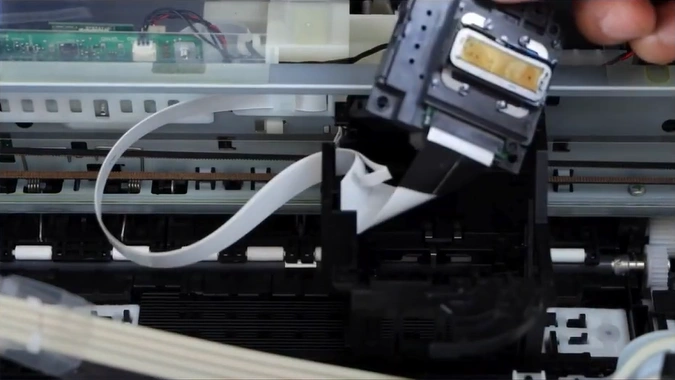
11. Remove the chip from the print head.
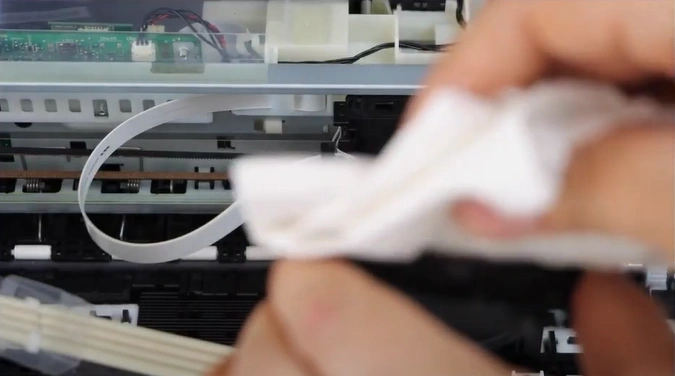
12. Clean the print head with bet tissue paper.
13. After cleaning, assemble all the parts of the printers.
14. Plug the power cable back and turn on the printer.
15. Once switched on, go to the operation panel, scroll right, and open Maintenance.
16. Scroll and select the Head cleaning process.
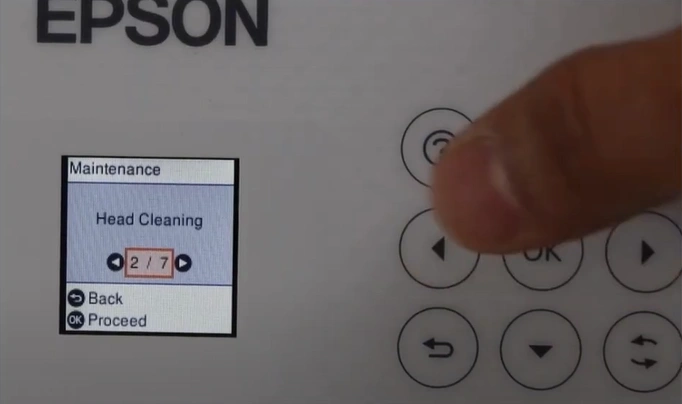
17. Press OK to clean the printhead.
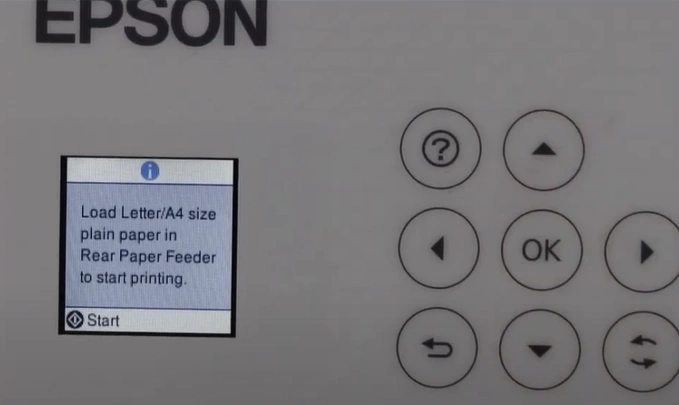
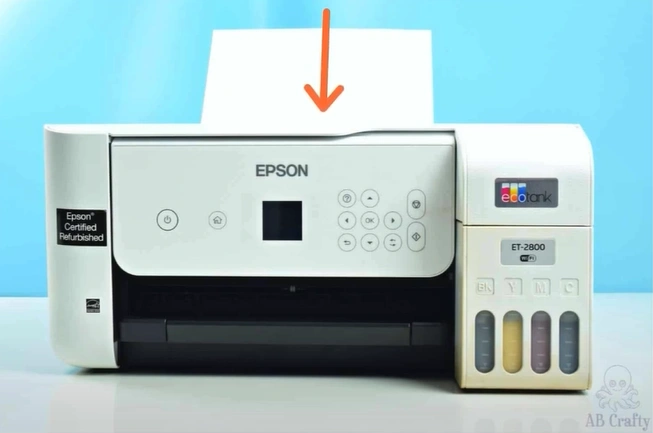
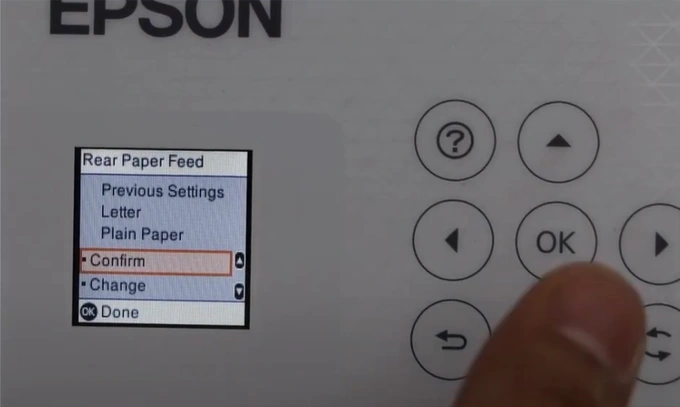
18. Load A4-size paper into the real paper feeder.
19. Now, select Confirm and press the OK button.
20. Press the Start button.
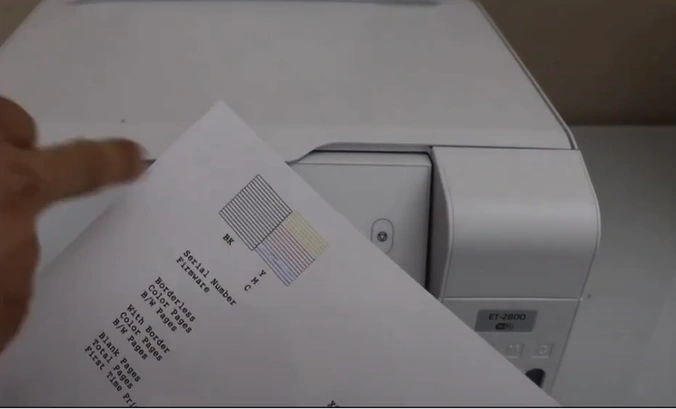
21. Review the ink patterns on the print.
Method 3: Update the Printer Driver
Sometimes, the driver issue can also lead to a color printing problem on your device. These are the correct procedures for updating your printer driver.
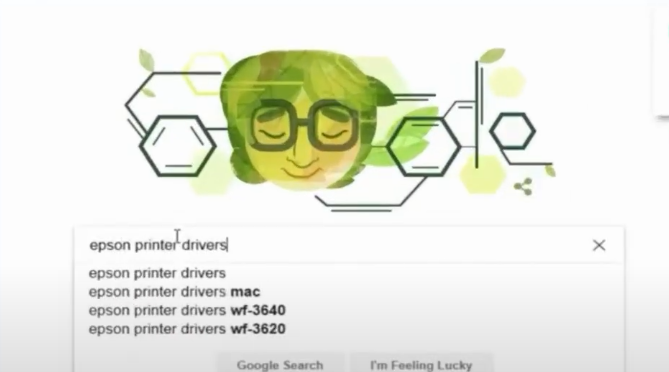
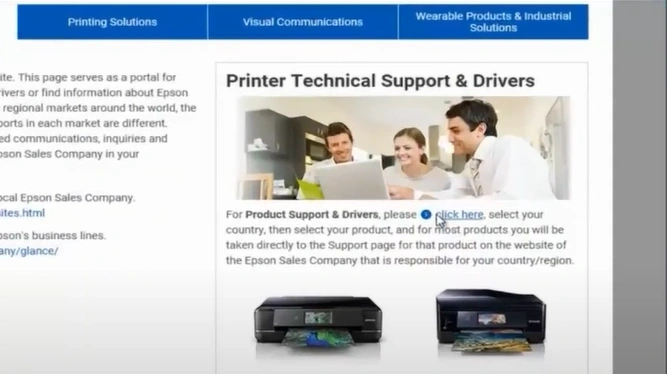
1. Open your browser and go to the Epson printer driver's official website.
2. Select 'click here' and then choose your country or region.
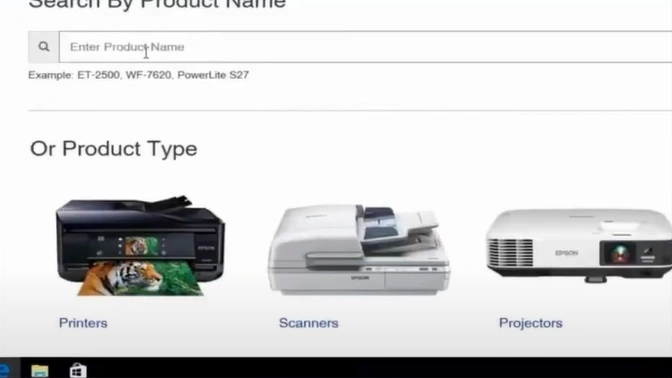
3. Type your product name and search or select from printer types.
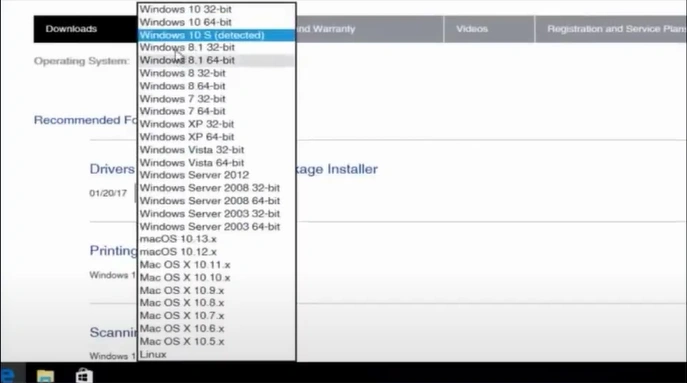
4. Select your operating system from the drop-down.
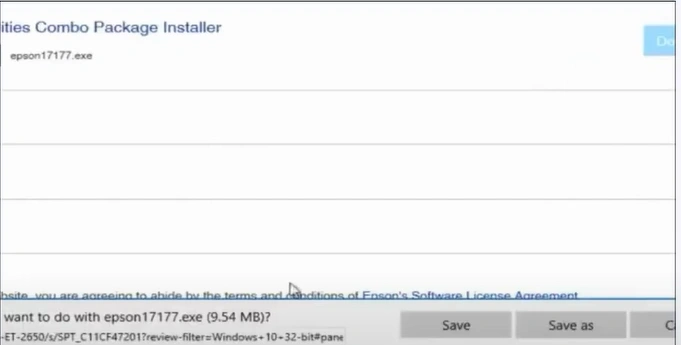
5. Click on the Download button, choose Save, and after the download ends, click Run.
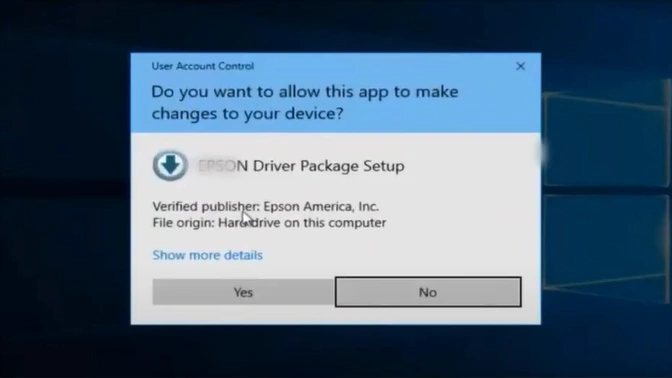
6. Choose Yes, and click OK to Continue.
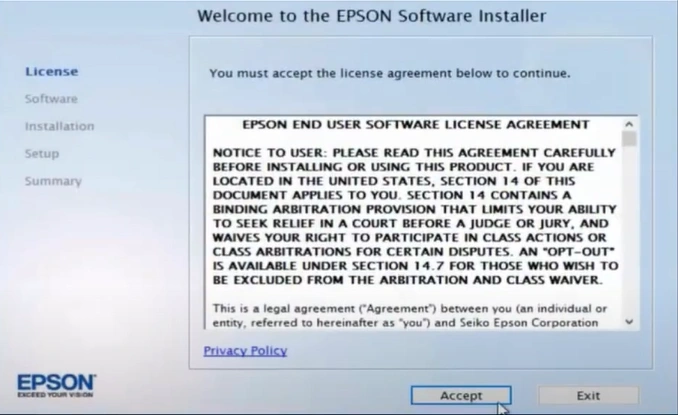
7. After installing, accept the license agreement.
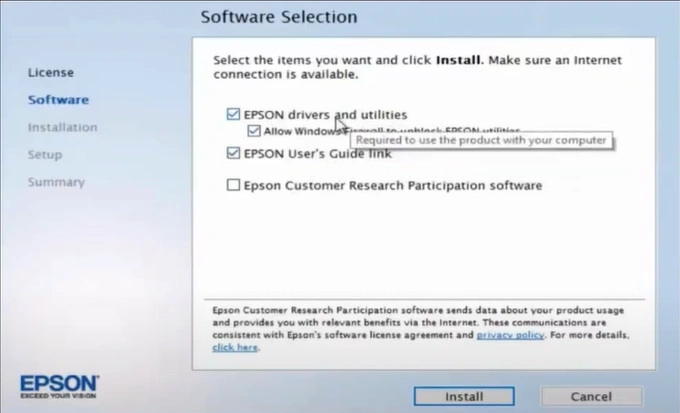
8. Select items of your choice, then click on the Install button.
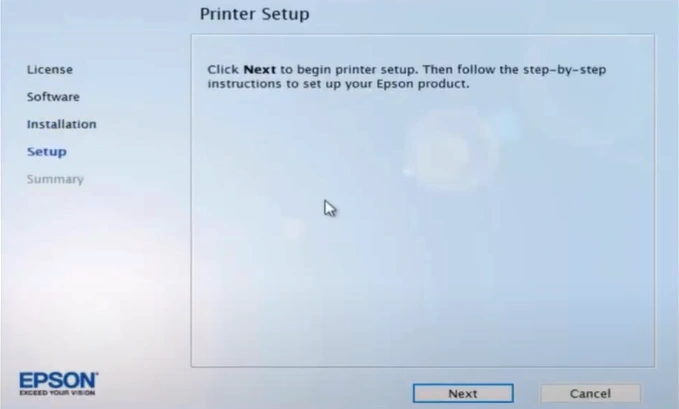
9. After installing, click Next in the Printer Setup.
10. Select your connection, then click Next.
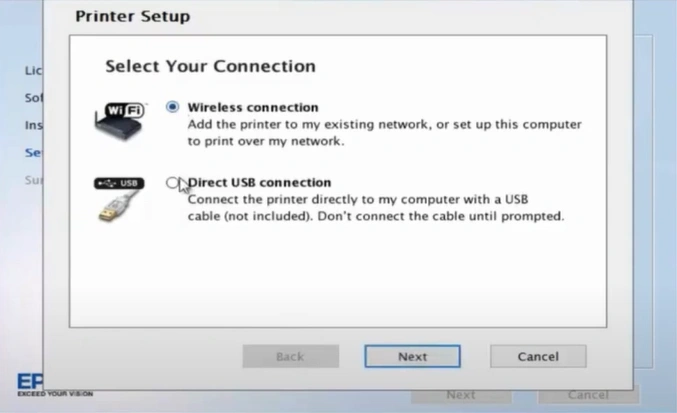
11. Choose the Setup option and select Next.
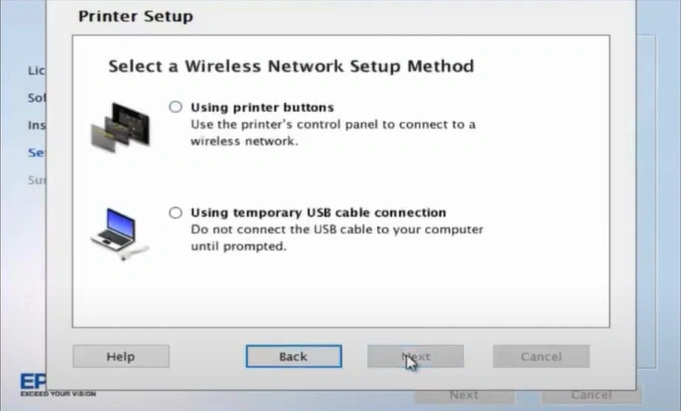
12. On the 'Select a Wireless Network Setup Method' page, choose any option and select Next.
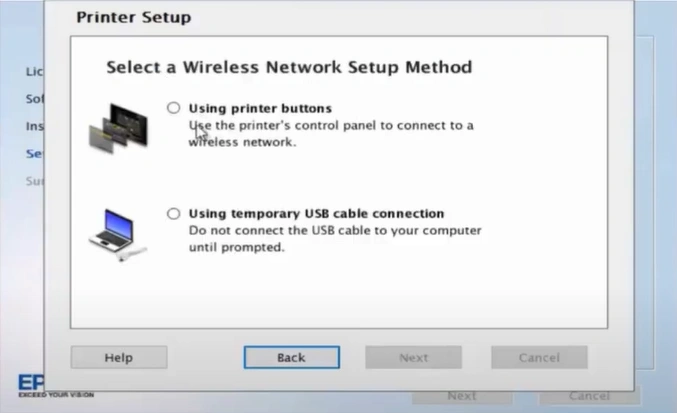
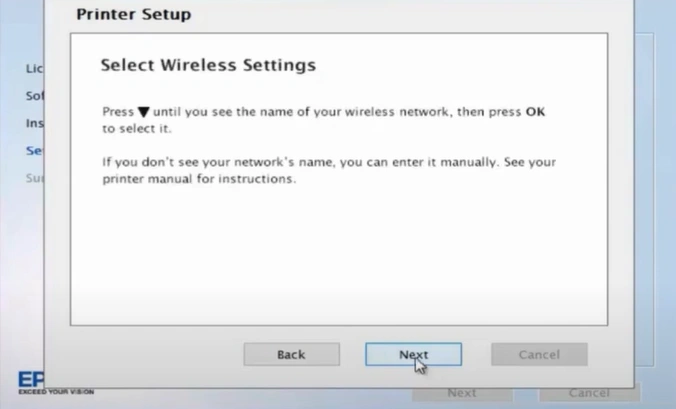
13. Keep on clicking the Next button, then in the printer setup, select one option and choose Next.
14. Finally, check if your printer problem is removed or not.
Final Words
Here, we have shared the top 3 troubleshooting methods to resolve the 'Epson ET 2800 won't print color' problem. If you know the reasons behind the issue, then you can use the appropriate method accordingly. You can also use all these methods if necessary. Apart from that, try to get your hands on more guides and help if necessary.

