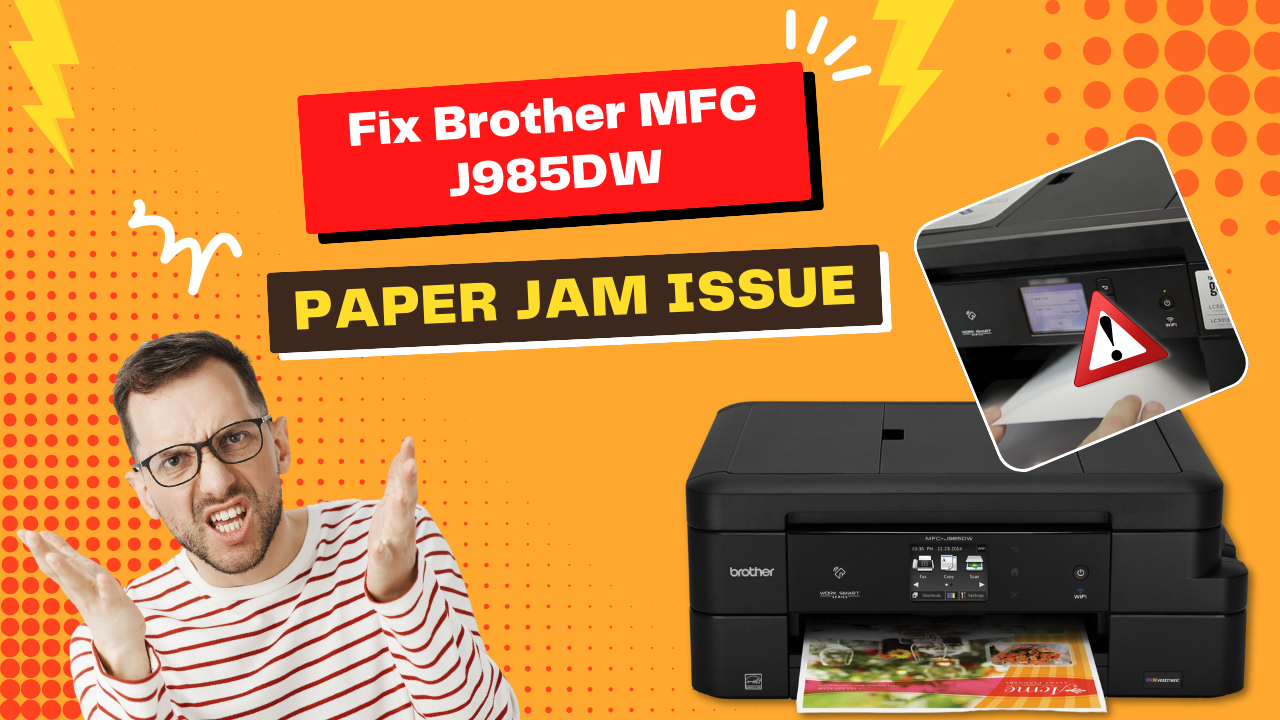
Fix Brother MFC J985DW Paper Jam Issue
Quick Answer: How to Clear a Paper Jam Right Now
If your MFC-J985DW is showing a paper jam error, do this immediately:
- Power off and unplug from the wall — not just the power button. This prevents the print head from moving while your hands are inside.
- Pull the paper tray completely out. Look inside the slot and pull both green levers inside downward to release any paper caught in the feed mechanism.
- Lift the scanner cover using both hands on the plastic tabs on either side. Gently pull any jammed sheet straight out — never yank or tear. A torn scrap left inside will cause the jam error to keep returning.
- Check all four corners under the scanner cover for paper scraps, especially the right corner where the print head parks.
- Close everything, reinsert the tray, plug back in. If the error persists, follow the specific section below that matches the error code on your screen.
Do not touch the encoder strip - the thin translucent strip that runs horizontally across the full width of the machine just above the paper path. Touching it leaves oils that can cause permanent print alignment problems.
If that cleared it, you're done. If the display still shows Jam A Inside/Front, Jam B Front, or Jam C Rear, each has a slightly different access point. The sections below walk through each one specifically.
Understanding the Error Codes
The MFC-J985DW displays one of three jam codes, each pointing to a different physical location inside the machine. Knowing which one you're dealing with saves time and avoids opening the wrong panel first.
| Error Code | Where the Jam Is | Primary Access Point |
|---|---|---|
Jam A Inside/Front | Inside the machine, around the print head area | Scanner cover (lift from the top) |
Repeat Jam A Inside/Front | Same area — a paper scrap was left behind | Scanner cover + Jam Clear Cover at rear |
Jam B Front | Paper tray / front feed area | Paper tray + Jam Clear Cover at rear |
Repeat Jam B Front | Tray area, recurring — paper fragment present | Paper tray + Jam Clear Cover + full interior check |
Jam C Rear | Back of the machine (duplex path) | Rear cover / Jam Clear Cover |
Clearing Jam A — Inside the Machine
Jam A occurs inside the print zone. The paper has made it past the feed rollers but got stuck under or near the print head carriage.
- Unplug the machine from the wall outlet.
- Remove the paper tray completely and pull both green levers inside the slot to release tension on the paper path.
- Lift the scanner cover by pressing the tabs on both sides until it locks open. You'll now have a full view of the interior.
- Locate the jammed paper and pull it straight out slowly in the direction of the paper path. If it resists, do not force it — try gently working it back and forth with minimal pressure.
- Check the right corner. If the print head is parked in its home position at the far right, you cannot manually move it. In this case: close the scanner cover, plug the machine back in, hold down Stop/Exit until the carriage moves to center, then unplug again and clear the paper.
- Search for scraps in both front corners of the interior. Even a 1-inch torn piece will trigger
Repeat Jam Aon the next print. - Close the scanner cover, reinsert the tray, plug in.
Pro tip: Use a flashlight to look inside the interior before closing the scanner cover. Paper scraps tend to slide under the plastic frame near the bottom corners where they're invisible at normal angles.
The "Repeat" versions of Jam A and B are the most frustrating. They almost always mean a small piece of torn paper is still somewhere inside and the machine detects it on the next print attempt. The fix is the same — but you need to be more thorough searching for scraps.
Clearing Jam A — Inside the Machine
Jam A occurs inside the print zone. The paper has made it past the feed rollers but got stuck under or near the print head carriage.
- Unplug the machine from the wall outlet.
- Remove the paper tray completely and pull both green levers inside the slot to release tension on the paper path.
- Lift the scanner cover by pressing the tabs on both sides until it locks open. You'll now have a full view of the interior.
- Locate the jammed paper and pull it straight out slowly in the direction of the paper path. If it resists, do not force it — try gently working it back and forth with minimal pressure.
- Check the right corner. If the print head is parked in its home position at the far right, you cannot manually move it. In this case: close the scanner cover, plug the machine back in, hold down Stop/Exit until the carriage moves to center, then unplug again and clear the paper.
- Search for scraps in both front corners of the interior. Even a 1-inch torn piece will trigger
Repeat Jam Aon the next print. - Close the scanner cover, reinsert the tray, plug in.
Pro tip: Use a flashlight to look inside the interior before closing the scanner cover. Paper scraps tend to slide under the plastic frame near the bottom corners where they're invisible at normal angles.
Clearing Jam B Front
Jam B is a front-feed jam — the paper got stuck in or just past the paper tray before fully entering the machine. This is one of the more common jam types on the J985DW, particularly after the feed rollers begin to wear.
- Unplug the machine.
- Pull the paper tray out completely. Carefully pull any visible jammed paper straight out toward you — do not pull up or at an angle.
- Go to the rear of the machine. Squeeze both release levers on the Jam Clear Cover (the small panel at the back) and open it. This exposes the rear paper path.
- Pull the jammed paper out from the rear, pulling downward and toward you. This direction follows the paper's natural curl and avoids tearing.
- Close the Jam Clear Cover firmly. You should hear a click. If it's not fully seated, the printer may report an error even without a jam.
- Inspect the interior from the front by lifting the scanner cover and visually checking for scraps.
- Reinsert the paper tray, plug in.
Jam Clear Cover not fully closed? This is a common gotcha. The cover has clear plastic tabs that can break if forced. When setting it aside during troubleshooting, Brother recommends placing it tab-side up to avoid snapping the tabs. A broken tab means the cover won't seat correctly, which causes persistent jam errors even with no paper stuck.
Clearing Jam C Rear
Jam C means the paper went through the front, printed (at least partially), but stalled in the rear exit/duplex path on its way out. This happens most often during two-sided printing.
- Unplug the machine.
- Go directly to the back of the printer. Squeeze the levers and open the Jam Clear Cover.
- Slowly pull the paper out from the rear, pulling toward you and slightly downward. Don't yank — the paper may be partly wrapped around the internal roller.
- If the paper won't budge: Load one sheet of thicker paper (like photo paper or card stock) into the manual feed slot on the top. The machine will feed it through and the thicker sheet can push the stuck page out from behind.
- Close the Jam Clear Cover completely and confirm it's fully clicked into place.
- Plug back in and run a test page.
A persistent Jam C Rear — one that keeps coming back on duplex jobs — often indicates the rear exit rollers are slipping or worn. See the prevention section below for how to address this before it gets worse.
Why This Printer Jams: The Real Causes
There's a pattern to why the MFC-J985DW jams that goes beyond "just load the paper right." Understanding it helps you target the actual problem rather than just clearing the symptom each time.
Paper Quality & Storage Damp or warped paper is the single leading cause. Paper that's been exposed to humidity fans out at the edges and catches on the feed path. Store reams in a sealed bag or box — even a few days in a humid room is enough to cause problems.
Overfilled Paper Tray The J985DW's tray holds up to 100 sheets. Beyond that, the stack creates too much resistance for the pick roller and multiple sheets get grabbed at once (multi-feed). Load no more than 80 sheets as a working rule.
Worn Feed Rollers Rubber pick and feed rollers lose grip over time, especially with heavy use. When they can't pull a sheet cleanly, it enters at a skew and jams further along the path. This is the most common hardware-related jam cause on units with 2,000+ pages of use.
Incorrect Paper Guides If the side guides aren't snug against the paper stack, sheets shift as they feed. Even 2–3mm of play can cause a skewed entry and a jam mid-print.
Wrong Paper Type or Weight The J985DW supports paper up to 0.28mm thick (roughly 28 lb bond / 105 g/m²). Heavier cardstock, envelopes with adhesive flaps, or glossy sheets not rated for inkjet will frequently jam in the rear exit path.
Paper Scrap Buildup Each jam has a chance of leaving a small torn piece inside. These accumulate and eventually cause false "Repeat Jam" errors even when there's no new sheet stuck.
There's also a known hardware limitation documented extensively in the user community: on some MFC-J985DW units, the rear exit roller loses enough tension over time that it can't fully eject a printed page before the next one is fed. The result is a two-page collision at the output. If this is happening — where the printer jams on the second or third page but not the first — it's a roller wear issue, not a paper loading problem.
How to Stop Paper Jams from Coming Back
Clearing the current jam is the immediate fix. Here's how to make sure you're not back here next week.
Paper Loading Best Practices
- Fan the paper stack before loading — this breaks static cling between sheets that causes multi-feed jams
- Load no more than 80 sheets at a time, even though the tray capacity is 100
- Adjust both the length and width guides so they're lightly touching (not pressing hard against) the paper
- Use 20 lb (75 g/m²) bond paper for everyday printing — it's the weight this machine was optimized for
- Never mix paper sizes or weights in the same tray load
- Always extend the paper support flap on the output tray before printing multiple pages
Cleaning the Feed Rollers
If you're getting jams every few hundred pages, the rubber pick rollers are the likely culprit. Glaze buildup — a thin, shiny residue that forms from paper dust and dried rubber — makes them slippery. Cleaning takes about five minutes.
- Power off and unplug the machine.
- Remove the paper tray and look into the feed slot. The pick roller is the small rubber cylinder visible just inside the opening.
- Dampen a lint-free cloth (microfiber works well) with plain water. Avoid alcohol — it can dry out the rubber faster.
- Rotate the roller manually while gently wiping it. Clean the full circumference, not just the part facing you.
- Let it dry for 10 minutes before reloading paper.
Cleaning frequency guide:
- Fewer than 500 pages/month → clean twice a year
- 500–1,000 pages/month → clean quarterly
- 1,000+ pages/month → clean every 6–8 weeks
The first sign of roller wear is consistently skewed output — pages that come out slightly crooked even without jamming.
Keep Firmware Updated
Brother periodically releases firmware updates for the J985DW that address paper handling behavior, feed timing, and sensor calibration. One documented firmware release improved the duplex re-feed timing specifically to reduce Jam C Rear errors.
To check your current firmware version: Menu → All Settings → Machine Info → Firmware Version. Compare it against the latest version on Brother's support page for your model.
Ghost Jams: When the Printer Says "Jam" but There's No Paper
This is the most frustrating variant — and it's surprisingly common on the J985DW. You clear everything, confirm visually there's nothing inside, but the error persists or returns immediately on the next print.
There are three common causes:
1. A paper scrap caught on the jam sensor. There's a small lever-style paper sensor in the feed path. A tiny piece — even 5mm — can hold this lever in the "jam detected" position. Use a flashlight and inspect the area just inside the paper tray slot and behind the rear cover.
2. The Jam Clear Cover isn't fully closed. The rear cover has a sensor that confirms it's seated. If the tabs are broken or the cover is slightly ajar, the machine interprets it as a persistent jam condition even with no paper present.
3. A firmware glitch after a power interruption. If the printer lost power mid-print, the internal jam flag sometimes doesn't reset. The fix: unplug the machine, wait 60 seconds (not just 10 — you need the capacitors to fully drain), then plug back in. This clears the stuck error state in most cases.
If you've done all of the above and the ghost jam persists, open the scanner cover and gently close it again while the machine is powered on. This physically resets the scanner cover sensor and often clears a residual error flag.

