How to Do HP Smart Tank 5000 Printer WiFi Setup?

Do you want to use your HP Smart Tank 5000 printer with ease? The best way to do that is by connecting it to a WiFi network. Once your printer is connected to a wireless network, you can get rid of those messy cables and the constant plugging and unplugging, creating a cleaner workspace. A WiFi setup also lets you print from anywhere within your home or office.
In just a few simple steps, you can have your printer connected to WiFi. Before we go through the complete setup process, let’s first look at some common problems that might arise and cause trouble during setup.
Problems You May Face During Setup
These are some common hitches that you may face when setting up your HP Smart Tank 5000 printer on a WiFi network:
- The printer is too far from the WiFi router
- The firewall/antivirus software is blocking the connection
- Outdated printer firmware
- Printer not in setup mode
- Wrong app or driver installation
Things to Do Before Starting the Setup
Here are some preparatory tips to know before you begin the HP Smart Tank 5000 printer to WiFi process:
Check WiFi Connection
Confirm that you are connected to a stable WiFi network (2.4 GHz is recommended). Keep the WiFi router close to your printer. Also, check that your PC or mobile device is connected to the same network that you’ll use for your printer.
Add Ink and Paper
Fill the ink tanks with the provided ink bottles according to the instructions shown on the printer screen or in the manual. In the input tray, load a stack of plain white paper. Adjust the paper width guides so the sheets sit securely without folding or bending. Proper alignment should be maintained, and you must check that it does not go over the tray’s maximum capacity.
Download the HP Smart App
Open your browser and download the HP Smart app on your computer or mobile device. After installing it, the app will guide you through the process of setting up your HP printer on WiFi.
Steps to Setup HP Smart Tank 5000 Printer on WiFi
Here are the correct steps to know for setting up your HP printer on a WiFi network:
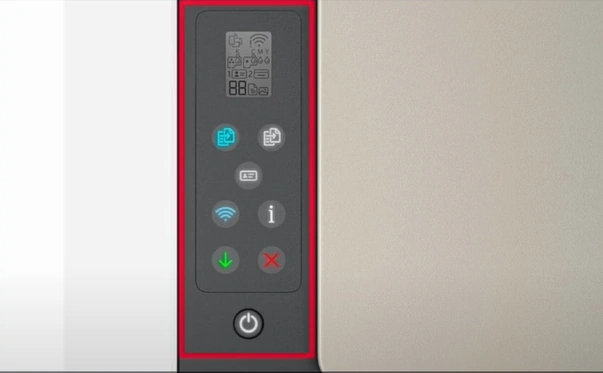
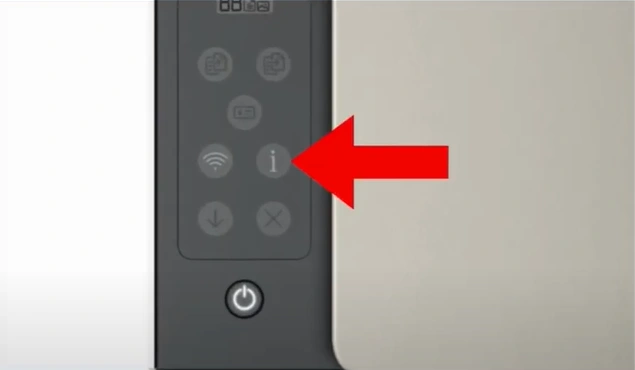
Step 1: On your printer’s control panel, press and hold the information (i) button.
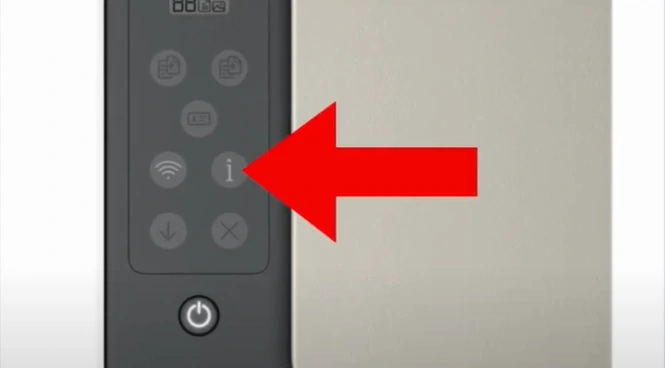
Step 2: All the buttons will light up; once this happens, release the information button.
Step 3: Next, press and hold the Cancel button for 3 seconds.
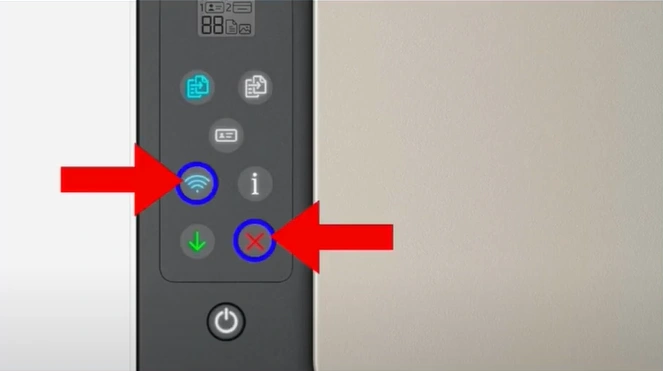
Step 4: After that, release the buttons, and the lights on the control panel will turn off.

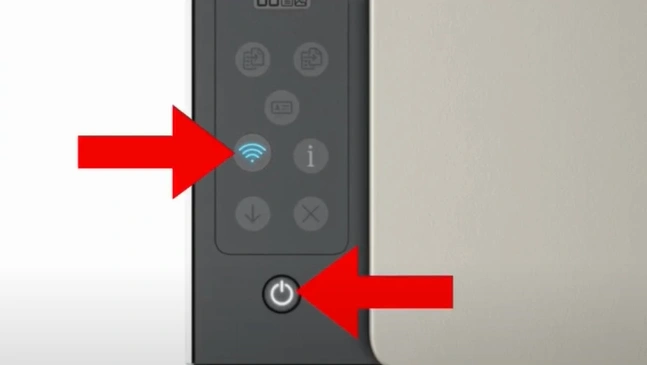
Step 5: If the WiFi and power buttons are flashing, it means your printer has entered setup mode.
Step 6: On your phone, open the Play Store/App Store and search for the HP Smart app.

Step 7: Next, tap the Get button to install the application.

Step 8: After installing the app, tap Open to launch it.

Step 9: On the app's Home screen, tap the add icon.
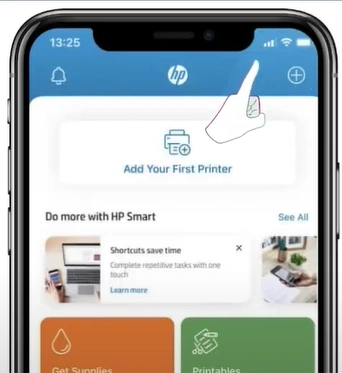
Step 10: Tap “Add Printer.”
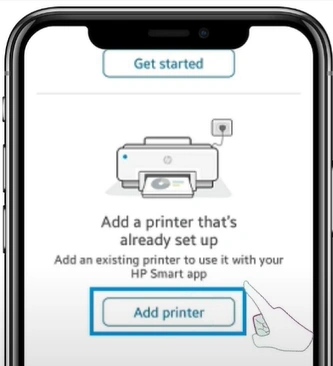
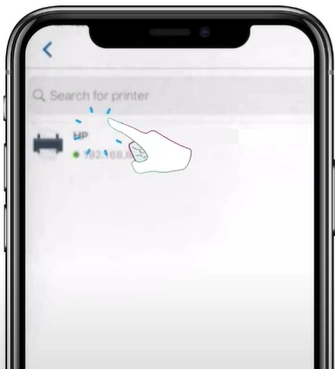
Step 11: Select your printer series.
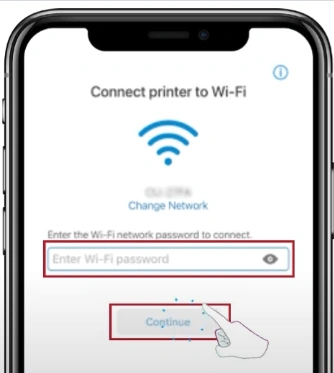
Step 12: In the “Connect the printer to WiFi” window, enter your WiFi password and tap Continue.
Step 13: When prompted, press the information button on your printer.
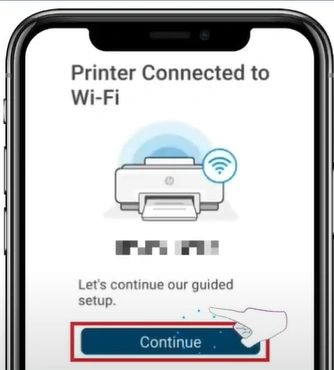
Step 14: Tap Continue once the printer is connected to WiFi.
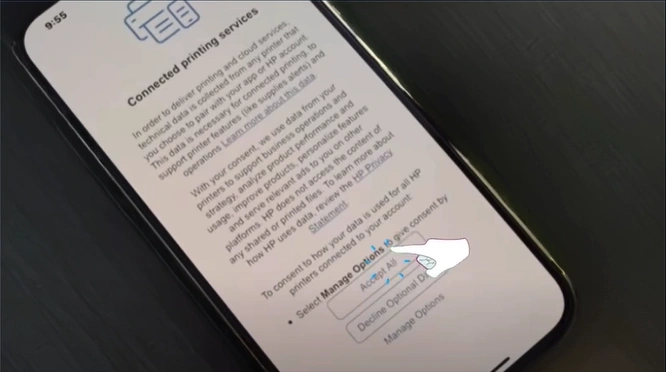
Step 15: On the Connected Printing Services page, select “Accept All” and follow the on-screen instructions.
Summing Up
That’s the right way to setup the HP Smart Tank 5000 printer on WiFi. We have shared the correct steps, and by following them carefully, you’ll complete the setup successfully.
Follow the above points to enjoy smooth printing. During the setup, make sure the printer firmware is updated and that the printer is in setup mode. Also, keep it close to the WiFi router for a strong and stable connection.

