Brother HL L2305W Wi-Fi Setup
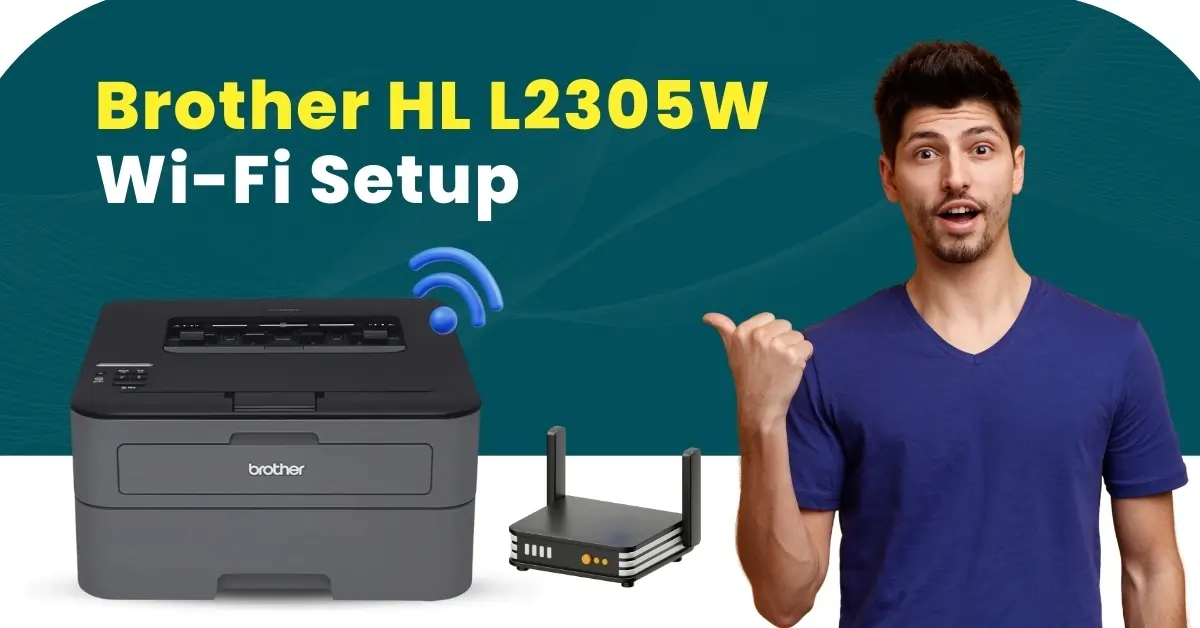
Brother HL L2305W is a compact monochrome printer with superfast printing speed. The printer is easy to use and gives excellent results, but it is necessary to complete its setup to use its functionalities.
Moreover, this printer comes with a powerful wireless connection interface, which allows users to set up the device quickly. But, some users may find it difficult to complete the Wi-Fi setup, as they encounter many unwanted errors or the process seems complicated.
As a result, it could be wise to have knowledge of effective methods already to help you on the spot. Here, learn the top three setup methods to streamline the setup process.
Method 1: Via WPS Method
For new users, the WPS method could be the easiest and most suitable procedure for completing the Brother HL L2305W printer setup.
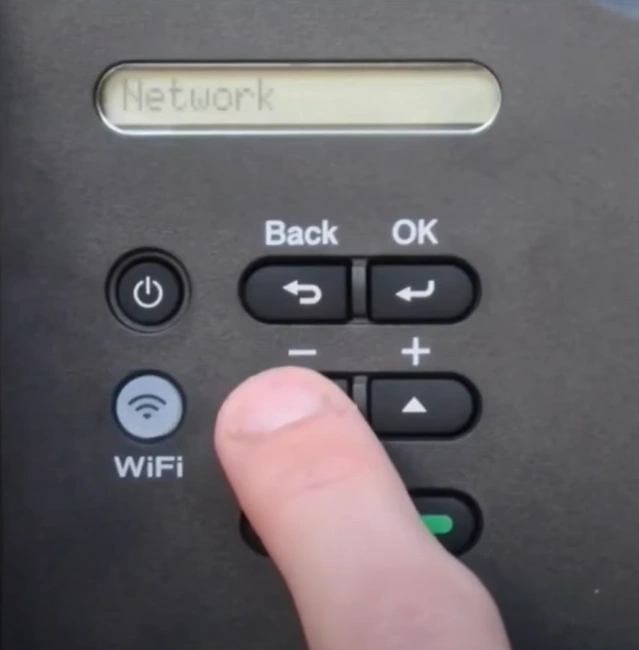
1. At the start, go to your Brother HL L2305W printer control panel, navigate to Network, and click on OK. .
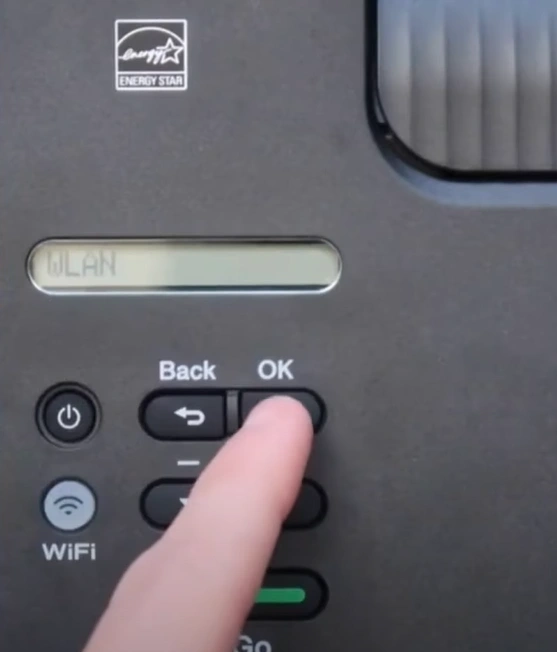
2. Next, select WLAN and press the OK button.
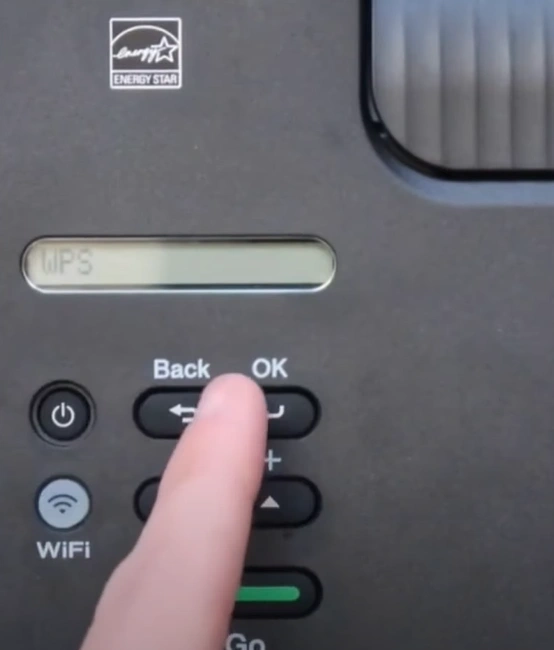
3. Choose the WPS option and click OK.
4. When it displays "WLAN Enabled?" press the down arrow button to choose Yes.
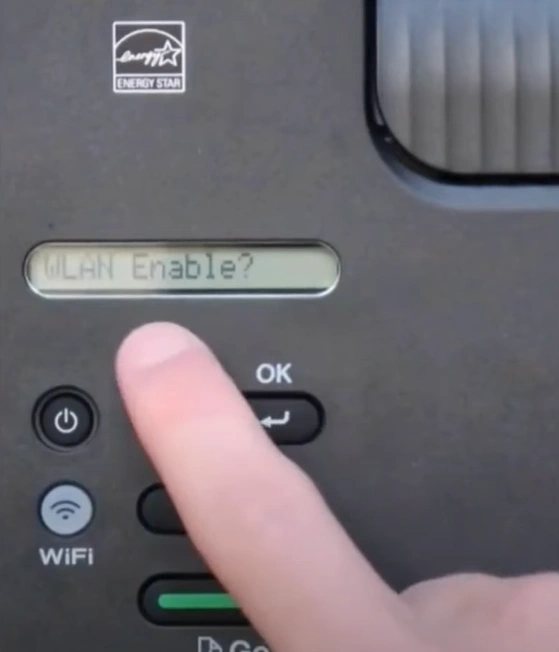
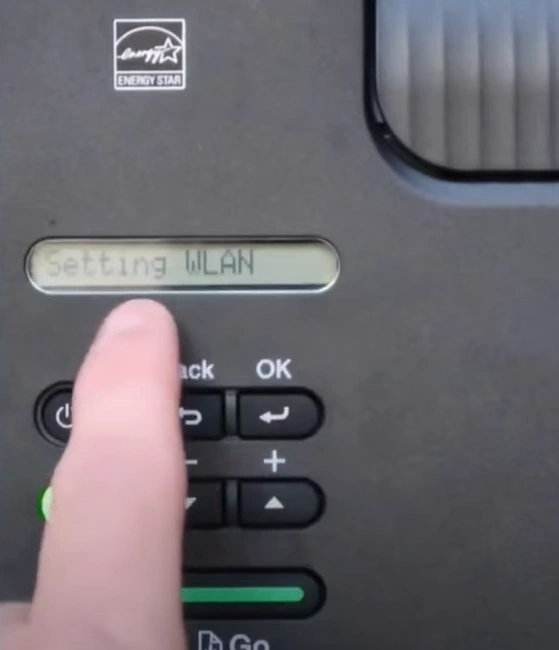
5. Now, you should press the up arrow key to choose Next; the setting process will start after that.
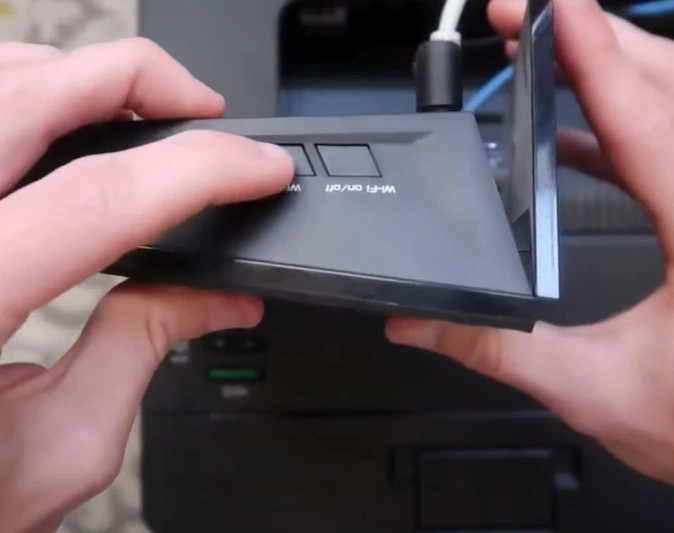
6. After that, move to your router, then press and hold the WPS button until the power light starts blinking.
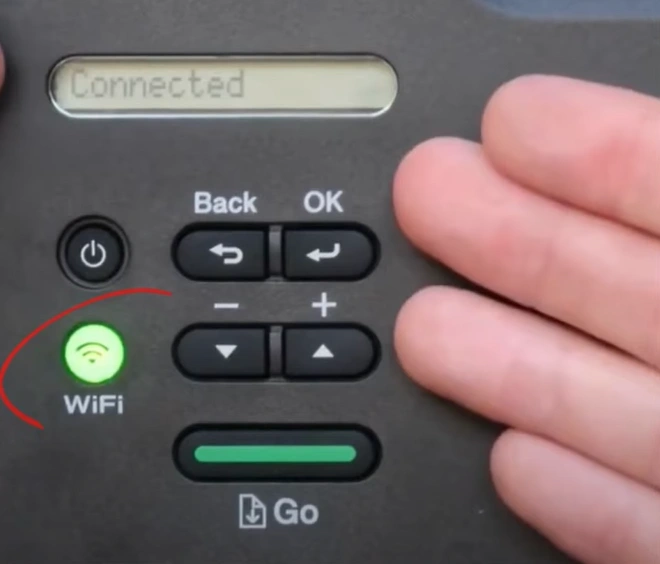
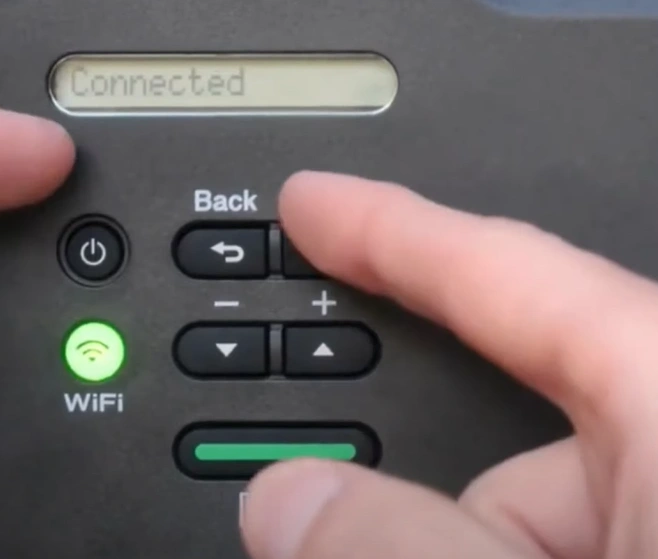
7. When the connection is established, you will see a Connected message, and the Wi-Fi light will remain lit.
8. At last, you can print a test page to check if the printer is performing all the tasks smoothly.
Method 2: Via Setup Wizard
With the help of the Setup Wizard method, you can easily complete the connection process of your Brother HL L2305W printer.
1. Initially, select the Network option from the Brother printer control panel and choose OK.
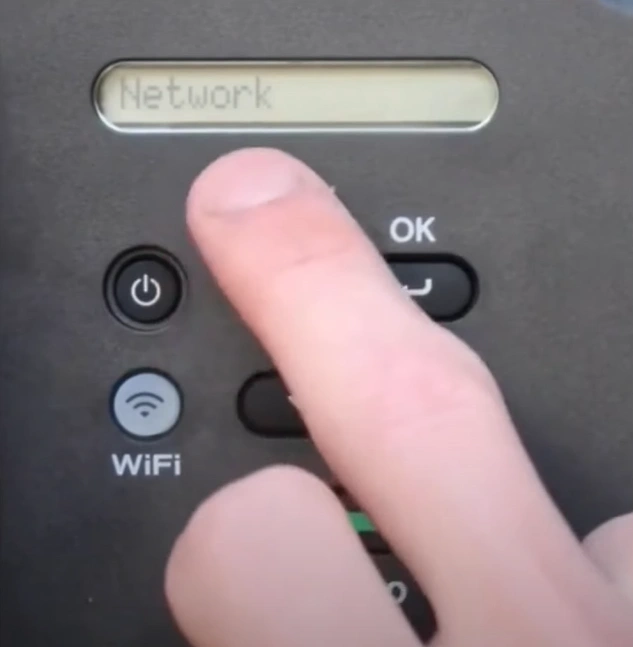
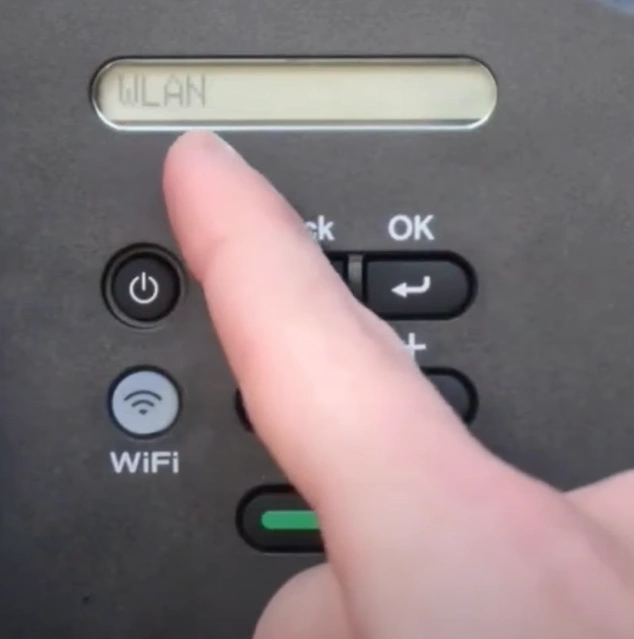
2. Next, select WLAN and press OK.
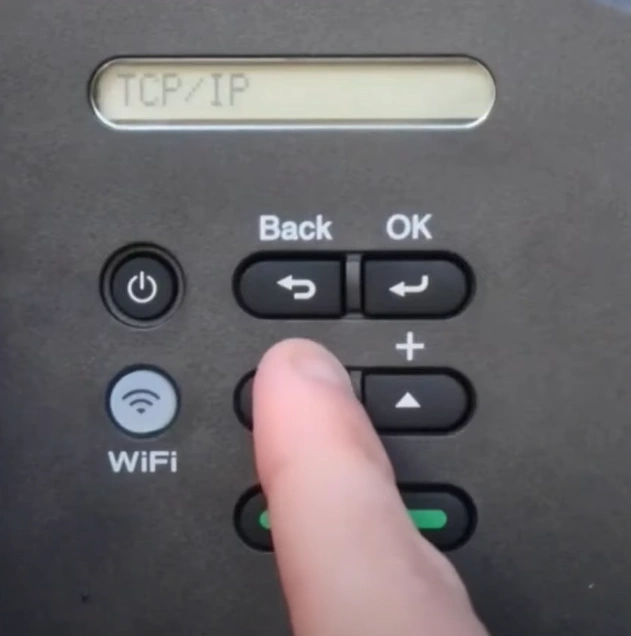
3. After that, choose Setup Wizard and then select OK.
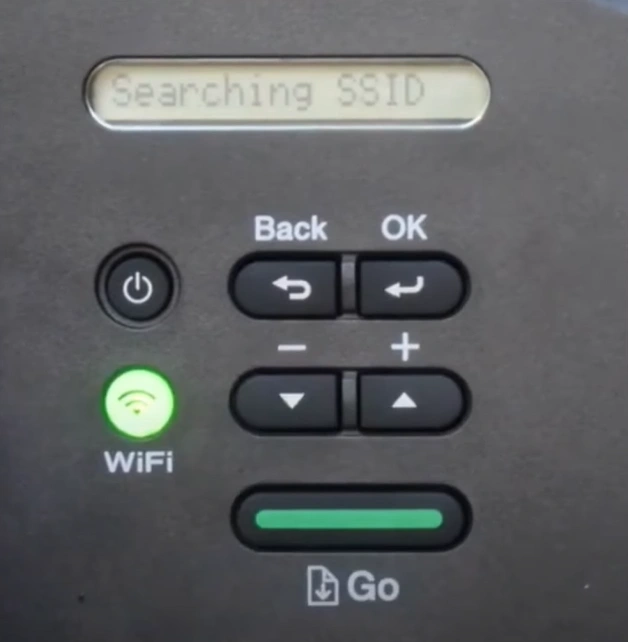
4. Now, press the down arrow button to Enable WLAN; the system will start scanning for the available networks.
5. With the help of arrow buttons, scroll down and choose your network name.
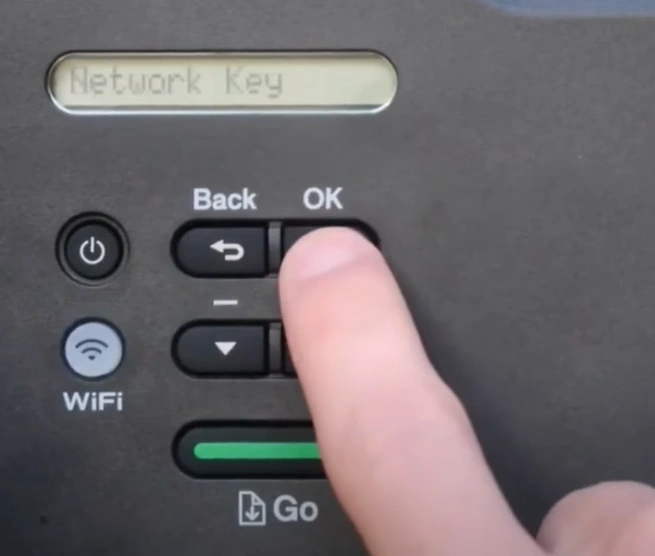
6. Further, you are required to type the network password and then press OK.
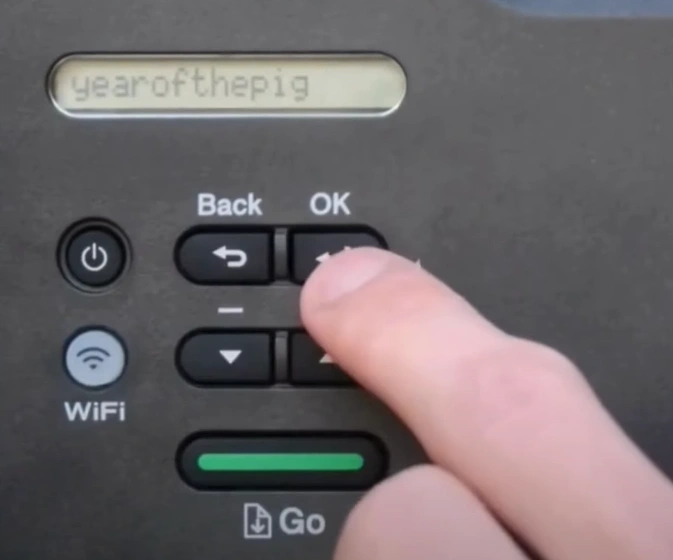
7. Once you see the "Apply Settings?" display, press the down arrow button to select Yes and it will start connecting.
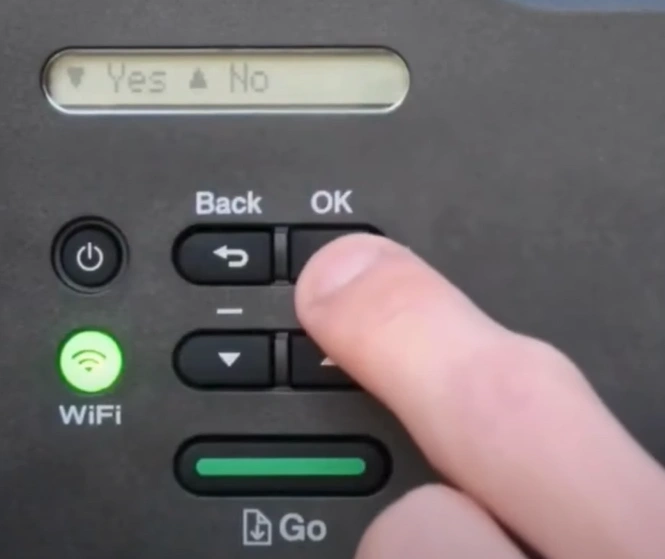
8. When you get the Connected message on the LCD panel, the Wi-Fi light will remain lit.
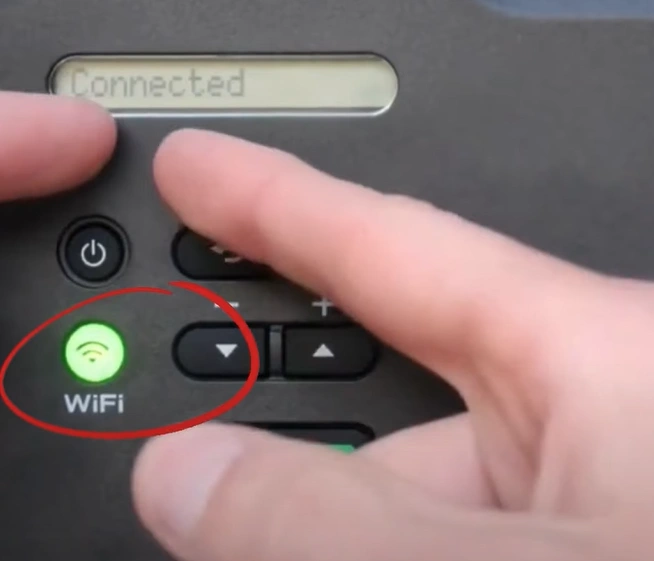
9. Finally, click on the OK button and start using your printer.
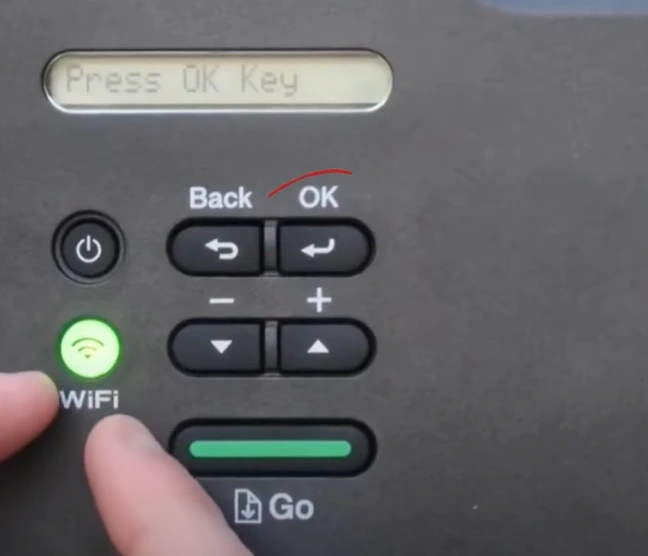
Method 3: Wi-Fi Direct Method
Follow-ups are the simple steps you can follow to complete the printer wireless setup using the Wi-Fi Direct method.
1. First, you are required to navigate to the Network option from the printer's control panel and then press the OK button.
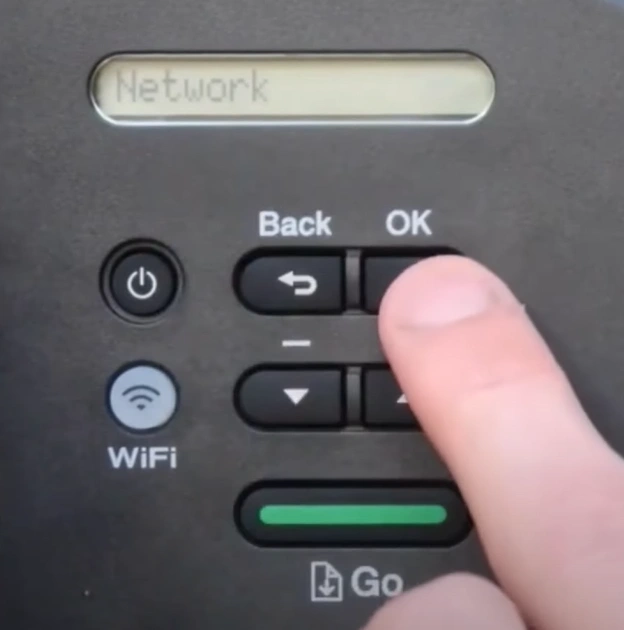
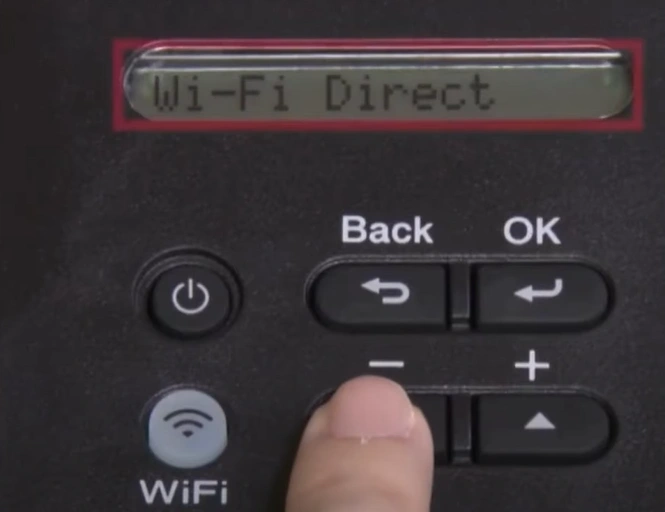
2. With the help of arrow buttons, select Wi-Fi Direct and then press OK.
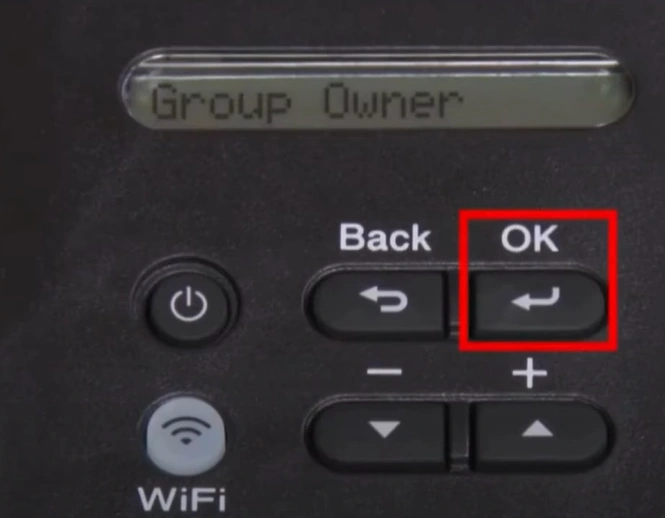
3. Choose Group Owner and press OK, then press the down arrow button to choose On, then press OK.
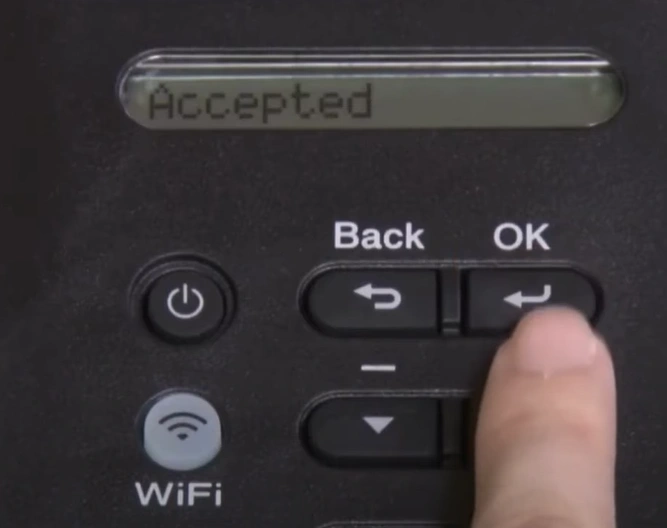
4. You will get an accepted message; now select Manual and Press OK.
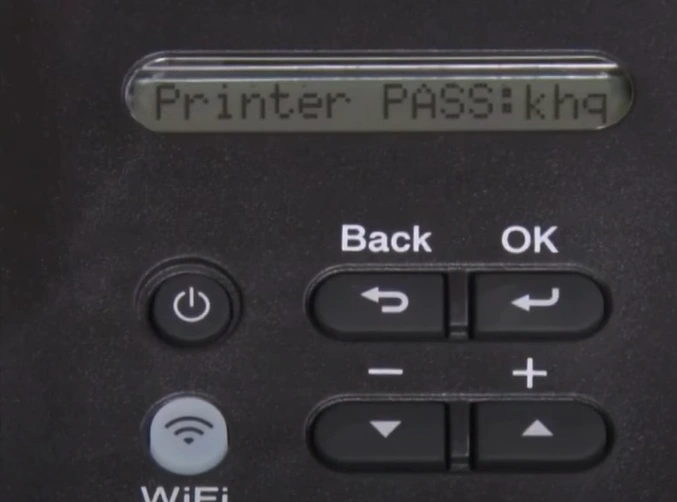
5. Next, you will find that the SSID and the password will be displayed on the screen; note it down for further use.
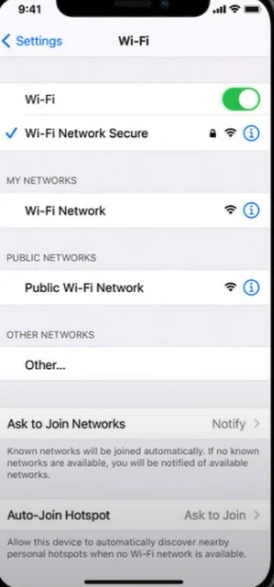
6. Now, go to your smartphone device and navigate to the Wi-Fi settings.
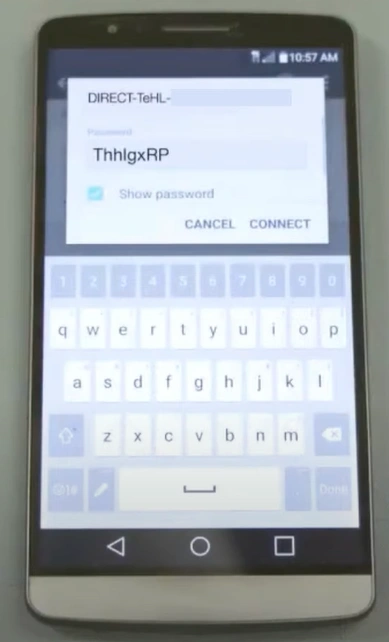
7. Then, you need to choose your SSID, type the correct password, and tap on Connect.
8. Once the printer's wireless connection is established, it will display the Connected message.
9. Now, you can enjoy using the device and printing error-free document copies.
Wrap Up
We hope all of your doubts and troubles are cleared after learning about our top three methods for Brother HL L2305W Wi-Fi setup. Use all these methods to find which one is working perfectly and establish the setup of your printer. Besides that, if any more problems arise with the setup, then I would be wise to seek more guidance.

