How to Connect HP Officejet 6962 to Wi-Fi?
HP printers certainly come with powerful connectivity options to set them up wirelessly. However, it is common to encounter some common errors while connecting your device to Wi-Fi. The key causes that can put you in this situation are following the wrong connection process, restricting your connection to a device, using the wrong driver, and others. Various proven methods are available that can help you complete the connection process in no time.
However, if you don’t know how to connect the printer to Wi-Fi, we are here to help you out. Here, you will learn about the easy-to-follow methods to complete the printer Wi-Fi setup with the utmost ease. Hence, let’s dive into the process right away!
Method 1: Connect Via Control Panel
The follow-up steps will allow you to connect your HP Officejet printer to Wi-Fi using the control panel.
1. Initially, press the power button to turn on your HP printer.
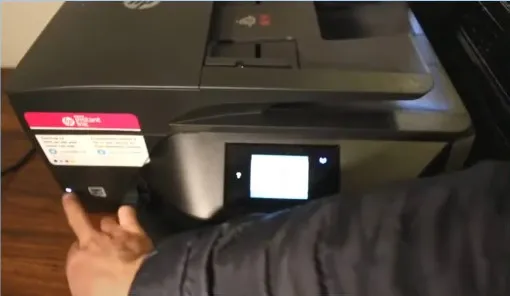
2. Go to the control panel and scroll down the top bar.
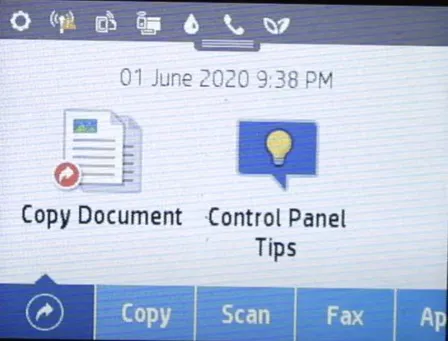
3. Now, press the Settings icon and choose the option Network Setup.
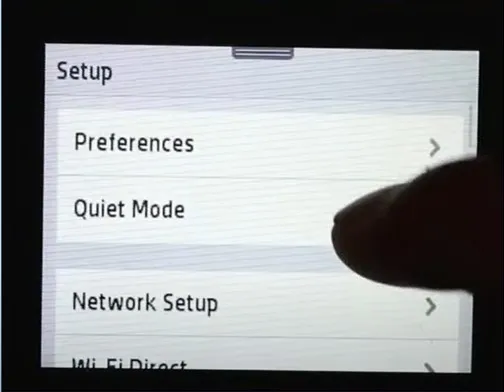
4. After that, choose the option Wireless Settings and make sure that the Wi-Fi is turned on.
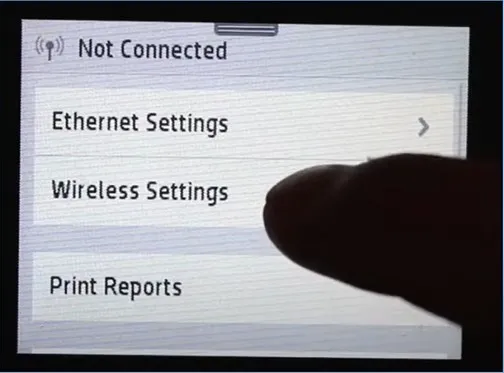
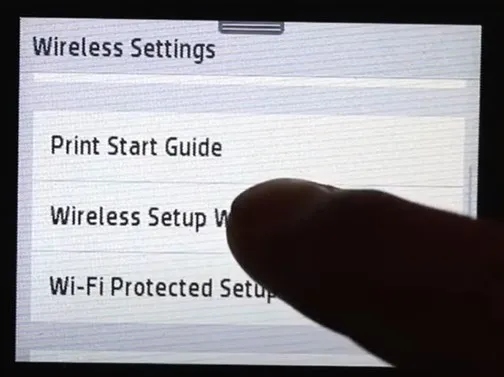
5. Scroll down and select Wireless Setup Wizard, and it will start searching for the available routers.
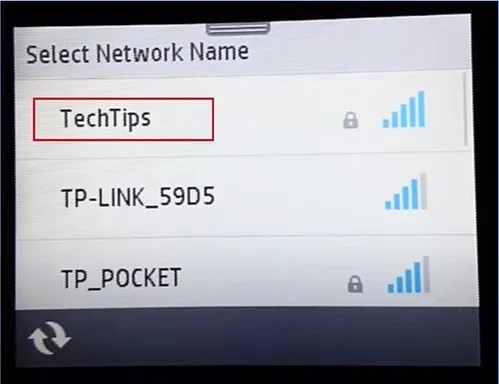
6. Choose the network you want to connect with, and then select the Touch To Enter option.
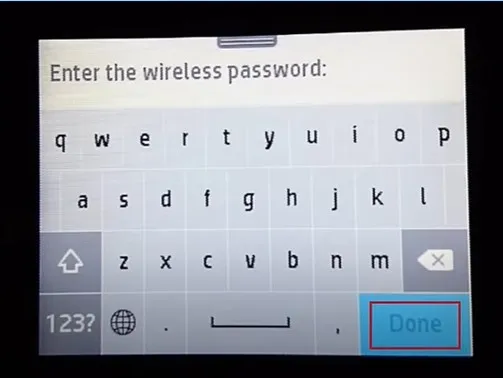
7. Enter the password for your network and select the Done option.
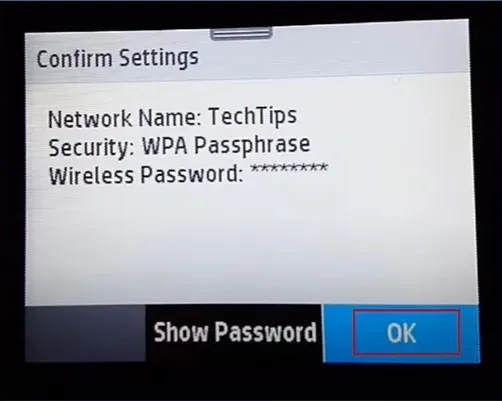
8. Now, in the Confirm Settings screen, tap on OK, and it will start the connecting process.
Also Read:- Fix HP Officejet Pro 8610 Missing or Failed Printhead
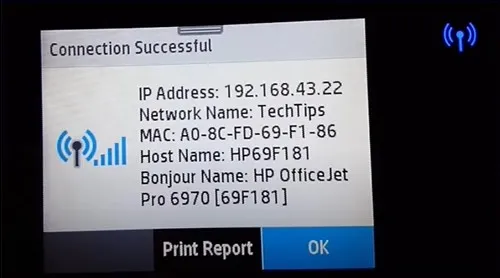
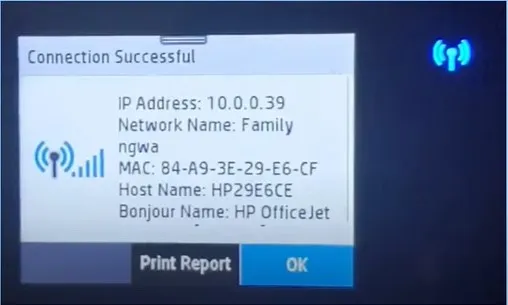
9. Once the connection is successfully established, check the details and press OK.
10. Finally, you can use your printer to print the documents you want.
Method 2: Connect Via WPS PIN
Here is an extensive guide to connecting the printer to your wireless router. Follow the steps to complete the process hassle-free.
1. First, scroll down the top bar in the display panel and choose Settings.

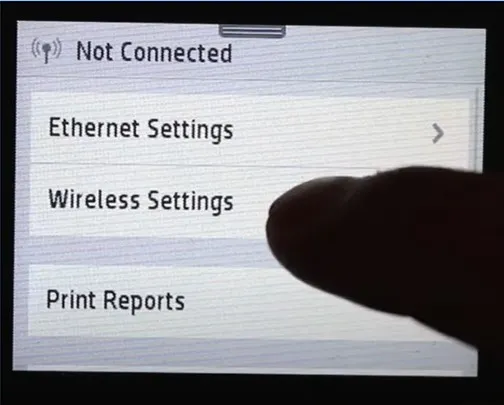
2. After that, choose Network Setup and then choose Wireless Settings.
3. Now, Wi-Fi Protected Setup and then choose the PIN option.
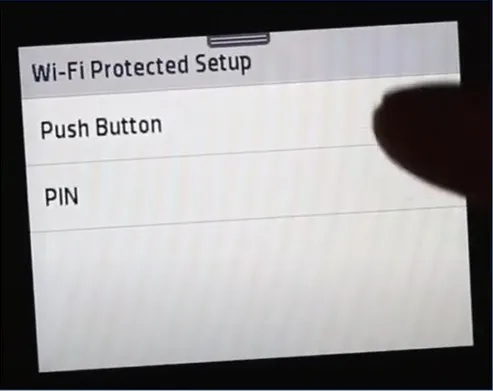
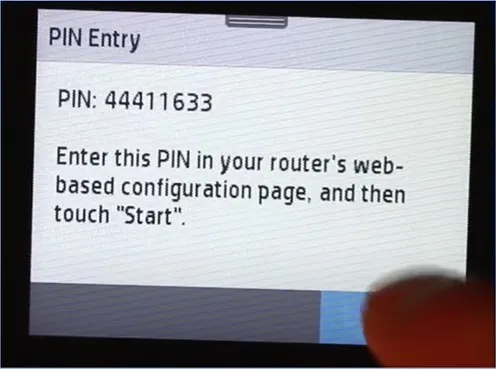
4. Next, the printer will display the PIN number on the screen.
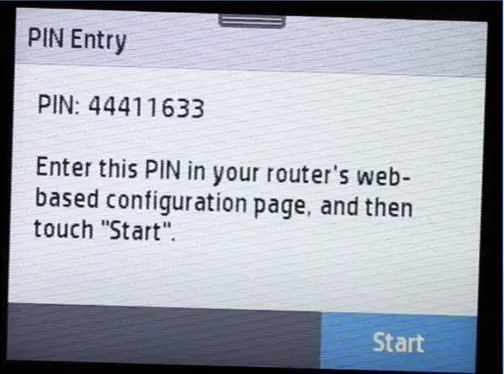
5. Then, go to the computer that’s connected to the wireless network.
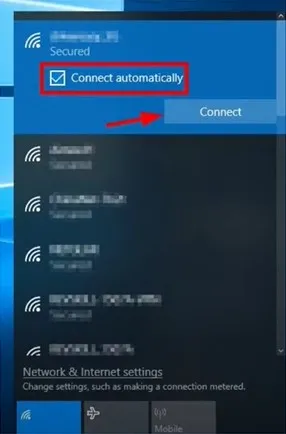
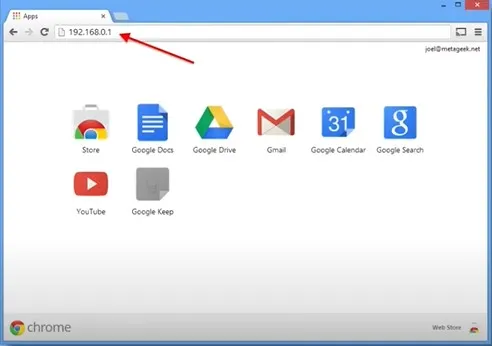
6. Open the web/internet browser and type in your router’s IP address.
7. In addition, log into your router’s web-based management page.
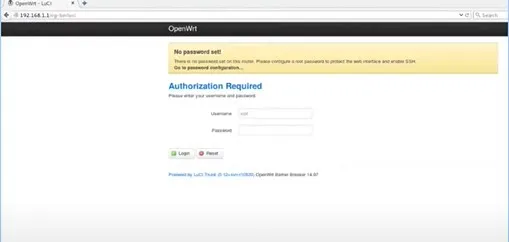
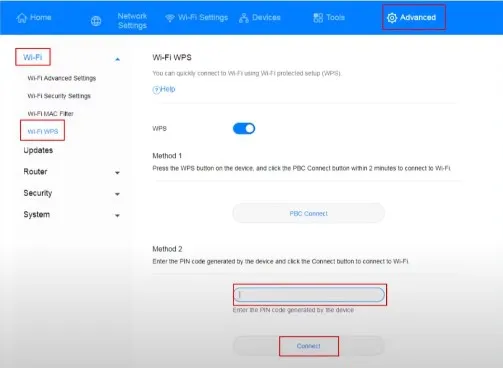
8. Go to the Advanced tab and then, select Wi-Fi, and choose Wi-Fi WPS.

9. Now, enter the PIN displayed on the printer in the field and then click on Connect.
10. Furthermore, head to the printer and click on Start to begin the connection process.
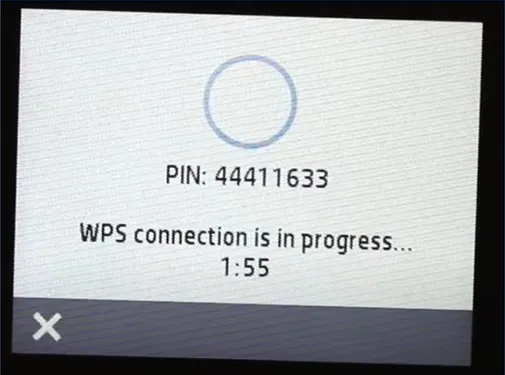
11. Wait for some time for the connection to be established.
12. Once the connection process is successful, you can continue with your printing tasks.
Final Words
We hope our comprehensive methods are helpful in establishing the connection between your HP OfficeJet 6962 and Wi-Fi. Make sure to follow the steps properly to prevent any errors from happening. Apart from that, it would be best to search for additional help if you are having any problems during the connection process.

