HP Printer Misaligned Printing [Fixed]
![HP Printer Misaligned Printing [Fixed]](https://printertales.com/public/upload/blog/6880a402202e6_hp-printer-misaligned-printing-fixed.webp)
The printer printing misaligned documents can be really disappointing and affect your work. Your HP printer can also experience misaligned printing problems for many reasons, such as system glitches, printing settings, low ink levels, improper paper installation, and many others. Taking the right actions is important to have an immediate effect on fixing the misalignment while printing. Here, you will gain the proper understanding of the 5 best possible solutions that will help you remove this issue.
Method 1: Reset the Printer
Sometimes, restarting your printer device can resolve the printing misalignment for your device. Below are the proper steps you can follow to reset the printer.
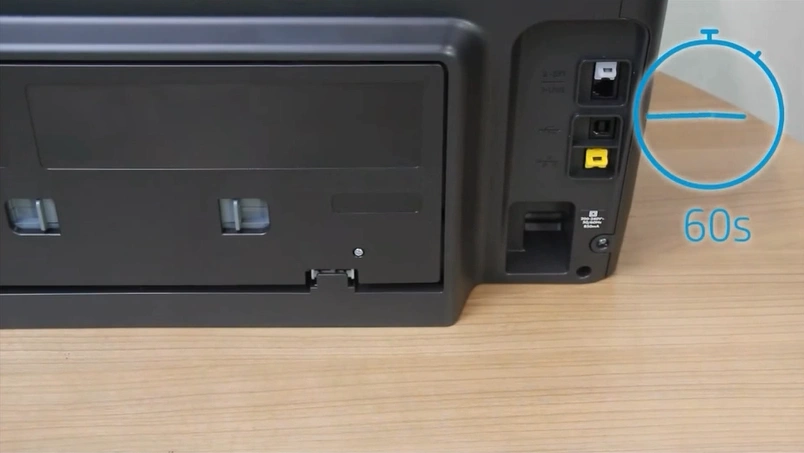
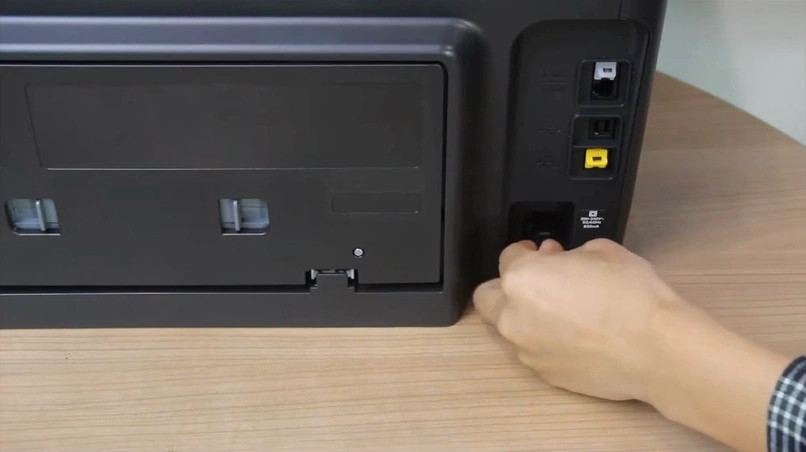
1. While the printer is powered on, remove the power cord.

2. Then, wait for around 60 seconds.
3. Connect the power cord again.
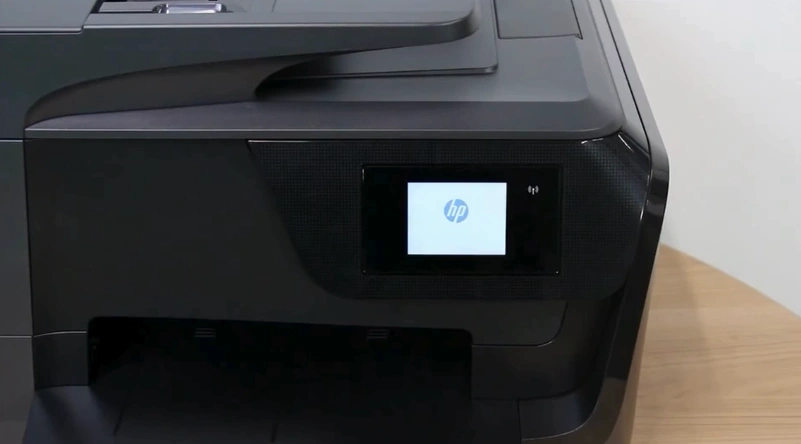
4. Now, the printer will turn on automatically.
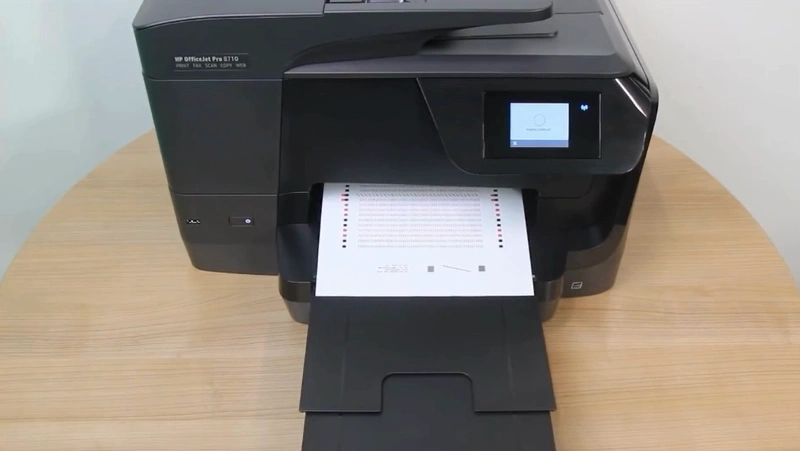
5. After that, print an alignment test page to check if the issue has been resolved.
Method 2: Print an Alignment Page With the HP Smart App
To resolve the misalignment printing of your printer with the help of the HP Smart App. Follow the quick steps you can follow.
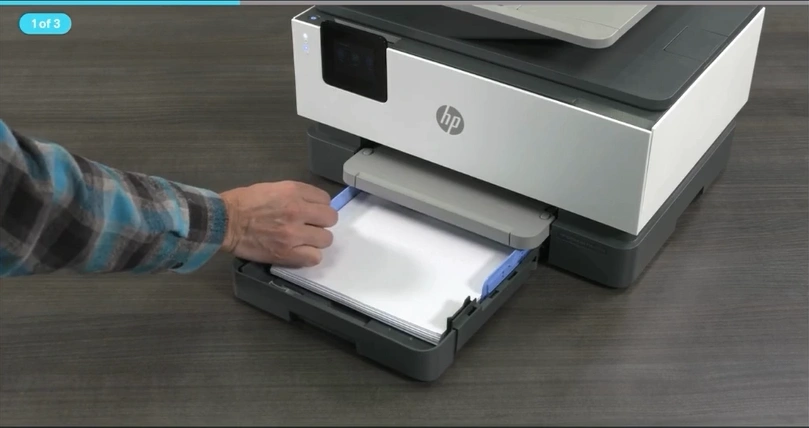
1. Initially, load papers into the tray.
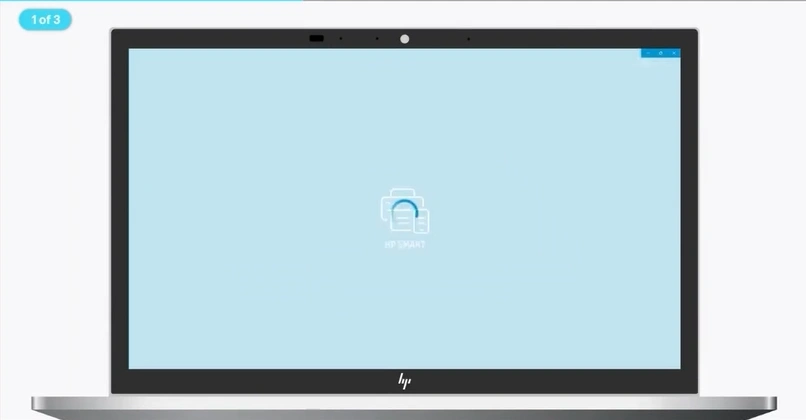
2. Open the HP Smart app.
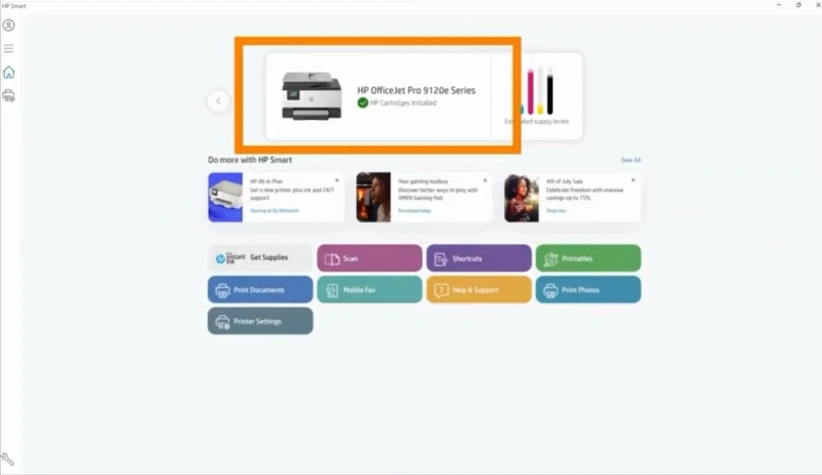
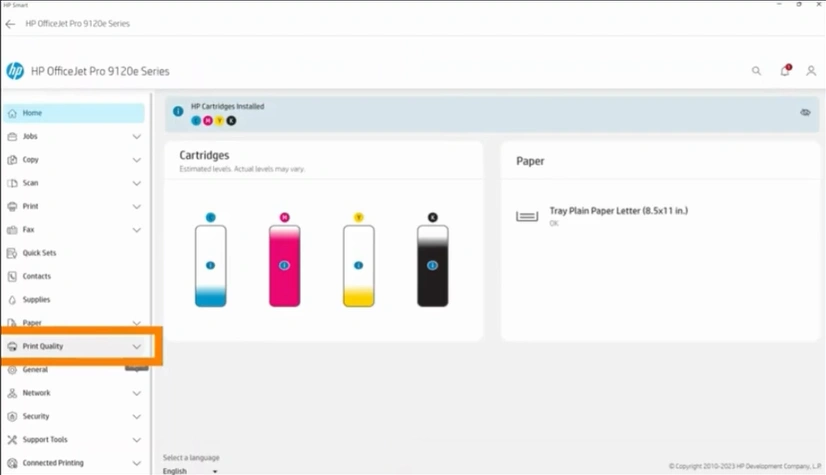
3. Click on the image of your printer.
4. Click on Advanced Settings.
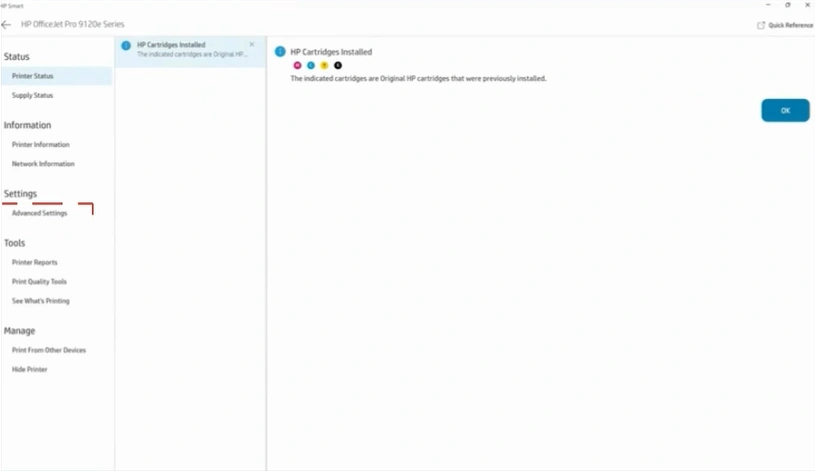
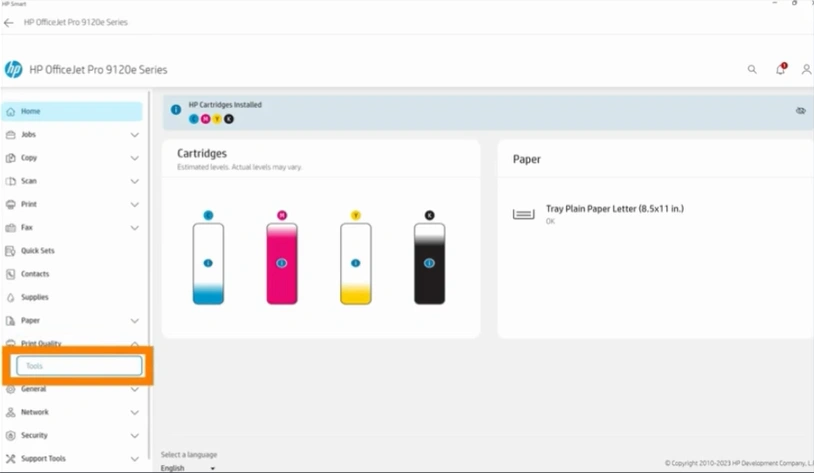
5. Furthermore, it expands Print Quality.
6. Then, open the Tool window.
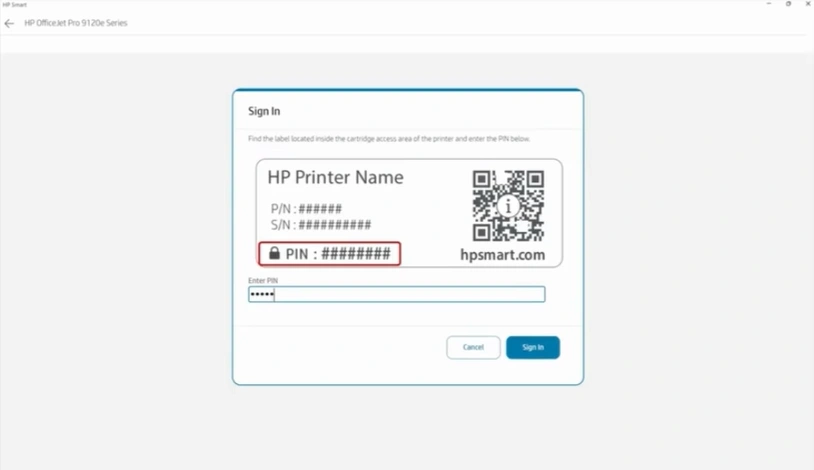
7. Enter PIN to sign in if prompted.
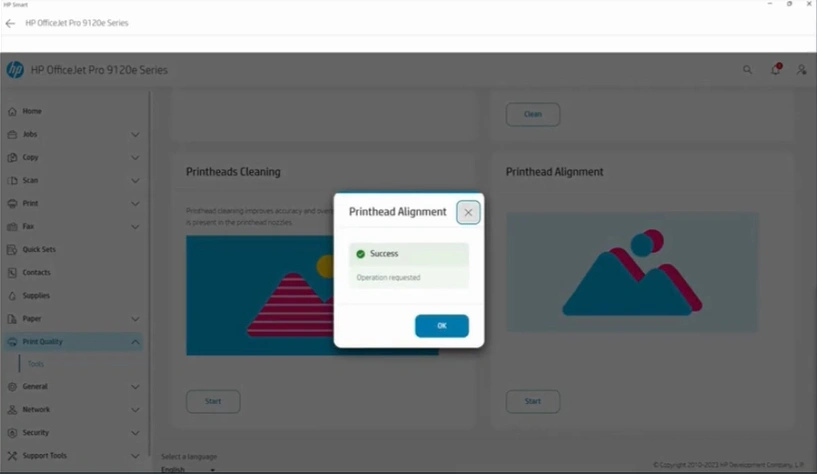
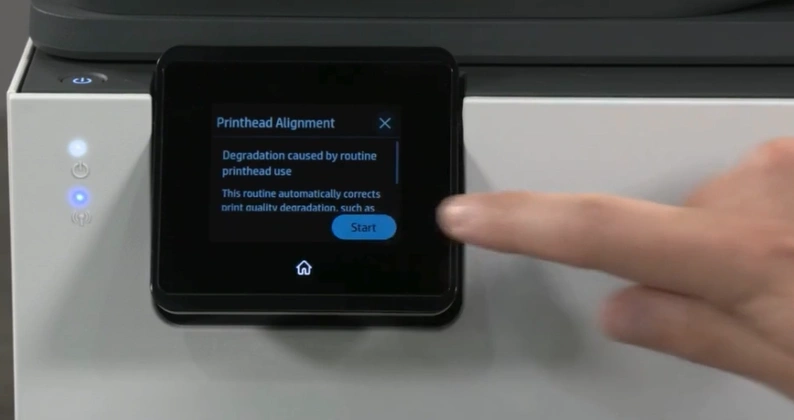
8. Scroll and go to Printhead Alignment.
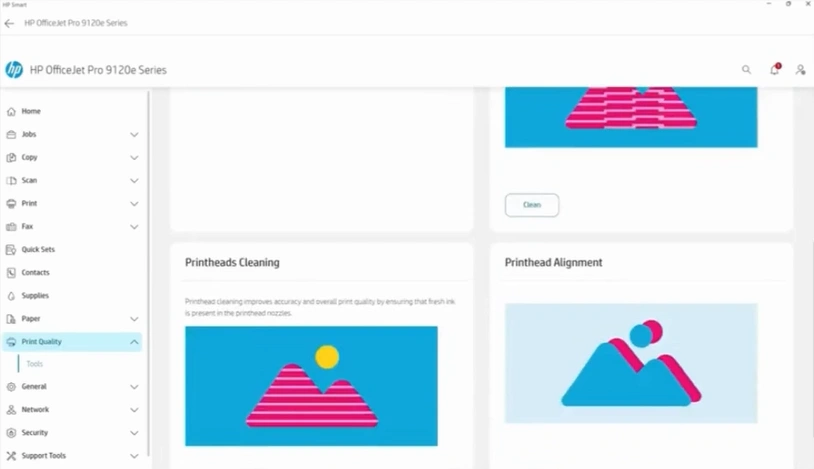
9. Next, click on Start.
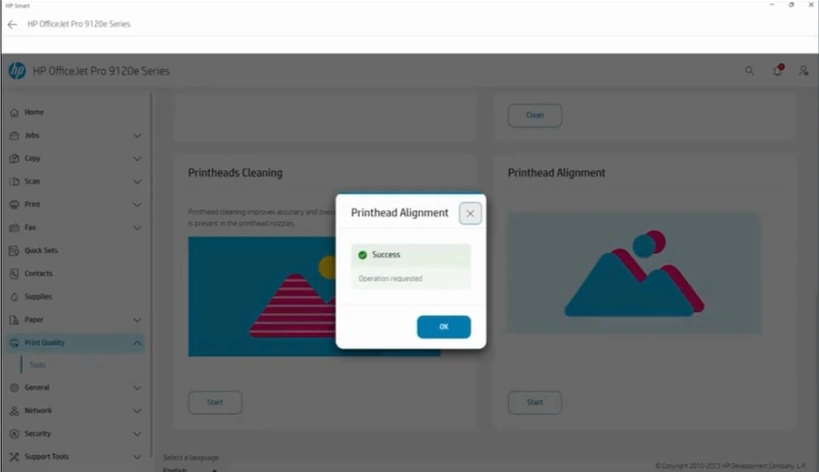
10. A Printhead Alignment pop-up will show Success.
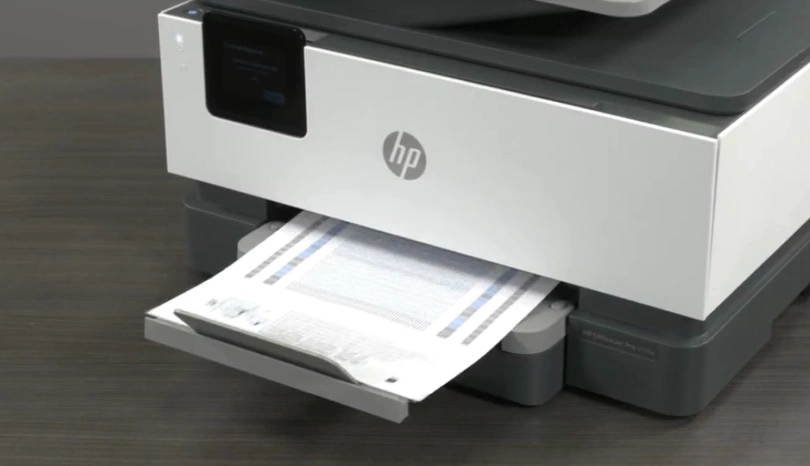
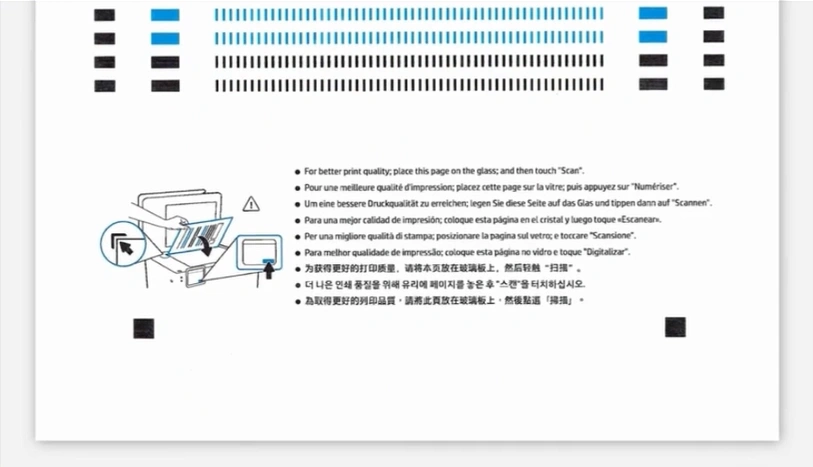
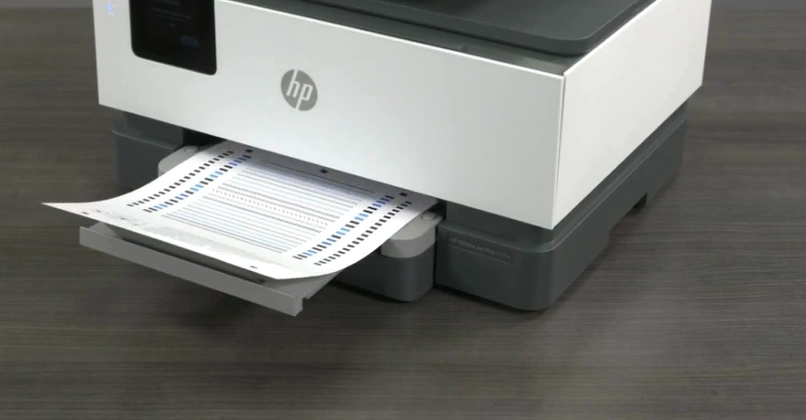
11. Receive the printhead alignment print.
12. Follow the instructions given on the printed page.
Method 3: Print an Alignment Page With the Printer’s Control Panel
You can also use the alignment page with your printer’s control panel to check if there are any issues. These are the steps you can follow to achieve that.
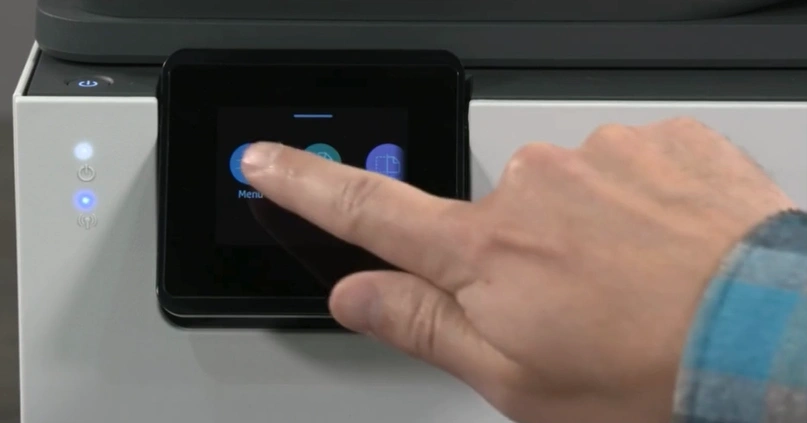
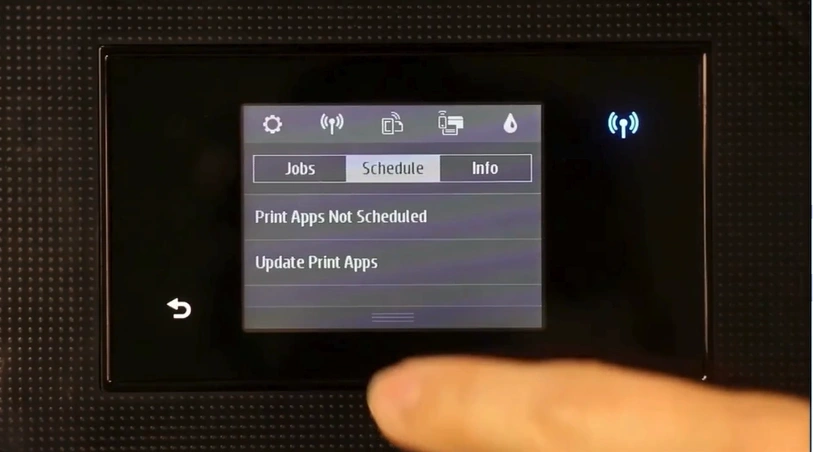
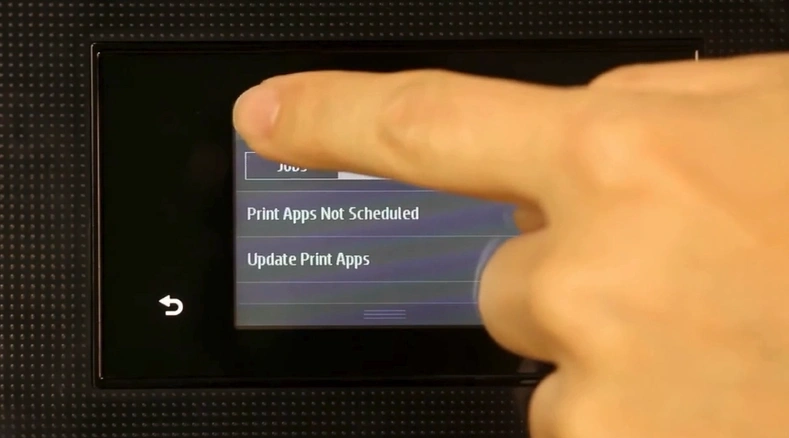
1. If your printer has a touchscreen display, tap on Menu.
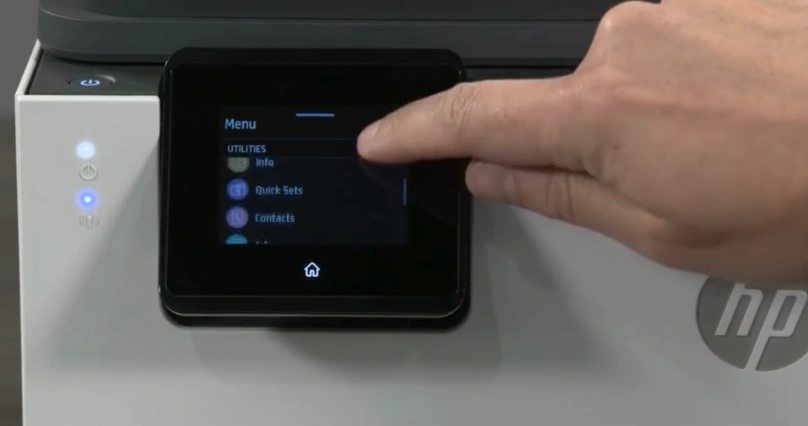
2. Under Utilities, scroll down and open Tools.
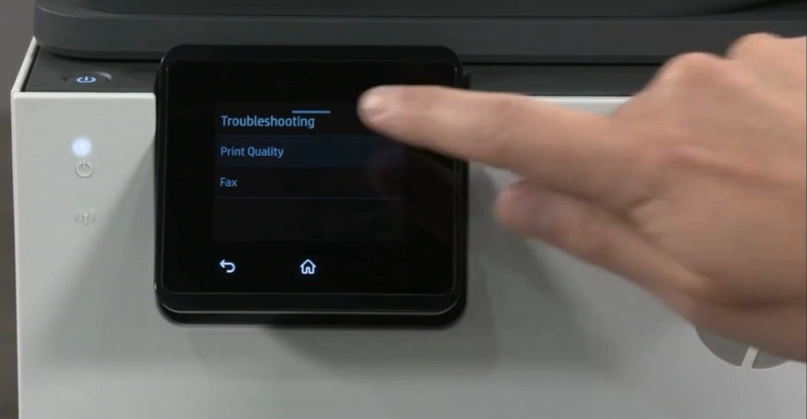
3. Tap on Troubleshooting.

4. Select Print Quality.
5. Next, tap on Printhead Alignment.
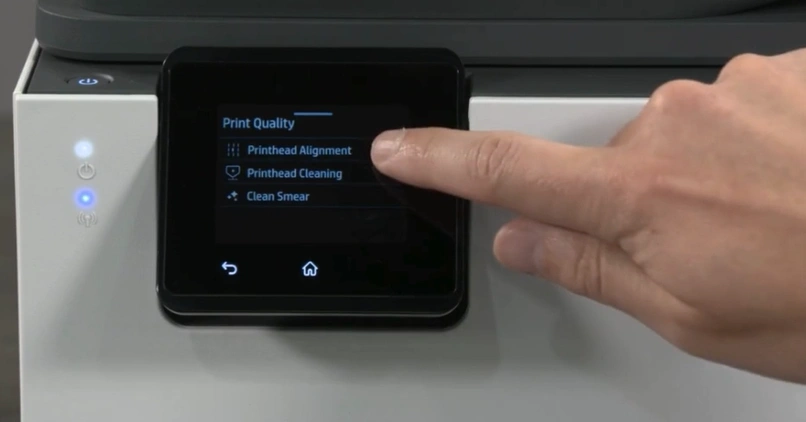
6. Then, press the Start button.
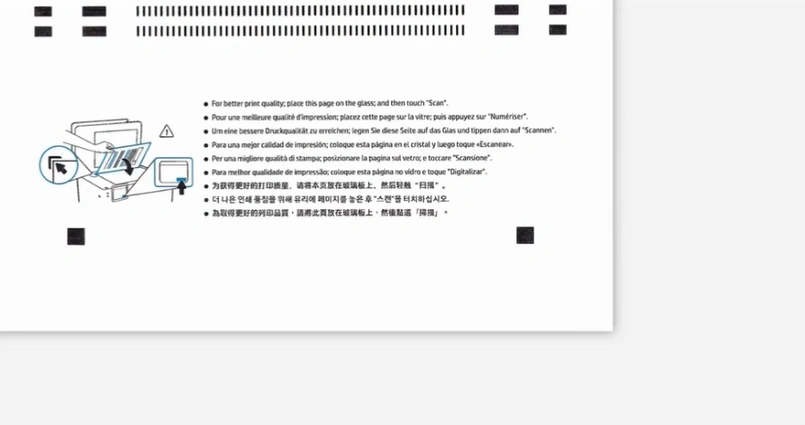
7. Receive the printhead alignment print.
8. Follow any instructions given on the print.
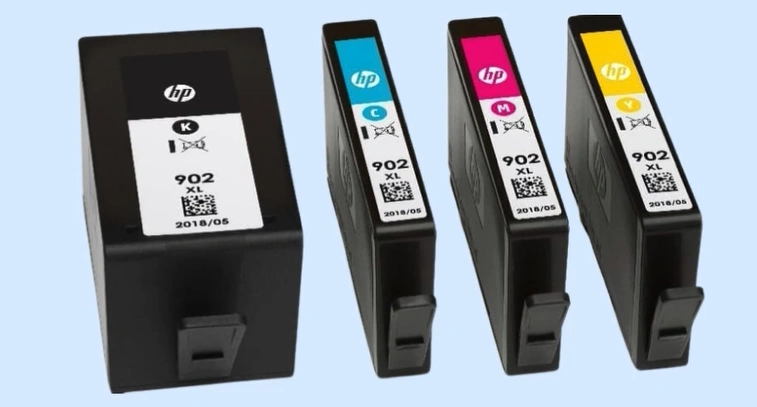
Method 4: Check the Ink Levels and Remove any Empty Cartridges
Low ink levels or an empty cartridge can also cause misaligned printing on your device. Here are the steps to check the ink levels and remove the empty cartridge if there are any.
1. Check the Cartridge’s ink levels.
2. If any cartridge has low ink, replace it with a new one.
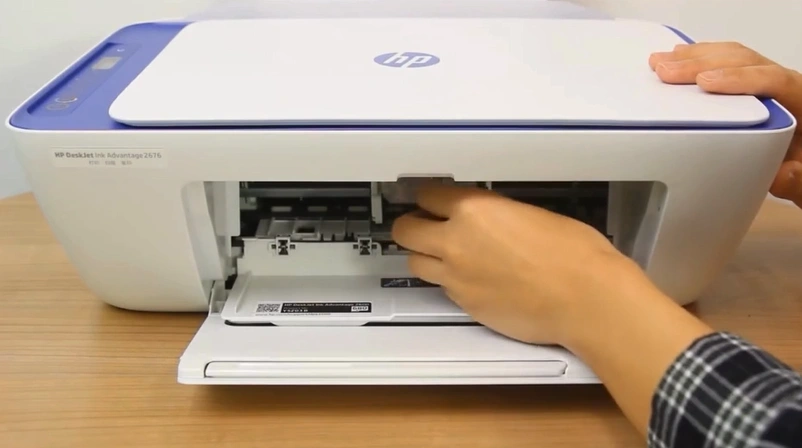
3. Open the cartridge access door.
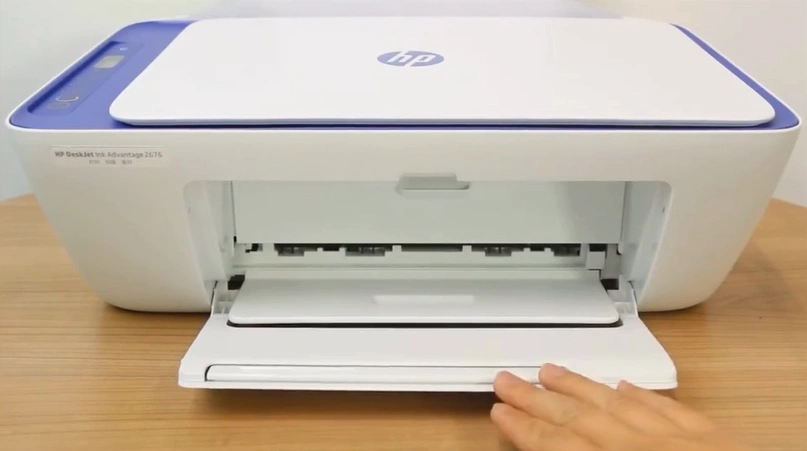
4. Wait for the printhead to come into the replacement position.
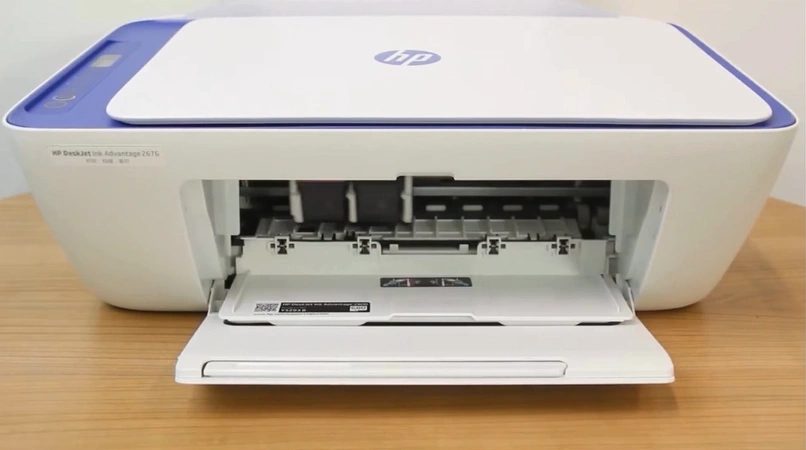
5. Take out the ink cartridge you want to replace.
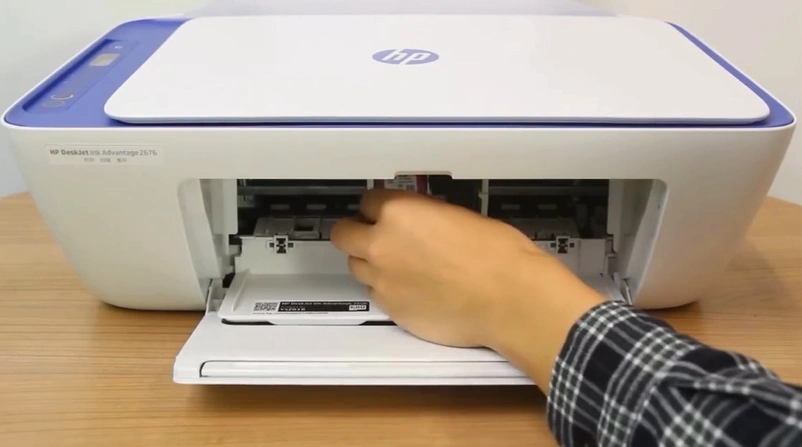
6. Insert a new HP ink cartridge.
Method 5: Clean the Cartridge or Printhead
You can also try to clean your printer’s printhead or cartridge to resolve the misalignment during printing. Below are the quick steps to do that.
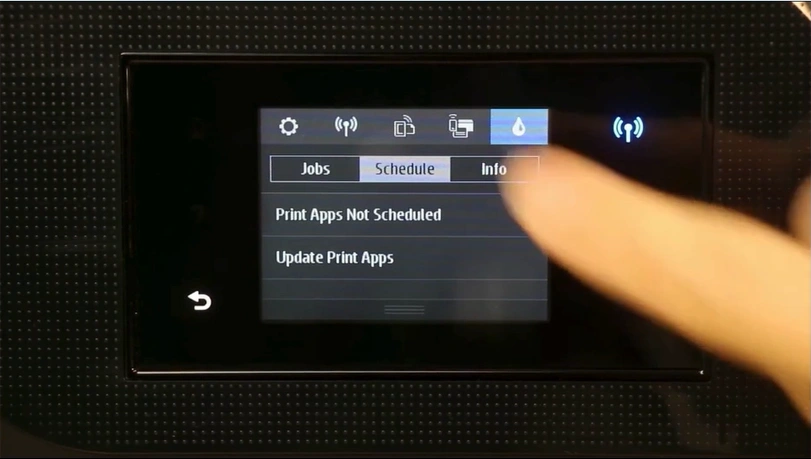
1. Go to your printer’s display.
2. Open Setup.
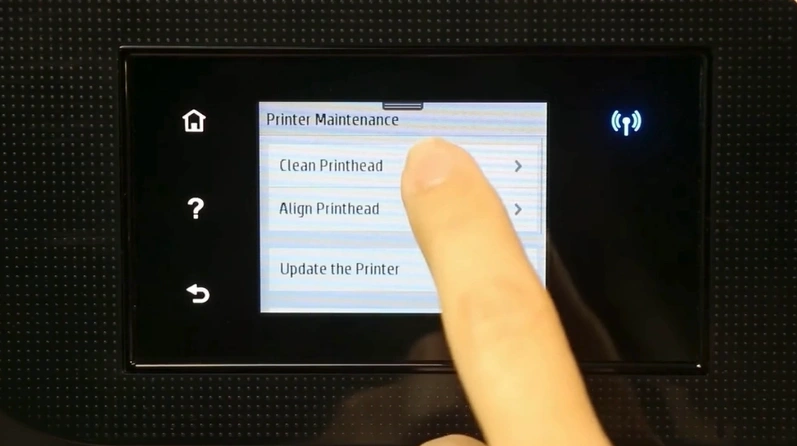
3. Scroll to Printer Maintenance.
_1753263685.webp)
4. Tap on Clean Printhead.
5. Tap on Continue.
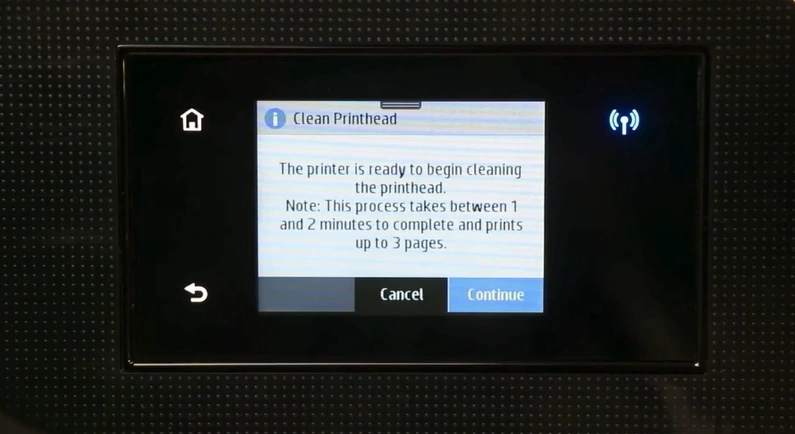
6. Wait for the printhead cleaning to complete.

7. Now, check if your HP printer misalignment problem has been resolved or not.
Final Words
We hope that after using these 5 fixes we have shared with you, the HP printer misaligned printing problem from your device is gone. You should ensure you are following each step properly to get the desired results quickly and avoid problems during the process. However, if any problem occurs or if you need more help, then it would be wise to get your hands on more guides and resources.

