Resolve the HP 5200 Printer Not Printing Problem

A printer that refuses to print is a common problem for many users, and it can be frustrating when it happens in the middle of an important task. You may have faced this issue with an HP LaserJet 5200 printer and wondered, “What's causing the problem?” You might have checked for loose cable connections or jammed paper in the tray. You may also have restarted both your PC and the printer, but still, nothing worked.
Even after trying your best, the issue may remain unresolved. Don’t fret, as we have outlined the correct methods to fix the HP 5200 not printing problem. Before diving into these methods, it’s helpful to highlight some potential issues that can arise during troubleshooting.
Common Issues During Troubleshooting
When attempting to fix the HP LaserJet 5200 printer not printing problem, it is likely to encounter the following issues:
- Outdated drivers
- Wrong printer settings
- Pending print jobs
- Sheets are stuck inside the printer
- Low or empty ink/toner levels
- Network configuration issues
Top 3 Methods to Fix HP 5200 Printer Not Printing
Try these methods to resolve the HP LaserJet 5200 that won’t print:
Method 1: Cancel Printer Jobs
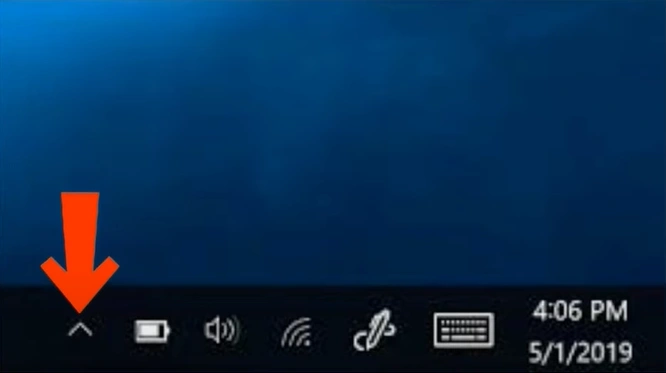
Step 1: On your PC, click the hidden icons arrow in the notification area of the taskbar.
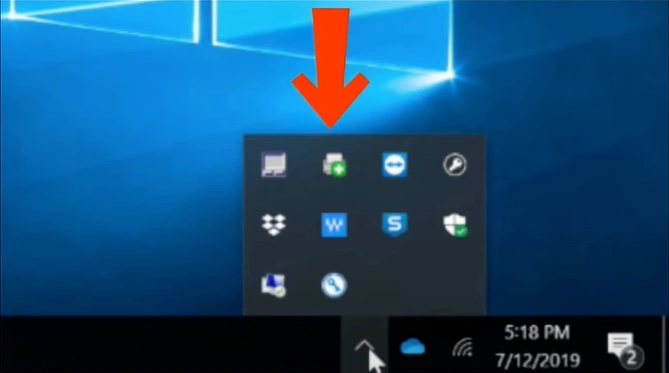
Step 2: Next, find and double-click on the printer icon.
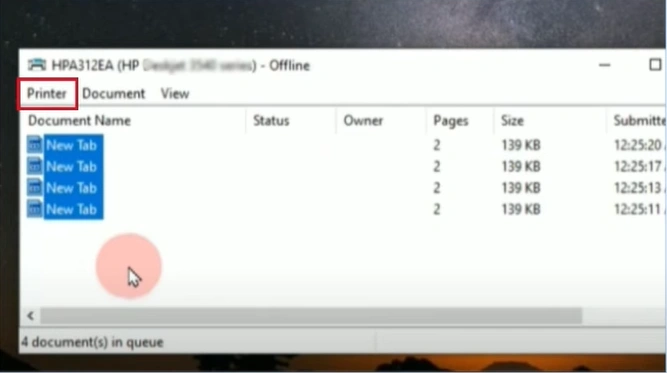
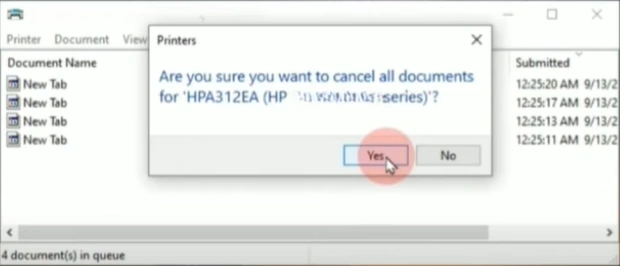
Step 3: A pop-up window will appear. Click the “Printer” tab.
Step 4: Go ahead and click the Cancel All Documents option from the list.
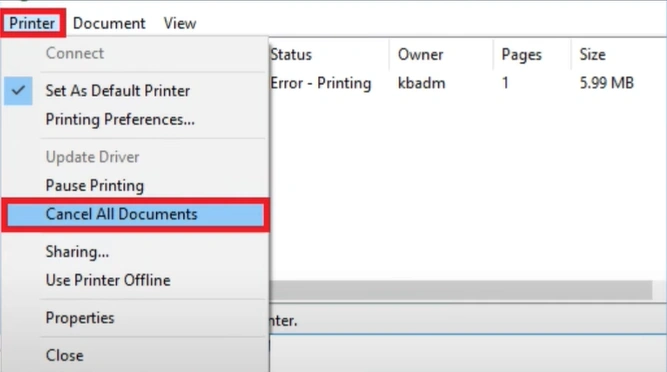
Step 5: Now, click “Yes” to confirm.
Method 2: Set Printer as Default
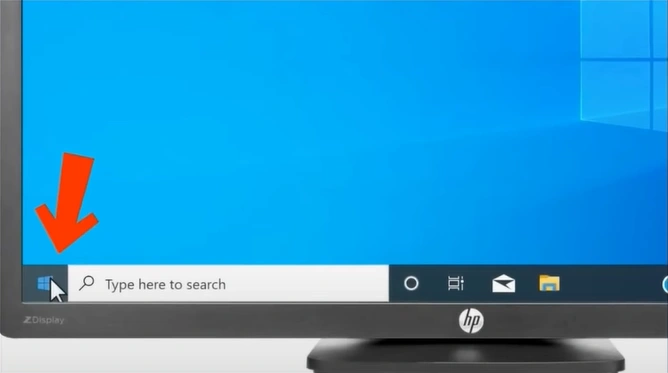
Step 1: Press the Start button or use the Windows key on your keyboard.
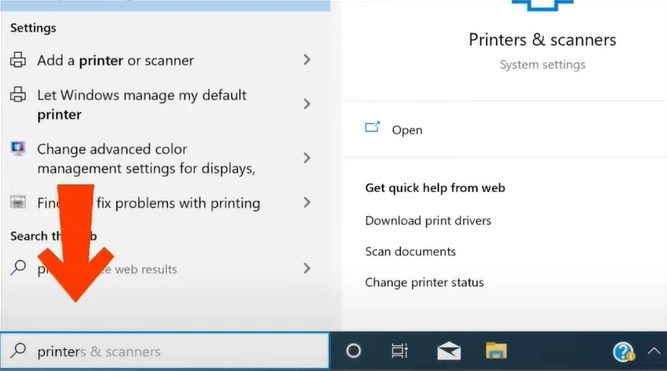
Step 2: Type “Printers & scanners” in the search bar, and select the “Open” option on the right.
Step 3: Next, navigate to the Let Windows manage my default printer option and uncheck the box next to it.
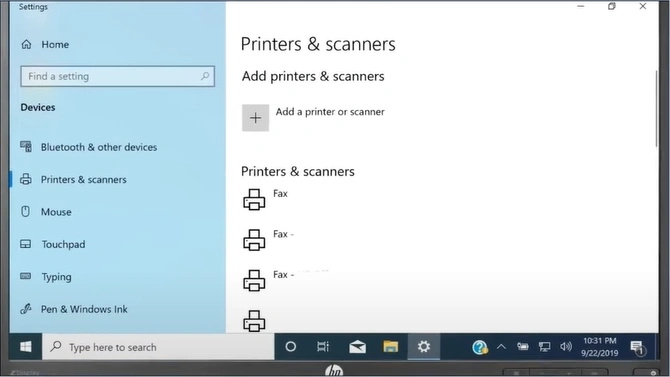
Step 4: Select your printer from the menu and click “Manage.”
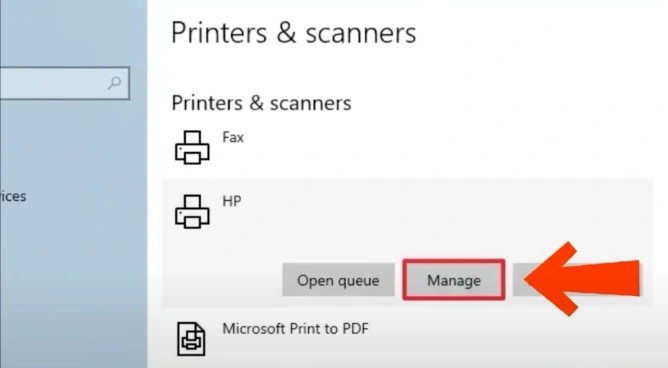
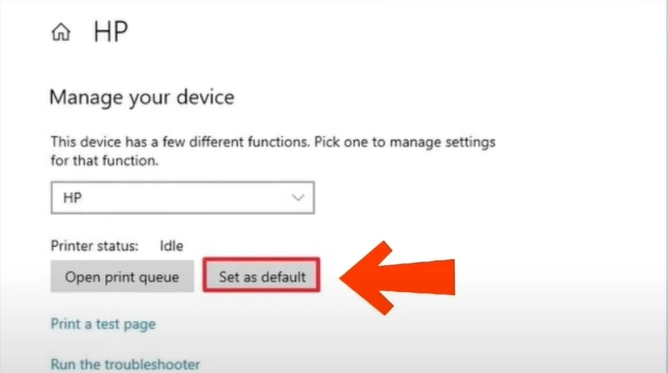
Step 5: After that, hit the “Set as Default” option.
Method 3: Manual Printer Reset
Step 1: Switch off the printer using the power button.

Step 2: Disconnect the printer’s power cord from both the wall outlet and your printer.
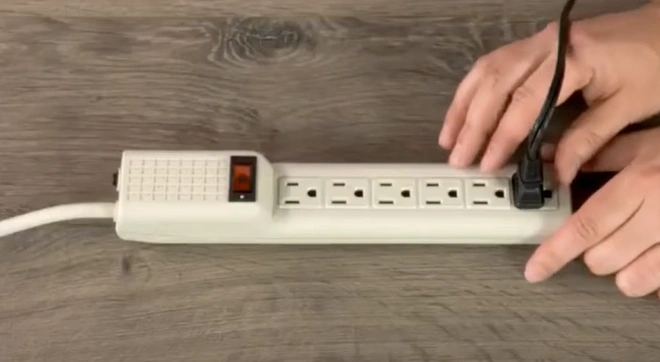
Step 3: Wait 60 seconds, then plug the cord back in and turn the printer on.

Preventive Maintenance Tips
To prevent the HP LaserJet 5200 printer from refusing to print again, follow these maintenance tips:
Check Connections
Confirm that all your cables - USB, power cord, and network are properly connected. Loose or damaged cables may disrupt communication, resulting in printing failures.
Use Good Paper
Low-quality or damp paper can cause jams and bad prints. Use the manufacturer’s recommended paper and store it in a clean, dry place.
Clean the Printer
The dirt buildup may also lead to paper jams or sensor malfunctions. So, you must regularly clean the paper path, rollers, and outside of the printer using a soft, dry cloth.
Avoid Continuous Heavy Printing
For large or continuous print jobs, pause between batches so the printer can cool down and avoid overheating.
Don’t Overfill Paper Tray
Overfilling the paper tray can cause jams. Always load paper within the tray’s recommended capacity and adjust the guides properly.
Update Printer Drivers
Sometimes the problem with the printer can occur due to an outdated driver. So, it is good to keep the driver up to date. Visit the HP official site for the latest driver updates and update them correctly.
Wrap Up
This concludes our complete guide to resolving the HP LaserJet 5200 printer not printing problem. Try any of the methods above and see if they work. Don’t skip any step, and make sure to address common issues such as outdated printer drivers, incorrect printer settings, pending print jobs, and sheets stuck inside the printer.

