How to Add Dell Printer to Mac?

Connecting your Dell printer to a Mac device could be a challenging task if you are doing it for the first time. In addition, there is a high chance of encountering issues like incomplete setup, printer not working properly, unresponsive printer, and many more. To avoid all these problems it is prudent to get the proper understanding beforehand. In the following blog, we will walk you through the three methods- wireless method, with an Ethernet cord, and using the USB cable. Make sure to carefully read at the end to gain an in-depth understanding.
Method 1: Using the Wireless Method
The following steps will help you establish the connection between the Dell printer and the Mac device.
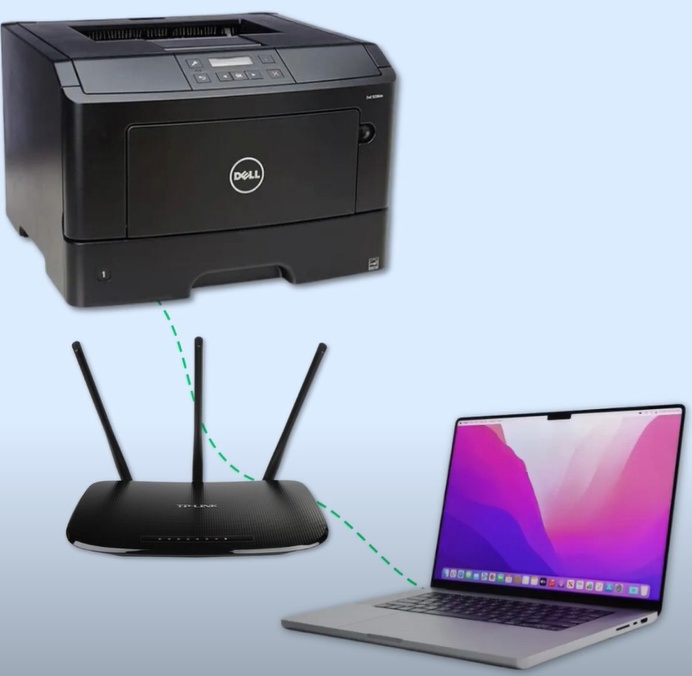
1. First, make sure your printer and system are connected to the same wireless network.
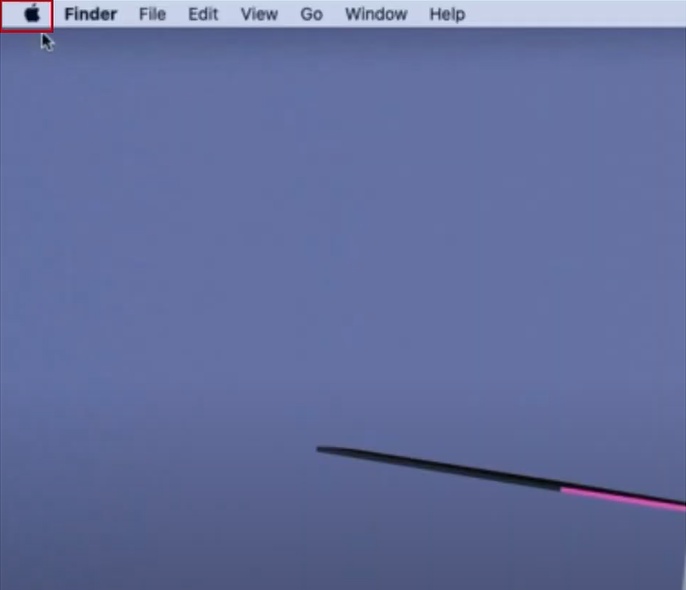
2. Then, click on the Apple icon and then go to System Preferences.
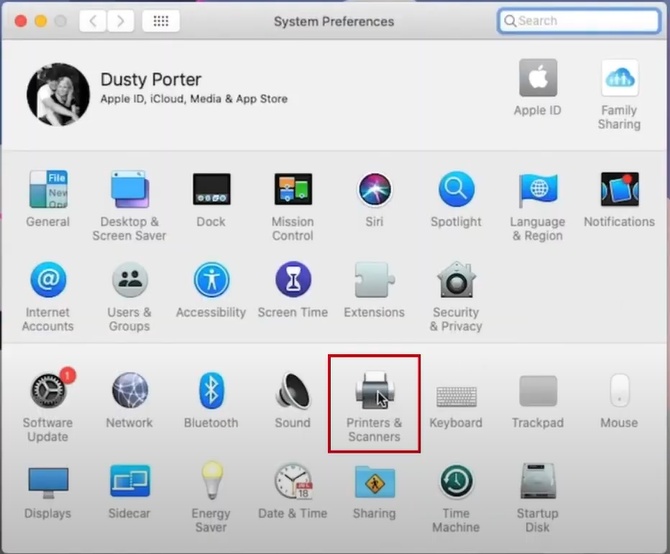
3. Click on the Printers & Scanners option on the open page.
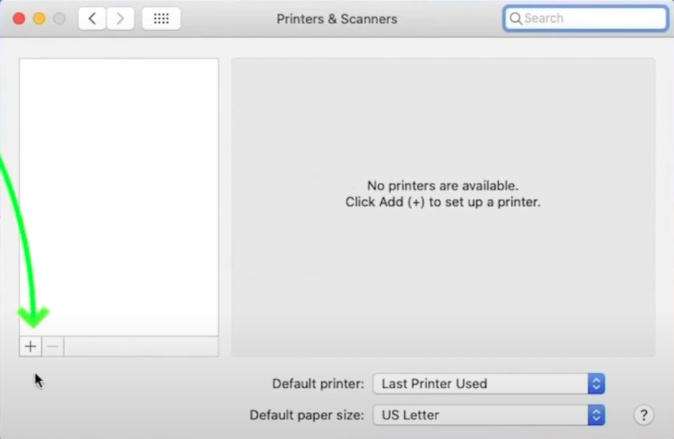
4. Click on the plus (+) sign in the printers & scanners window.
 sign_1734170547.jpg)
5. If your printer is connected to the same network, you will see it on the list; select it.
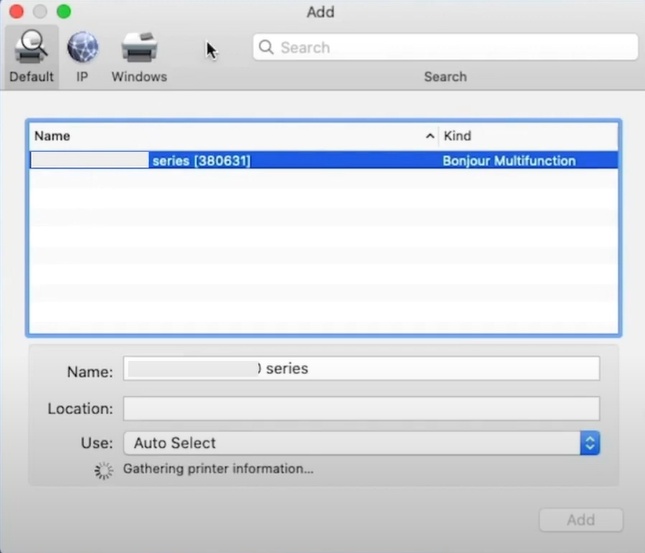
6. If you do not see your printer, go to IP, enter the IP address of the printer, and click Add.
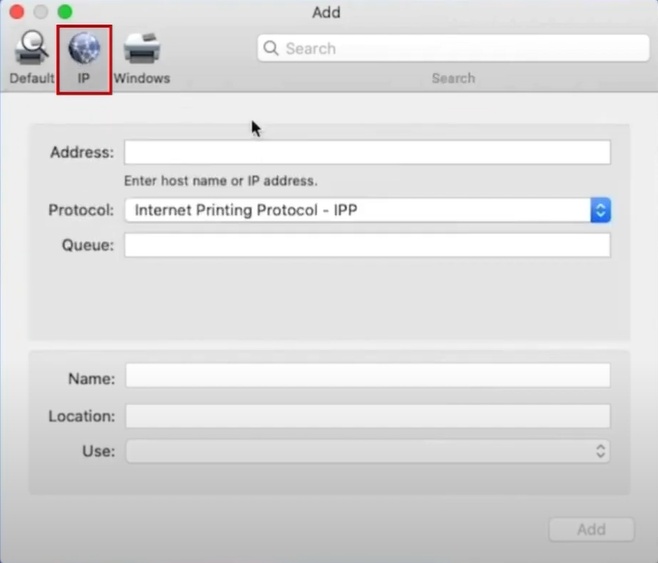
7. Rename your printer if you wish to, then click Add, and it will start setting up.
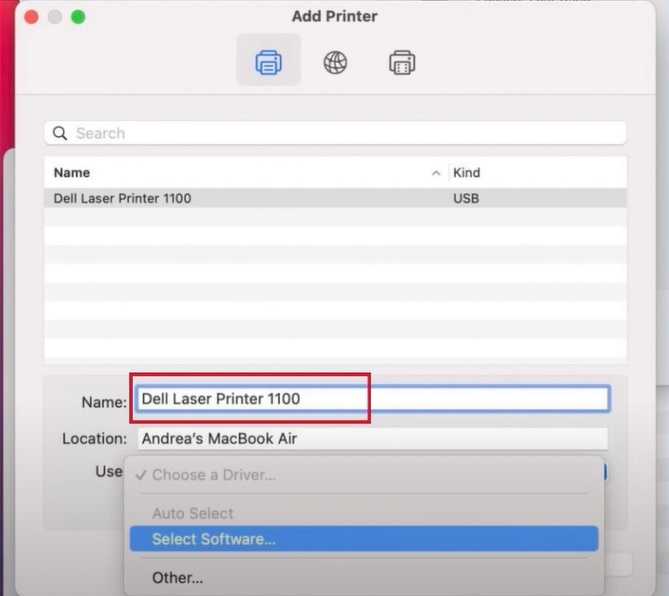
8. And you are ready to start printing.
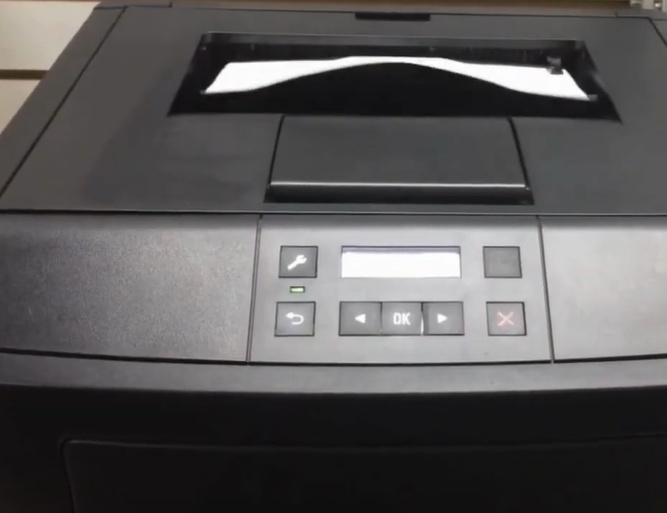
9. You can move to the next method if the connection is not complete.
Method 2: Using the Ethernet Cord
You can use the Ethernet cord to connect the Dell printer to your macOS device. Here are the steps you need to follow.
1. First, make sure your printer and computer are connected to the same wireless network.
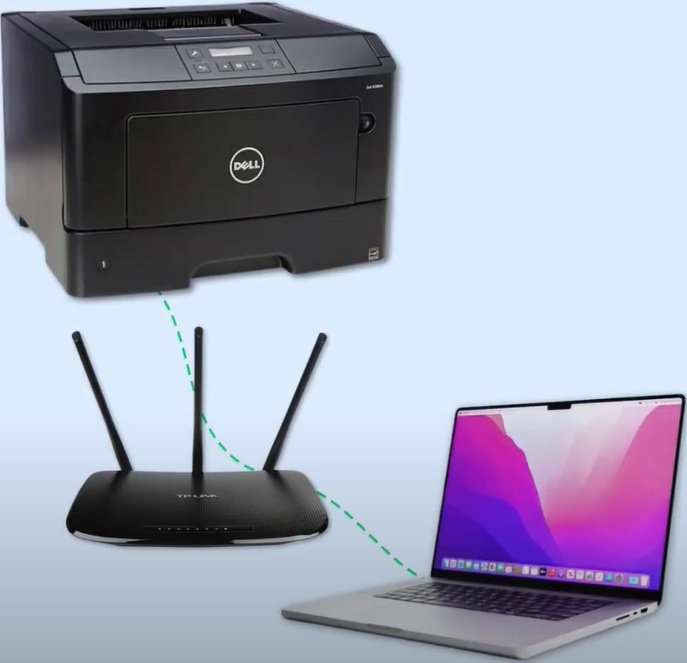
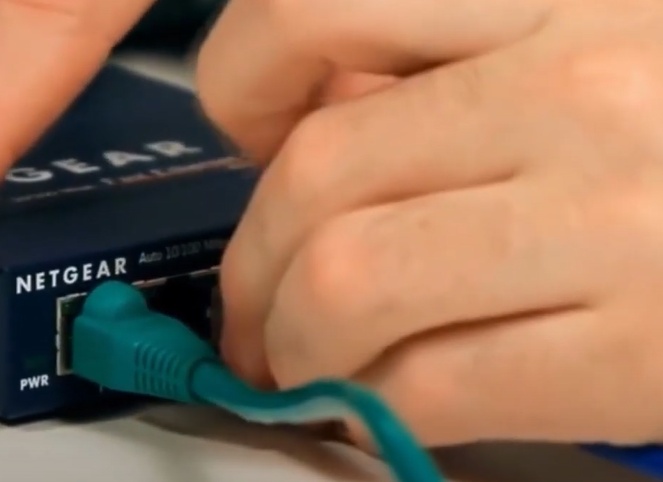
2. Next, connect one end of the Ethernet cable to the printer and the other end to the router.
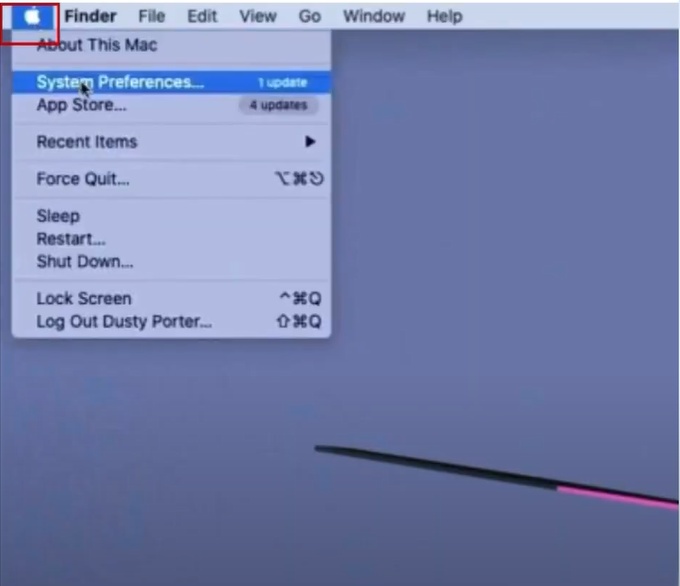
3. Go to your Mac and click on System Preferences.
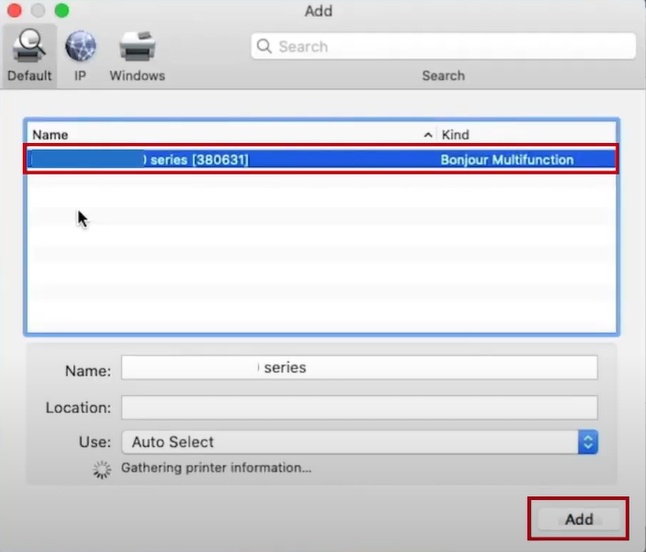
4. After that, click on the (+) icon, and a new Add window pops up with the list of the available printers.
 icon_1734171417.jpg)
5. Select your Dell printer name from the list and click on the Add button, and it will start setting up.
6. Now, you can start your printing work.
Method 3: Using USB Cable
With the help of the USB cable, your printer easily connects to your Mac device. Complete the process quickly by carefully following the steps below.
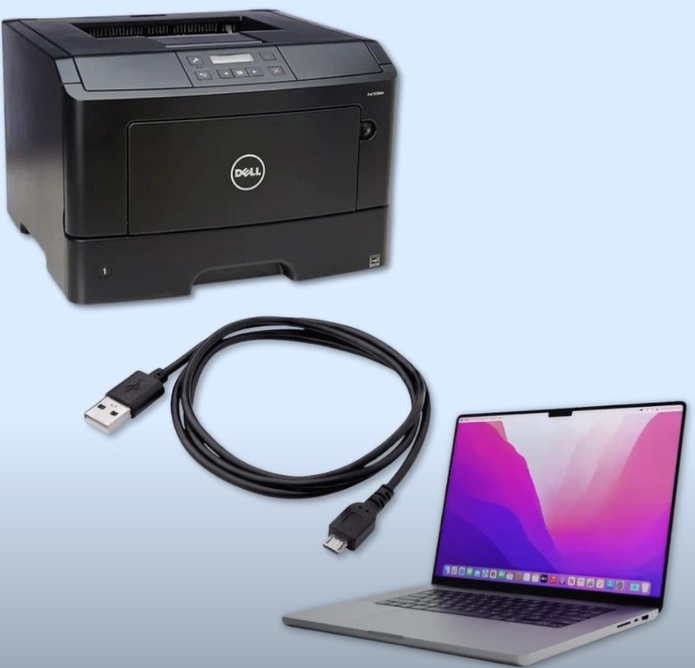
1. First, connect one end of the USB cable/cord to the printer and the other end to the Mac device.
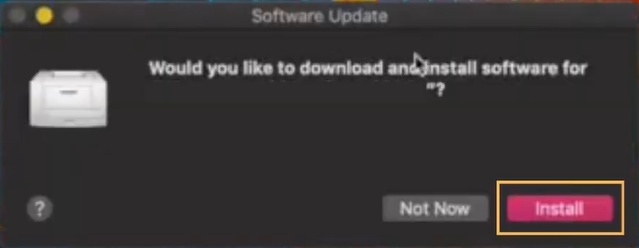
2. As soon as you connect, a prompt will pop up to download and install the software; click on Install.
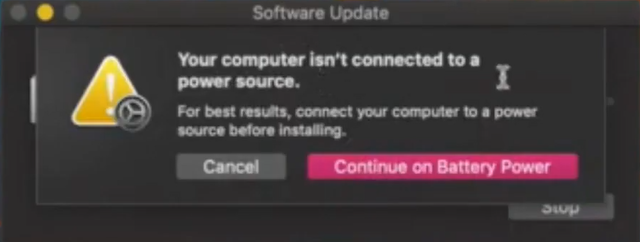
3. Next, select Continue on Battery Power, and it will start installing the software.
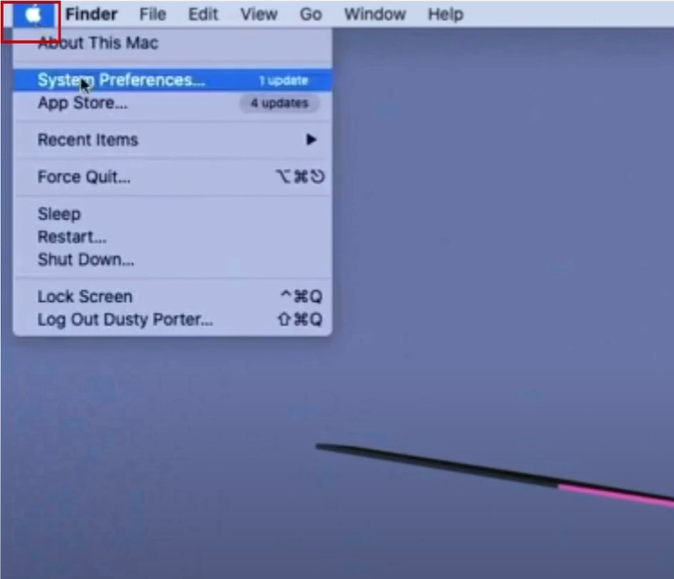
4. Once done, click on System Preferences and select Printers & Scanners.
5. Your printer should be listed on the list; if not, click on the (+) symbol.
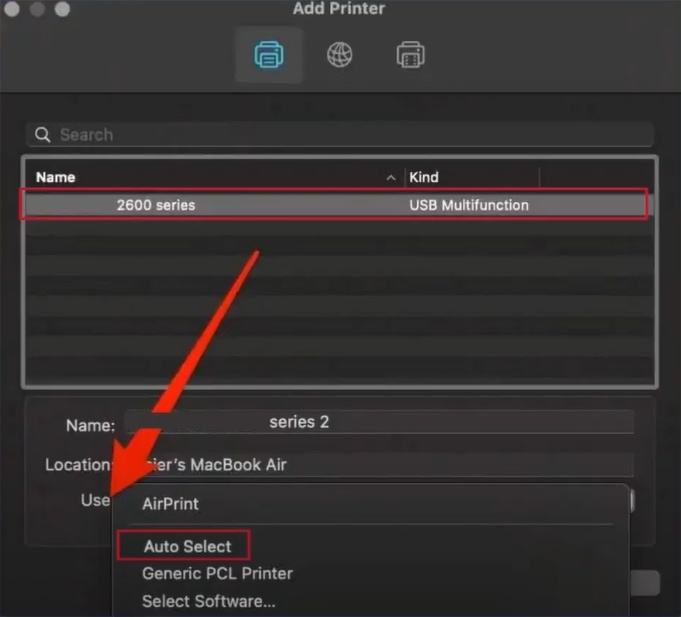
6. Select the printer with USB Multifunction as Kind, set USB to Auto Select, and your device will select the driver.
7. Click Add, and you will be ready to start printing.
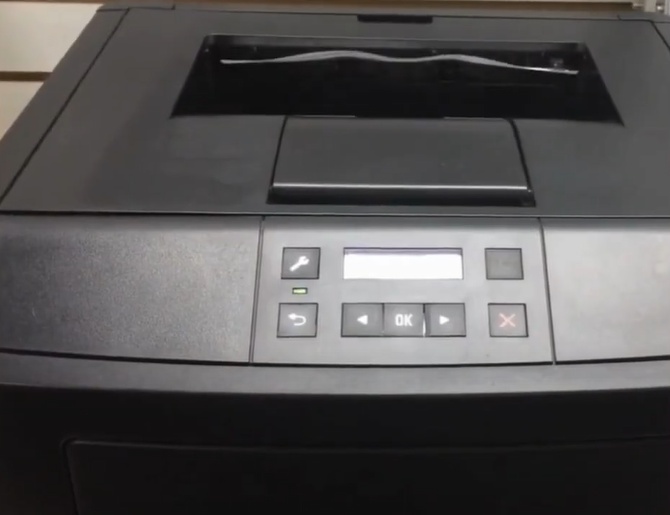
8. Now, print your first document to check if everything is working perfectly.
Final Words
We hope your printer setup on a Mac device is successful after using the methods mentioned here. You can use either of the methods to perform the connection process easily. Plus, it would be best to access more resources if the connection process is not successful or you are facing any issues.

