How to Connect Brother HL L2370DW Printer to Wi-Fi?
Brother HL L2370DW is a remarkable printing device for both personal and office use. The process of connecting this printer to Wi-Fi is simple and anyone can do it, even a beginner. However, due to some basic errors, sometimes users can face some issues while performing the connection. However, worry not if you also find yourself in this situation cause we are here to help you out.
To streamline the Brother HL L2370DW printer connection process, we are going to tell you about the two well-tailored and simple methods. Hence, let’s dive into the connection procedure right away.
Method 1: Using the WPS Method
You can easily connect the Brother printer to Wi-Fi by using the WPS method. The following guide will help you attain a full understanding of the process.
1. Before you move to the connection step, make sure your Brother printer is on.
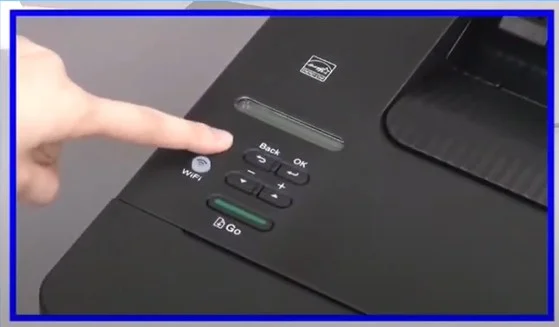
2. Now, using the download and upward arrow buttons, navigate to the network and press the OK key.
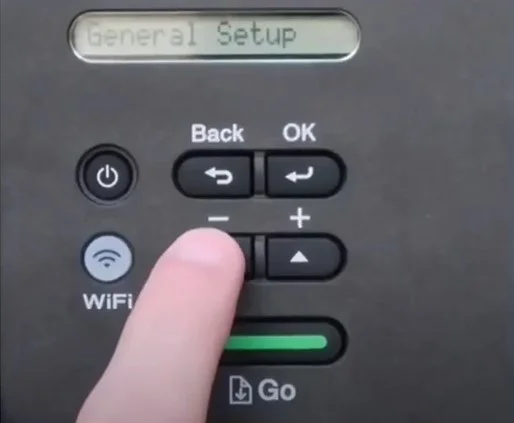
3. Next, select the WLAN and press the OK button.
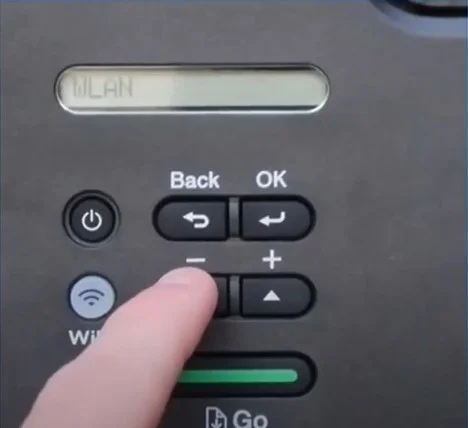
4. After that, navigate to the WPS option and press OK.
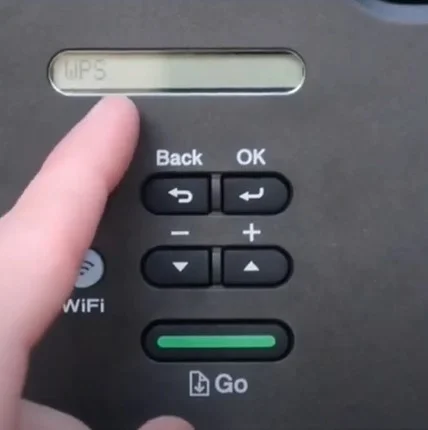
5. When you get the WLAN Enable? window, press the down arrow button to turn it on.
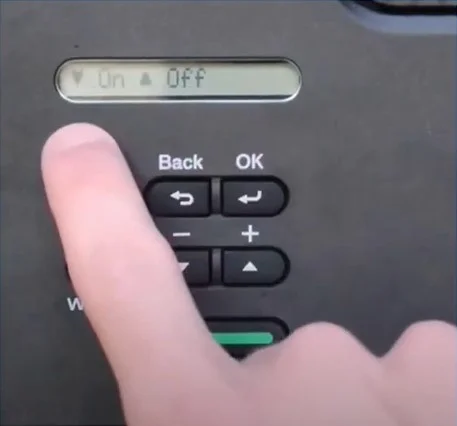
6. Moreover, press the upward arrow button and select the Next option.
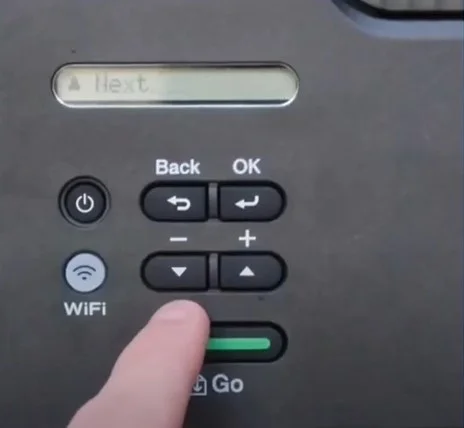
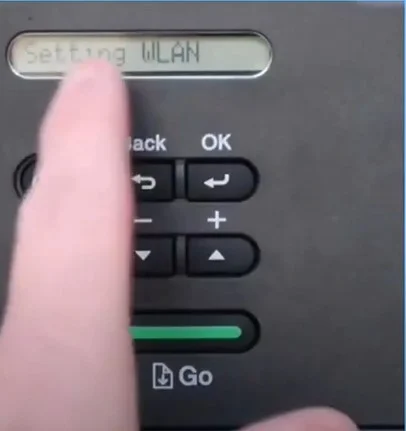
7. The setting process will begin, and the Wi-Fi button will start blinking.
Also Read:- How to do Brother HL L2390DW Wi-Fi Setup?
8. Now, head to your router and then press and hold down the WPS button until the power light starts blinking.
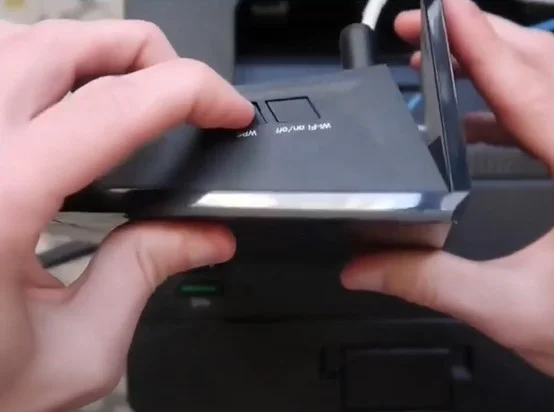
9. When the connection process starts, you will get a Connecting WPS message on the printer display.
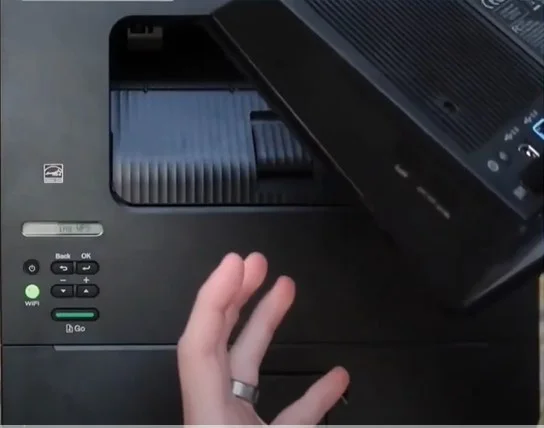
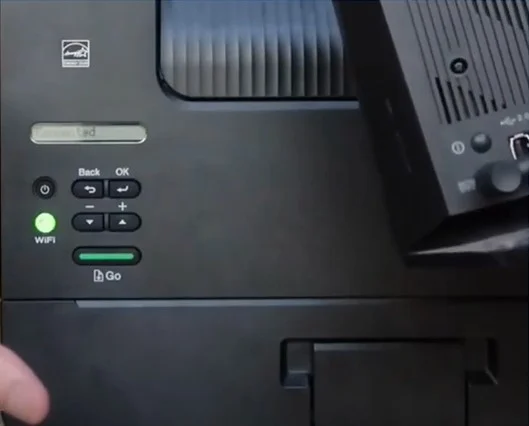
10. Afterward, the printer will display the Connected notification when the printer has connected successfully to the network.
Method 2: Manually Enter Wi-Fi Password
The follow-up steps will allow you to complete the connection between the Canon printer and the Wi-Fi network. Read all the steps carefully and follow them.
1. Initially, make sure your printer device is running properly and is powered on.
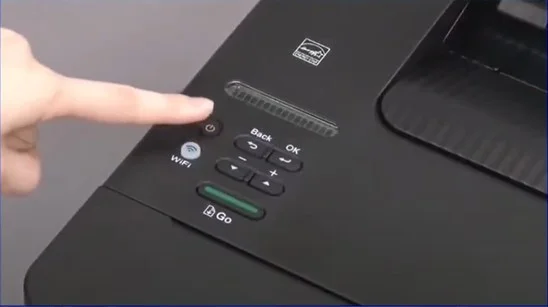
2. Navigate to the network using the down arrow button and press the OK button.
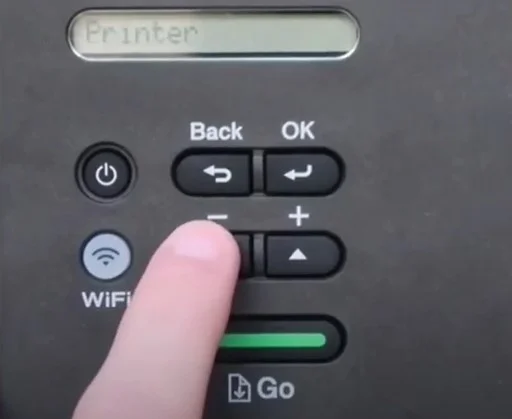
3. Choose the WLAN option and then click on OK.
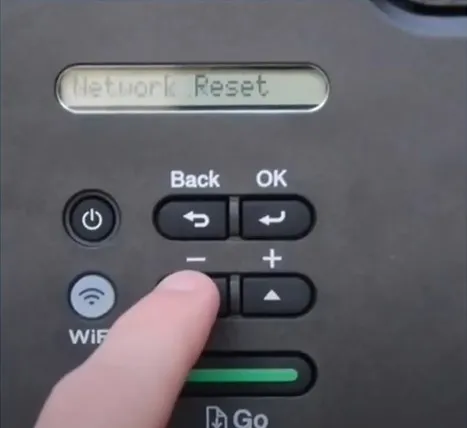
4. Next, using the arrow buttons again choose the option Setup Wizard and select OK.
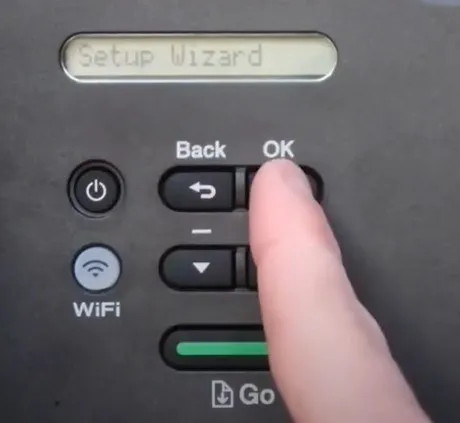
5. Once the “WLAN Enabled?” screen appears, then use the down arrow button to turn it on.
_1724319473.webp)
6. Now, your Brother printer device will start searching for the available USSD method.
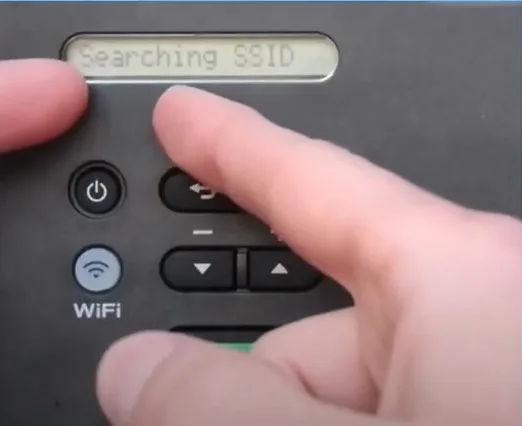
7. After that, the printer will display the network name and scroll through them using the arrow buttons.
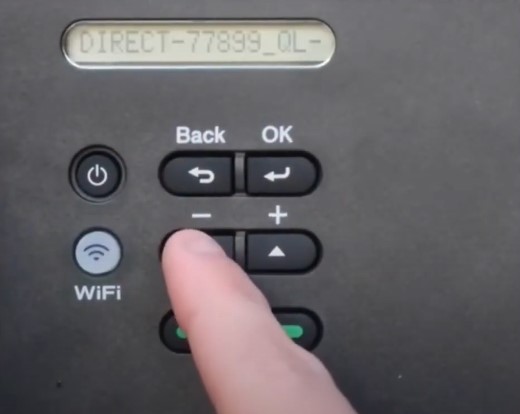
8. Once you find your network name, choose the option and press the OK key.
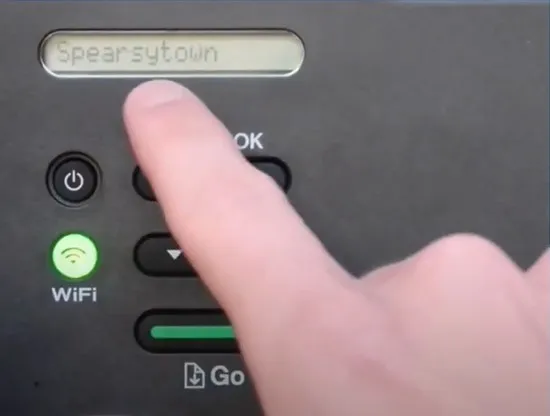
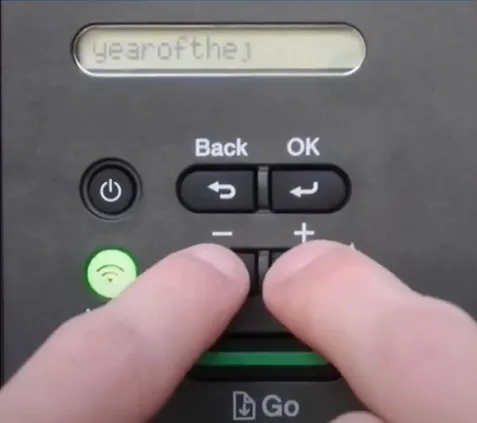
9. With the help of the arrow buttons, enter the network key/password and then press OK.
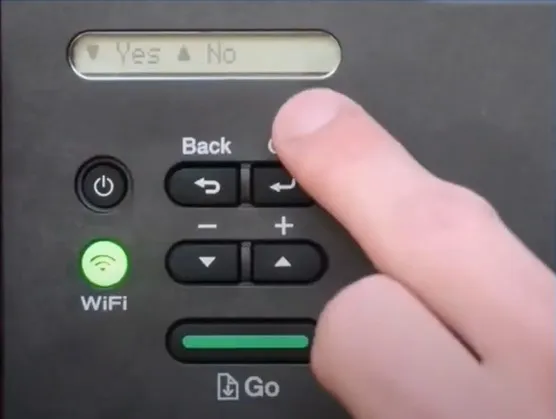
10. When you get the Apply Settings message, press the down arrow button and choose the Yes option.
11. Now, the printer will start connecting to the network.
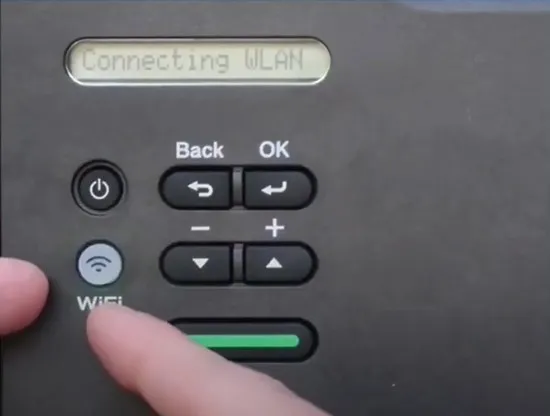
12. Once the connection is established successfully, you will get a Connected message, and the Wi-Fi light will remain lit.
_1724321122.webp)
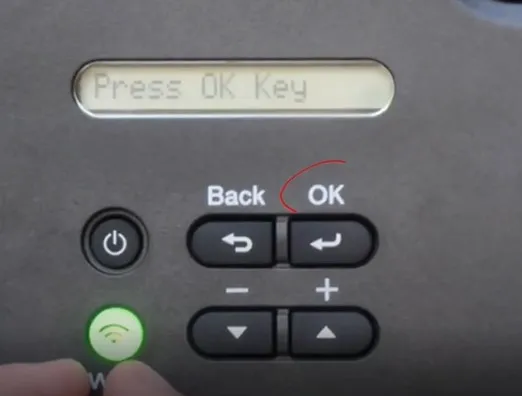
13. Then, press the OK button to Exit.
We hope you are able to complete the connection process of your Epson printer by taking the help of our quick effective methods. Before you start the connection process make sure the printer is turned on, the router and printer are close to each other, the device is not restricted for connection, and others. Besides that, go to additional help if any problem arises during the connection process.

