How to do Brother HL L2390DW Wi-Fi Setup?
Planning to set up your brand-new Brother HL L2390DW Wi-Fi Setup but don't know where to start? The setup process of the Brother printer is easy and various solutions are available. However, in some odd conditions, you can encounter some problems during the setup process due to a bunch of minor/major problems with a printer or PC/smartphone. Moreover, doing the setup for the first time can also be another factor in facing the issues.
To eliminate all sorts of issues and complete your Brother HL L2390DW printer setup to Wi-Fi, this content shares all the vital info you need to know. Therefore, let's begin the setup process without any further ado!
Solution 1: Using the WLAN Setup Wizard
WLAN setup wizard is a worthwhile method to connect your Brother printer to Wi-Fi to complete the setup. Follow the below guide to learn this method.
1. In the beginning, go to your Brother printer control panel and click on the Menu button.
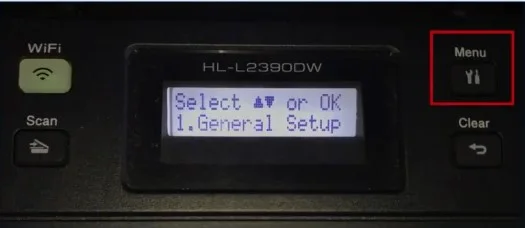
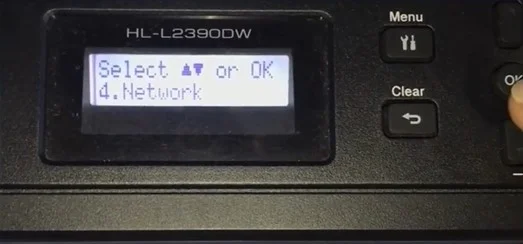
2. Next, scroll down and choose the Network option.
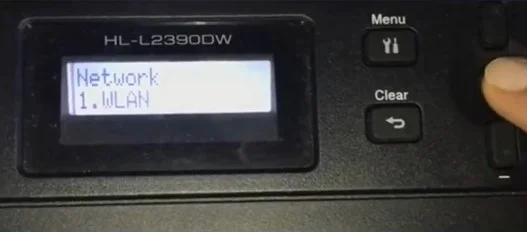
3. After that, choose WLAN, then go to the Setup Wizard option.
4. Then, utilize the up arrow button to enable WLAN, and it will start searching for SSID.
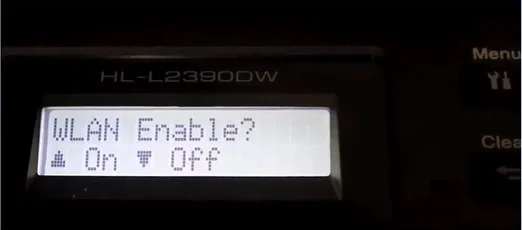
5. Choose the correct wireless network you want to connect to the printer, enter a password, and choose OK.
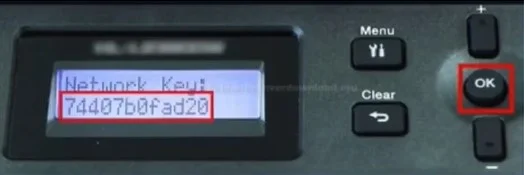
6. When it prompts you to apply settings, select Yes, and it will start connecting.
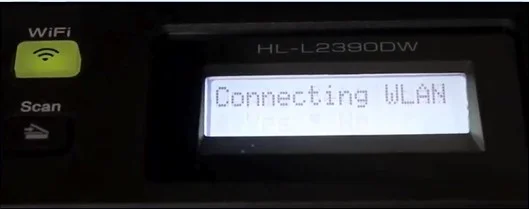
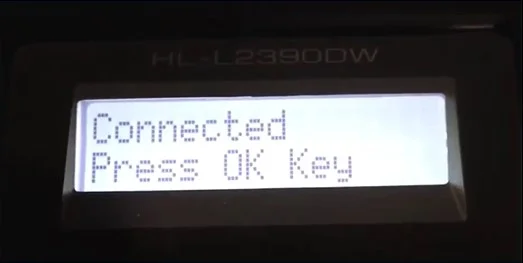
7. When it displays Connected on the screen, the Wi-Fi light will remain lit.
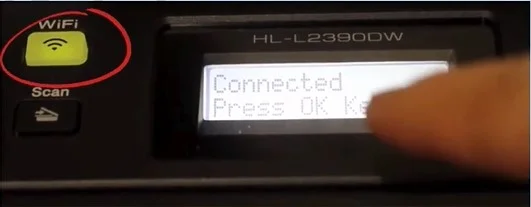
8. Lastly, check if the connection process is complete; if not, move to the next step.
Solution 2: Wi-Fi Direct Setup
The Wi-Fi Direct Setup is also a great method to complete your Brother printer Wi-Fi setup. Follow the following steps to learn all the steps thoroughly.
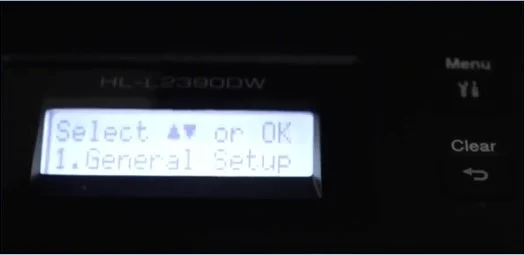
1. First and foremost, press the Menu button, then navigate to Network and press OK.
Also Read:- How to Do Brother HL L2370DW Wi-Fi Setup?
2. Choose Wi-Fi Direct, then click Manual, and press the OK key.
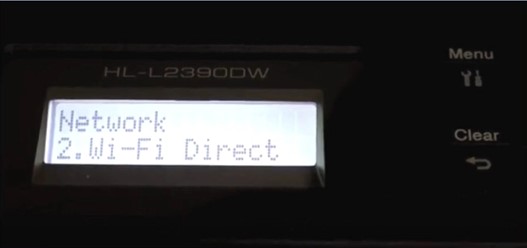
3. On the next screen, the Wi-Fi Direct password and name will show up.
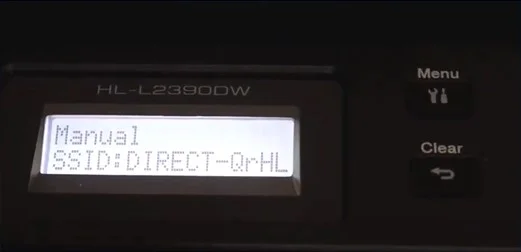
4. After that, head to your computer or mobile phone device and go to Wi-Fi settings.
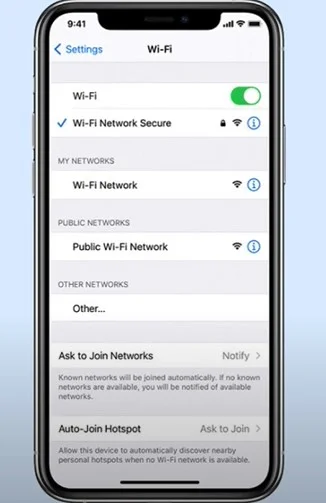
5. Select the network that starts with DIRECT and is followed by your Brother printer model number.
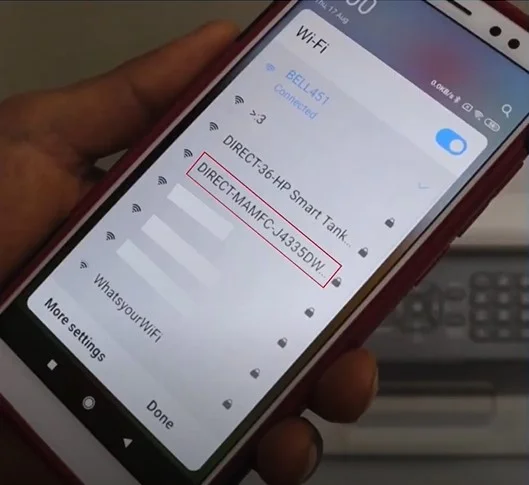
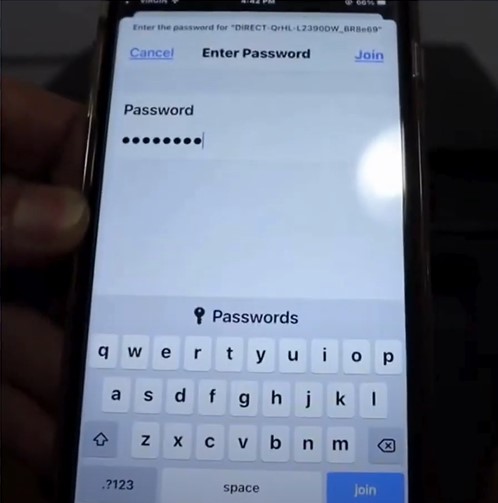
6. Now, type the password that appeared earlier on the screen and then select the Join option.
7. Once the connection is established, you will see a Connected message on the display screen.
8. Finally, print a test copy to confirm if the printer is working properly.
Conclusion
You do not need to worry if your printer is facing any problems during the Wi-Fi setup. First, you need to check if everything is up to the mark in your printer and computer/mobile device. In addition, follow our step-by-step methods to acquire thorough knowledge and complete the Wi-Fi setup without facing any issues. Apart from that, feel free to get your hands on the other resources if you are still unable to perform the setup.

