How to do Brother HL-L2460DW Printer WiFi Setup?
You can set up your Brother HL-L2460DW in multiple ways. Wireless connectivity is the most convenient option among the USB, Wi-Fi, and Ethernet connectivity options. The steps to perform the Wi-Fi setup are simple, but they could be daunting for many. Plus, new users may be hesitant due to the possibility of facing errors during the process. But worry not—we have your back!
Here, let’s complete the procedure to establish the connection between your Brother HL-L2460DW and your WiFi router.
Steps to Set Up the Brother HL-L2460DW Printer to WiFi
Follow the steps below carefully to complete your Brother printer setup easily.
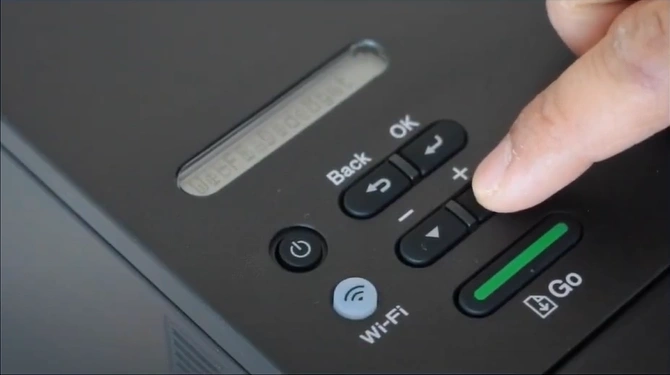
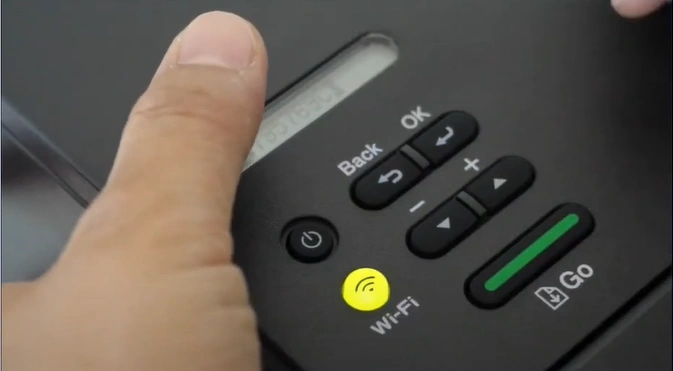
1. Go to the printer control panel.
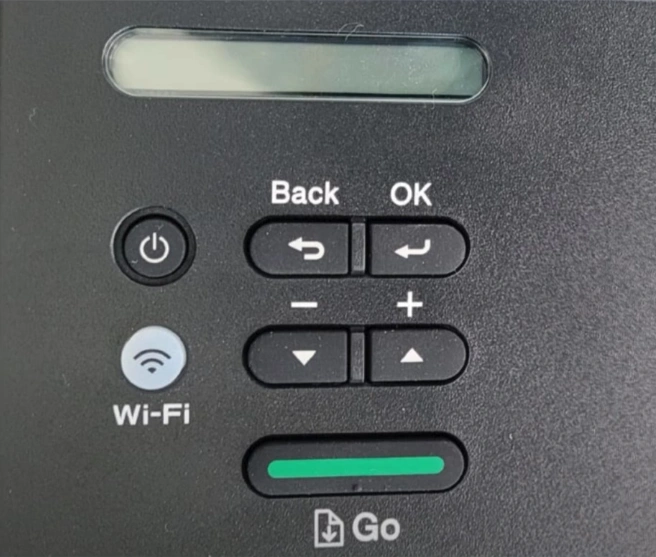
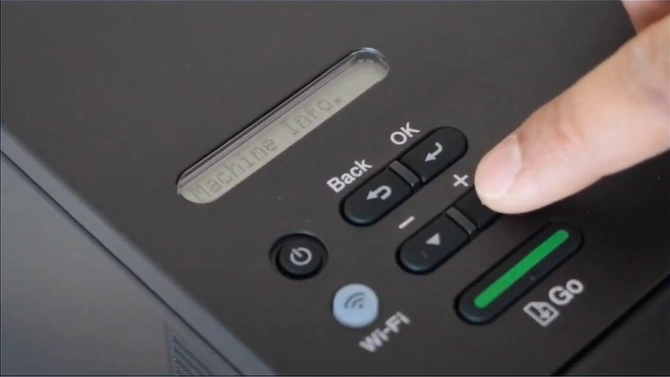
2. Scroll with the upward arrow button to find the Network option.
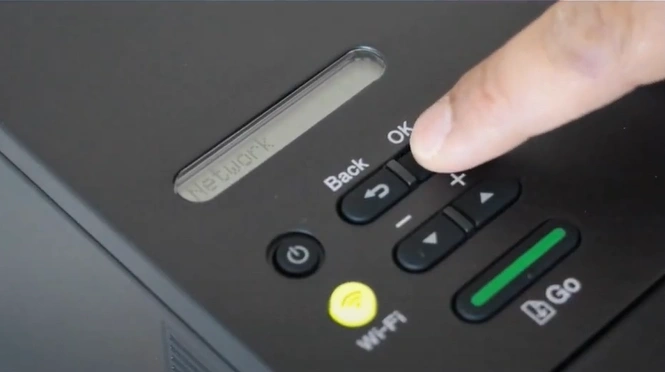
3. Press the OK button on the Network.
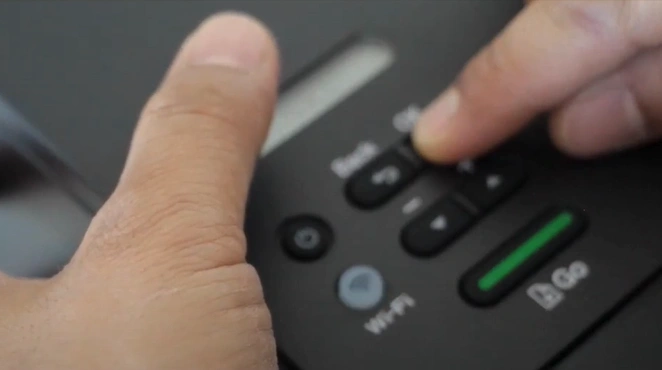
4. Scroll with the upward arrow to find the WLAN (Wi-Fi) option.
5. Press the OK button.

6. Select the Find Network option by pressing the OK button.

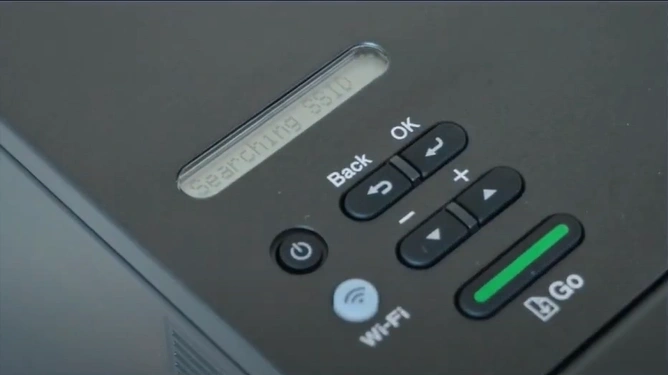
7. Wait for the printer to search for SSID.
8. After searching, select your Wi-Fi router.
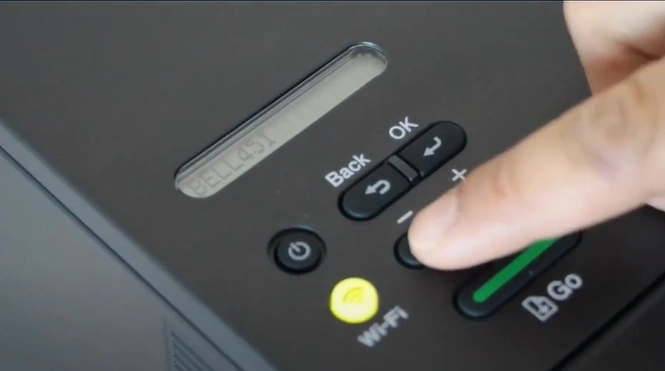
9. Then, press OK.
10. Enter the network key with the up and down buttons.
11. After entering the password, press and hold the OK button.
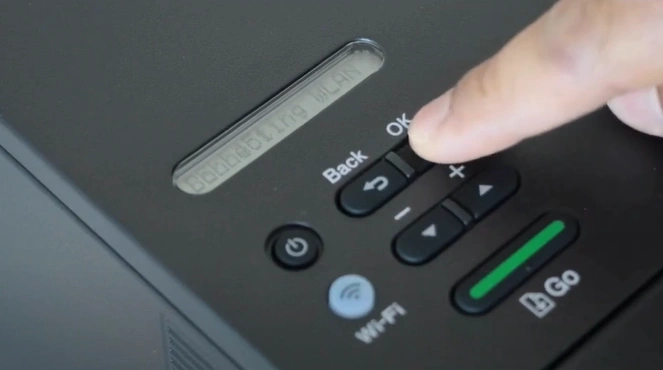
12. Press the downward arrow button to apply settings.
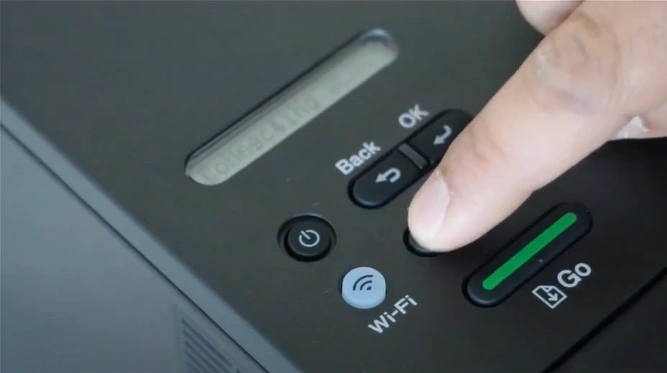
13. Wait for the WLAN to connect.
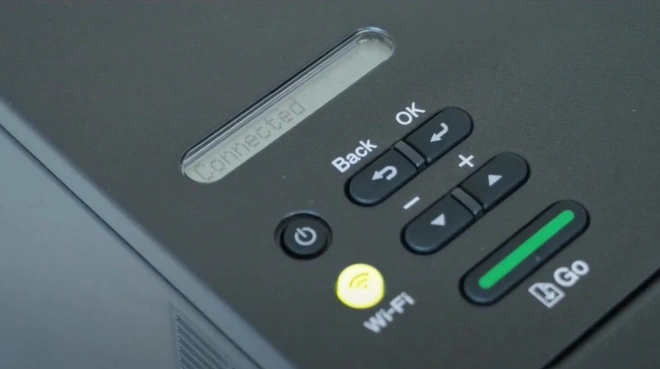
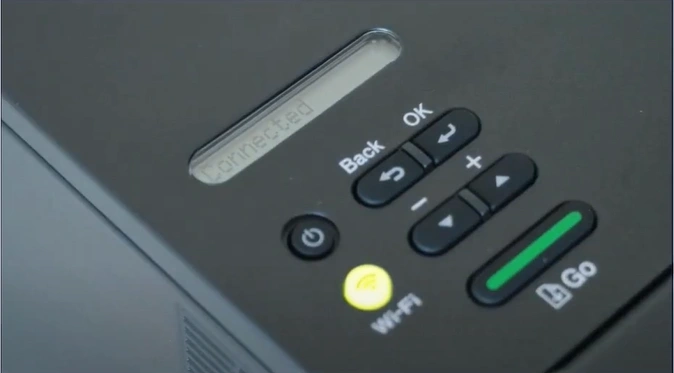
14. Once connected, it will show you connected on the display, and the Wi-Fi button will start flashing a yellow light.
15. Now, your Brother printer Wi-Fi connection will be complete; perform a test print to see if the printer is functioning properly.
These are the proper steps that can assist you in completing your Brother HL-L2460DW printer's WiFi setup with utmost ease. Make sure to follow all the steps carefully to avoid any problems and establish the proper connection.
Related Guide

