How to Do HP LaserJet M209dw WiFi Setup?
Printer users often get stuck while setting up their HP printer to WiFi, and in many cases, the printer may fail to connect, or the HP Smart app may not detect the device name, which adds to the confusion.
If you are also stuck while doing the HP LaserJet M209dw WiFi setup, no worries, as we’ve outlined the complete process for connecting your HP printer to WiFi. By the end of this guide, you’ll be able to use your printer wirelessly without issues.
Before jumping into the connection process, let’s look at the possible problems that may occur so you know what to watch for.
Problems Faced When Connecting HP LaserJet M209dw to WiFi
These are some common problems that might occur when trying to connect the printer to WiFi:
- A weak or poor signal
- Old WiFi settings are still saved on the printer
- Wireless light blinking or staying off
- IP address issues
- The printer shows “Offline” even after setup
Steps to Connect HP LaserJet M209dw to WiFi
You might be switching to a new network or fixing a connection that suddenly stopped working. Here’s what you should do to connect the HP LaserJet M209dw to WiFi:
Step 1: First, power on the printer.
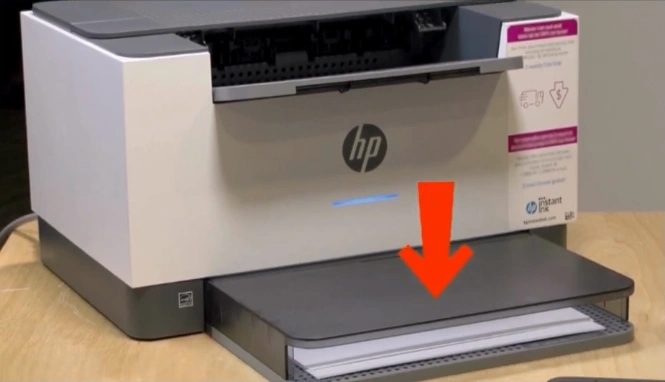
Step 2: Check that the paper has loaded properly in the front tray.
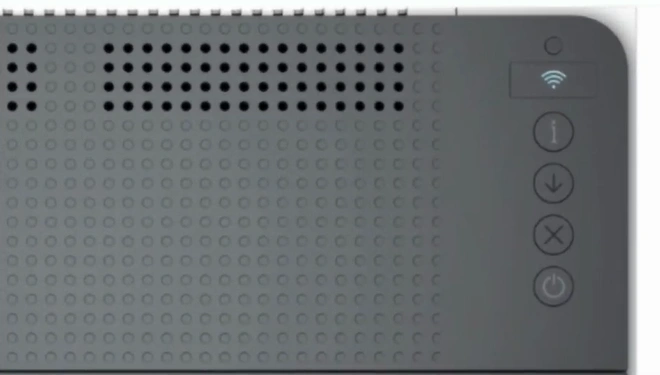
Step 3: Go to your printer’s control panel and press and hold the (i) button for 3 seconds.

Step 4: Release the button, then press and hold the Resume and WiFi buttons together for 3 seconds.
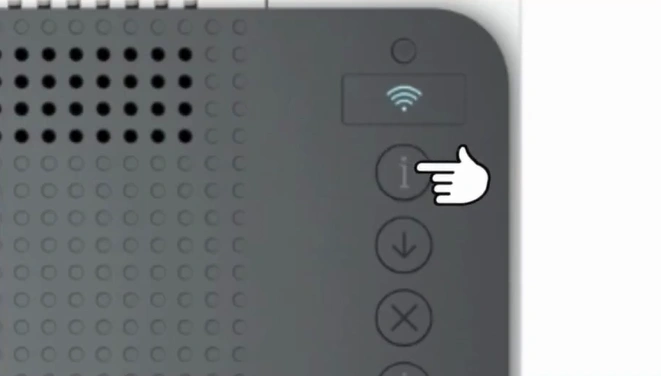
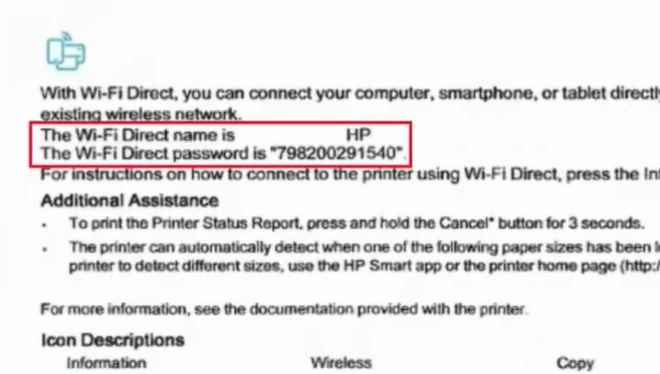
Step 5: Press the (i) button once. You will receive a printout with the WiFi Direct name and password.
Step 6: On your smartphone, check that your printer is connected to the WiFi router.
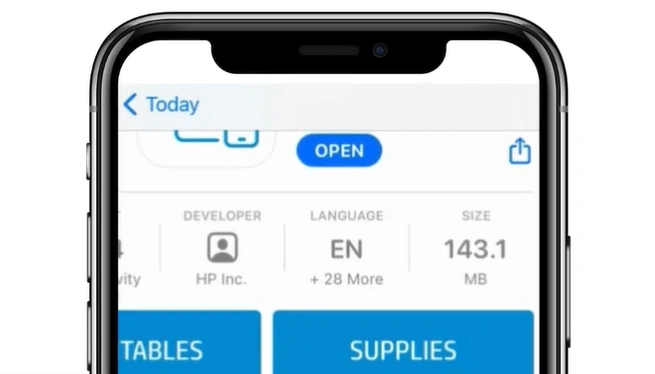
Step 7: Go to the Play Store or App Store and search for “HP Smart app.”

Step 8: Tap on Install or Get to start the installation.

Step 9: Once the app is installed, tap Open to launch it.
Step 10: When the welcome page appears, tap Accept All.
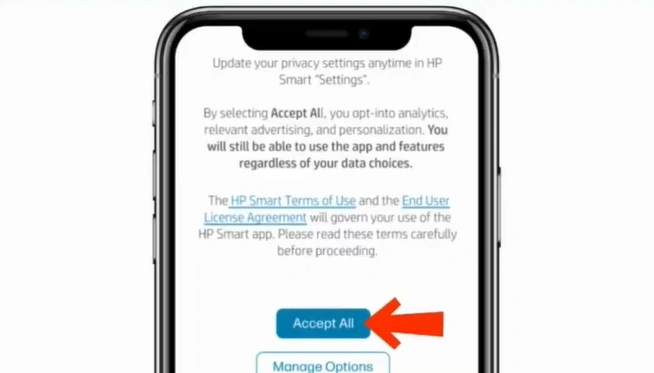
Note: Follow the on-screen steps and allow permissions when prompted by the app.
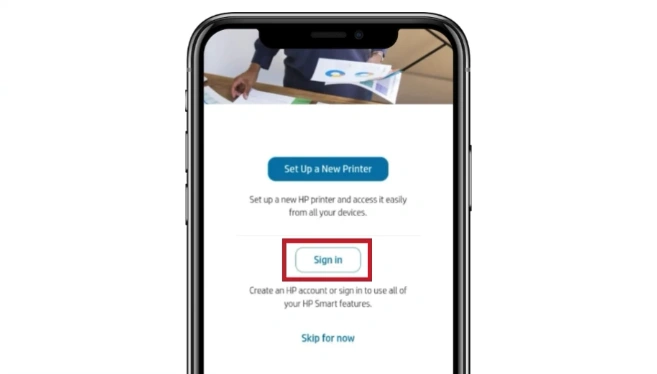
Step 11: Tap on the Sign In button to log in to your HP account.
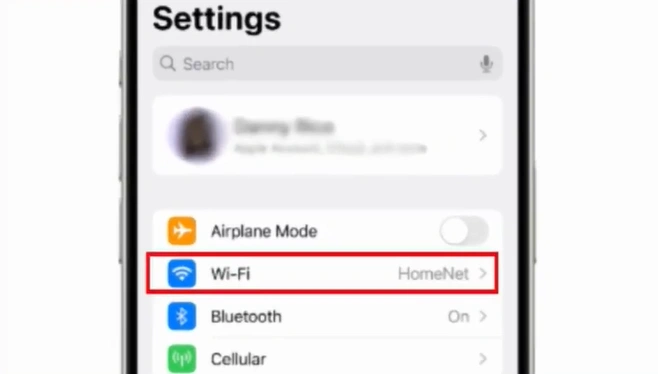
Step 12: Open the WiFi settings on your phone.
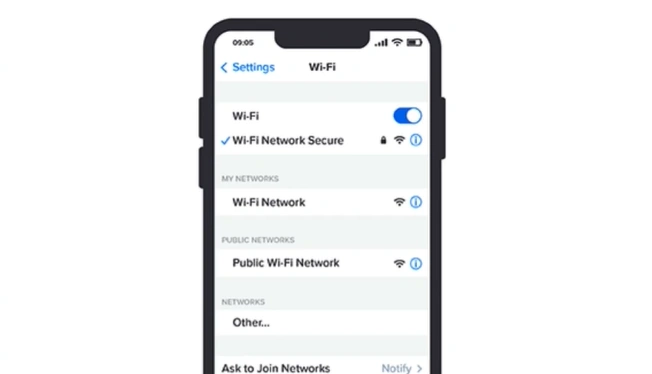
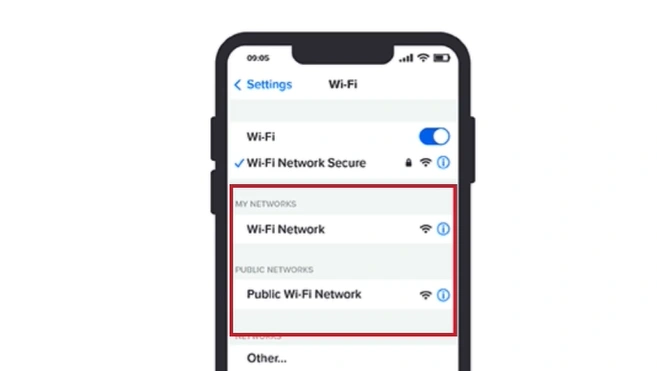
Step 13: Search for the available devices.
Step 14: Once you see your printer’s WiFi Direct name, tap on it.
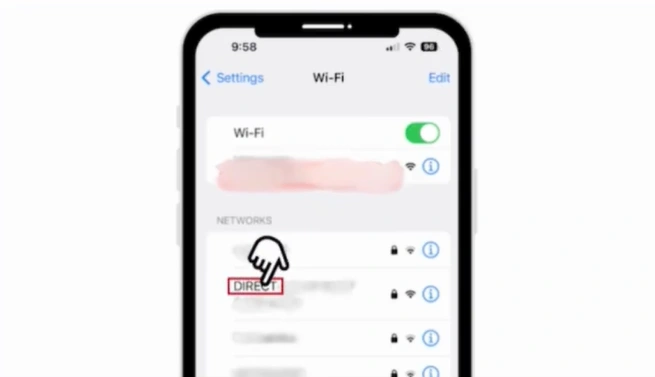
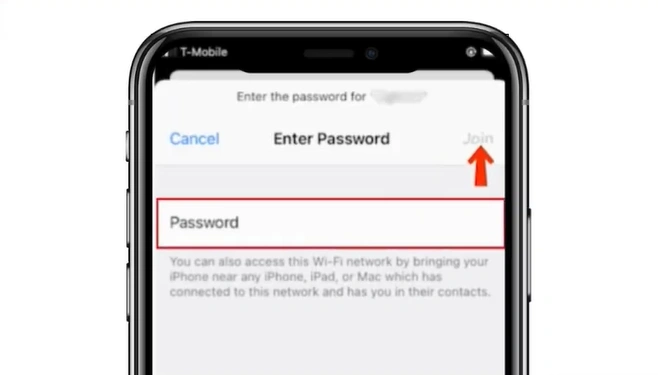
Step 15: Enter the WiFi Direct password and connect or join.
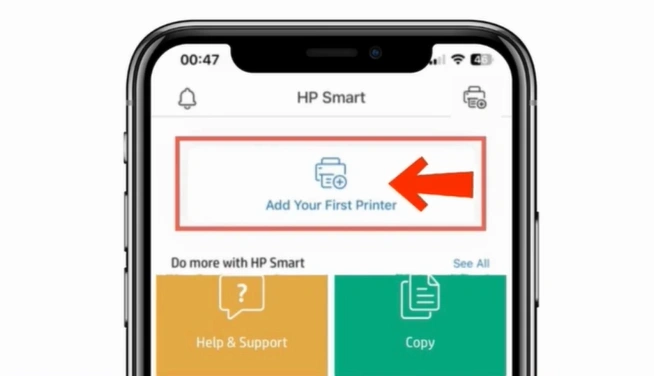
Step 16: Once connected, go back to the HP Smart app and tap on the “Add Your First Printer” option.
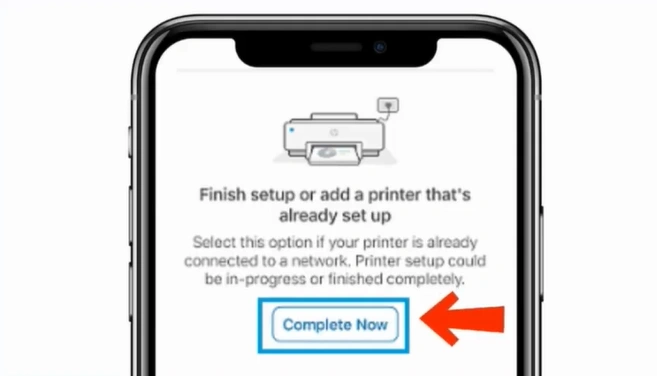
Step 17: Next, tap on “Complete Now.”
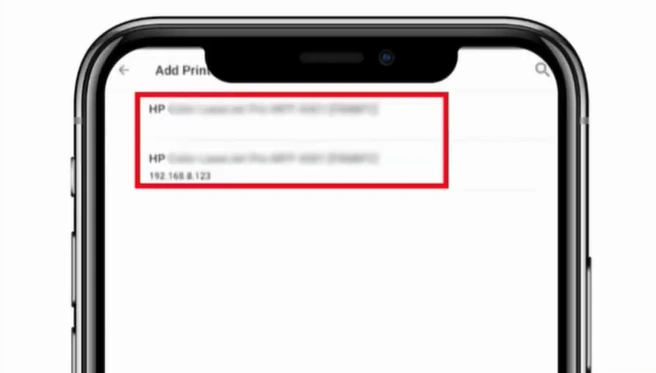
Step 18: Once your HP LaserJet M209dw shows up in the list, tap it to connect your printer to WiFi.
Final Words
Follow the steps above to experience the convenience of wireless printing with your HP LaserJet M209dw printer. When connected to WiFi, you can easily print from any device, such as your laptop or smartphone. Make the most of features like the HP Smart app, easy device sharing, and more.
Related Article
How to Connect Canon TR8520 Printer to WiFi?
Frequently Asked Questions
Why can’t HP Smart app find my HP LaserJet M209dw printer?
Some of the possible reasons for the HP Smart app being unable to find the printer could be:
WiFi band mismatch
Driver or app cache issue
Bluetooth is not enabled on the device
IP address issues
Does HP LaserJet M209dw work with 5GHz WiFi networks?
Yes, the HP LaserJet M209dw printer can connect to both 2.4 GHz and 5 GHz networks.
How do I know if my HP LaserJet M209dw is connected to WiFi?
Check the wireless light on the printer’s control panel to see if it is connected to WiFi.
What should I do if my HP printer goes offline after WiFi setup?
Power off the printer. Unplug it for 30-60 seconds.
Restart your computer and router.
Check the network connection.
Go to Settings > Devices > Printers & Scanners (Windows) or System Preferences (Mac).
Remove and re-add the printer.
Uncheck “Use Printer Offline.”
Can I connect HP LaserJet M209dw using WPS?
Yes, you can connect the HP printer to your network using WPS. To do this:
Press and hold the Wireless button on the printer for 3 seconds until it flashes.
Press the WPS button on your router for about 2 minutes.
After that, the wireless light will stop flashing and remain solid.

