How to Connect Canon TR8520 Printer to WiFi?

Connecting your Canon TR8520 printer to WiFi is the first step if you want to use it wirelessly from your mobile device. You might be installing the printer for the first time, changing your WiFi password or router settings, or resolving the printer’s offline issue.
When setting up your Canon printer on WiFi, you must be very careful. One mistake, such as entering the wrong password or selecting the wrong settings, can cause a connection failure, which makes it impossible to get the printer back online.
Connecting your Canon TR8520 printer to your wireless network is simple, but you might not be sure how to get it done. No worries, we have outlined the entire process for this connection here to help.
What to Check Before Starting the Connection Process?
It is important to check that everything is in place and working properly before you connect your printer to WiFi. Here are the following things you need to look at:
- Printer powered on: Make sure the printer is fully powered on and shows no error messages on the display screen.
- Compatible network band: The printer supports 2.4 GHz WiFi. Check if your router has this network band enabled.
- Stable WiFi network: Ensure your wireless network is functioning properly, and you know the correct WiFi name (SSID) and password.
- Updated router settings: Turn off firewalls or VPNs temporarily, as they might disrupt the printer’s WiFi connection.
- Device ready for setup: Have a computer, mobile, or tablet available to complete the setup process if needed.
Steps to Connect Canon TR8520 Printer to WiFi
Follow the steps below in order to connect your printer to your WiFi network:
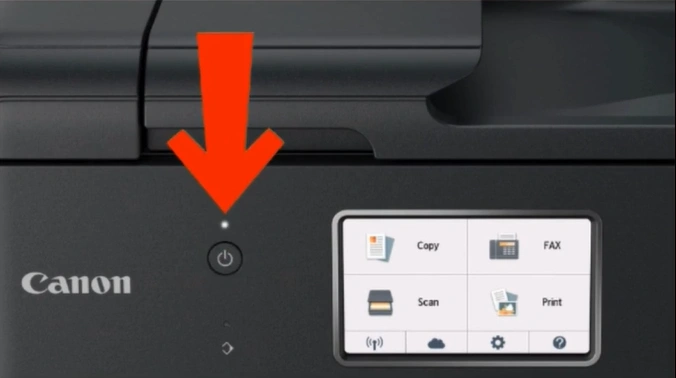
Step 1: First, power on your printer.
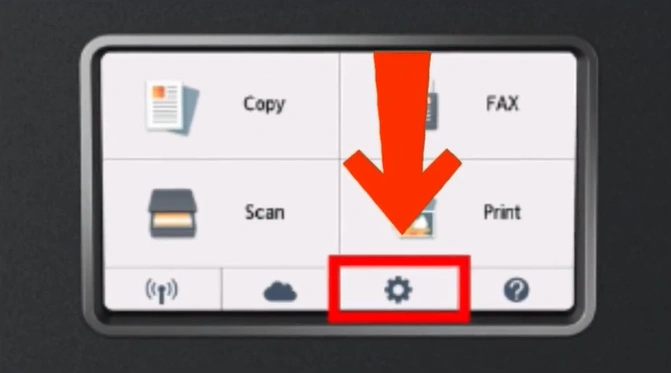
Step 2: On your printer’s home screen, tap on Settings (gear icon).
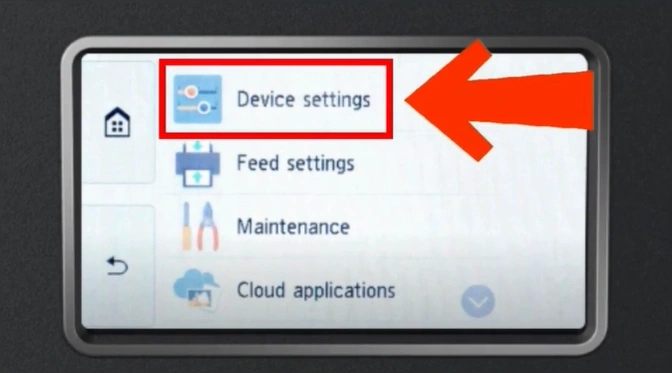
Step 3: Choose Device Settings from the list.
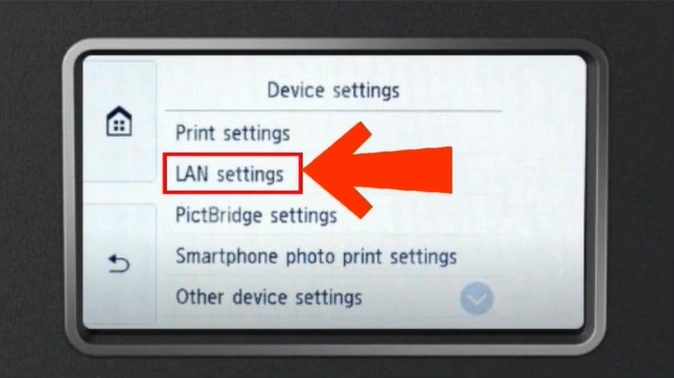
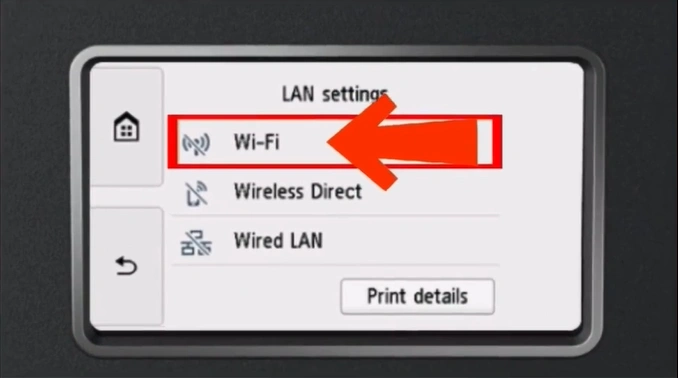
Step 4: Under Printer settings, select LAN settings.
Step 5: Next, tap on the WiFi option.
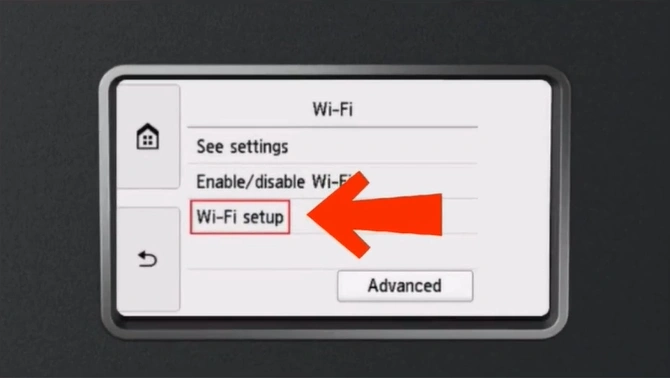
Step 6: On the WiFi screen, choose WiFi setup.
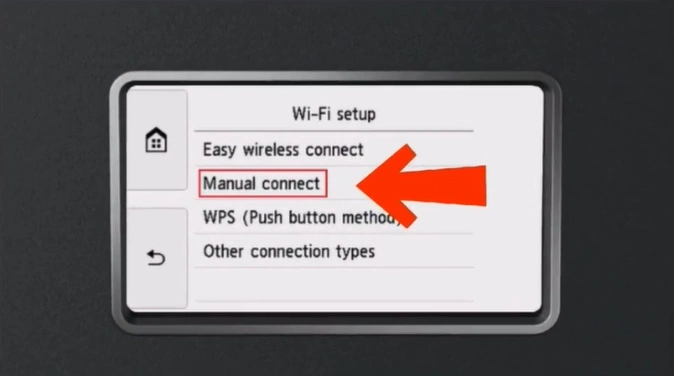
Step 7: In the WiFi setup, select the Manual connect option.
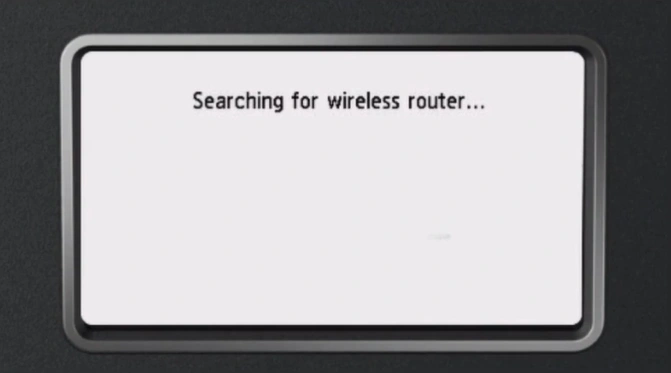
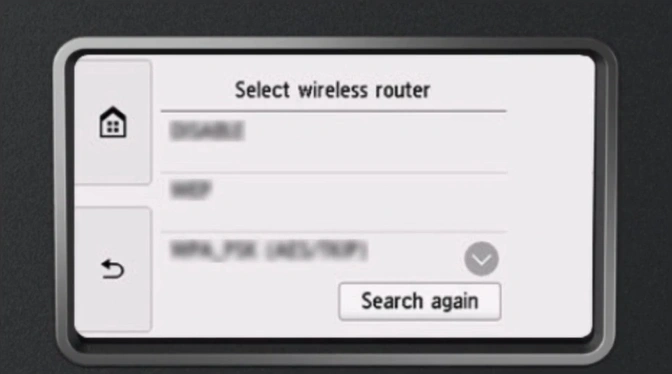
Step 8: The printer will take a few seconds to find the available wireless routers.
Step 9: From the list, choose your WiFi name.
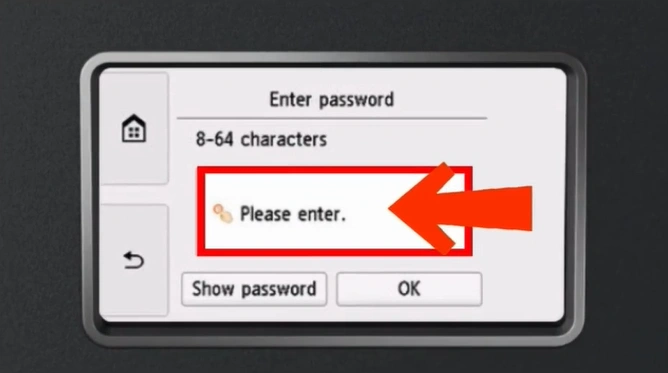
Step 10: Tap the “Please enter” field to enter your WiFi password.
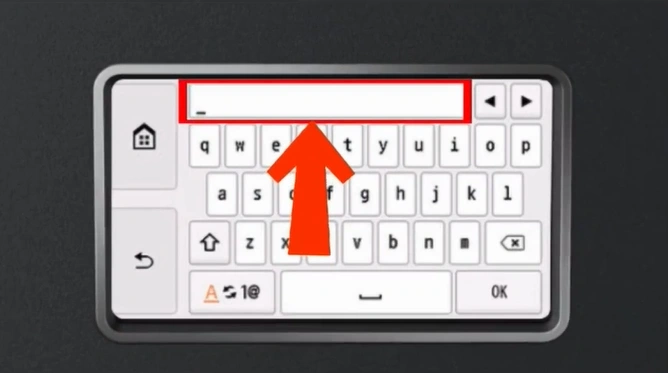
Step 11: Fill in your password and tap on OK.
Wrap Up
Wasn’t it easy to connect your Canon TR8520 printer to WiFi? Do all preparations beforehand and follow the steps discussed above carefully. Once the printer is connected to your network, you’ll be ready to enjoy wireless printing from any device.
Related Article
How to Do Canon TS3722 Wireless (WiFi) Setup?
Frequently Asked Questions
How to add Canon TR8520 printer to a Mac?
Click on the Apple icon.
Select System Preferences.
Click on “Printers & Scanners.”
Click the (+) button.
Select your printer model from the list.
From the dropdown menu, select AirPrint or Secure AirPrint, then click on “Add.”
How do I connect Canon printer to WiFi using Canon PRINT app?
On your printer’s touch screen, tap on the Network Status Button (A) or the WiFi icon.
Select LAN settings, then tap on Wireless LAN.
Choose Wireless LAN setup.
Tap on Easy wireless connect, then Yes.
Tap “OK” when the screen shows the printer is ready.
On your smartphone, open the Canon PRINT app.
Tap on “Yes” to add the printer.
Select the name of your network.
Enter the WiFi password, then tap on OK.
Why is my Canon printer not connecting to WiFi?
Your printer won't connect because you may have entered the wrong password or SSID. The issue might also be due to outdated firmware or router issues.
Does Canon TR8520 printer support WPS WiFi setup?
Yes, the Canon TR8520 printer fully supports WiFi Protected Setup (WPS).
How do I know if Canon printer is connected to WiFi?
When you see a WiFi icon on your printer’s display screen, it means it is connected. You can also print the network settings page to confirm the connection.

