How to Fix 79 Service Error HP Printer?
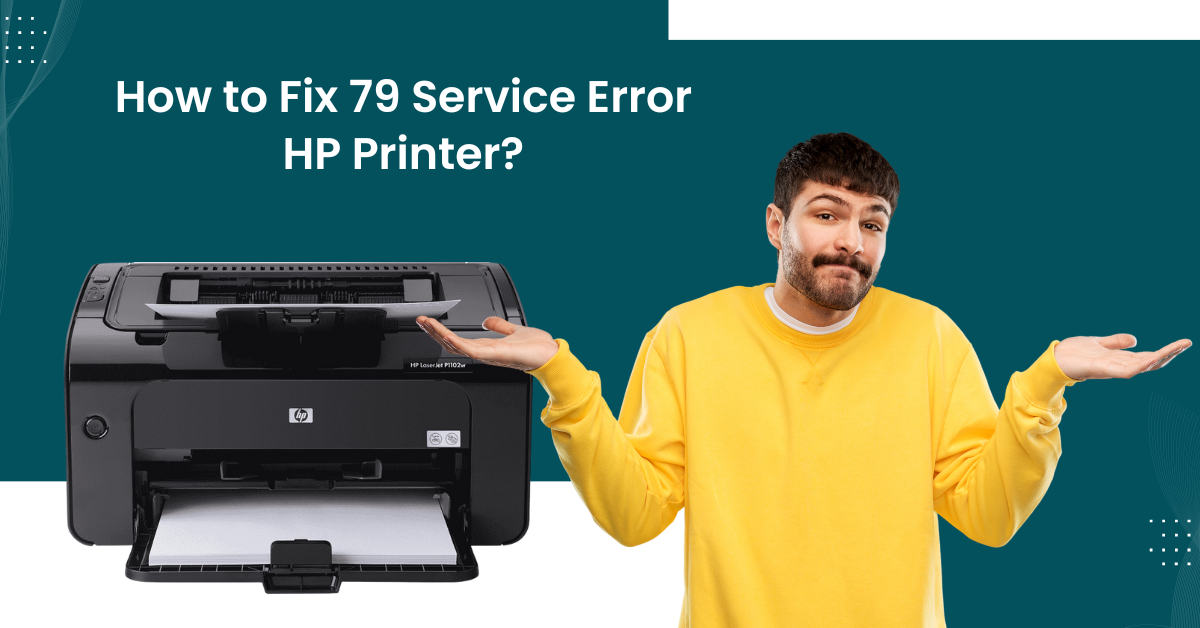
The HP printer is known to be an all-in-one printer designed for home users. However, users may experience numerous errors, including the 79 service errors. This error usually happens due to a bad print job.
Are you someone who is experiencing 79 service errors on HP printer and wondering how to fix it? If yes, then don’t worry! We are here to provide you with effective methods that help you to solve the error. Read further!
Why Does Error 79 Service Happen?
Error 79 in HP printers usually happens when you are in the middle of important work, and that means you are unable to complete the task. These are the following reasons why the error happens:
- Corrupt print job
- Outdated firmware
- The settings of the printer are changed
- Corrupt driver
Methods to Fix 79 Service Error HP Printer
Below, we have mentioned the effective methods that help you to fix 79 service errors in HP printers. These are:
Method 1: Restart your Printer
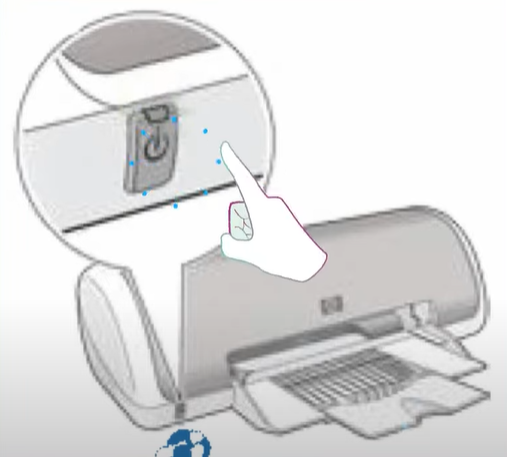
Step 1: Turn the printer off and wait at least 30 seconds.
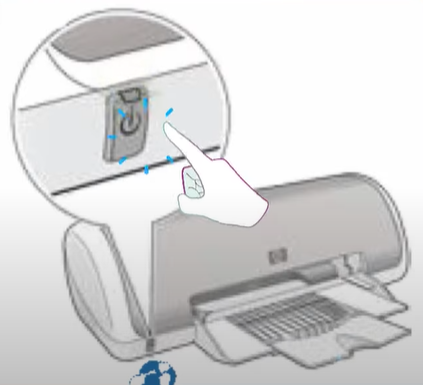
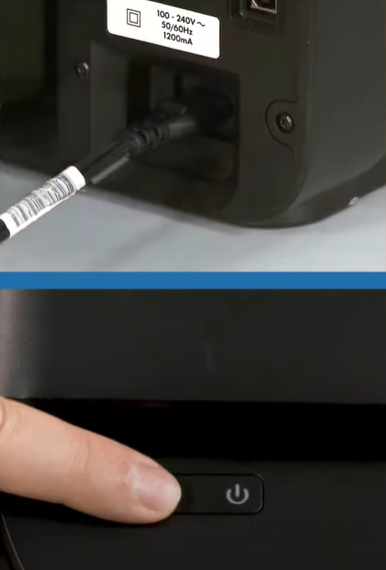
Step 2: Then turn the printer back on and wait for it to initialize.
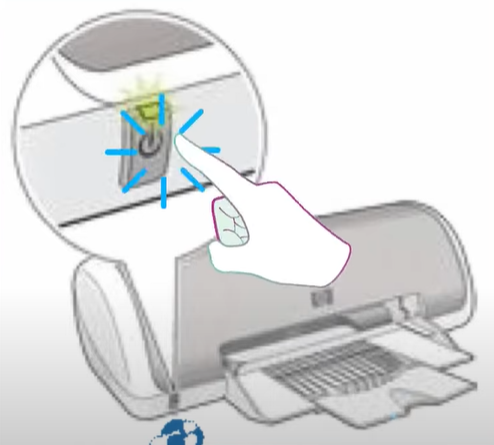
Step 3: If you are using a surge protector, remove it, plug the printer directly into the wall socket, and turn it on.
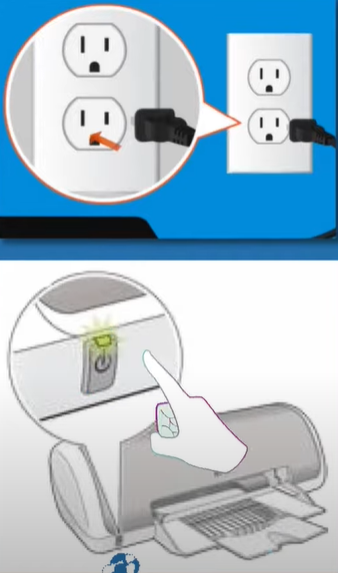
Step 4: If the error message still persists, turn off the printer.
Step 5: Disconnect any network or USB cable.
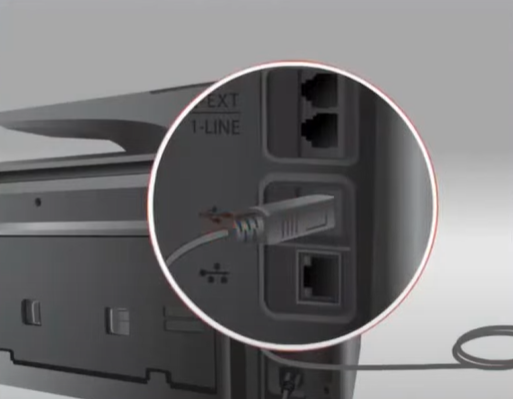
Step 6: Reconnect the cables and turn on the printer.
Method 2: Update The Printer Firmware
Step 1: On the control panel, navigate to and open the setup menu.
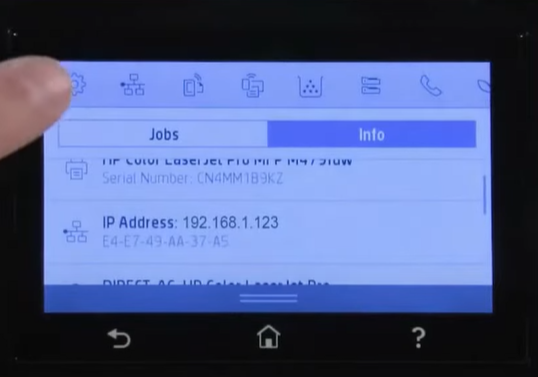
Step 2: Select printer maintenance and then select Update the printer or update Firmware.
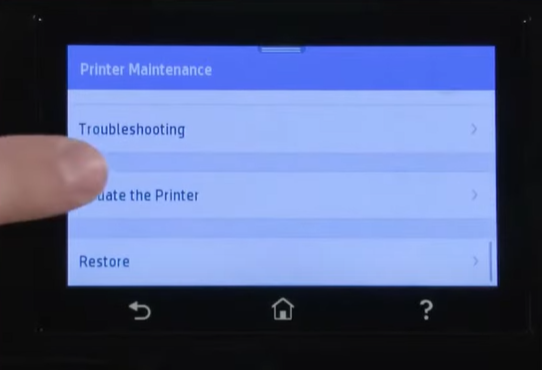
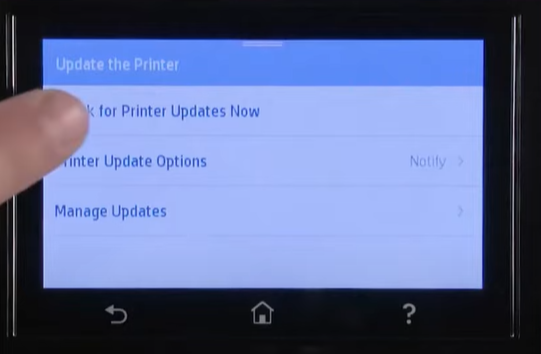
Step 3: Next, select check for printer update now.
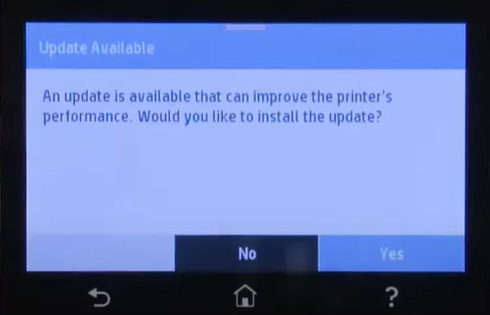
Step 4: If there’s an update available, click yes to start.
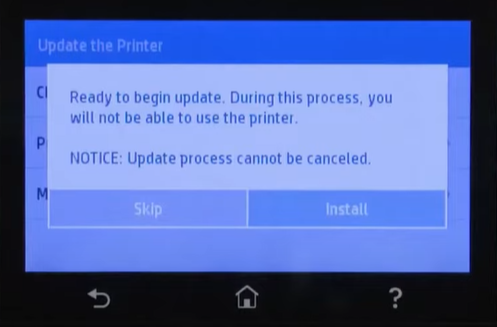
Step 5: Then select Install to install the update.
Step 6: When the update is complete, touch OK.
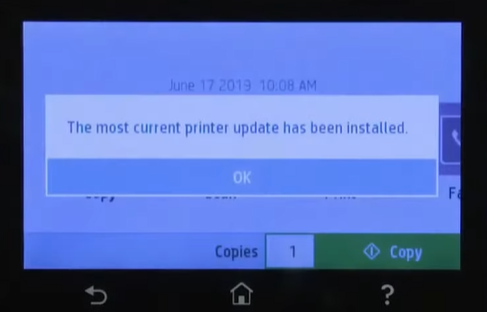
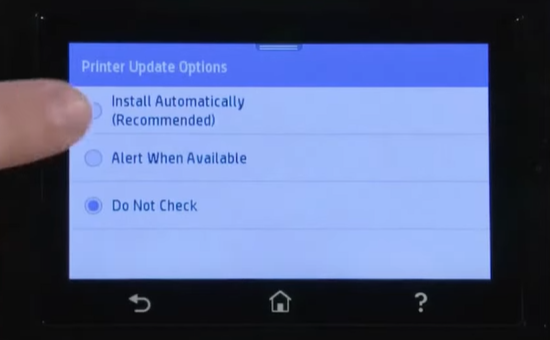
Step 7: If you want future updates to install automatically, change the printer update options.
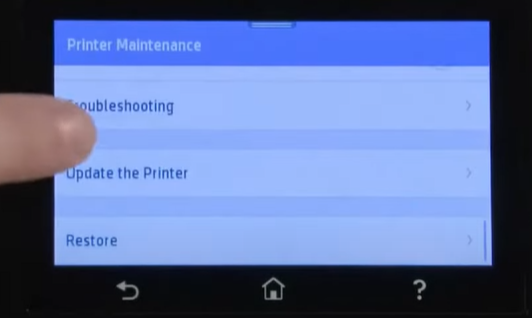
Step 8: To do this, open the setup menu, select printer maintenance, and then select update the printer.
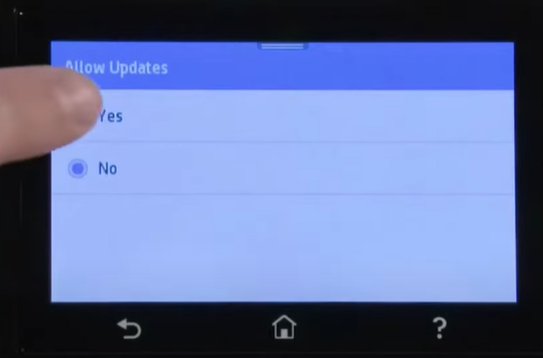
Step 9: Next, select manage updates > allow updates, and then select yes.
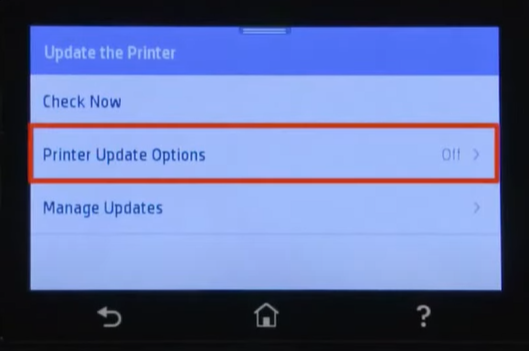
Step 10: Select the back button, then select printer update options, and then choose install automatically.
Method 3: Clear Print Queue
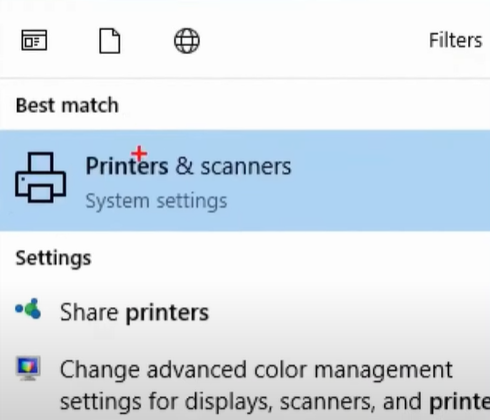
Step 1: In the Windows taskbar, type in printers and choose printers & scanners from the result.
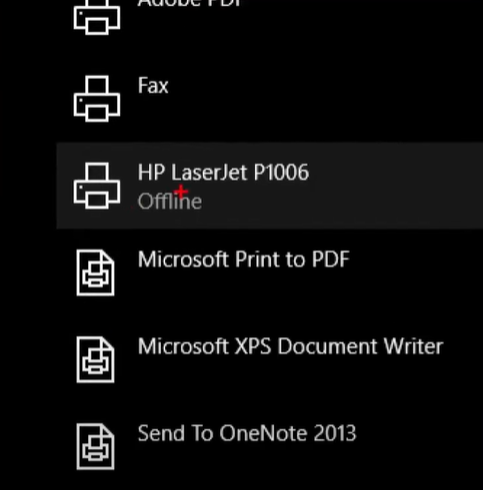
Step 2: Next, locate your printer from the list and click on it.
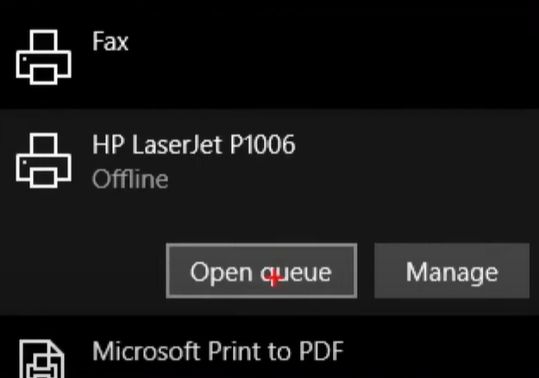
Step 3: Then click on the open Queue button.
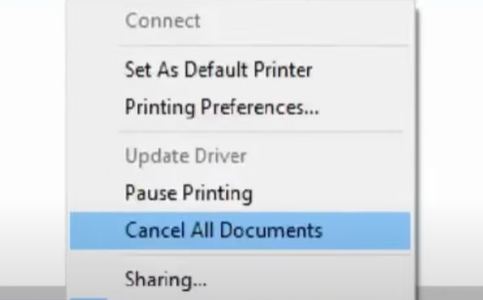
Step 4: To delete all the documents, right-click anywhere and choose to cancel all documents.
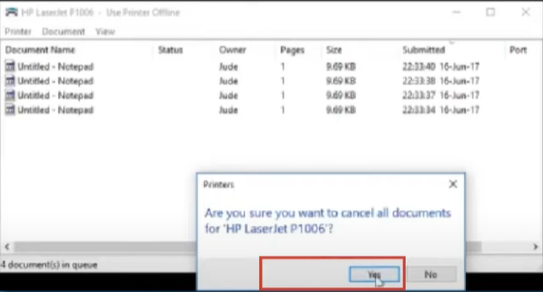
Step 5: Click on the Yes button to confirm.
Step 6: Once the print queue is cleared, close it.

Conclusion
HP printers are efficient and reliable devices, but errors can be frustrating. However, when you understand the causes behind the errors, it can be easy to resolve them. The above-mentioned methods to fix 79 service errors may help to solve the error.
However, if the error still persists repeatedly, you should contact a professional printer expert.

