How to Connect HP Deskjet 3755 to Wi-Fi?
HP Deskjet 3755 is a tiny all-in-one printer that saves space in your home. This printer comes with a scroll scan feature that helps you handle most of the scan jobs from stiff media to plain paper. Moreover, when you connect this printer model to Wi-Fi it makes your work more convenient.
Have you faced an issue connecting HP Deskjet 3755 to Wi-Fi? If so, you are at the right place! In this write-up, we have explained the methods in detail that can help you connect the HP Deskjet 3755 to Wi-Fi. Let’s start!
Methods to Connect HP Deskjet 3755 to Wi-Fi
Here are some of the methods that you can use to connect the HP Deskjet 3755 to Wi-Fi. Take a look at it.
Method 1: Configure During Printer Driver Installation
Step 1: Visit the official HP website at https://support.hp.com/usen/drivers to download the printer drivers.
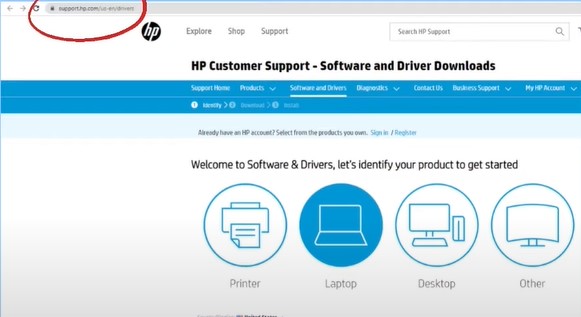
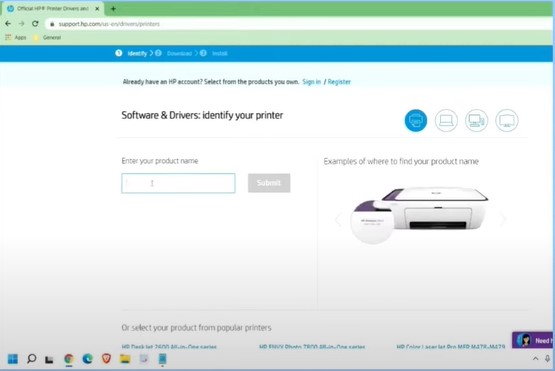
Step 2: Select the printer icon, enter the printer model, and go to the software and drivers screen.
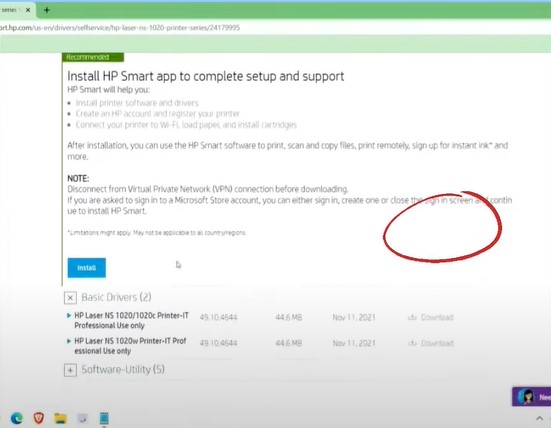
Step 3: Select the third option and download the basic driver package.
Step 4: Open the downloaded file to extract the driver package.
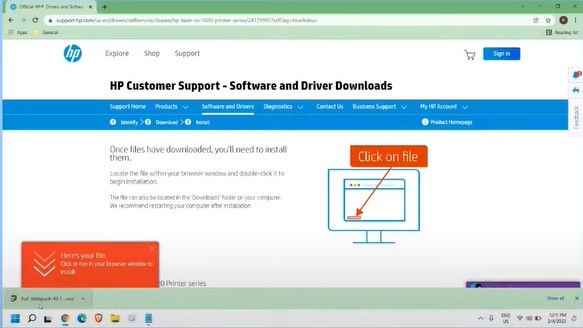
Step 5: On the prompt window, select yes to allow changes to your computer.

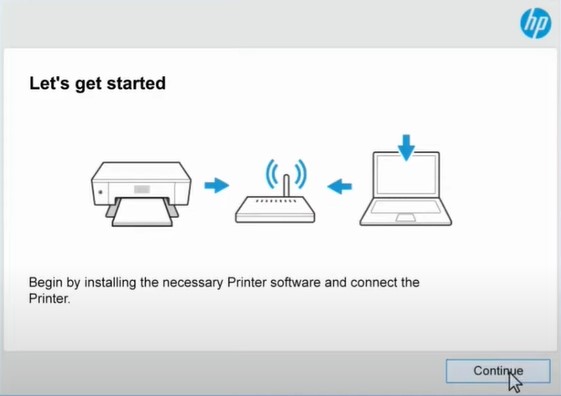
Step 6: Ensure that your printer is powered on, then click Continue on the Let’s Get Started screen.
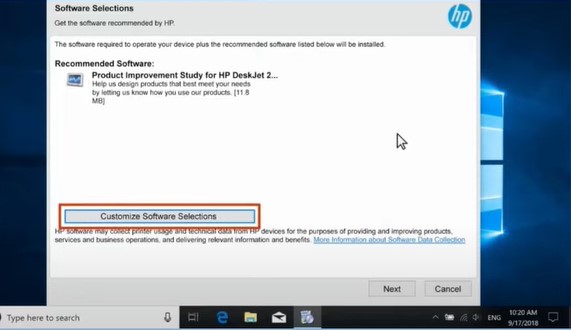
Step 7: Review the recommended software selections, customize your installation if necessary, and select next.
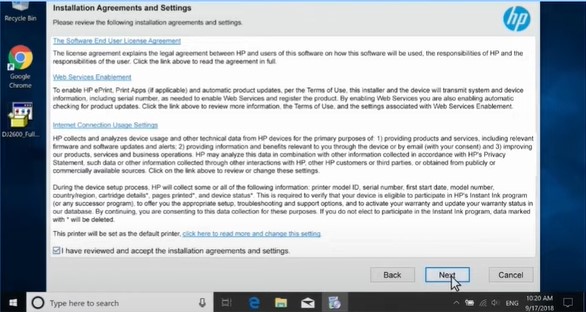
Step 8: On the installation agreements and settings page, click the corresponding blue header to view or change additional settings.
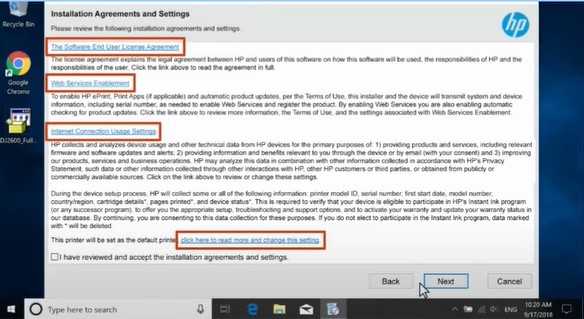
Step 9: Click on the checkbox to agree to the terms, then select next.
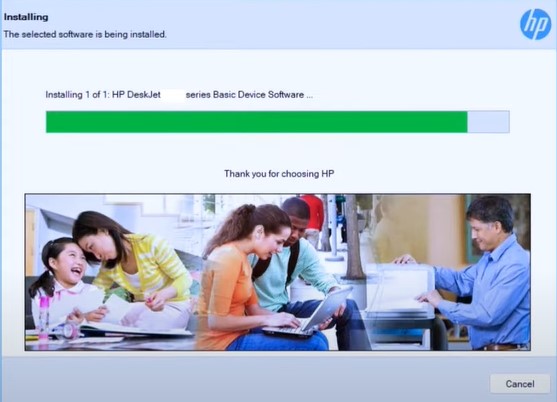
Step 10: Wait for the printer driver and the selected software to install.
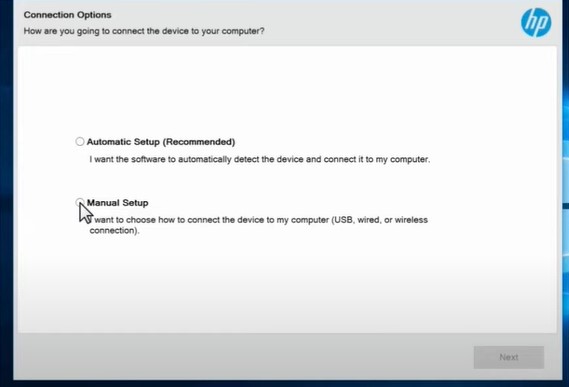
Step 11: When prompted, select manual setup and click next.
Step 12: Select the wireless option on the connection options screen and click next.
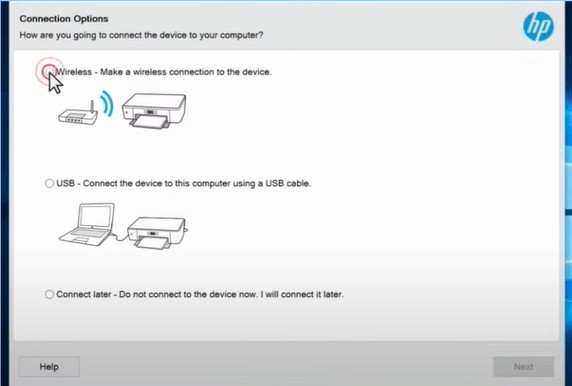
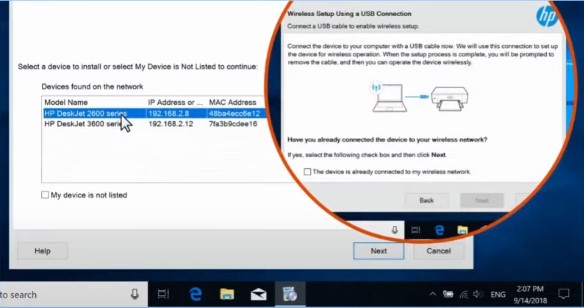
Step 13: The software will search for available printers on your wireless network.
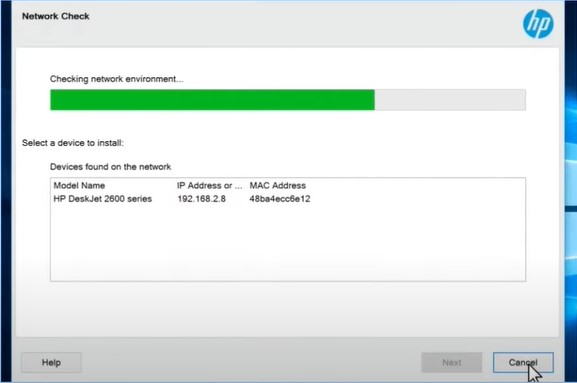
Step 14: If your printer is connected to the same network as your computer, select it from the results and click next to proceed.
Method 2: Wi-Fi Direct Method
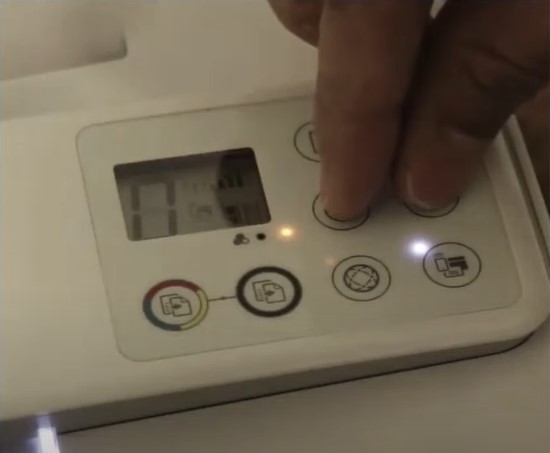
Step 1: Switch on your printer and press the Wi-Fi direct button.
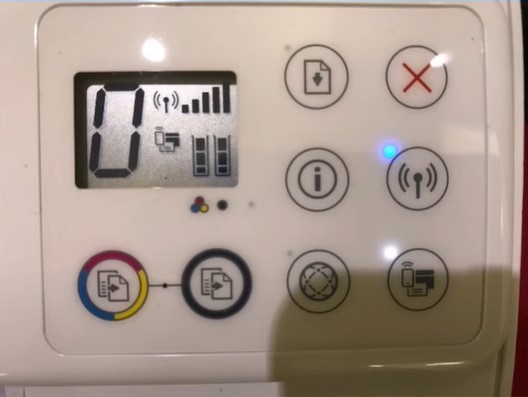
Step 2: The light blinking on the top of the Wi-Fi direct button icon indicates that it is active.
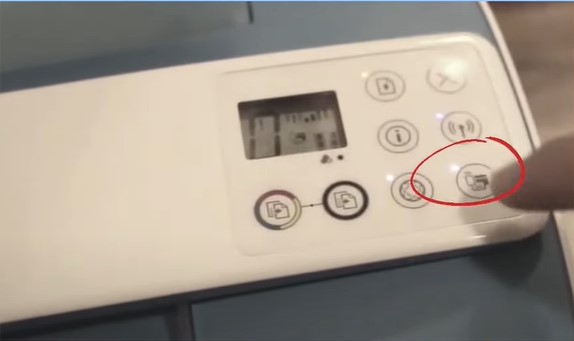
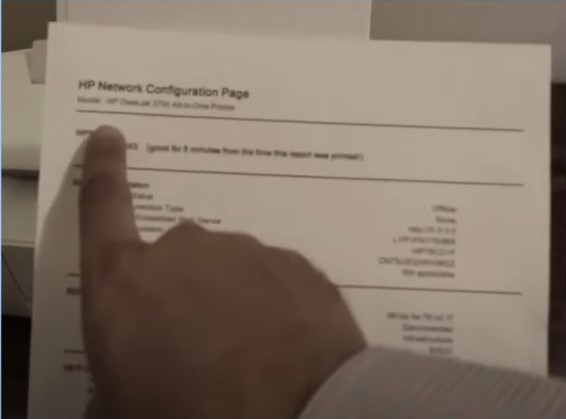
Step 3: Press and hold the information and wireless buttons to print the printer information.
Step 4: The printer information page will display the Wi-Fi direct name and password.
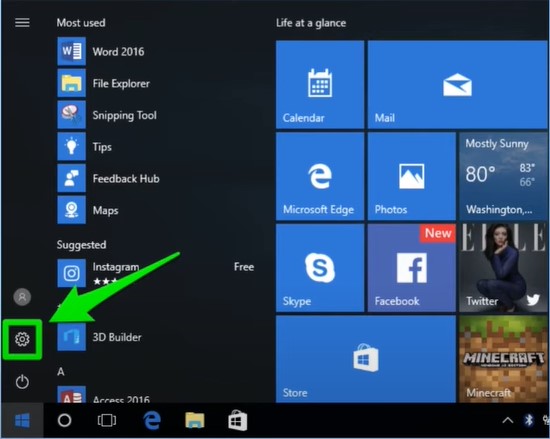
Step 5: On your computer, click the start menu and go to settings.
Step 6: Click on devices and then printers and scanners.
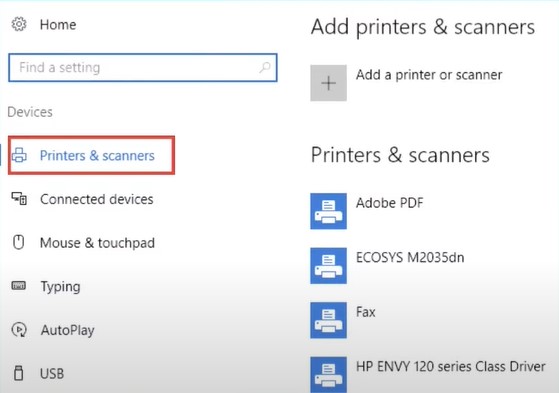
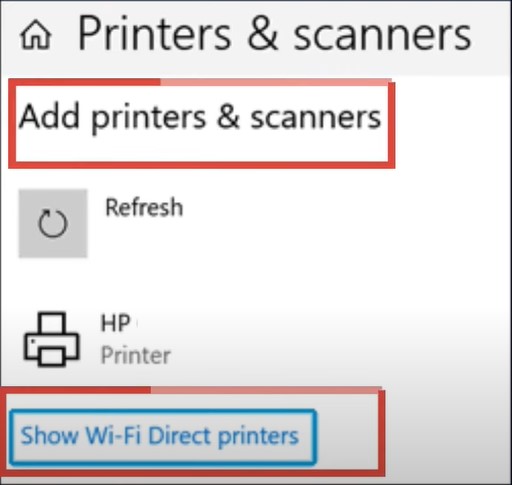
Step 7: Click Add Printers & scanners and select Show Wi-Fi direct printers.
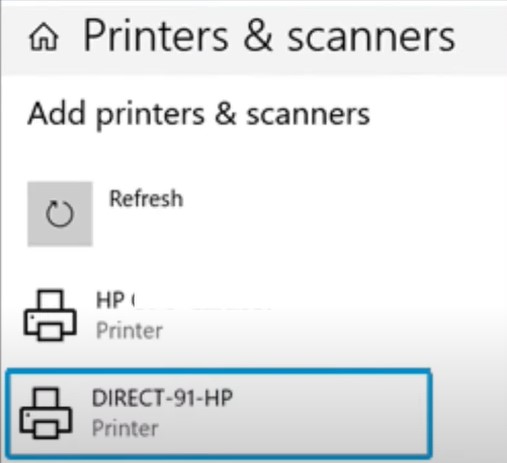
Step 8: Select the printer, start with Direct, and click on Add Device.
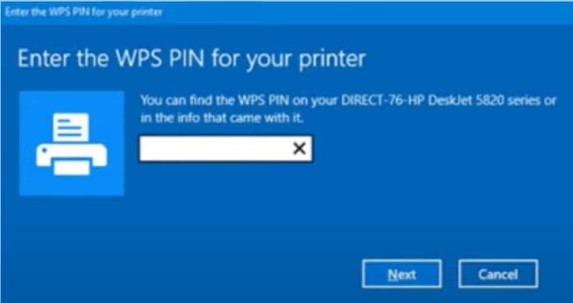
Step 9: Enter the WPS PIN within 90 seconds.
Method 3: Using Wi-Fi Protected Setup
Step 1: Ensure that your Deskjet printer supports WPS push button mode and your router has a WPS button.
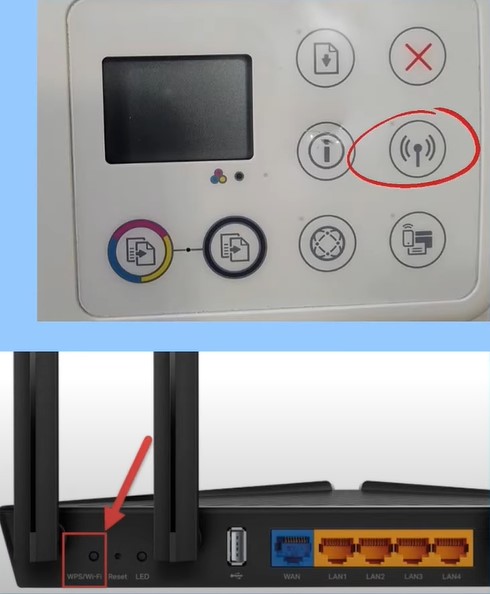
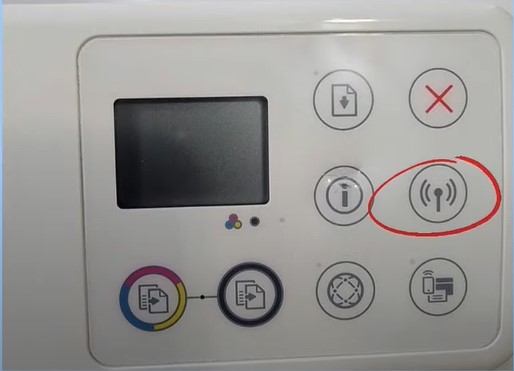
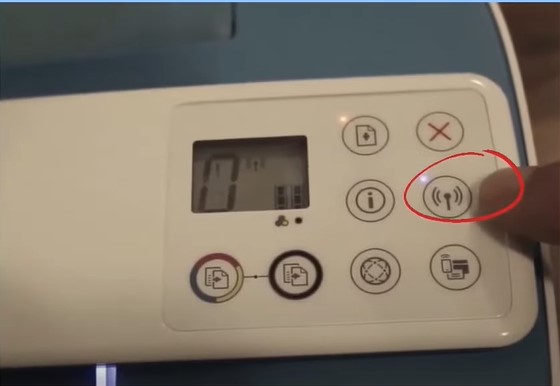
Step 2: Press the wireless button for three seconds or until the wireless light flashes.
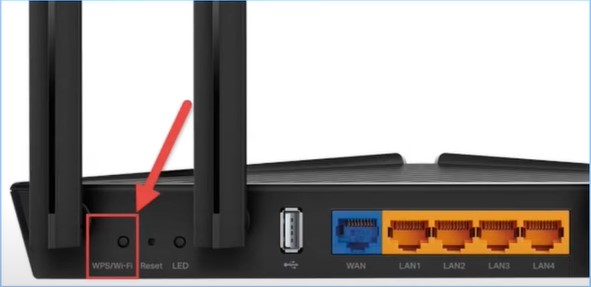
Step 3: Now, go to your router, press and hold the WPS button until the WPS light blinks on your router.
Step 4: When the wireless light stops blinking on your printer, the printer has successfully connected to your Wi-Fi.
Method 4: Using HP Smart App
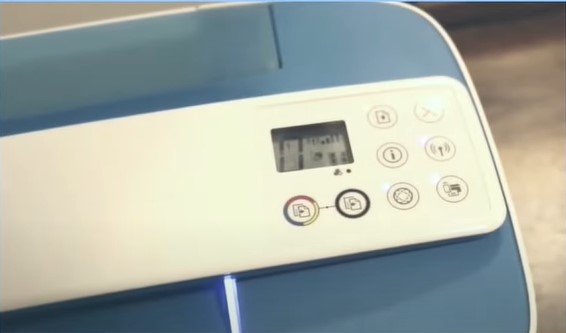
Step 1: First, you need to set the printer into setup mode. To do this, go to the control panel.
Step 2: Press and hold the wireless and cancel buttons till the power button flashes, then release it.
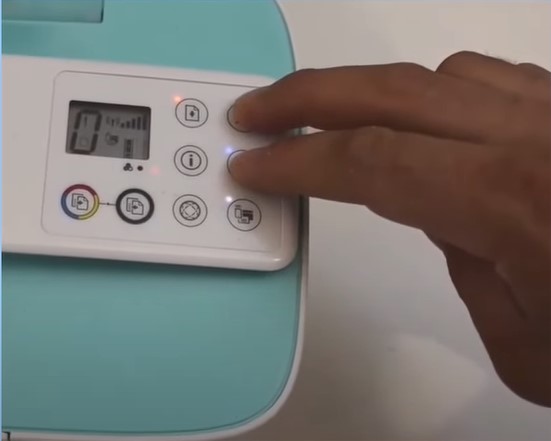
Step 3: The power button will stop blinking after some time.

Step 4: The Wi-Fi light starts blinking, indicating that the printer has entered setup mode.
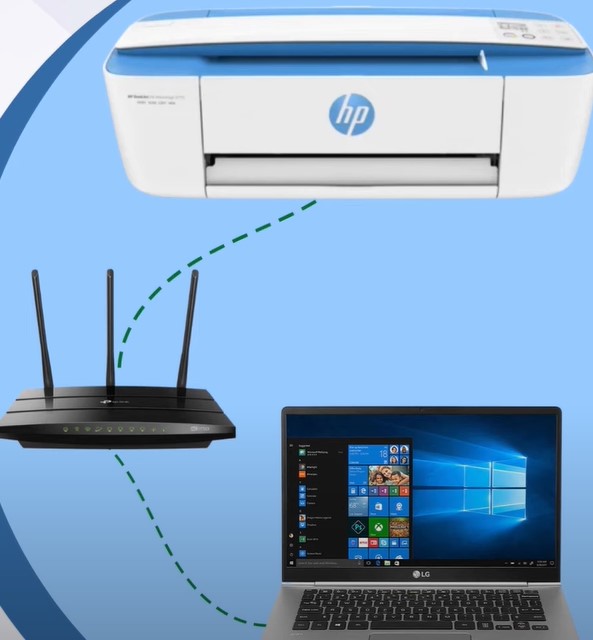
Step 5: Place the printer and the computer next to the Wi-Fi router and use only Wi-Fi during the printer setup with HP Smart.
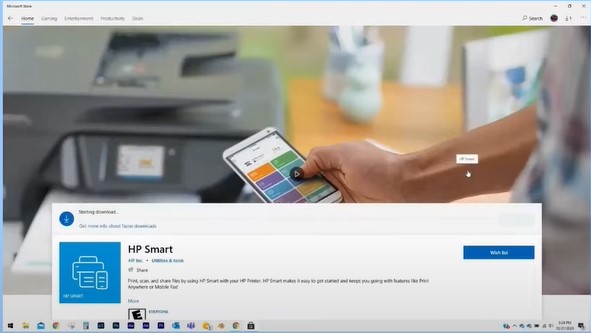
Step 6: If you don’t have the HP smart app, go to the Microsoft store, then download and install it.
Step 7: Open the HP smart app and click the +button to add your printer.
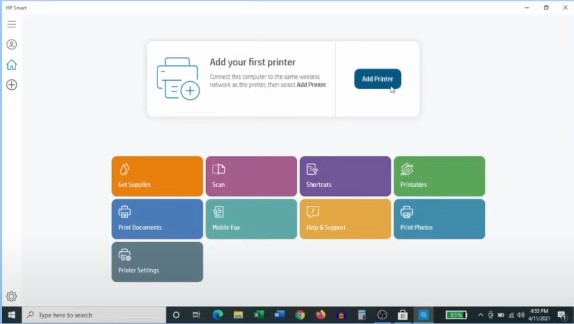
Step 8: Click Continue on the printer setup screen.

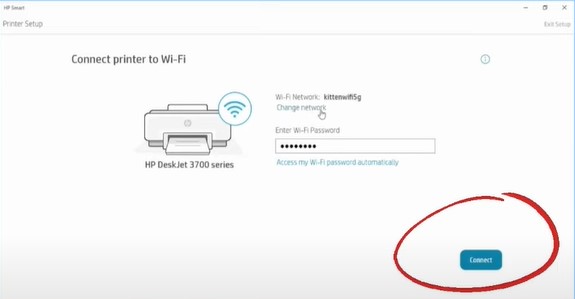
Step 9: On connecting the printer to the Wi-Fi screen, enter your password and click connect.
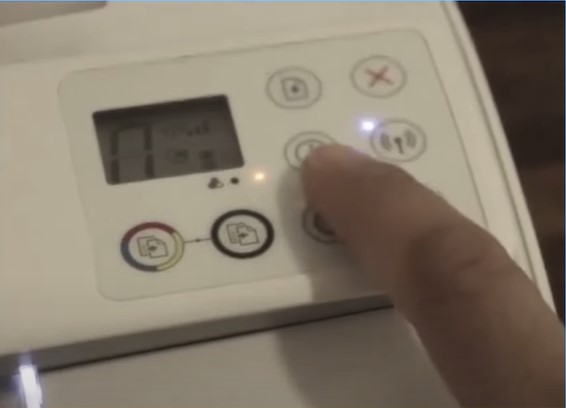
Step 10: If you are asked to press the information button on the control panel, go over to your printer and press it.
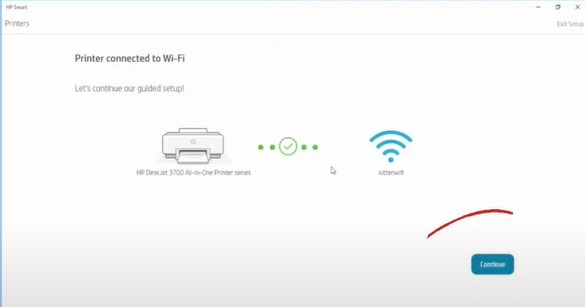
Step 11: When you get the printer connected to the Wi-Fi screen, click on continue.
Conclusion
Now, that you have gone through all the methods ensure to choose a suitable method that suits your requirements. We have explained all the methods in detail that will guide you to the connection process.
Related Article

