How to Fix HP Deskjet Printer Printing Blank Pages?
For a plethora of reasons, your printer can start printing black pages out of blue. Some primary reasons for this problem could be empty ink cartridges, congested nozzles, and improper cartridge installation. While facing this issue, you will not be able to print any documents properly. However, with some simple troubleshooting, you can get your HP printer working perfectly once again. If you do not know how to fix this issue, then we are going to help you get all the essential knowledge.
Here, you will know about the 5 effective and easy-to-understand solutions. So, learn all the methods now and fix the HP printer blank pages issue right away.
Solution 1: Check the Estimated Ink Level
The low ink level is among the top reasons to face the blank page printing issue. Below are the steps to help you check the estimated ink level in your printer.
1. Initially, select the Windows Start button and enter your HP Deskjet printer model name and number in the search bar.
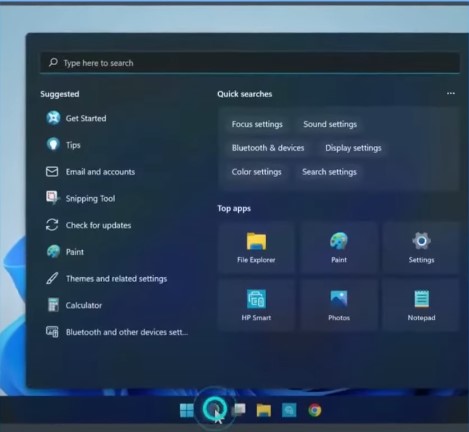
2. Click on the result to open the HP Printer Assistance.
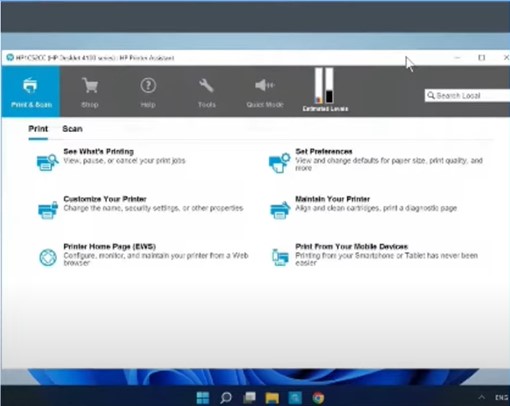
3. Now, click on the Estimated Ink Levels, and a graphic that represents the ink level will display.
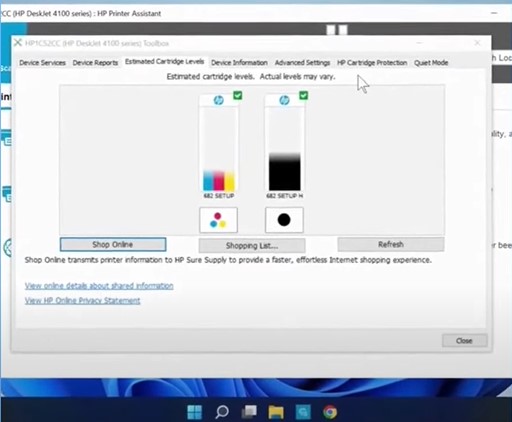
4. Check and see whether the ink cartridges need replacement.
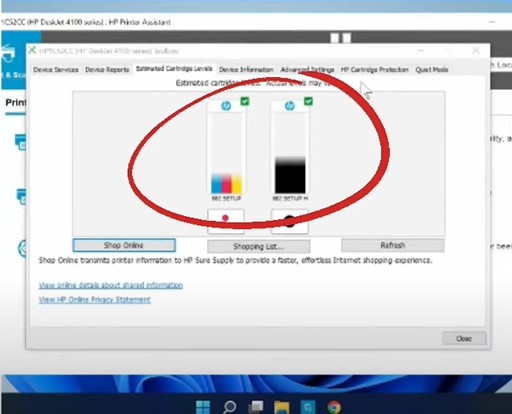
5. Finally, check the printed copies and see if the issue is resolved.
Solution 2: Replace Low or Empty Cartridges
Here are the right steps to help you replace the low and empty ink cartridges from your printer if necessary.
1. If the printer is not already on, press the power button to turn it on.
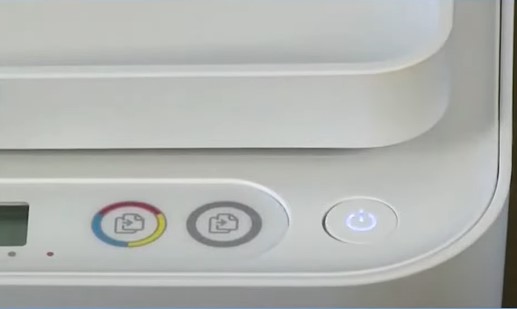
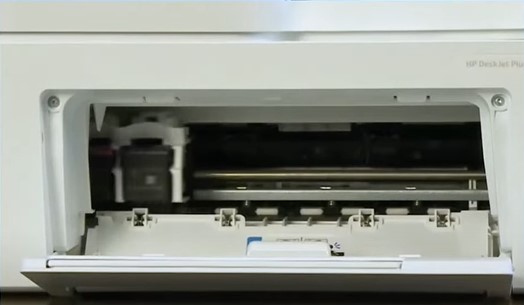
2. Next, open the cartridge access door and wait for the ink cartridge to move to the center.
3. Now, gently push down the ink cartridge you want to replace and pull it out to remove it.
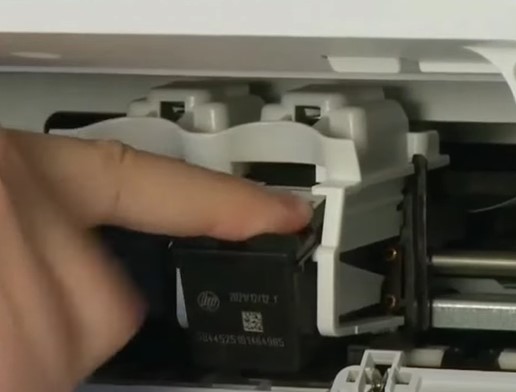
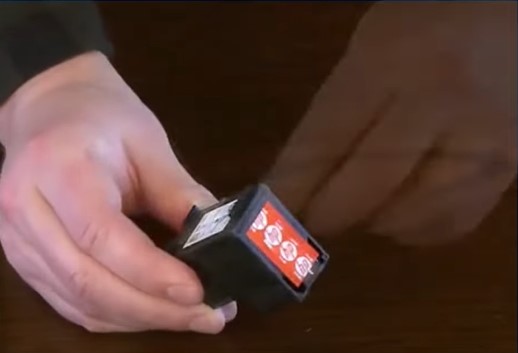
4. Remove the brand-new ink cartridge from its package and carefully remove the plastic tape.
Also Read :- How to Easily Update HP Printer Firmware?
5. With the nozzle facing the printer, carefully insert the cartridge at a slightly upward angle.
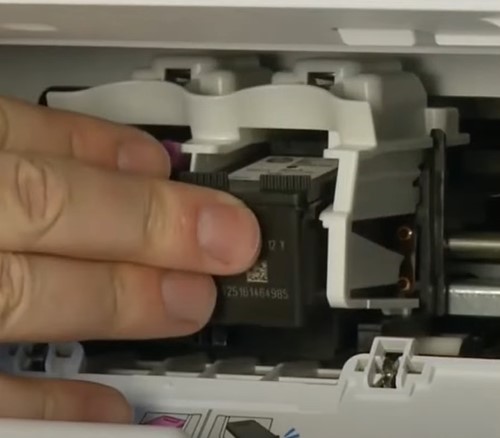
6. Then, push in the ink cartridge until it snaps into place.
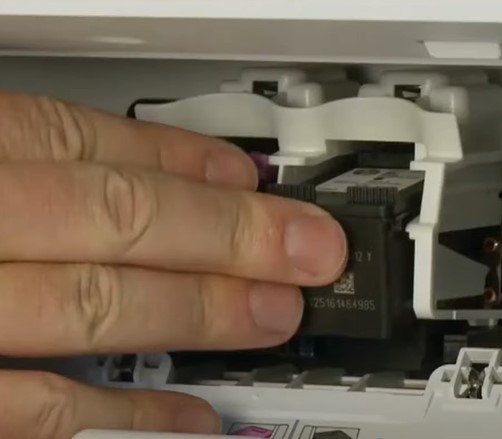
7. Repeat the same process with the other ink cartridge if required.
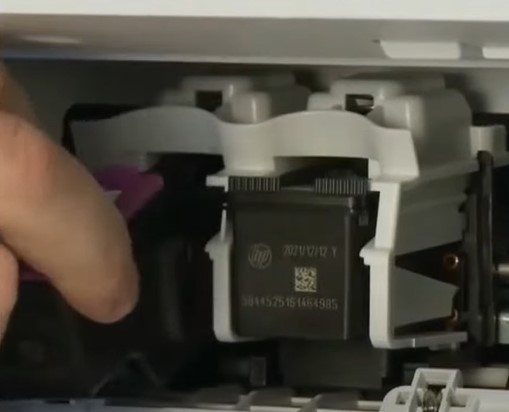
8. Once done, close the ink cartridge access door.
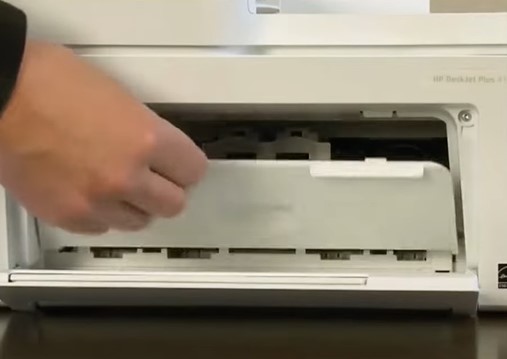
Solution 3: Clean Ink Cartridges
To clear the ink cartridge properly, these are the steps that will help you understand the full procedure.
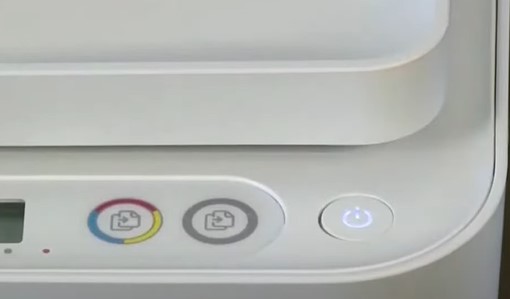
1. Firstly, make sure that your HP printer device is switched on.
2. Open the printer's ink cartridge access door and wait for the ink cartridge to move to the center.
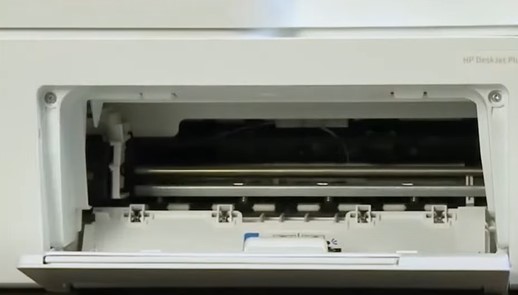
3. Now, gently push down the ink cartridge and pull it out to remove it.
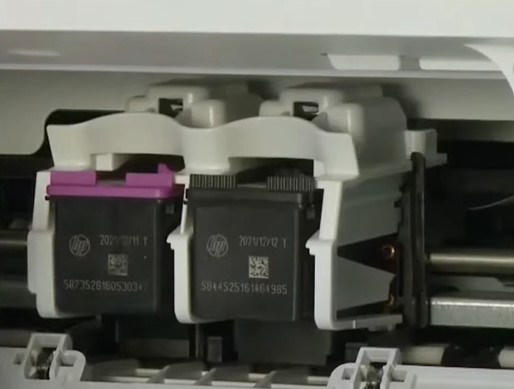
4. Next, take a lint-free or disposable paper towel and clean the contact located at the bottom of the ink cartridge. (note- do not use alcohol or any cleaning solution to clean the printhead.)
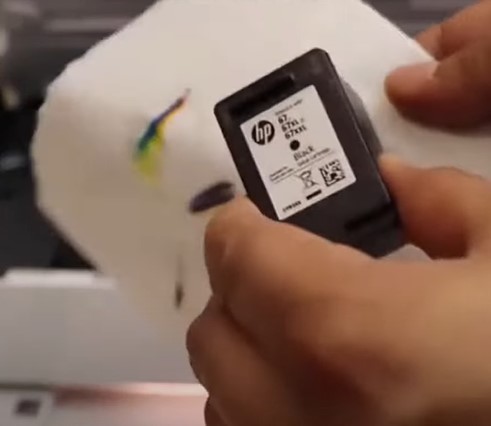
5. If you are unable to remove the ink, moisten the paper towel with water and gently clean it.
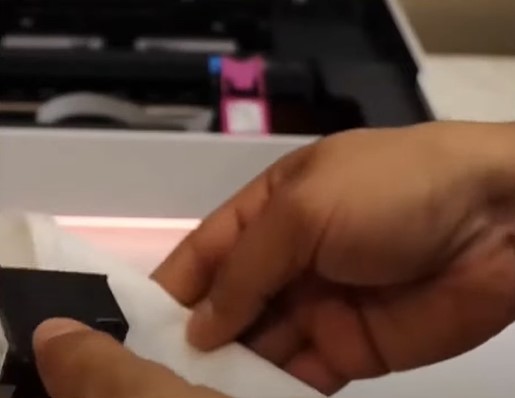
6. Once done, set it aside to dry. You can then put it back to its original position.
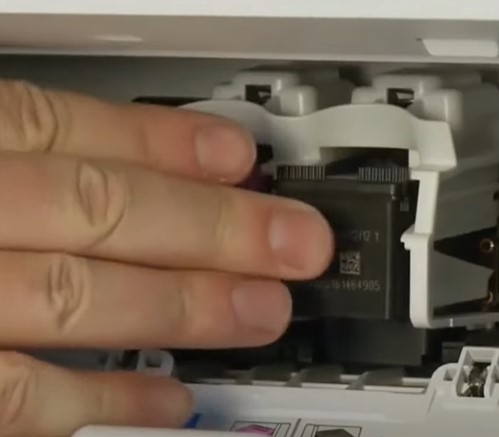
Solution 4: Identify and Replace the Problematic Ink Cartridge
You may also need to replace the problematic ink cartridge from your HP printer. Follow-up steps will help you know how to do it.
1. Make sure that the printer is on and load some paper into the tray.
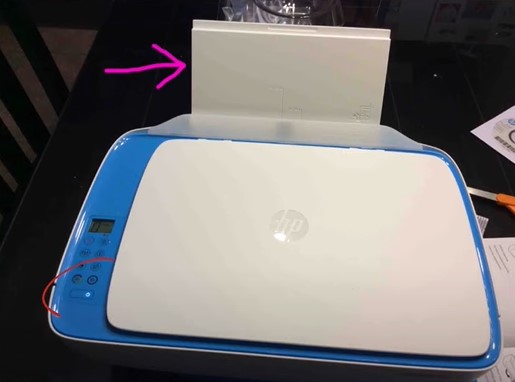
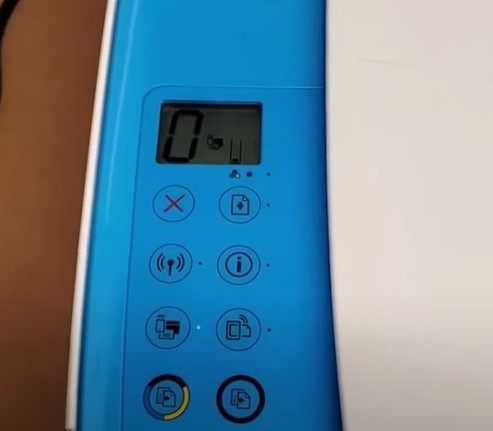
2. Press and hold the power button and then press the Cancel button.
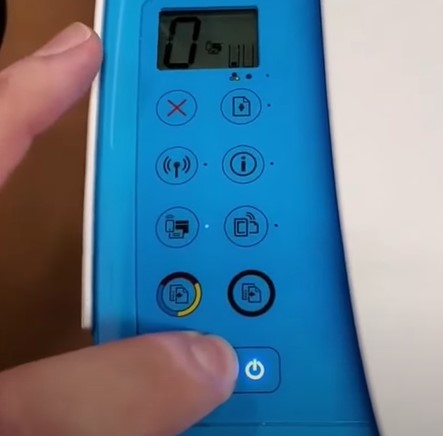
3. Next, release the Cancel button and then press the power button; now, the test page will be printed.
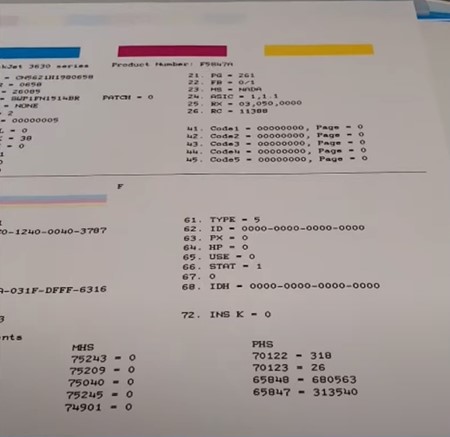
4. Now, check the nozzle pattern and identify the problem cartridge.
5. After that, open the ink cartridge access door and wait for the cartridge to move to the center.
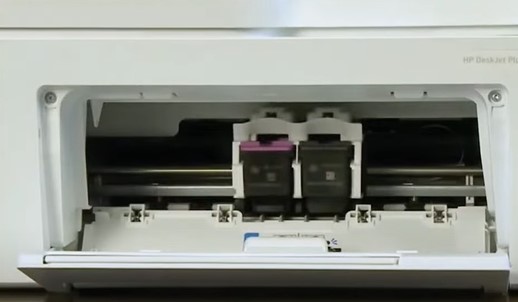
6. Press down lightly on the problematic cartridge and pull it out of its slot.
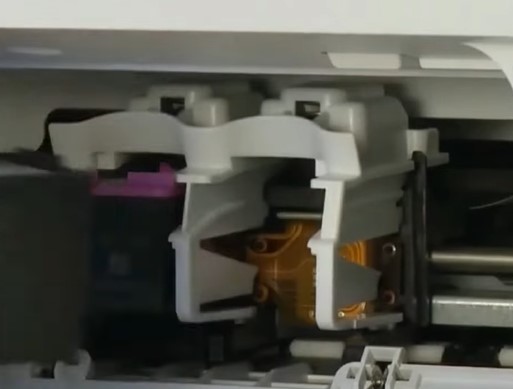
7. Remove the new ink cartridge from its package and carefully remove the plastic tape.
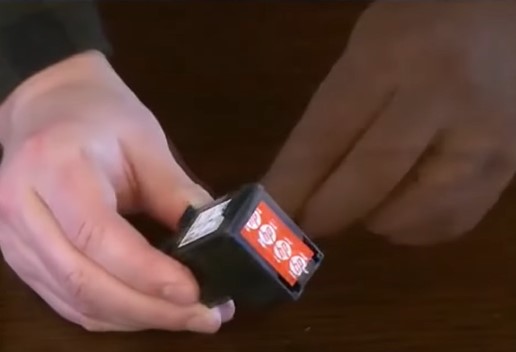
8. With the nozzle facing the printer, carefully insert the cartridge at a slightly upward angle and push it until you hear a snap.
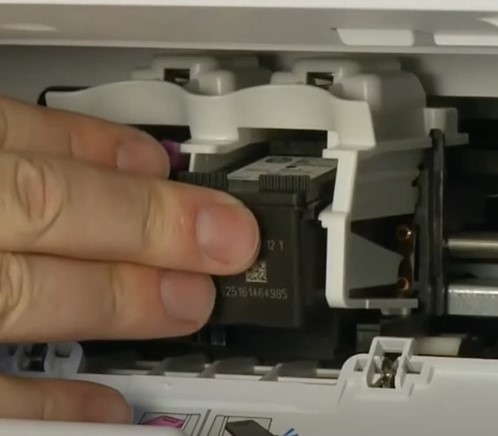
9. In addition, repeat the same process for other cartridges if required.
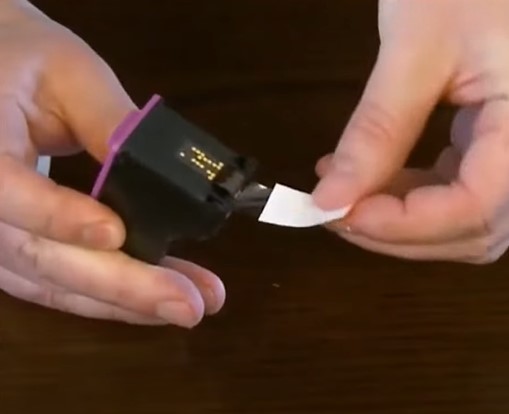
10. Once done, you can close the ink cartridge access door.
Solution 5: Align Ink Cartridges
These are the steps to perfectly align the ink cartridges to fix the HP printer printing blank page problem.
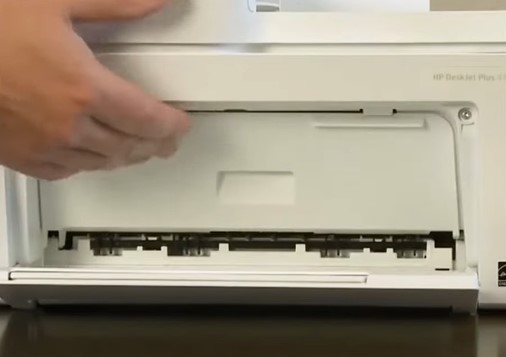
1. First and foremost, lift the input tray to its locked position.
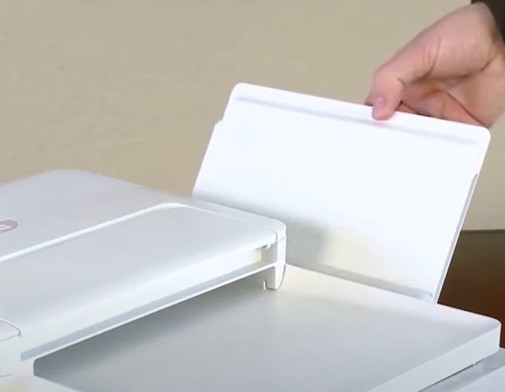
2. After that, slide the paper width guide to its utmost position.
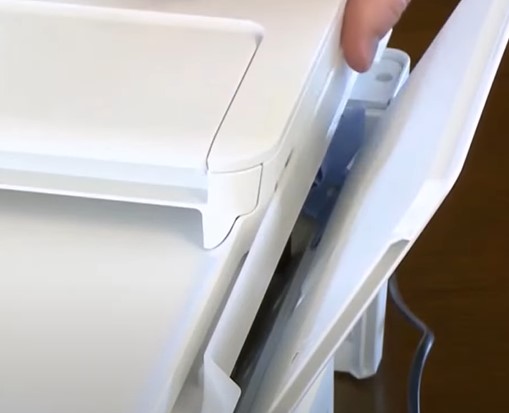
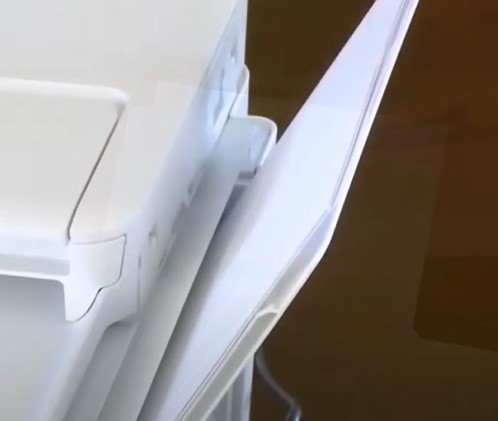
3. Now, load the stack of paper into the input tray and side the paper width guide until it rests on the edge of the paper.
4. Then launch the HP Smart App; if you don’t have the app then download it.
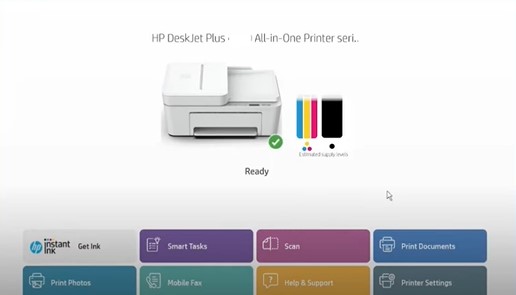
5. Next, move to the printer settings.
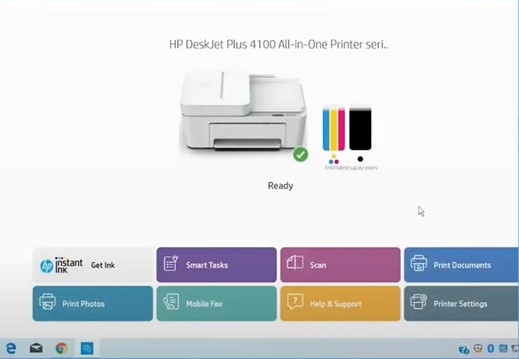
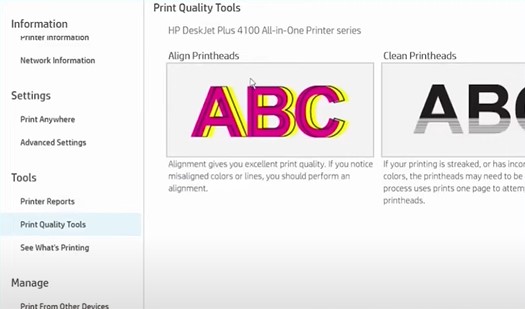
6. Choose Print Quality Tools and then select Align Printhead.
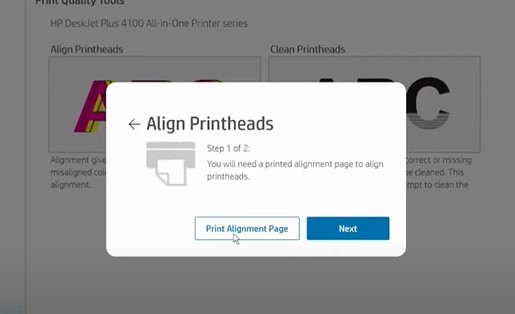
7. When prompted, click on the print alignment page, and the printer will print a document.
8. Now, lift the scanner lid and place the alignment page face-down on the scanner page.
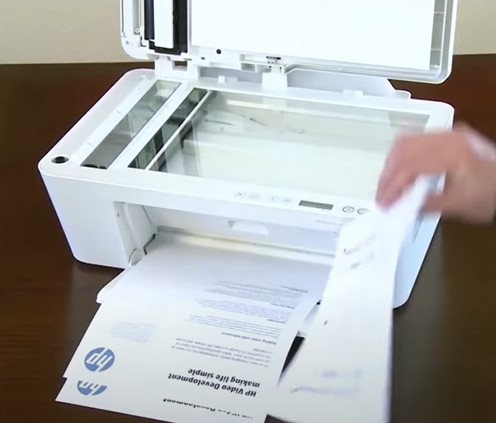
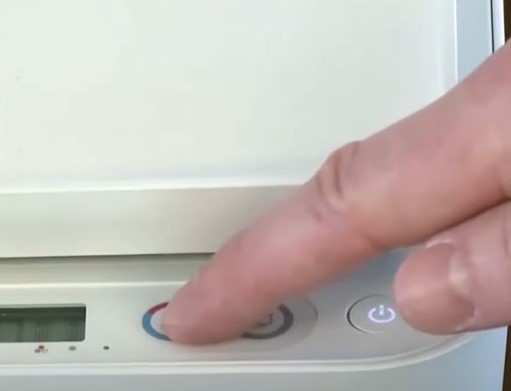
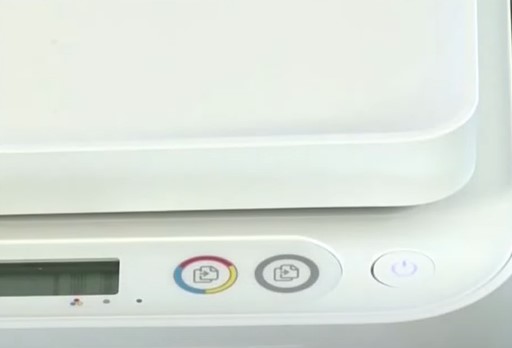
9. Then, lower the lid and press the Start copy color button.
10. Finally, the alignment process will be complete.
Conclusion
It is common to get some technical glitches in your printer device, and printer printing blank pages is one of them. If your HP Deskjet printer is showing this issue, then you need to try our top 5 solutions one by one. Plus, ensure that the printer setup is done properly and it is getting enough power supply. Make sure to follow each step of every method carefully to get the results quickly. Apart from that, look for further assistance if you still find your printer not working properly.

