How to do HP Deskjet 4155e WiFi Setup?

Isn’t it fun to set up a brand-new printer and print the first document? Of course, it is! But, sometimes, it could be challenging for some people. If you are also one of those people looking forward to completing the Wi-Fi setup of your HP Deskjet 4155e printer, then worry not. There are various solutions available.
Various problems, such as incorrect configuration, compatibility, wrong setup procedure, and more, can usually appear during the setup. To help you complete your HP printer Wi-Fi setup, we will walk you through the top 3 methods with simple instructions. Carefully read all methods to complete the process seamlessly!
Method 1: With Direct Setup
The following steps will allow you to complete the Direct Setup of your HP printer to Wi-Fi.
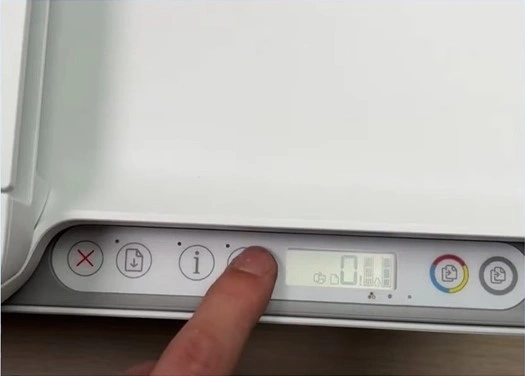
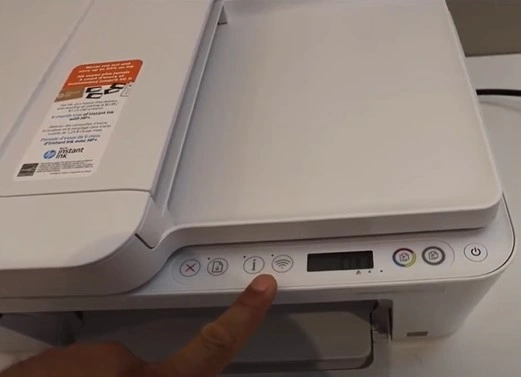
1. Go to the printer control panel and press the Wireless icon once or until you see the Wi-Fi Direct option.
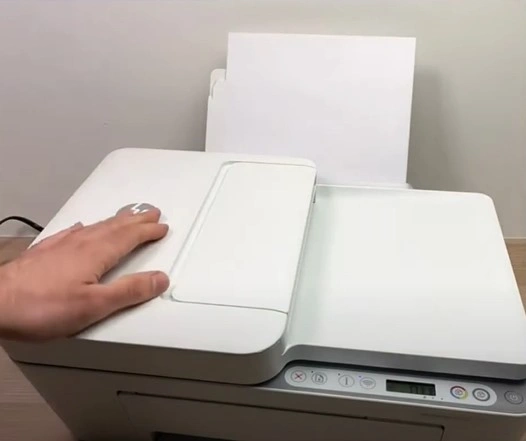
2. Next, load the sheet of paper into the paper tray and open the output tray.
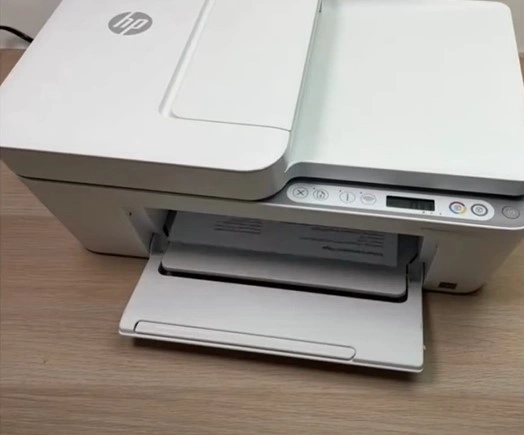
3. Now, press the information button, and the printer will print an information page.
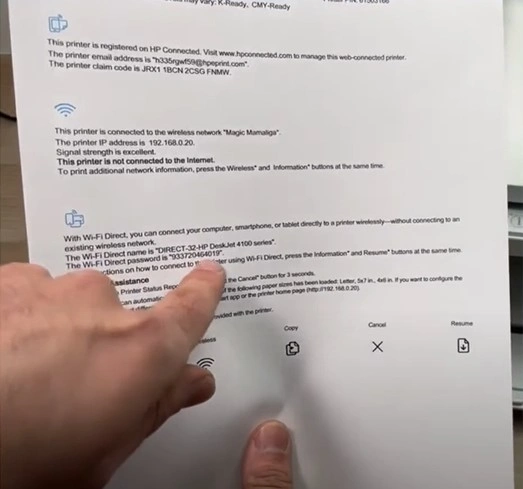
4. Check the Wi-Fi Direct name and password on the printed page.
5. Afterward, go to your computer or mobile device and open Wi-Fi settings.
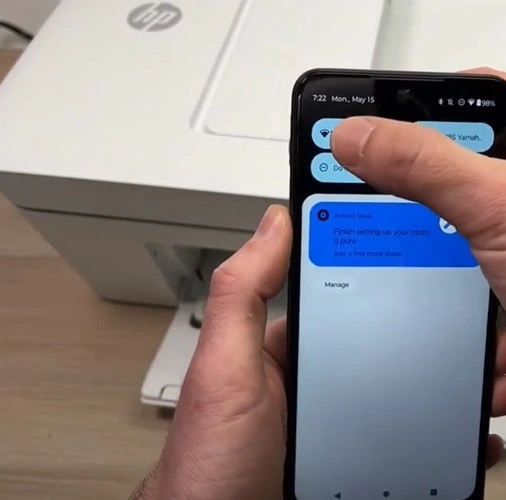
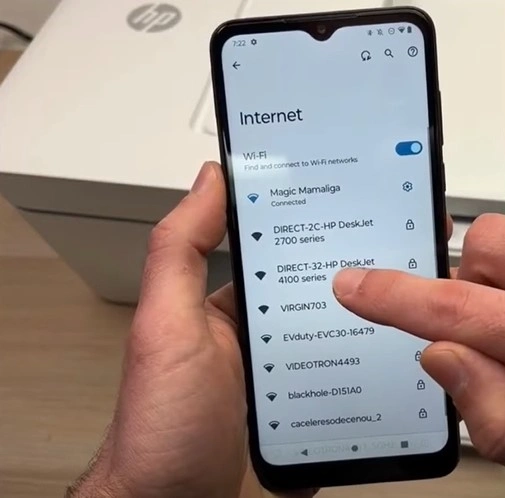
6. Afterward, you need to select the network that begins with DIRECT, followed by your printer model.
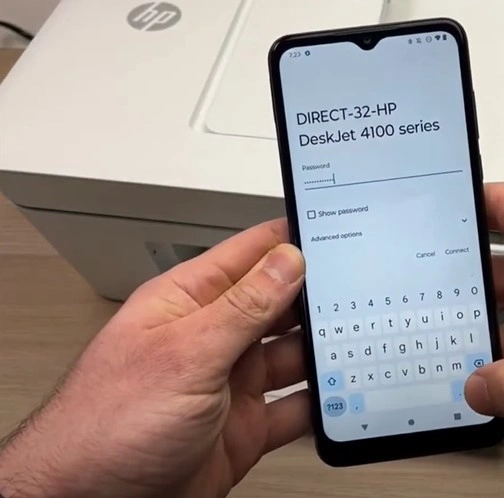
7. Type in your password and connect it.
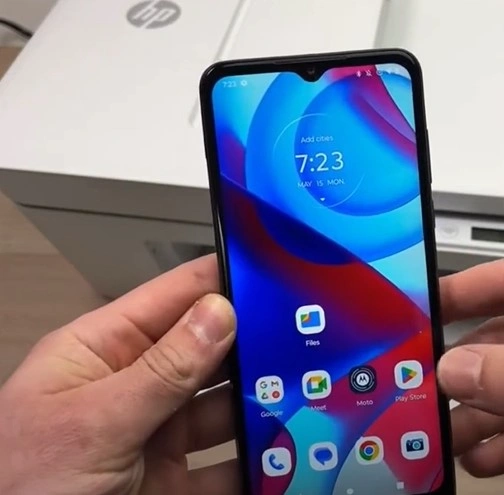
8. Next, you need to open the HP Smart App; if you don’t have it, download it from the App Store or Google Play Store.
9. In the HP Smart App, tap on Add your First Printer and then select Add Printer.
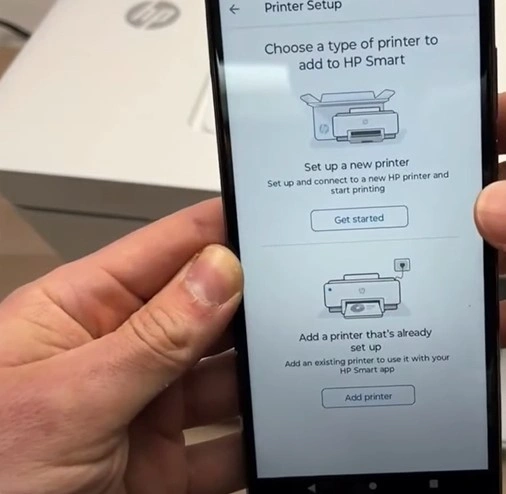
10. Choose your HP Deskjet 4155e to connect and start using the printer immediately!
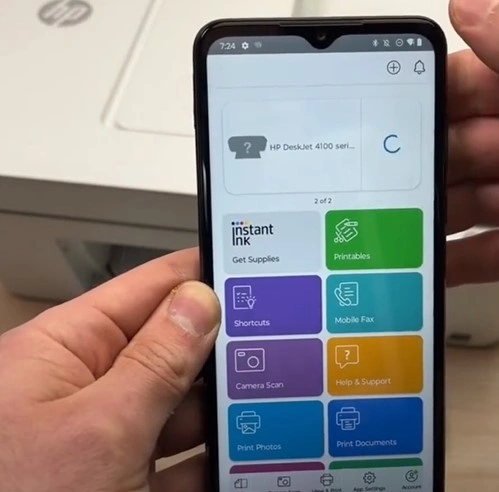
Method 2: Connect Via HP Smart App
With the help of the HP Smart App, you can connect your printer to Wi-Fi through your smartphone. Here are the steps you can follow to do that.
1. At the start, put the printer into setup mode; to do this, press and hold the Cancel and Wireless buttons until the power button starts flashing.
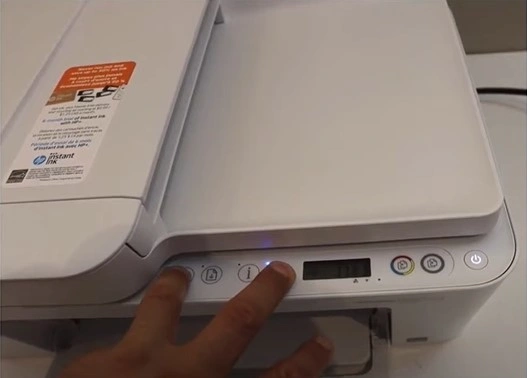
2. The power button starts flashing for a few seconds, then remains lit, and then the wireless light will start flashing.
3. Now, go to your mobile device and open the HP Smart App.
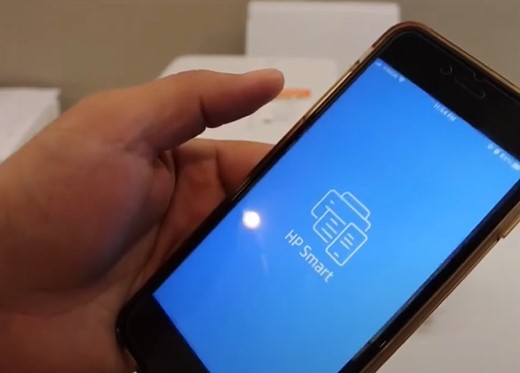
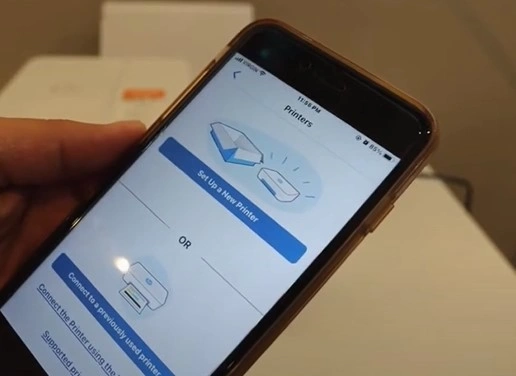
4. Tap on Add Printer, then select Setup a New Printer.
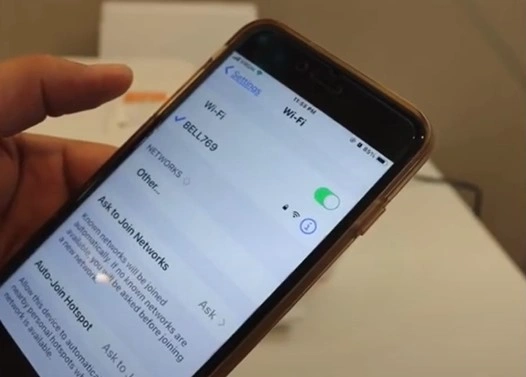
5. Open the Wi-Fi settings and choose HP=Setup, followed by the printer model.
6. Go back to the HP Smart App, and it will start searching for a network to connect to.

7. Select your wireless (Wi-Fi) network name from the list, enter the password, and tap Continue.
 network_1727342421.webp)
8. When the screen displays, press the flashing “information” button on your printer, go to your printer, and press the information button.
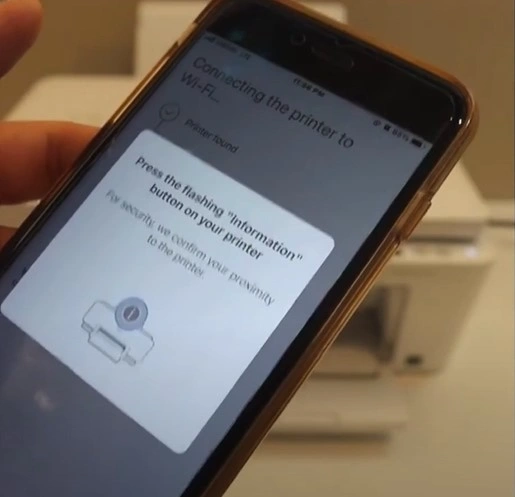
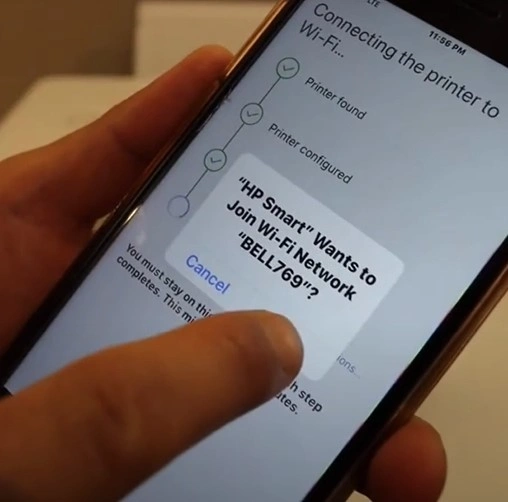
9. Once you get the prompt that the printer wants to connect to the wireless network, tap on Join.
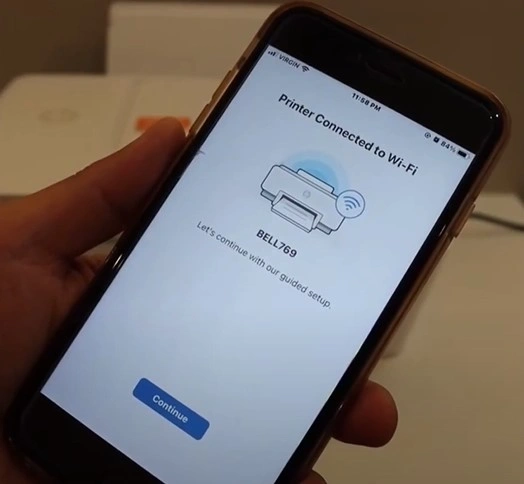
10. You will see a printer connected notification on the screen when the connection is established; tap on Continue.
Method 3: WPS Method
The WPS method helps you to directly connect the printer to Wi-Fi. Follow the steps carefully to establish the connection.
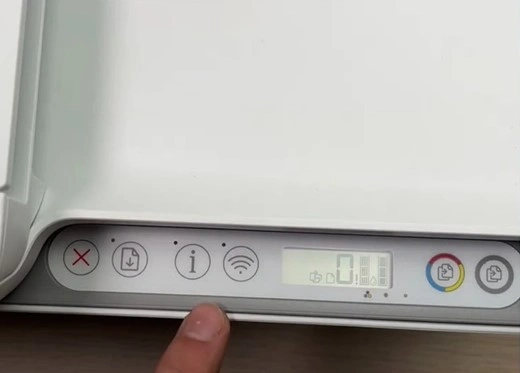
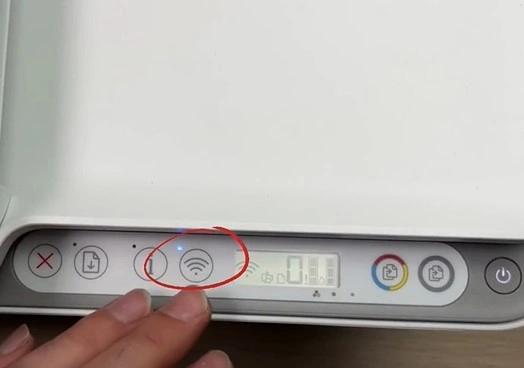
1. Make sure that the printer is powered On, then press the wireless button for 5 seconds to initiate the WPS connection.
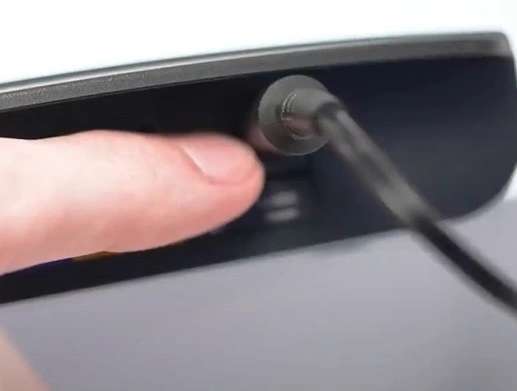
2. Now, move to your router and press the WPS button within 2 minutes.
3. Next, the wireless light on the printer will start blinking, indicating that it’s searching for a wireless network.
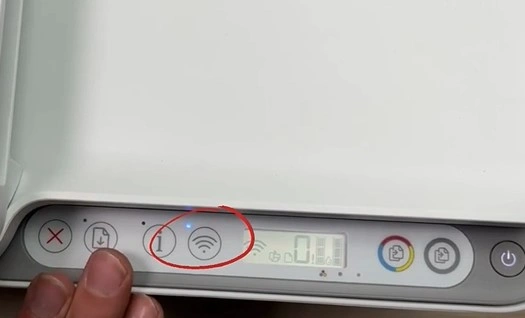
4. Once the connection is successfully established, the wireless light will remain lit.
5. Finally, check if your printer is working properly by printing a document.
Wrap Up
Various methods are available for your HP Deskjet 4155e printer Wi-Fi setup. Here, you learn about the best 3 methods to set up your machine and start using it right away. But, if you feel you might need more information or the printer connection process is not complete yet, then make sure to access further help and resources.

