Fix HP ENVY 4520 Not Printing Issue
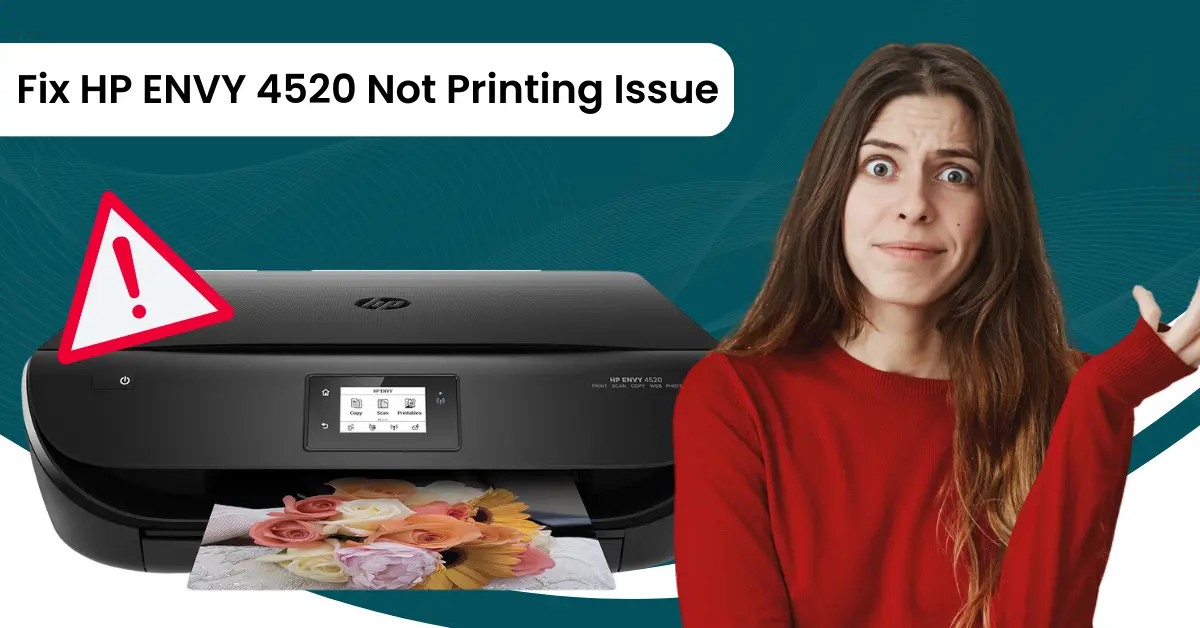
Is your HP ENVY 4520 printer showing the “not printing” problem? It could be daunting if you are seeing this problem for the first time but you do not need to worry. This problem can arise as a result of a bunch of minor/major problems such as wrong printer configuration, low ink level in the cartridge, network issues, low power supply, incorrect print settings, outdated/missing compatible drivers, and others.
It is wise to figure out the key reason and keep everything in good condition to fix the problem. Moreover, various other proven effective and easy-to-follow solutions can quickly fix the HP printer without printing issues. Here, you are about to learn the top 3 methods.
Method 1: Reset the HP ENVY Printer
Sometimes your HP printer does not print any documents if it is facing any technical fault. In this case, you need to reset the device to fix the issue.
1. Disconnect the power cable from the HP ENVY printer while the printer is still powered on.
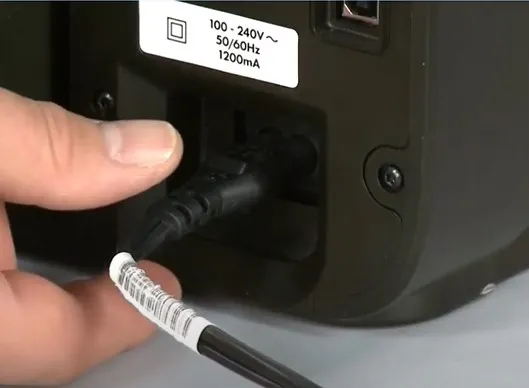
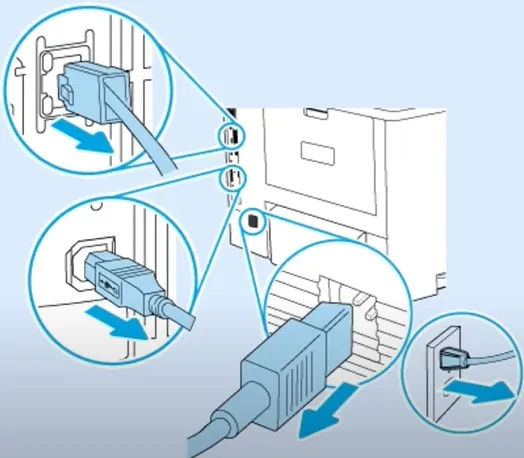
2. Also, disconnect any other cable if it is connected to your printer.
3. Press and hold the printer’s power button for 15 buttons.
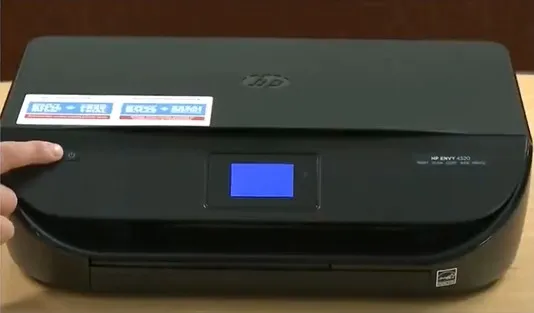
4. And then reconnect the power cable to the printer and the power outlet.
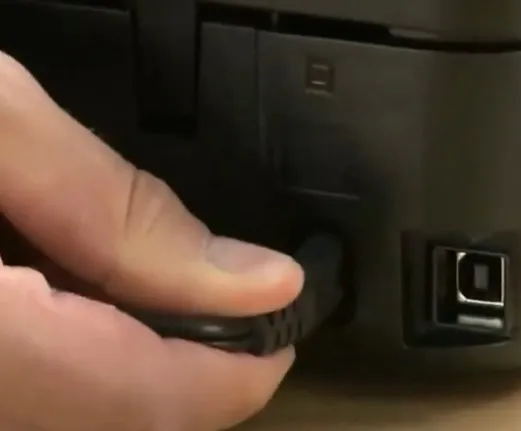
5. Now, check if the printer not printing issue is solved or not.
Method 2: Check For the Printer Settings
Your HP printer stops printing documents if there is some issue with the printing settings. With the help of the below steps check the printer settings and make necessary changes.
1. In the software application you are using to print from, click on File, then choose Print.
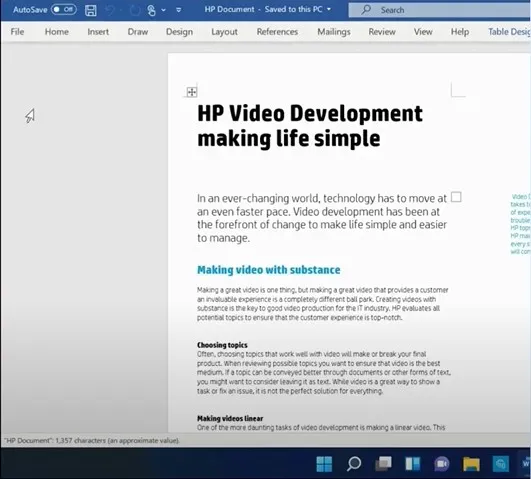
2. Then, select the option Printer Properties.
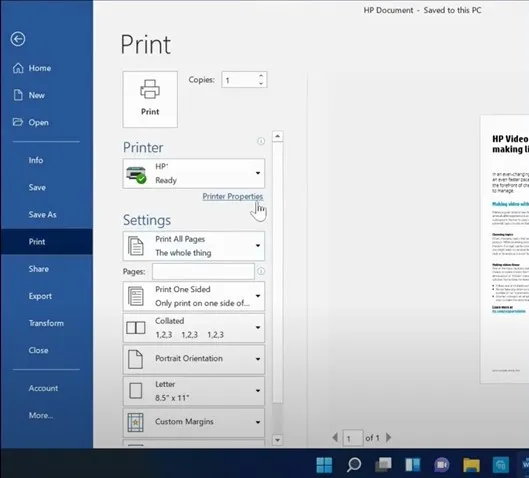
3. After that, open the Paper Type drop-down and ensure that the settings match the papers you are trying to print on.
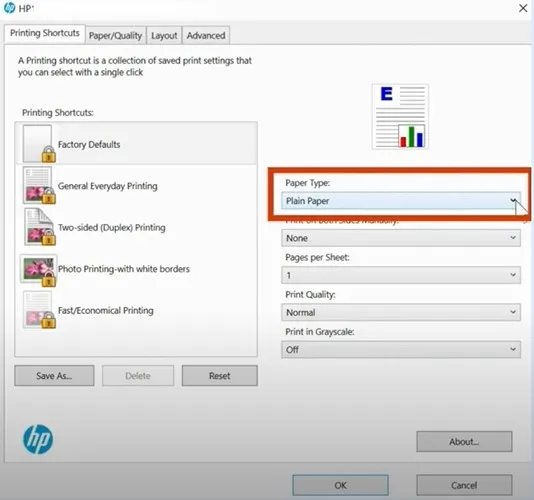
4. In addition, check the print quality and check print quality is set as required.
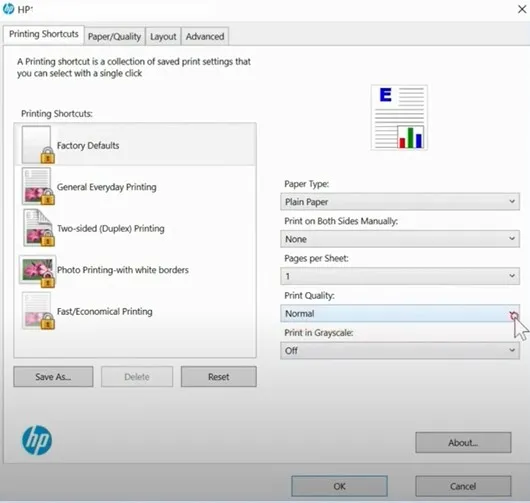
5. Then turn on or off Print in Grayscale, depending on whether you want to print in color or black & white.
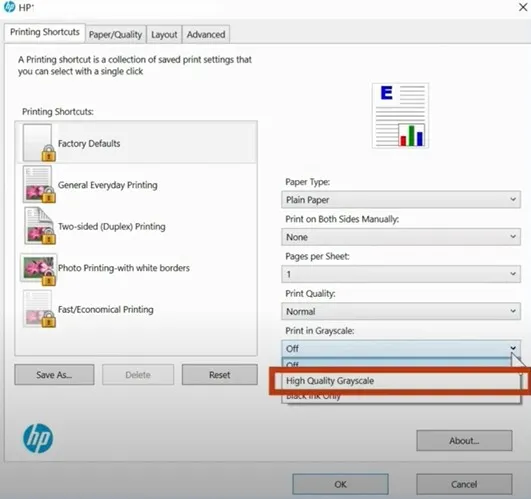
6. When you are ready, click OK to save the changes.
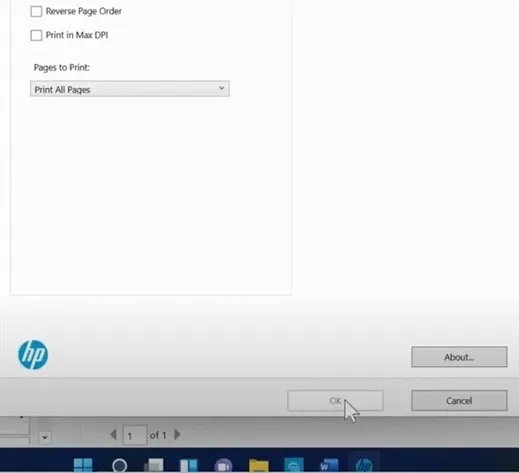
7. If the not printing error still persists on your HP printer, then move to the next step.
Method 3: Check Ink Level & Replace Low or Empty Ink Cartridges
These are the steps that will help you check the printer ink level and replace the cartridge if necessary.
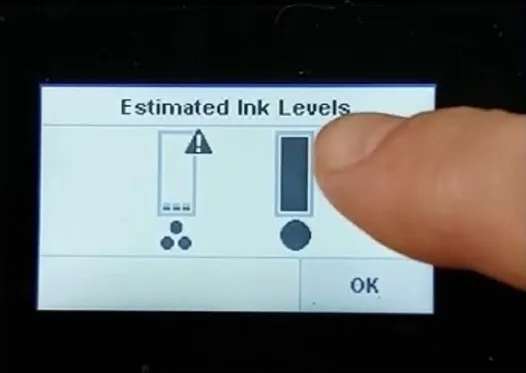
1. Firstly, move to your HP printer display screen and tap on the ink icon.
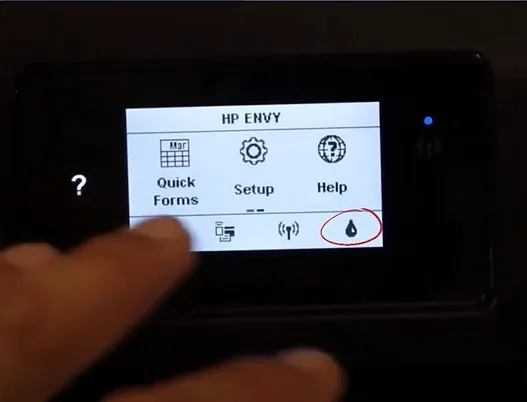
2. It will display the Estimated Ink Level on the screen; check and see if it requires replacement.
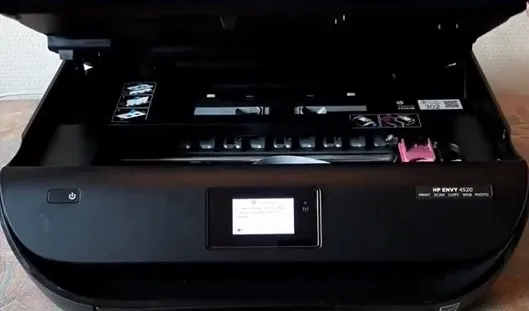
3. If you need to replace the ink cartridge, open the HP printer cartridge access door and wait for the carriage to come to the access area.
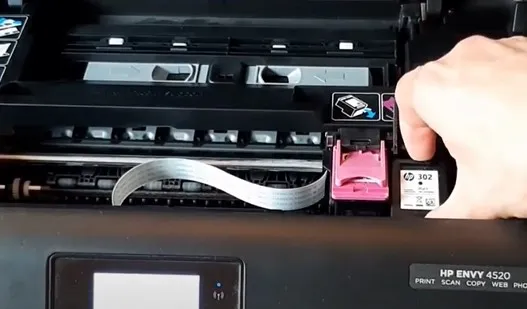
4. Now, lift the lid of the cartridge slot that needs to be replaced and take out the cartridge.
5. Afterward, remove the replacement cartridge from the package and remove the plastic tape.
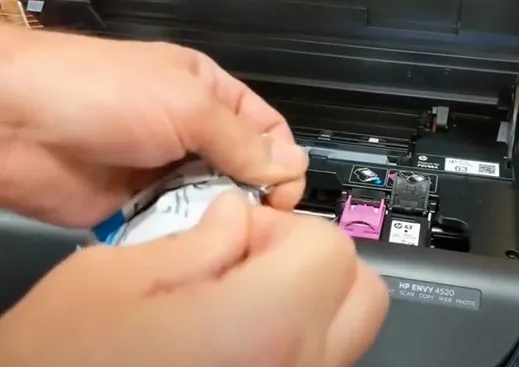
6. Make sure you do not touch the copper contact or the ink nozzle to avoid clogs, ink failure, and bad electrical connections when handling.
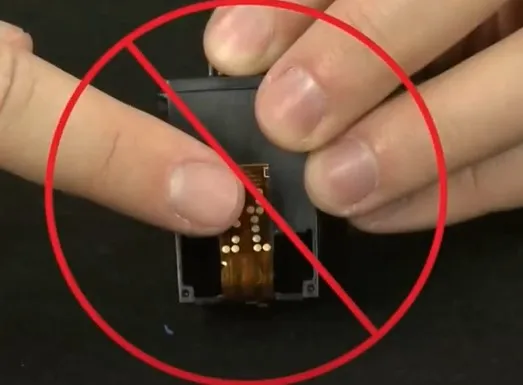
7. Place the new ink cartridge into its slot and lower the cartridge cover until it latches in place.
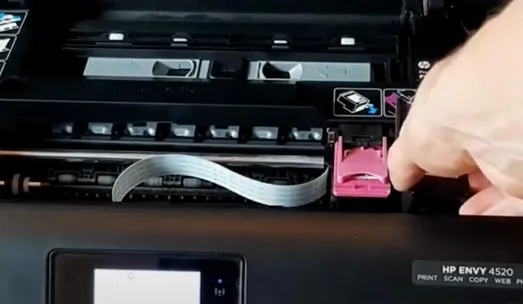
8. Now, close the printer ink cartridge access door and press OK when the message appears on the control panel.
9. Lastly, try to print a fresh copy of the document to check if the HP printer not printing issue is resolved.
Final Words
Here, you learned about the top evidence-based and proven methods to get your HP printer out of the “not printing” state. Make sure to follow all the solutions carefully to avoid facing any issues. Along with using these methods, you can also ensure that the printer driver is not outdated, the printer setup is done properly, the system OS is up to date, print jobs are not stuck, and other major factors. Apart from that, we would suggest you reach out for further guidance if the same problem still persists on your device.

