How to Do HP Smart Tank Plus 651 Wireless Setup?

After buying your new HP Smart Tank Plus 651 printer, you might be impressed by its sleek design. You may be ready to make your first print, but wait - there’s an important step: you need to connect your printer to a wireless network.
The process is simple if you follow the right steps. Once completed, you can print wirelessly from anywhere in your home or office without using cables.
You might be wondering how to set up your HP Smart Tank Plus 651 on Wi-Fi. Let’s check out the steps for the same. But before that, take a quick look at the preparations to be made and the common issues that may occur during setup.
What Preparations Should Be Made Before Setup?
Here are some key steps you need to take before starting the HP Smart Tank wireless setup.
Gather All the Essentials
Before starting the connection process, make sure you have the following essentials in place:
- A stable internet connection.
- Wi-Fi network name (SSID) and password.
- A laptop, tablet, or mobile device connected to the same wireless network.
- The printer powered on, filled with ink, and loaded with paper.
Download and Install the HP Smart App
The HP Smart app works on both Windows and macOS computers. It is also available on the Google Play Store or App Store for mobile devices. The app will guide you easily through the wireless setup process.
Place Your Printer Near the Wi-Fi Router
It is good to keep your printer within 6 feet of the Wi-Fi router. This ensures a stable and strong signal during setup, reducing the chances of connection interruptions. The printer will communicate more efficiently with your network.
Check the Printer’s Network Status
If your printer was connected to another network earlier, reset its network settings. Go to the printer’s control panel and press the Wireless and Cancel buttons together for a few seconds to restore default Wi-Fi settings.
Problems When Connecting HP Smart Tank Plus 651 to Wi-Fi
Looking to use your HP Smart Tank printer wirelessly? The connection process is simple, but the following issues might pop up and obstruct the setup:
- Network frequency issues
- Router compatibility problems
- Wrong network password
- HP Smart app glitches
- Obsolete printer firmware
Steps to Set Up HP Smart Tank Plus 651 Wireless Printer
These are the ideal steps to follow to connect your HP Smart Tank printer to a wireless network:
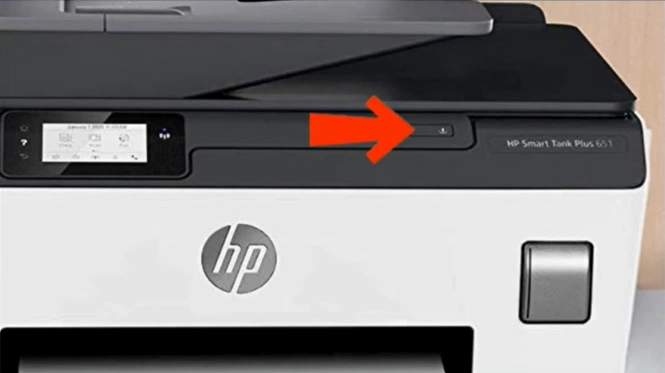
Step 1: Start by turning on your printer by pressing the power button.
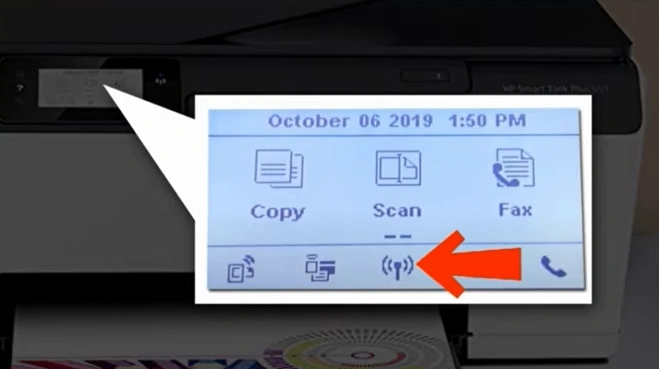
Step 2: From the printer’s control panel, press the Wireless icon.
Step 3: Verify that your Wi-Fi router is powered on and connected properly.
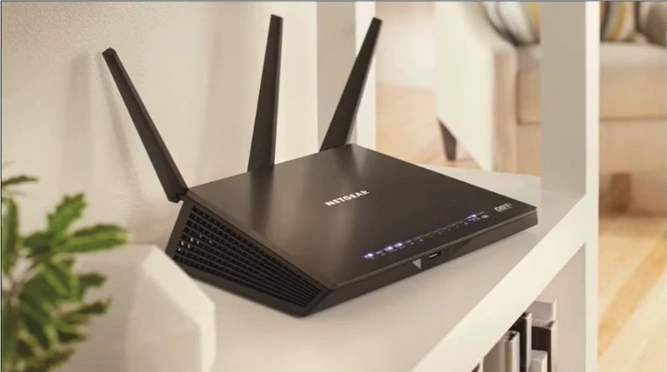
Note: Place the printer near the Wi-Fi router to have a steady connection.
Step 4: On the control panel, tap on Settings.
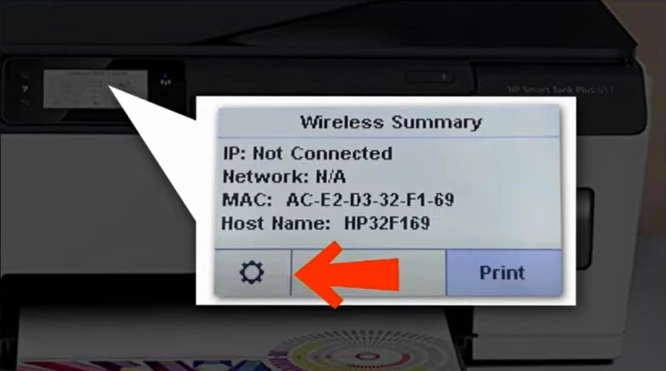
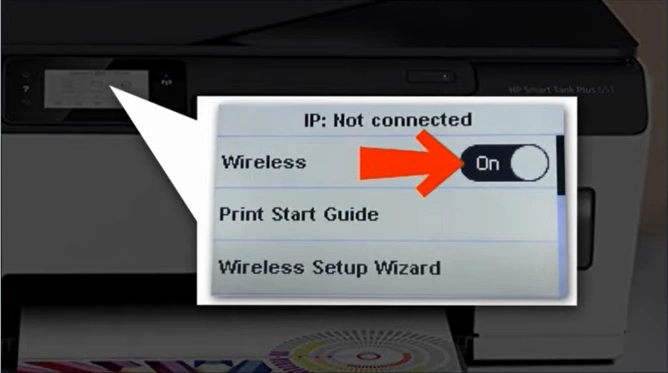
Step 5: Ensure the Wireless option is enabled.
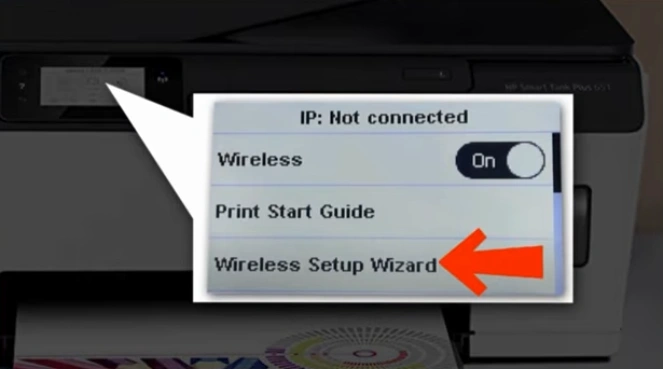
Step 6: Next, select the Wireless Setup Wizard.
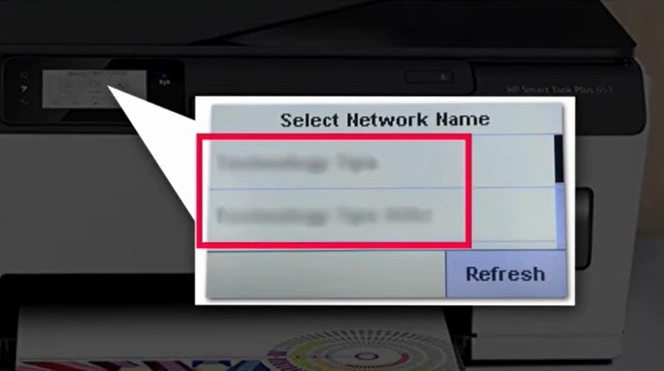
Step 7: Select the wireless network name when the next screen appears.
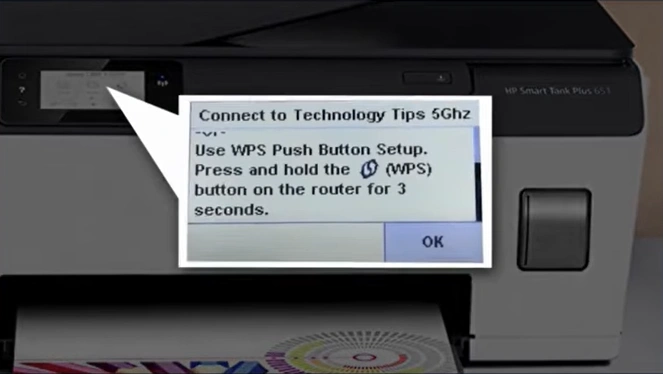
Step 8: Tap “OK” if you want to enter the password. You can also try pressing and holding the WPS button on the WI-Fi router for 3 seconds.
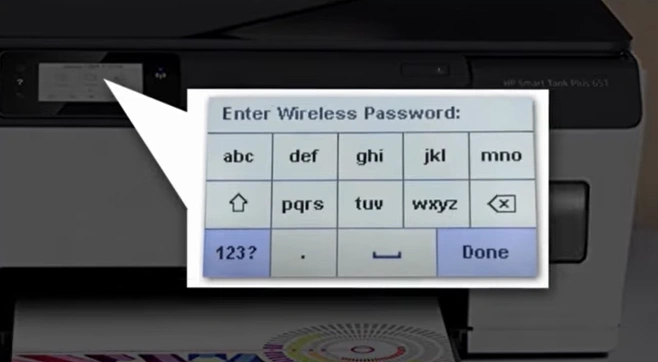
Step 9: If you choose the OK option, enter the password and tap “Done.”
Step 10: On the Confirm Settings page, verify that the correct network is selected.
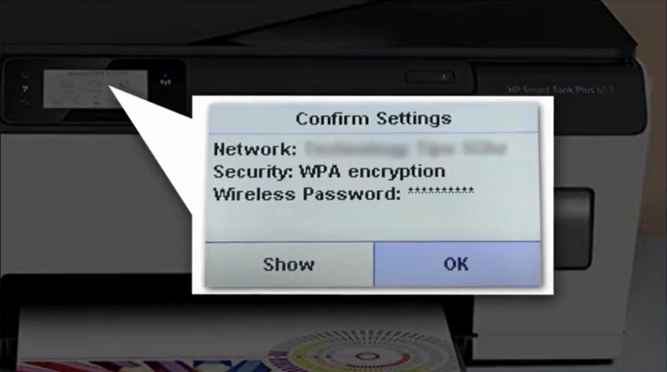
Step 11: Click the OK option and let the printer do the remaining process.
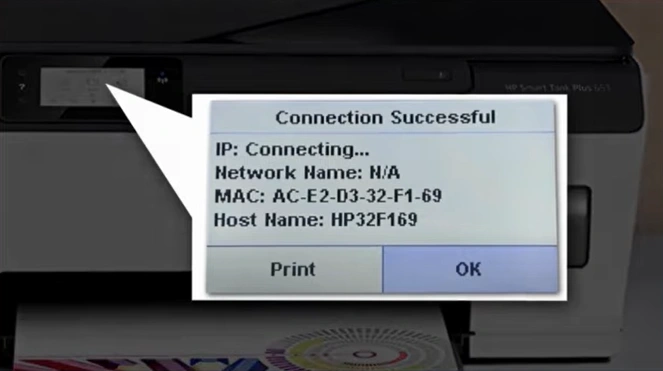
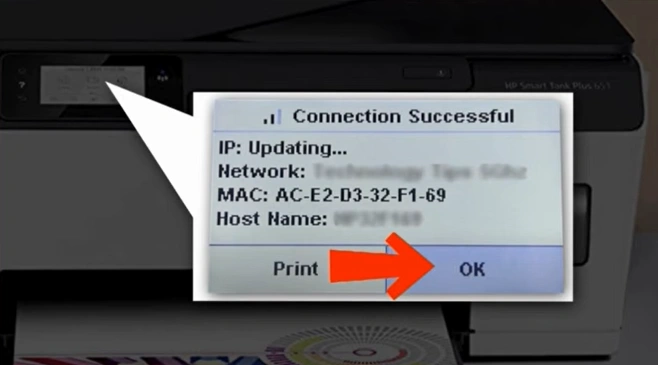
Step 12: Tap on the OK option, and you are done with the wireless setup.
Final Thoughts
Here we wrap up all the essential steps for connecting the HP Smart Tank Plus 651 printer to a Wi-Fi network. Once you connect your printer, you can enjoy the ease of wireless printing. You will be able to print from different devices, like mobile phones, computers, or tablets, anytime without the hassle of cables.
Related Article

