Brother HL L2305W Wi-Fi Setup | Printer Tales
Printers are incorporated into our daily lives, whether at school, college, the office, a business, or a local shop. A plethora of printers are available to provide a seamless printing experience. These printers connect to various devices via USB, Bluetooth, and Wi-Fi.
Anyone can complete the printer setup process, but for that, it is necessary to know the vital steps. Otherwise, there is a chance of encountering some unwelcome errors. Therefore, to streamline the setup process of your Brother HL L2305W printer, we will impart the proper knowledge of the top 3 methods.
Method 1: By using the WPS method
These are the steps that will help you connect your Brother printer to Wi-Fi using the WPS method.
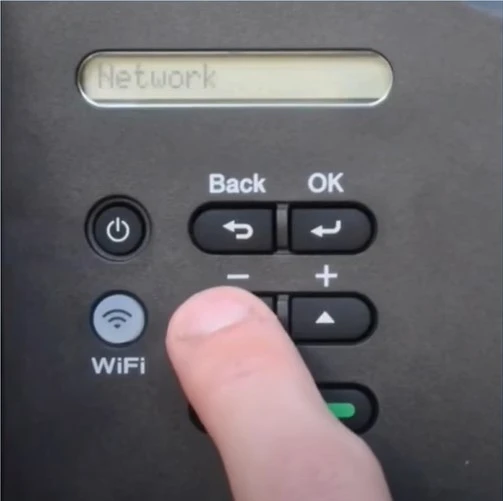
1. Initially, go to the printer’s control panel, navigate to the Network option, and then select ok.
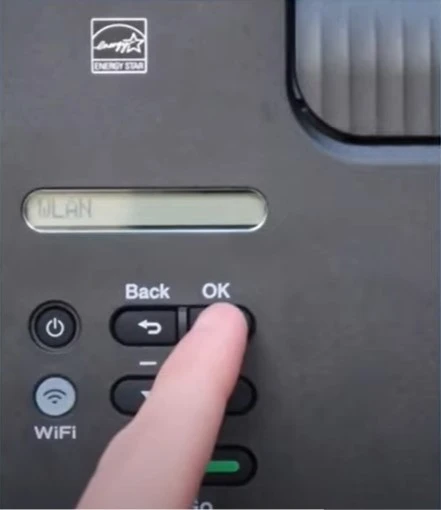
2. Then, you are required to select WLAN and click on OK.
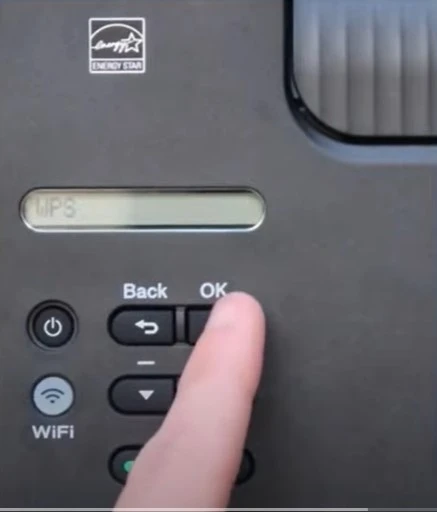
3. After that, go to the WPS option and press the OK button.
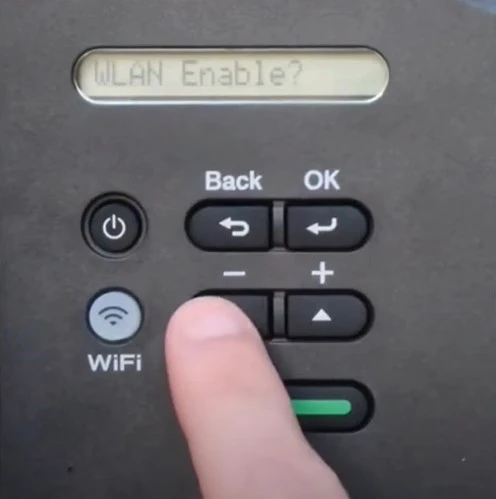
4. When it displays WLAN Enable? Press the down arrow button to choose Yes.
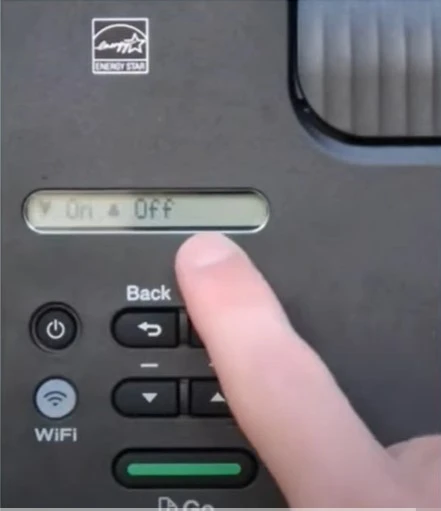
5. Press the up arrow key to select Next, and it will start setting.
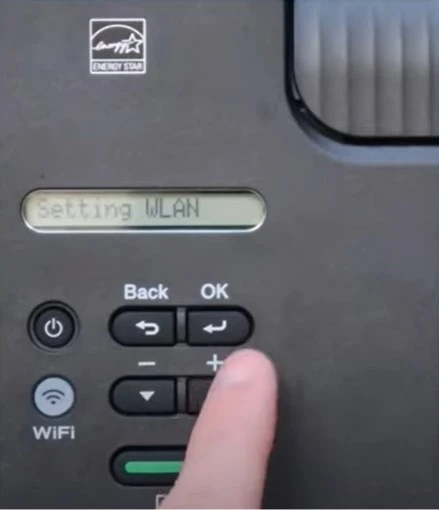
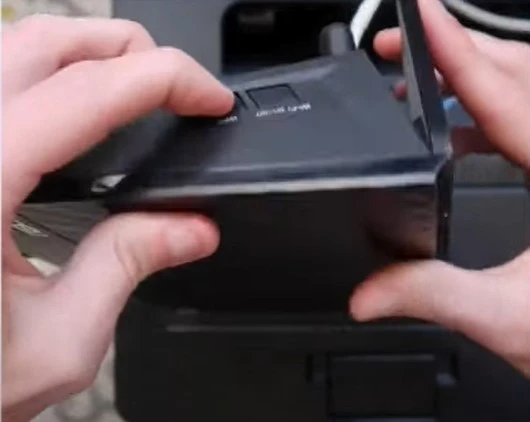
6. Go to your router, then press and hold the WPS button until the power light starts blinking.
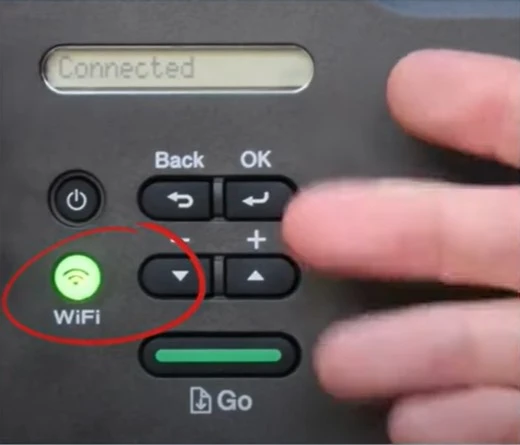
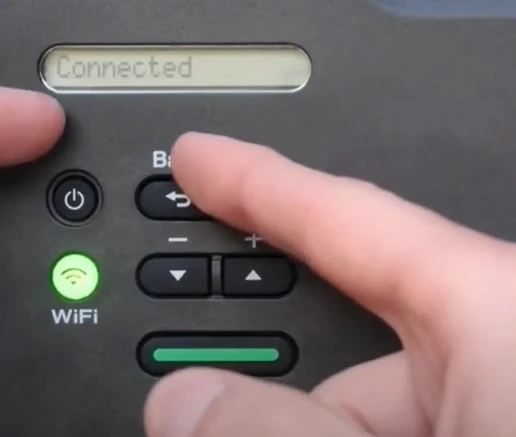
7. Once the connection is established, you will see a Connected message, and the Wi-Fi light will remain lit.
8. Now, you can use the Brother printer to print the documents.
Method 2: With the Help of Setup Wizard
The following procedure shares the stepwise guide to complete your Brother printer setup.
1. Firstly, move to your Control Panel, navigate to the Network option, and then select OK.
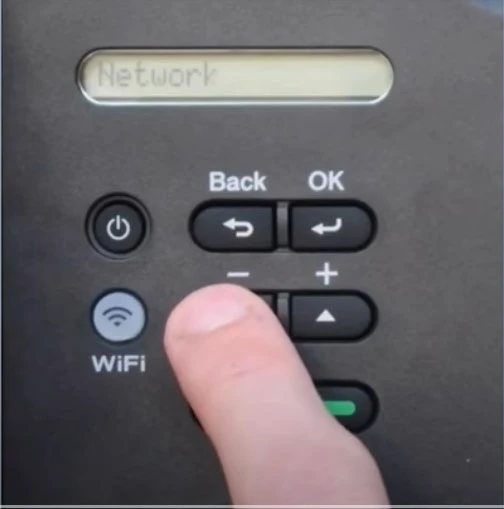
2. After that, select WLAN and press OK.
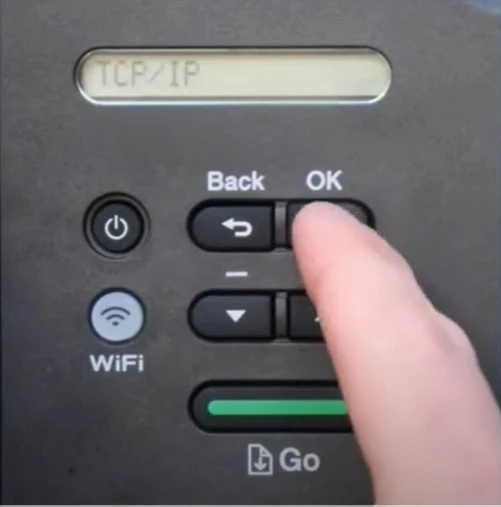
3. Next, choose the option Setup Wizard and press the OK key.
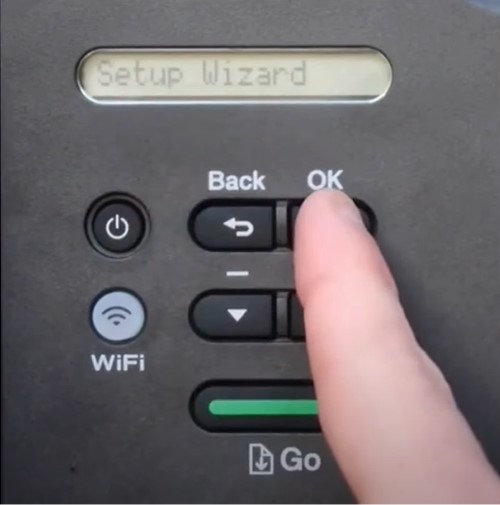
4. Now, you have to press the arrow buttons to enable WLAN, and it will start searching for nearby wireless networks.
5. Scroll down using the given arrow buttons to select your correct network name and then press OK.
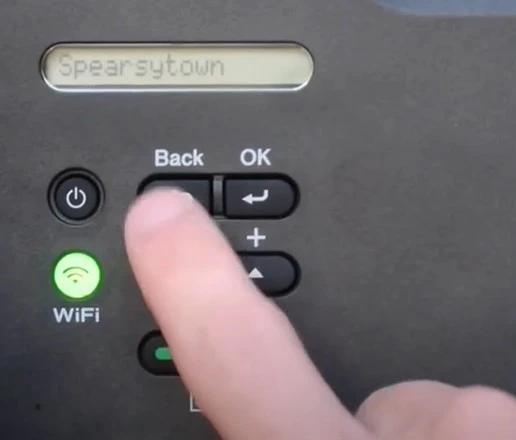
6. After entering the password for your network, press OK.
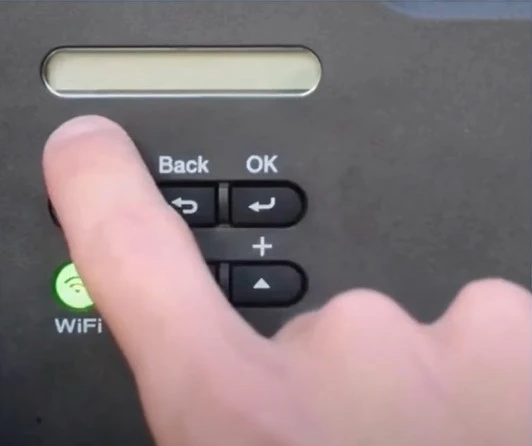
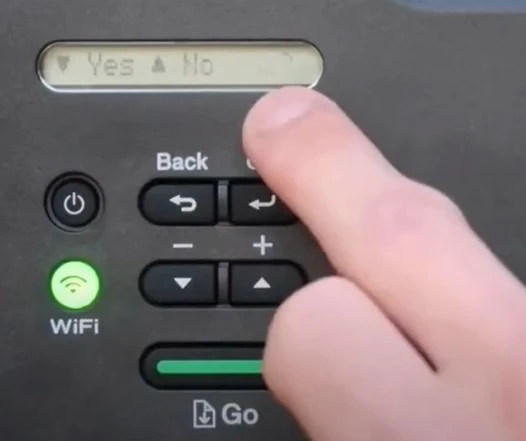
7. When do you get the Apply Settings? display, press the down arrow buttons to select Yes, and it will start connecting.
8. Once you see the connected message on the screen, the Wi-Fi remains lit.
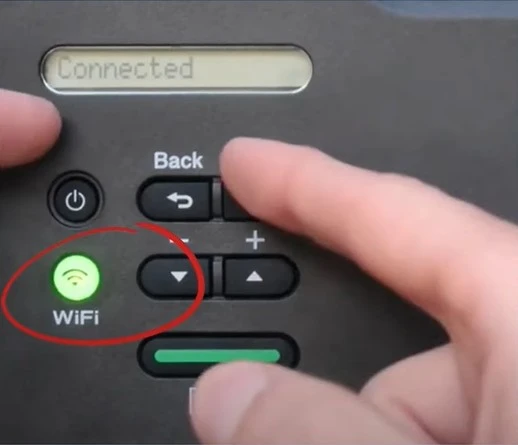
9. Lastly, press the OK button.
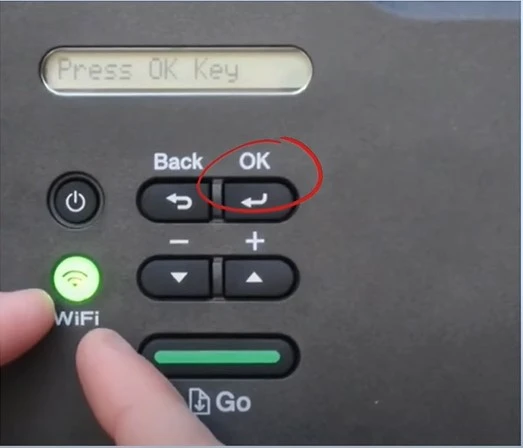
Method 3: Setup Using the Wi-Fi Direct
Wi-Fi Direct is another great option for connecting to a Brother printer over Wi-Fin. Here are the steps to follow.
1. From the printer’s control panel, select Network and press the OK button.
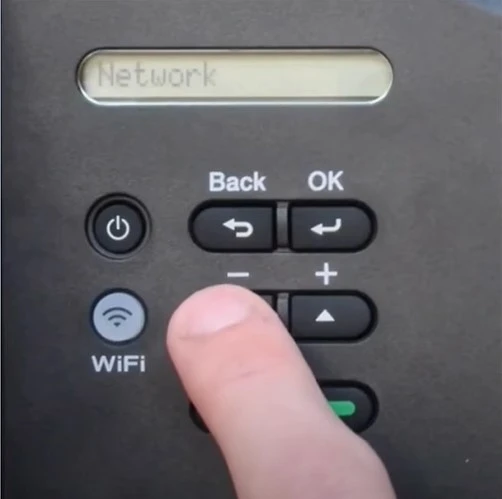
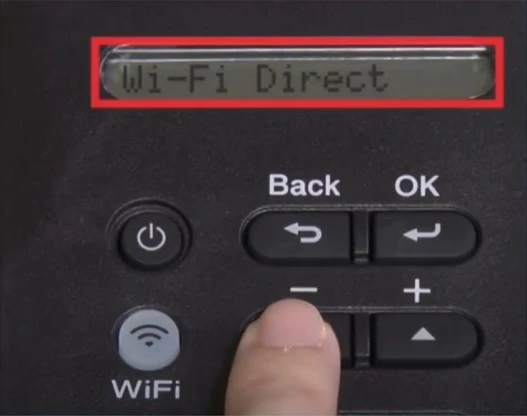
2. Next, choose the Wi-Fi Direct option and press OK afterward.
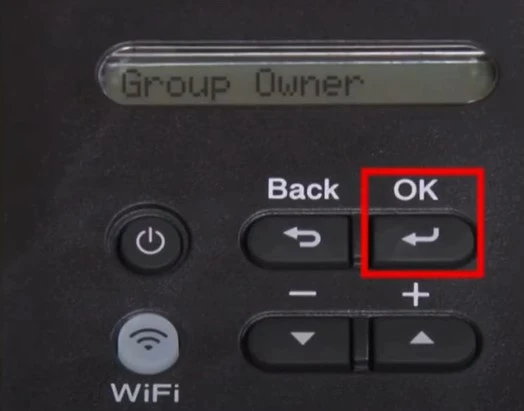
3. After that, go to the Group Owner option and press OK, then use the arrow buttons to select On then click on OK once again.
Also Read:- How to Troubleshoot Brother Printer Error 32? (+ 3 Causes)
4. You will get an accepted message; now choose Manual and press OK.
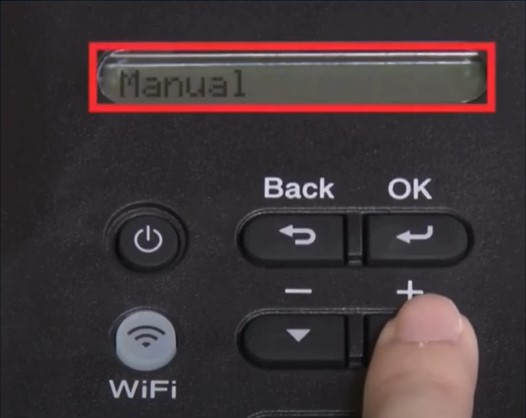
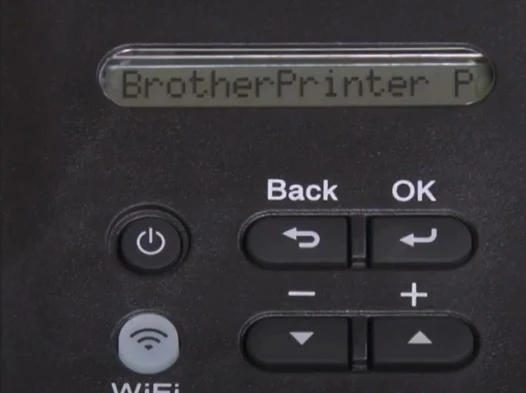
5. Then, you are required to note down the SSID and password that appears on the screen.
6. Now, move to your computer or mobile phone device and navigate to Wi-Fi connectivity options.
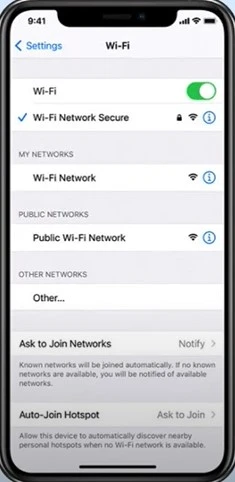
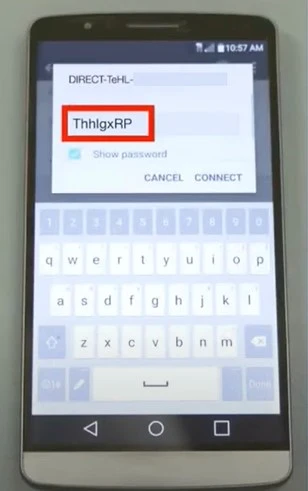
7. Furthermore, choose your SSID name, enter the password, and click on Connect.
8. Once the wireless connection is successfully established, the printer will display a connected message on the screen.
9. Here you go! The printer setup process is complete.
Conclusion
It is wise to gather the correct info for setting up your Brother HL L2350W printer to avoid any errors. With the help of our 3 proven methods, you can easily complete the printer Wi-Fi setup and enjoy printing documents. However, you must also keep in mind that the printer, computer/mobile, and router are in the same range. In addition, update the OS of your device before starting the setup process. Besides that, feel free to search for additional assistance if you fail to establish the connection.

