How to Clean HP Officejet Pro 8600 Printhead?
Now and then, your HP OfficeJet Pro 8600 can show problems related to printing. Problems like dirty printheads or others can lead to this situation. As a result, you must complete the printhead cleaning process to start using your printer device properly. However, if you do not know the process for clearing the printhead, then this content is going to be worthwhile to read. In the follow-up section you will learn two methods to clean the HP Officejet printer printhead using the control panel and manually. So, let’s start!
Method 1: Clean Printhead Manually
Below are the steps that will explain the correct procedure to complete the cleaning of your HP Officejet Pro 8600 printer manually.
1. In the beginning, make sure your HP Officejet Pro 8600 printer is on, and then open the ink cartridge access door.
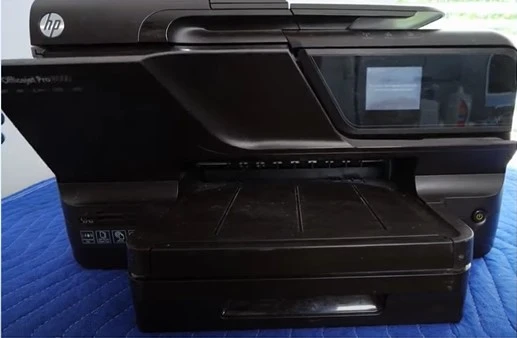
2. After that, wait for the printhead to slide over.
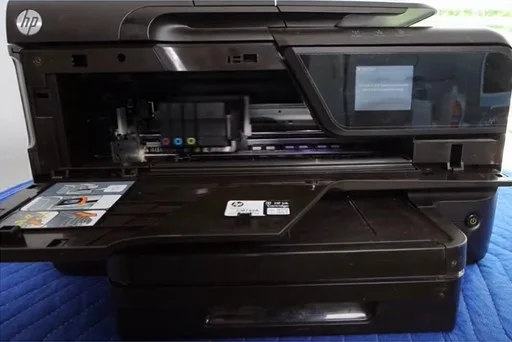
3. Now, you are required to take out all the print cartridges from your printer.
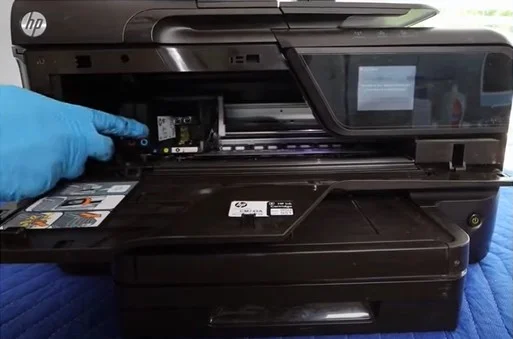
4. Next, lift up the latch behind the printhead and remove it.
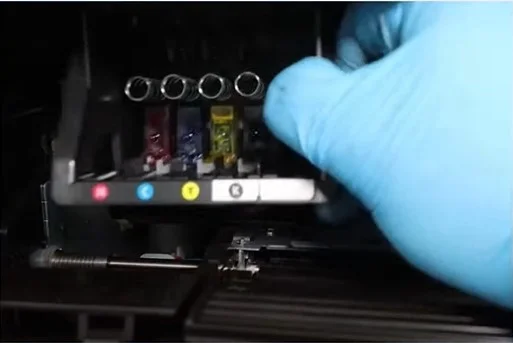
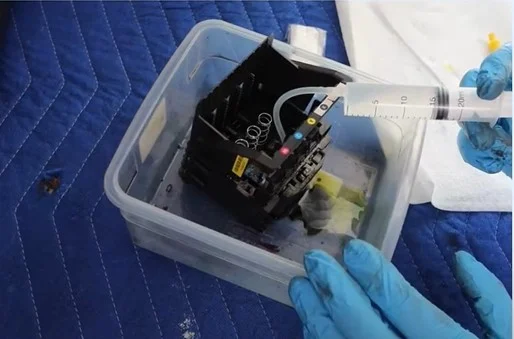
5. Moreover, get a container, paper towel, syringe with plastic tubing, and cleaning solution.
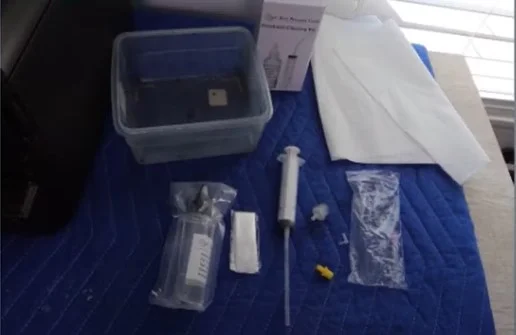
6. Attach the syringe with the cleaning solution to the nozzle.
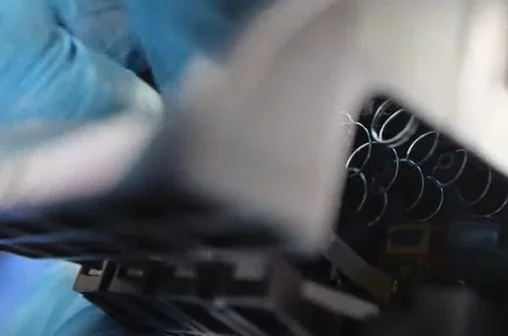
7. Gently push in the cleaning solution to clean the dried-up ink and blockages.
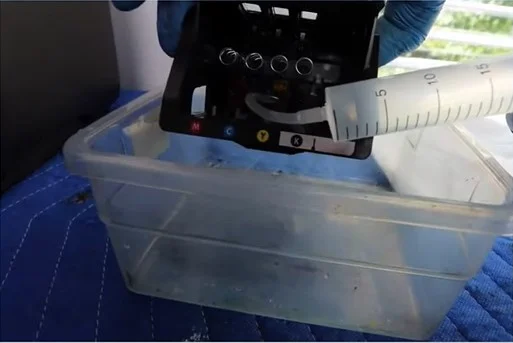
8. You need to repeat the same process for all the other nozzles that require cleaning.
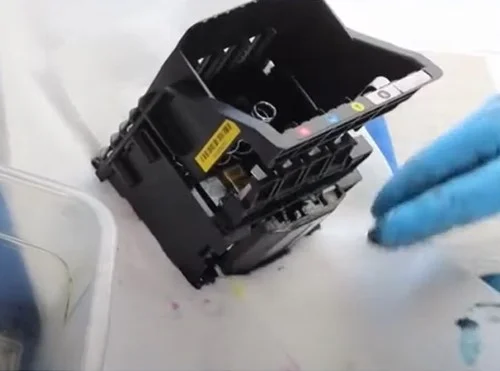
9. Once done, take out the print head and set it down on the paper towel.
Also Read:- How to Connect HP Officejet 6962 to Wi-Fi?
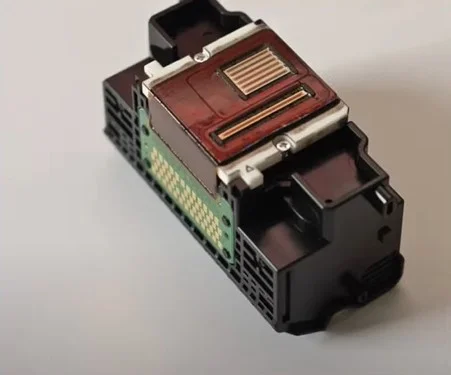
10. Dry off the printhead and wait for 24 hours to make sure that the printhead is completely dried.
11. Now, go to the printer, open the ink cartridge access door, and wait for the carriage to come to the position.
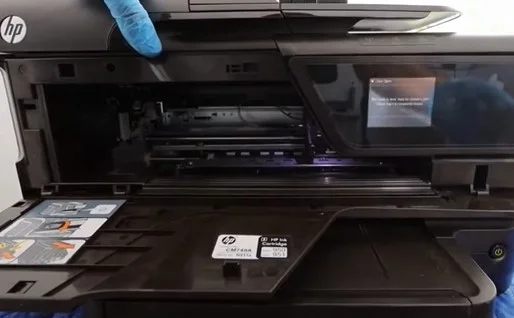
12. Put the printhead back into its original position and insert the ink cartridge.
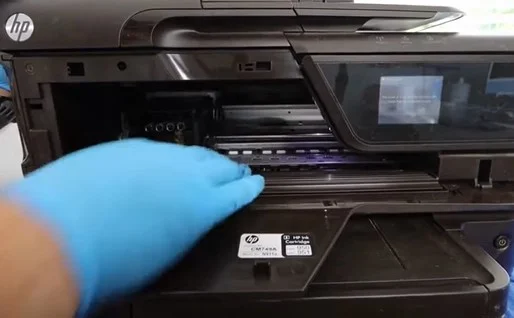
13. Then, close the ink cartridge access door.
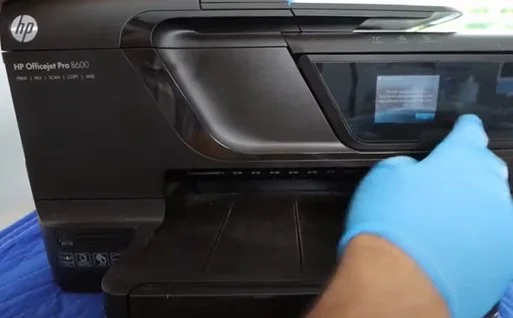
14. Lastly, check if the printhead cleaning process is complete or not.
Method 2: Via Control Panel
You can also use the printer’s control panel to complete the automatic cleaning of the printer. Below are the steps you can follow to do that.
1. At the start, from the control panel, navigate to Setup and open it.
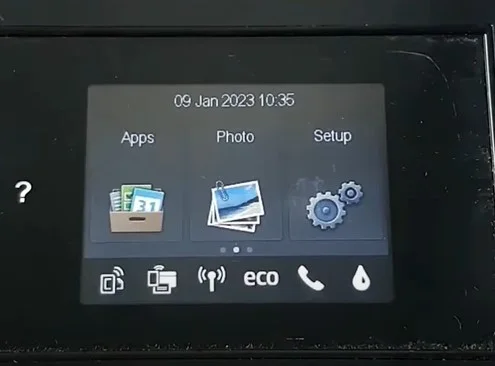
2. Scroll down and select Tools, then press on Clean Printhead.
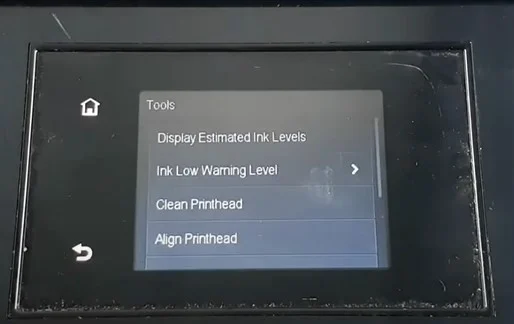
3. The printhead cleaning process will take some time.
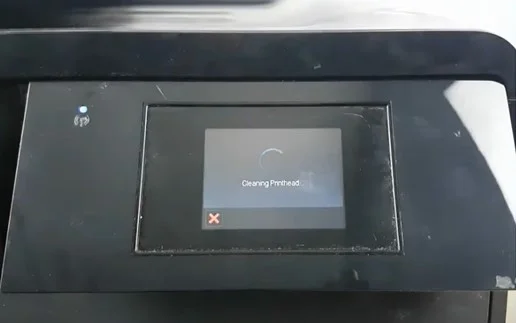
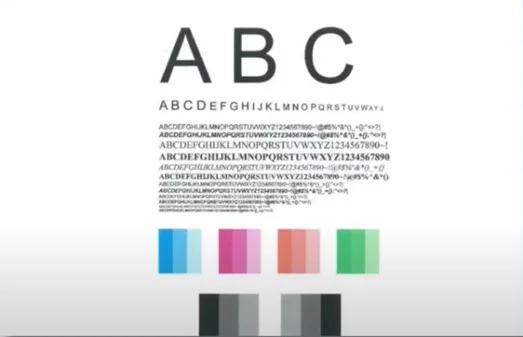
4. Once done, the printer will automatically print a print-quality test page.
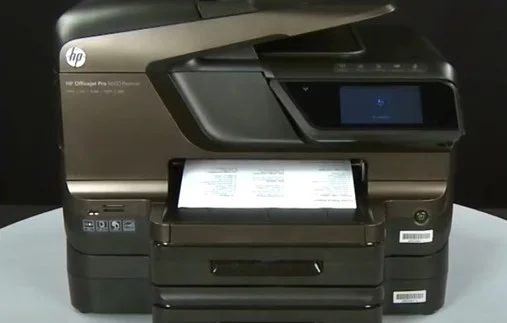
5. Now, you need to check the printed page and see if it requires further cleaning.
6. When the display panel screen displays the Clean Printhead message, press Yes for further cleaning and choose No if you are happy with the current print quality.
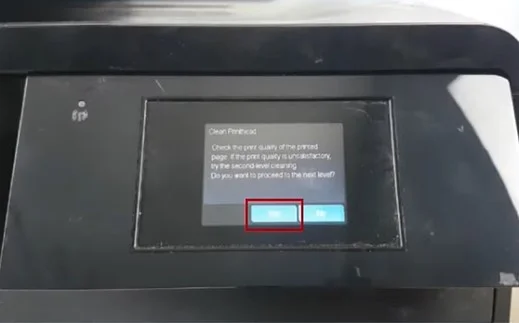
7. Finally, the printhead cleaning process will be complete.
Conclusion
These are simple solutions that can allow you to complete your printhead cleaning process. You can use either one or both methods as per your choice. Most importantly, you need to follow all the steps properly to perform the cleaning without facing any issues. Besides that, you must try to get additional help if your printer does not work even after completing the print head cleaning process.

