How to Connect Brother QL 810W to WiFi (Windows/Mac)
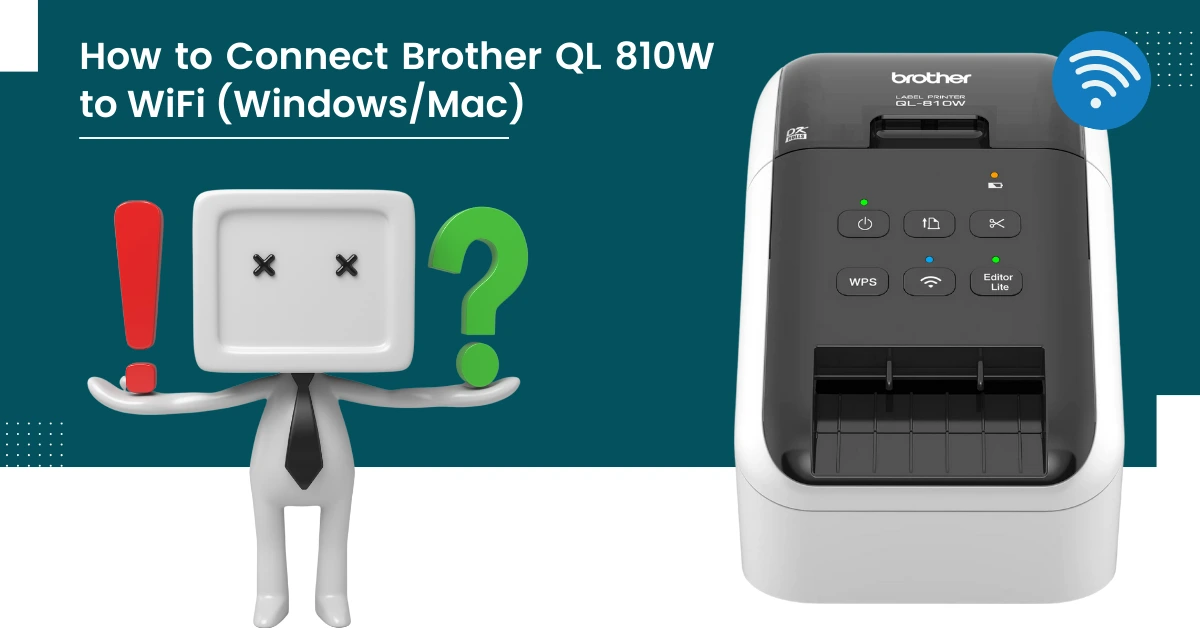
Brother QL 810W is a compact and sleek label printer with solid performance. It comes with a built-in wireless interface, which helps it integrate into any network and print black and red labels smoothly. Plus, its useful features make it handy for users. Anyone can connect the devices easily via a USB or WiFi connection and get started.
However, it could seem challenging for some people to complete the connection process. Are you looking for a guide on how to connect your Brother QL 810W label printer to WiFi? Here is a thorough guide for you. Read through the whole content to discover the most effective methods to set up your printer on Windows and Mac!
Wireless Setup on Windows
If you want to complete your Brother QL 810W printer WiFi setup on a Windows system, then these steps will help you do that. Carefully read all the steps!
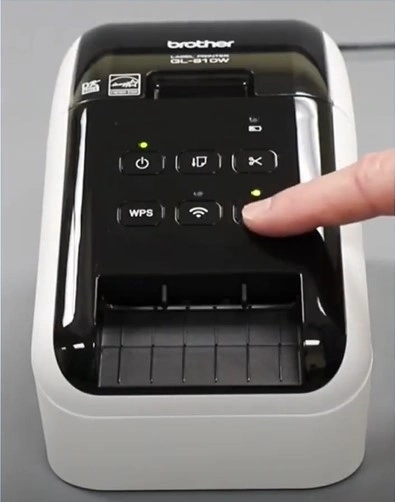
1. First, press the Editor Lite button on your Brother QL 810W printer to turn it off.
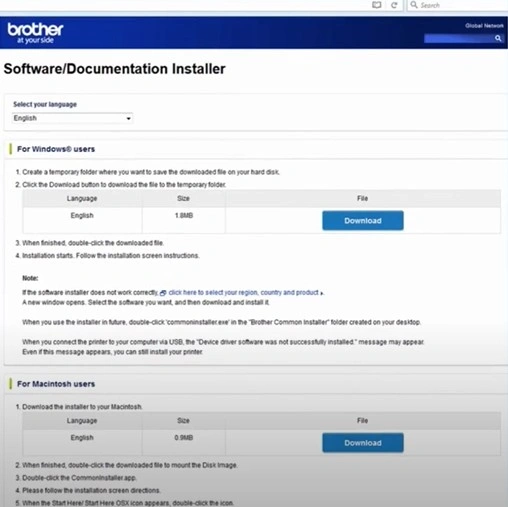
2. Next, go to your Windows device, open the official Brother installer website, and download the software.
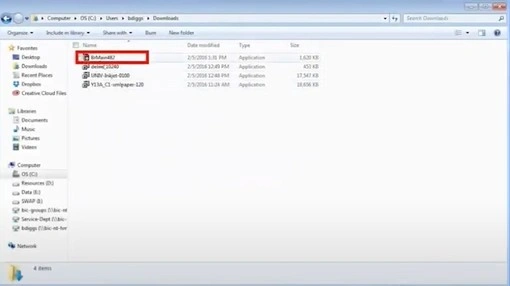
3. After that, navigate to the installation file and double-click on that product to begin the installation process.
4. When the installer window opens, connect your machine to the computer using a USB cable.
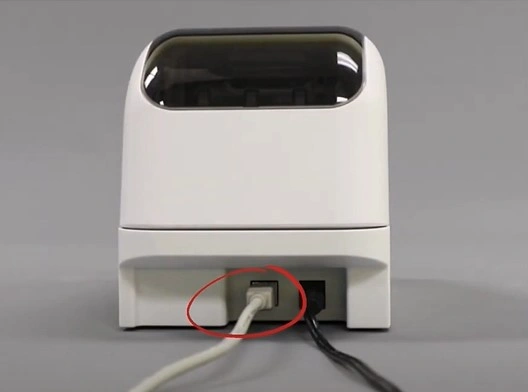
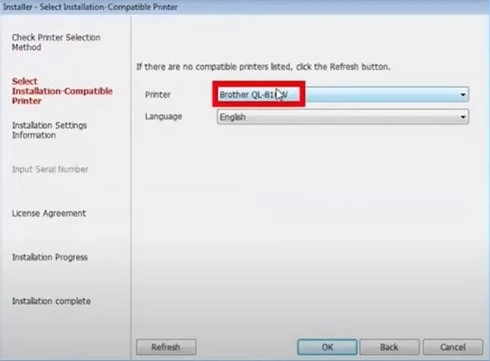
5. Go to your Windows system and click on Auto Select, verify your model, and select OK.
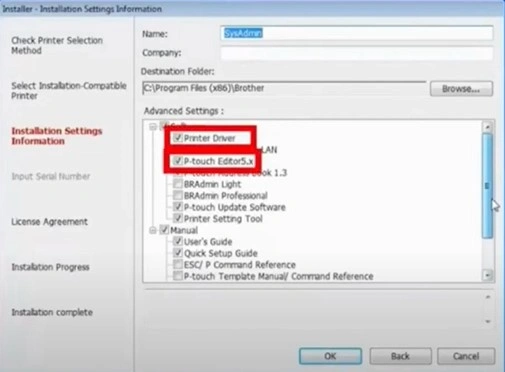
6. In the Installation Settings Information, verify that the Printer Driver and P-Touch Editor are selected, then click OK.
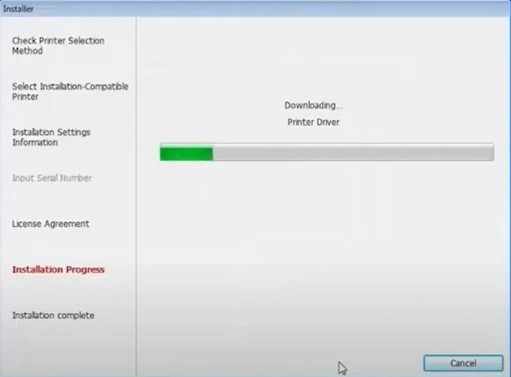
7. Now, click Agree on the next page to agree with the license agreement; after that, the download process will begin.
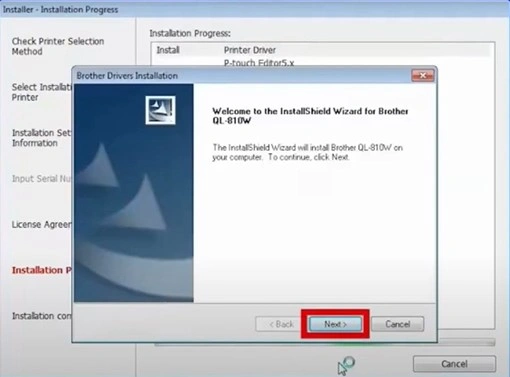
8. In the new Brother Driver Installation window, click on the Next button.
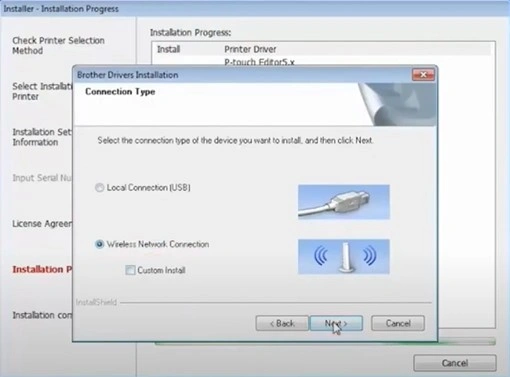
9. Select the Wireless Network Connection radio button and click on Next.
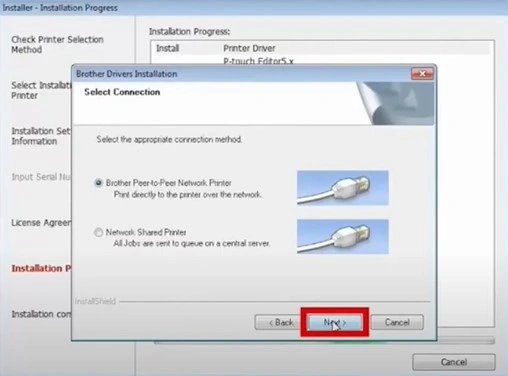
10. In the select connection screen, click on Next once again.
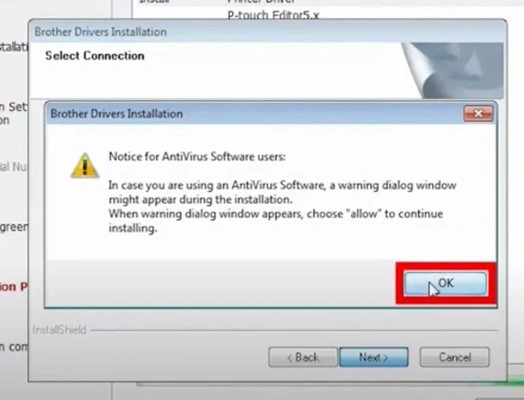
11. If you are prompted by third-party firewall software to allow installation, select OK.
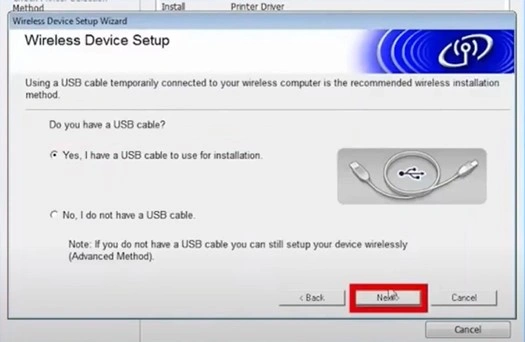
12. In the Wireless Device Setup window, choose the option “Yes, I have a USB” and then select Next.
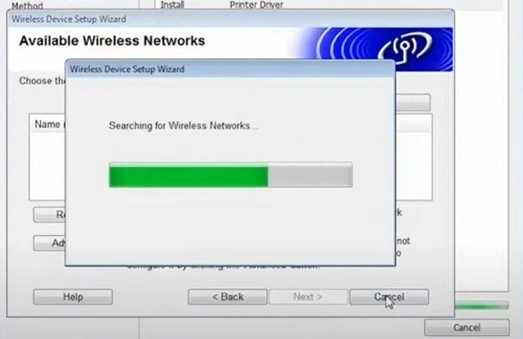
13. It will start searching for the wireless network, and the program will select the nearest wireless network.
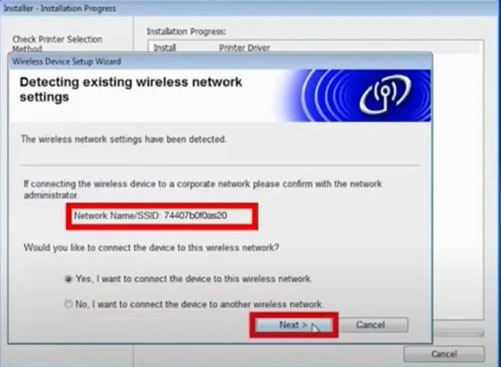
14. If it is the network you want to connect with, select the Yes option and click on Next.
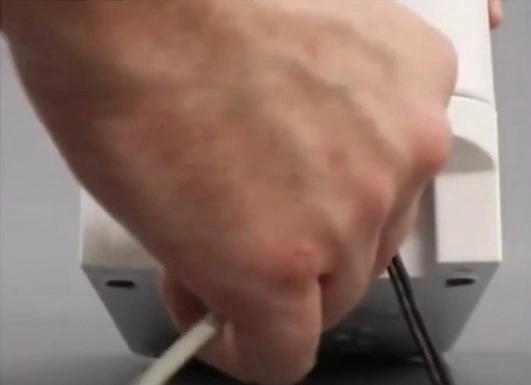
15. Once you see the prompt to disconnect the USB cable, remove it from your device and click on Next.
16. Now, choose your Brother printer model number from the list and select Next.
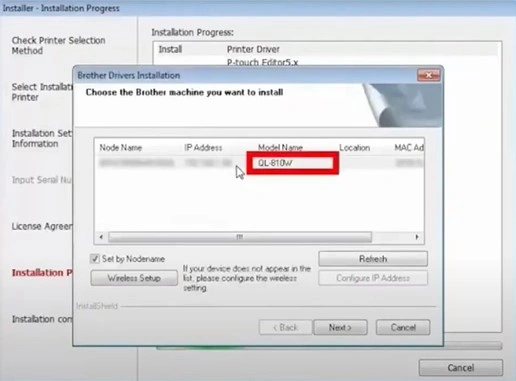
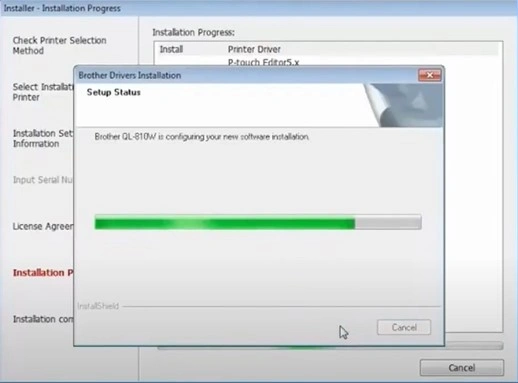
17. Once the installation process is done, select Finish, and the software will be installed.
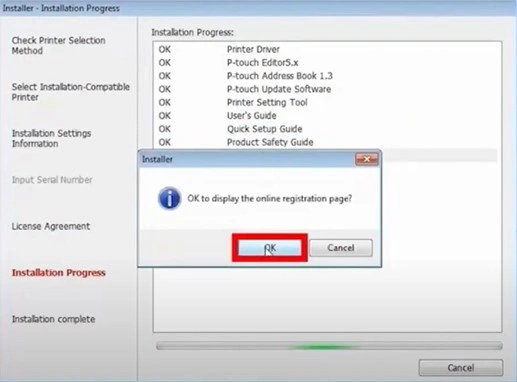
18. Press OK on the prompt to display the registration page.
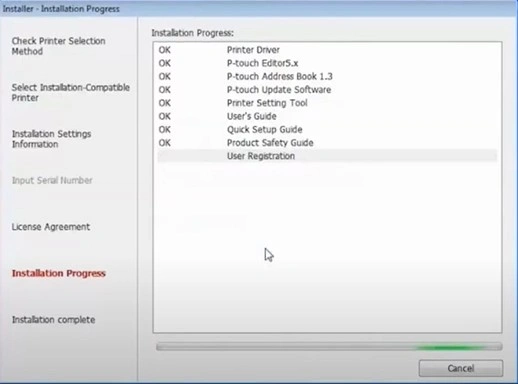
19. In the Installation Complete window, choose Yes.
Wireless Setup on Mac
To complete the wireless setup of your Brother printer on Mac, the following procedure shares a thorough understanding. Follow the steps!
1. First, turn off your Brother printer by pressing the Editor Lite button.
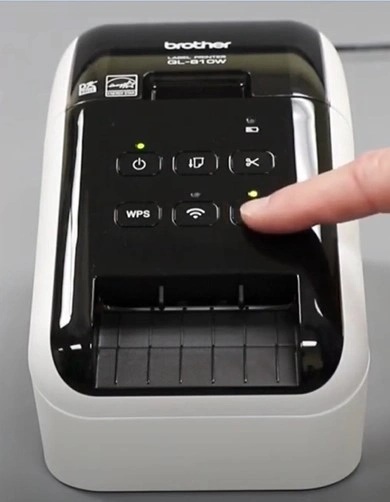
2. Go to your Mac, open the official Brother installer website, and download the suitable software.
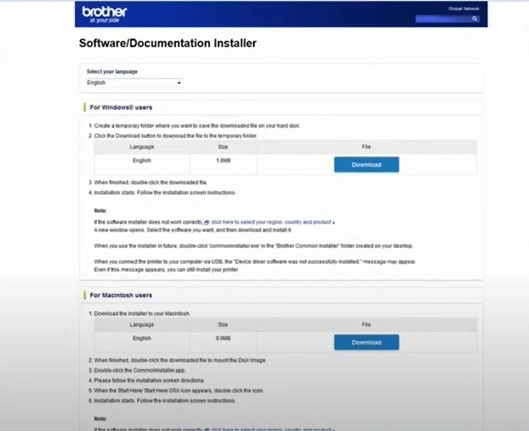
3. Furthermore, navigate to the installation file and double-click to begin the installation process.
_1727264517.webp)
4. When the installer window opens, connect your printer to your Mac system with the help of a USB cable.
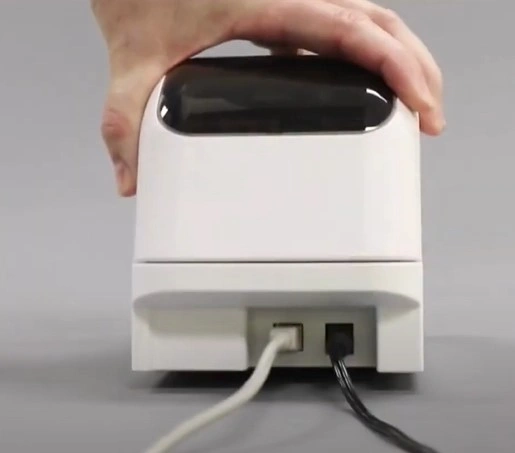
5. Go to your Mac, click on Auto Select, specify your printer model, and click OK.
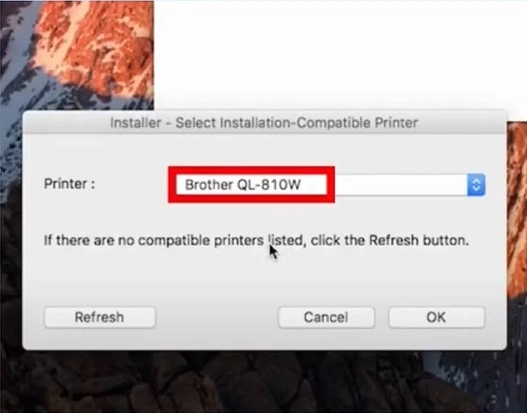
6. Once it’s done downloading, click on the StartHereMac option, select Wireless Network Connection, and then choose Next.
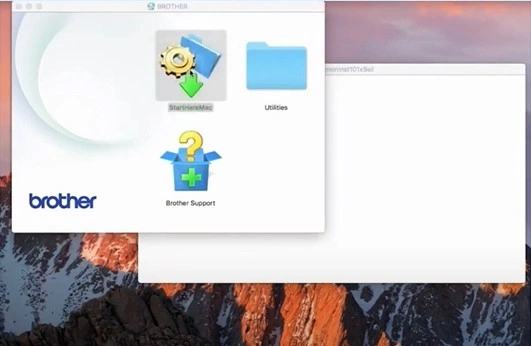
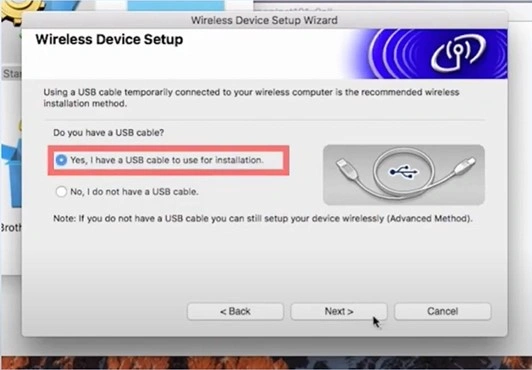
7. Choose the “Yes, I have a USB cable to use for installation” button/option and then select Next.
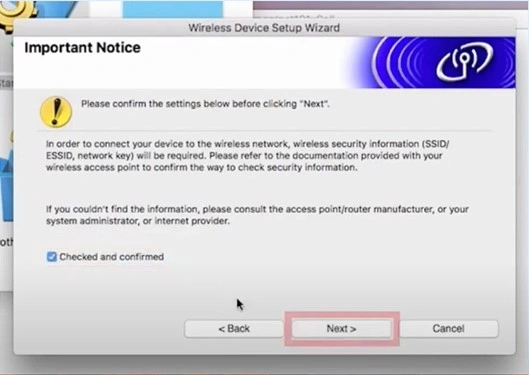
8. Furthermore, click the Checked and Confirmed option and select the Next button.
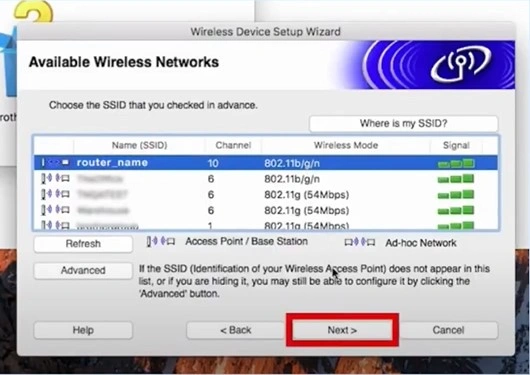
9. Select your network name from the list and then click on Next.
10. Enter your wireless network key, click Next, and choose the Next option once again.
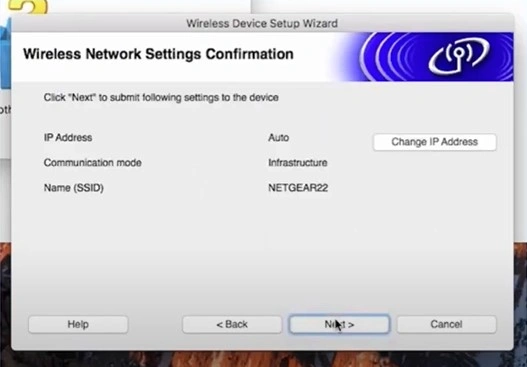
11. When prompted, disconnect the USB cable from your printer and then choose Next.
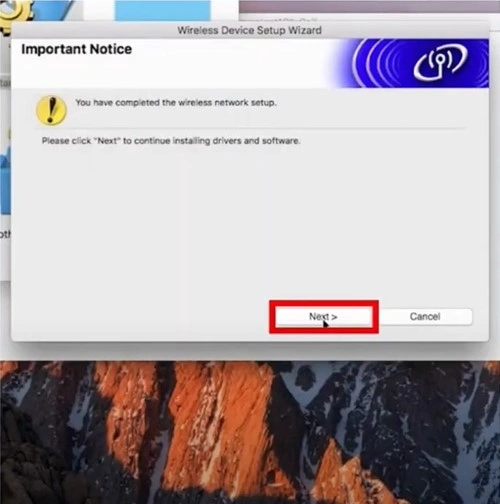
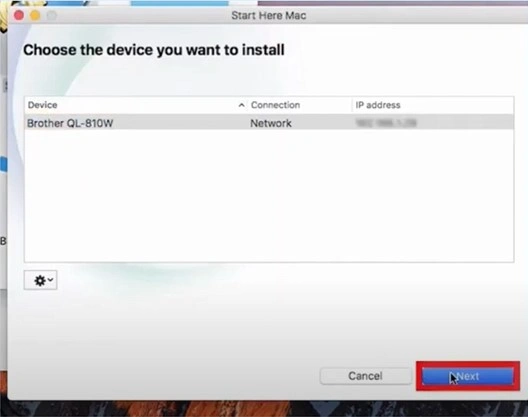
12. Click on your Brother QL 810W printer from the list and click Next.
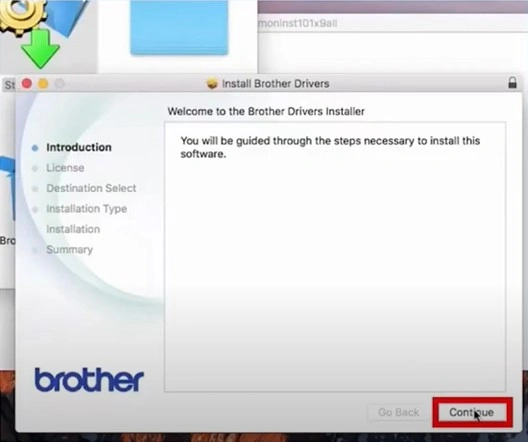
13. Choose Continue when the driver installation window opens.
14. In the license agreement window, choose the Continue option and then click on Agree to accept the brand agreement.
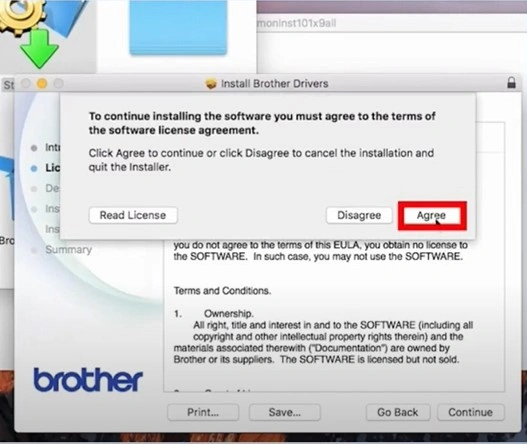
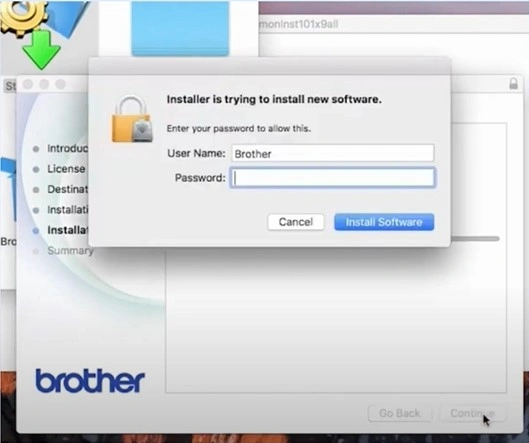
15. Select Install, enter your password if prompted, and then click the Install Software option.
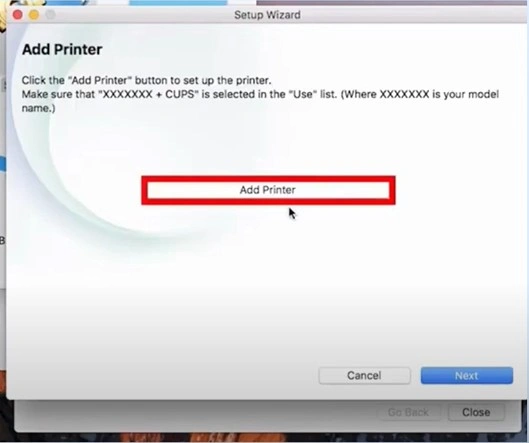
16. In the Setup Wizard window, click on Add printer.
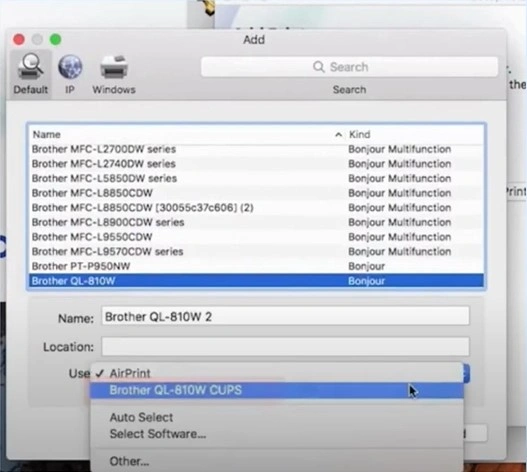
17. Select your printer name from the list, click the Use drop-down to select Brother CUPS driver, and then click Add.
18. Click Next in the Setup Wizard Window, select On-Line Registration, and then click Next.
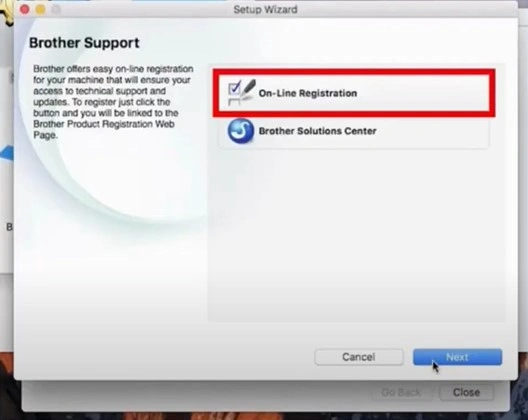
19. When the setup process is complete, click Close and then Close again.
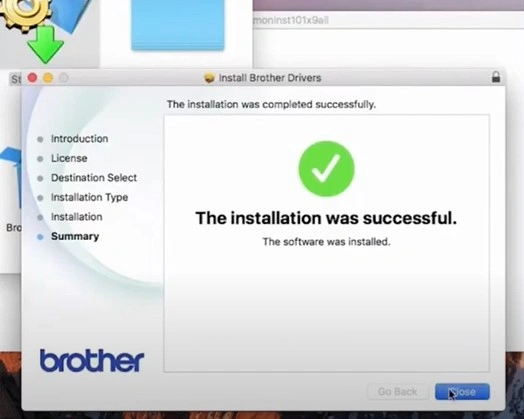
20. Start performing printing tasks on your device!
Final Words
Here, you have discussed the extensive guides to completing the Brother QL 810W label printer on Windows and macOS systems. According to the operating system you are using, use either of these methods, follow the steps carefully, and set up the devices quickly. Otherwise, it is always wise to look for additional info if you face any issues during the setup process.

