How to Connect HP ENVY 6400 to Wi-Fi?
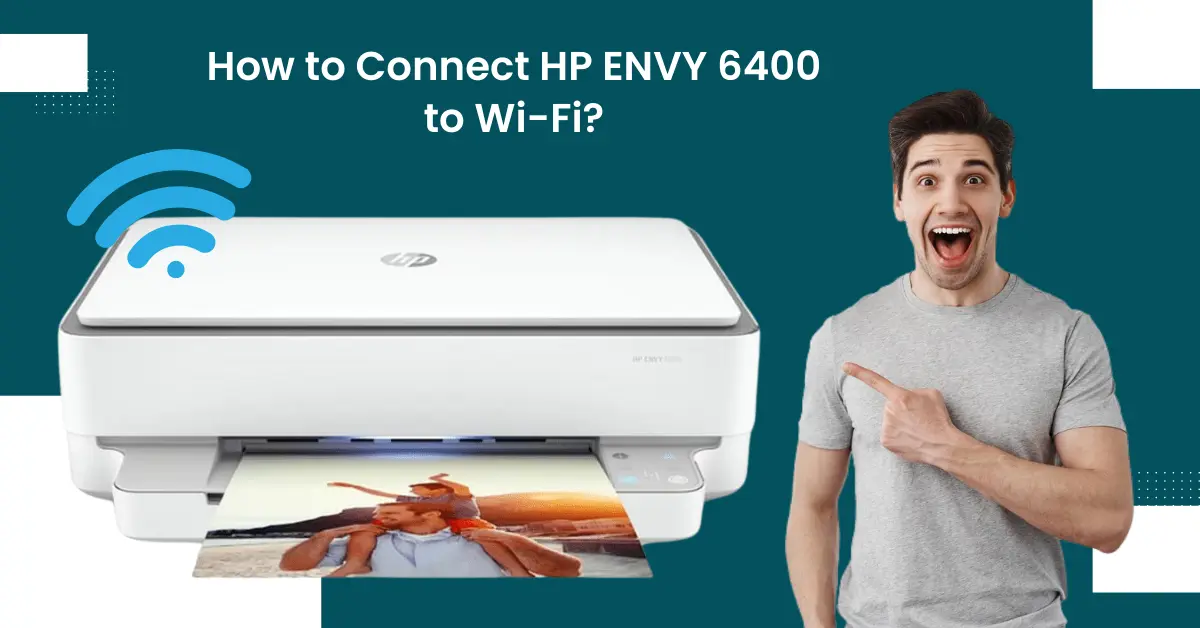
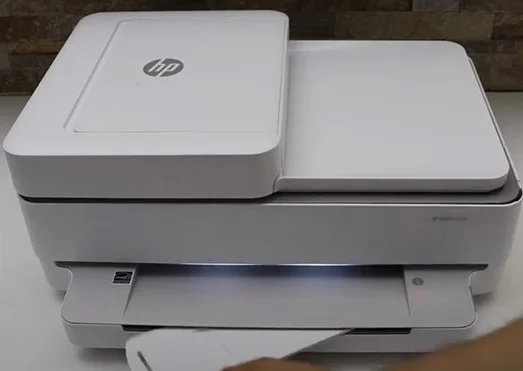
HP ENVY 6400 is a multitasking printer that is worthwhile to use for personal use and small businesses. It consists of some remarkable features, such as printing, scanning, copying, and sending mobile faxes. In addition, the printer comes with impressive connectivity options to provide a wireless printing experience.
The procedure to connect HP ENVY 6400 to Wi-Fi is straightforward and quick, but some people can have issues in doing so. If you are also having any problem connecting your printer to Wi-Fi, then here is all the vital information you need. So, continue reading to get a full understanding of two simple methods.
Method 1: Standard Connection Method
Below are the quick and simple steps you can try to connect your HP ENVY 6400 to Wi-Fi.
1. Ensure that your printer is On before you start the connection process.
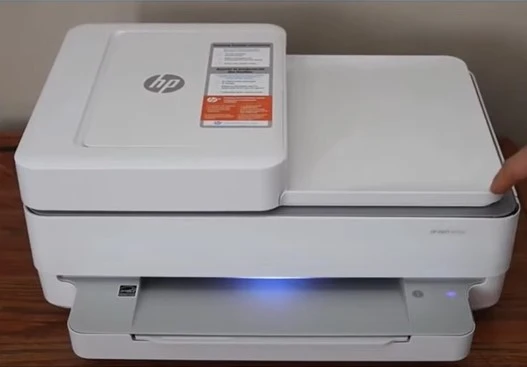
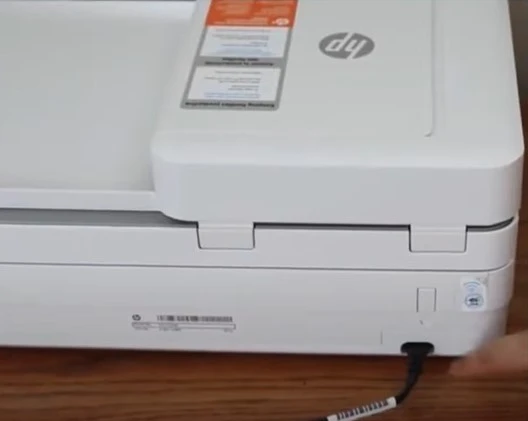
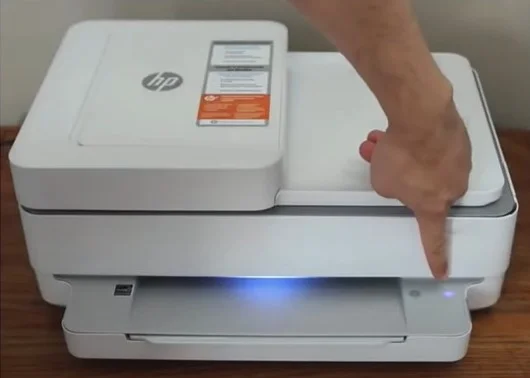
2. After that, press the wireless button located at the back of the printer for three seconds. (This button is located below the power button)
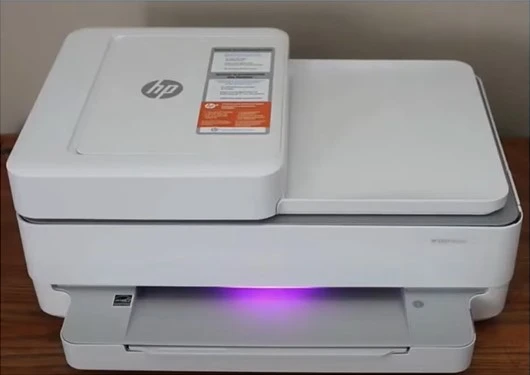
3. Now, the purple light turns on, which tells that the printer has entered setup mode.
4. Then move to your mobile device or computer device, launch the HP smart app, then click on the (+) icon.

5. Choose the option Setup a new printer and select your HP ENVY 6400 printer name from the results.
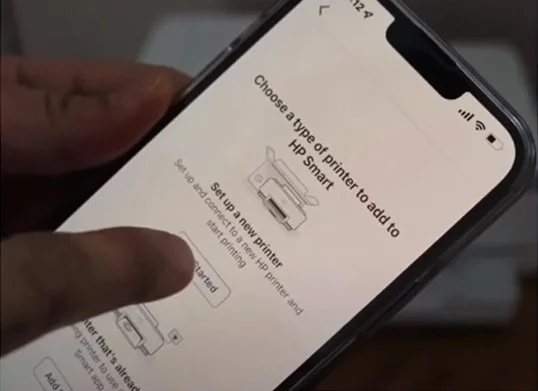
6. If you see a prompt to put your printer on the wireless network, choose Yes.
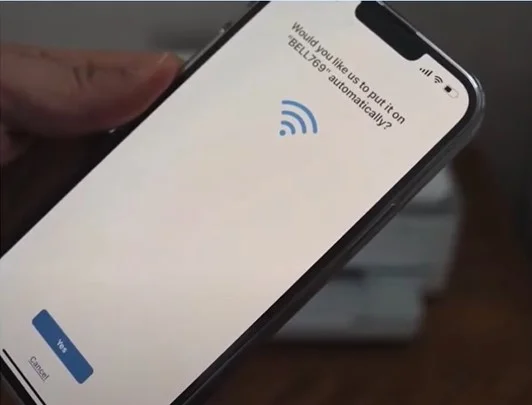
7. You will notice that the Wi-Fi light on the printer remains lit, indicating that the printer is connected to the wireless network.
8. When you see the Setup Complete screen, tap on Done.
Also Read:- Fix HP Officejet Pro 6978 Paper Jam
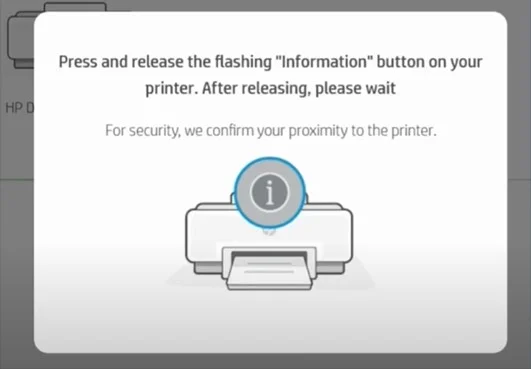
9. When you are prompted to press the flashing “information” button on your printer, go to your printer and press the information button.
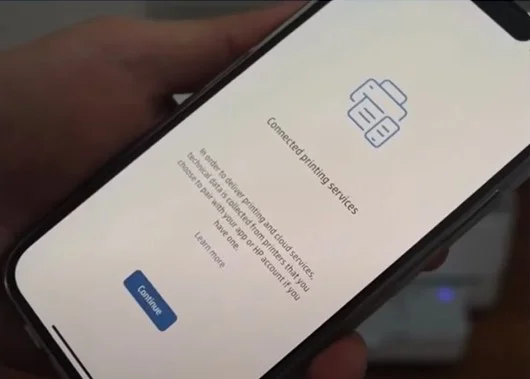
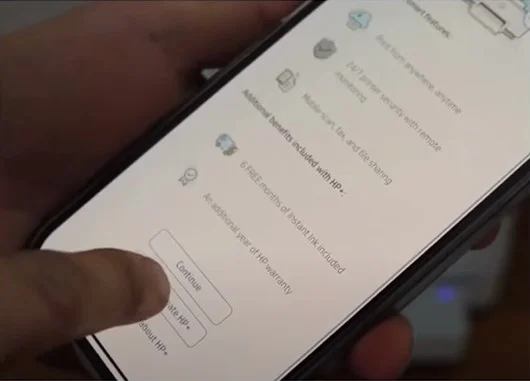
10. Then, you need to select Continue on the Connected Printing Services screen.
11. Now, follow the further prompts on the screen to complete the setup process.
Method 2: Via Wi-Fi Direct Method
You can connect your printer using the Wi-Fi Direct method. These are the steps you need to follow.
1. At the start, plug the printer cable into the power source and switch it on.
_1725449802.webp)
2. Then, move to the back side of the printer and press the wireless button located below the power button.
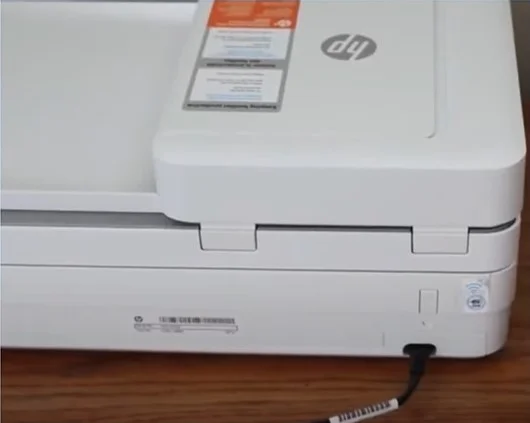
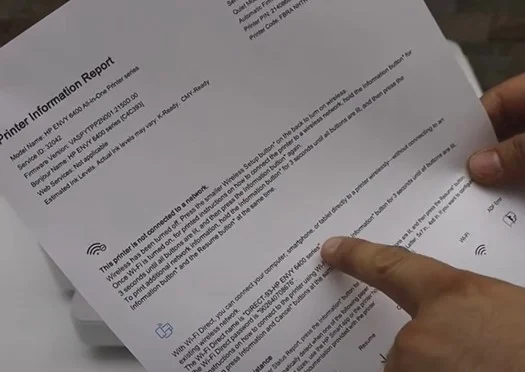
3. Now, press the information button to print the printer information page.
4. Next, check the Wi-Fi name and password on the printed information page.
5. After that, move to your computer or smartphone device and access Wi-Fi settings.
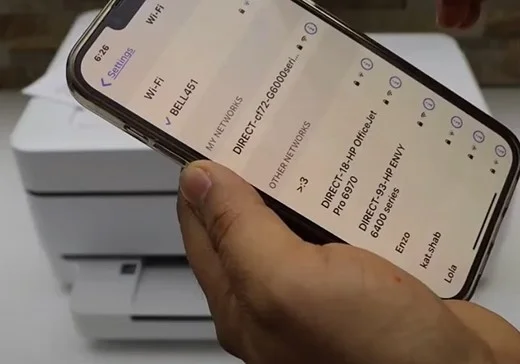
6. Look for the network name that has DIRECT in it, followed by your printer’s model name.
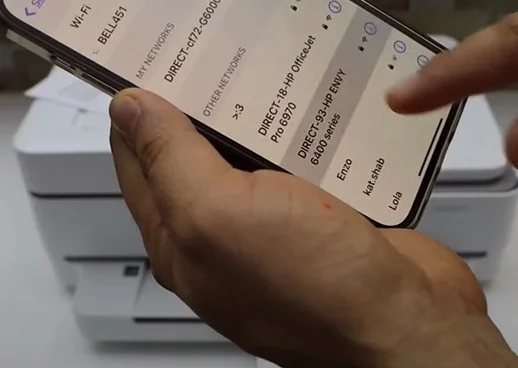
7. Now, type the password as printed on the sheet and select the Join option.

8. Moreover, move to the HP Smart App and then click on the + button at the top.
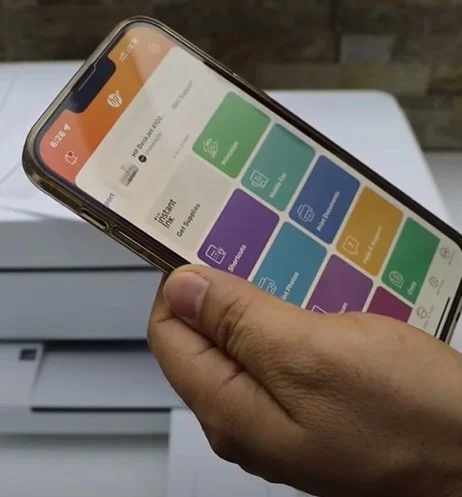
9. Then, choose the option Compete Now or Get Started.
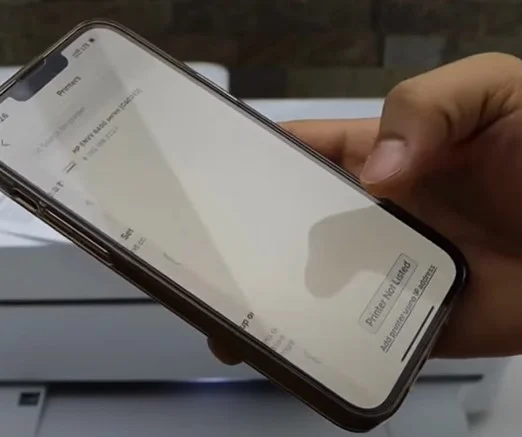
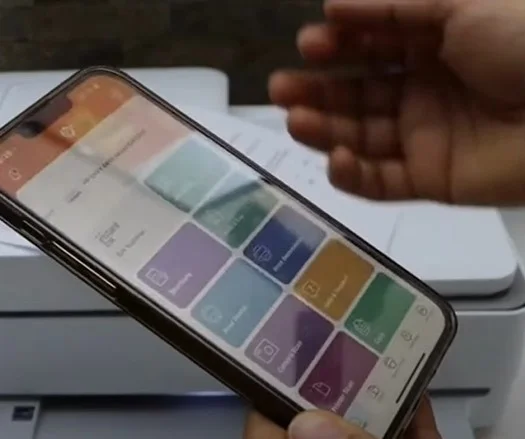
10. Here you go! Choose your printer and start printing documents right away.
Conclusion
It is common to have problems while connecting your HP printer to Wi-Fi due to some technical error or doing it for the first time. Some typical reasons for that could be network problems, missing drivers, outdated device OS, and a few more. However, with the proper methods, anyone can quickly complete the Wi-Fi connection on their HP printer.
Take the help of our two well-tailored methods to establish the Wi-Fi connection of your printer without hassle. In case these methods fail to complete the connection process, then it is wise to look for additional help.

