How to Fix Epson XP 440 Not Printing Issue?
No idea why your Epson XP 440 printer is not printing? Well, this problem can happen on your device due to a bunch of technical faults, such as problems with the ink level or cartridge, outdated drivers, wrong printing settings, stuck print jobs, issues with the printhead, and more. As a result, you should look for the key cause of the problem and take action accordingly to fix it.
Moreover, if you are unable to identify the root cause of the problem, then you can try several easy methods. To make the troubleshooting process seamless for you, we will impart an in-depth understanding of the top 4 effective methods. So, let’s dive into the process!
Method 1: Check Ink Level and Replace Cartridges
Your Epson printer may not print the documents if there are problems with the ink cartridges and ink levels. Follow the below steps to check the ink level and replace the cartridge when needed.
1. First and foremost, you need to power on your printer device.
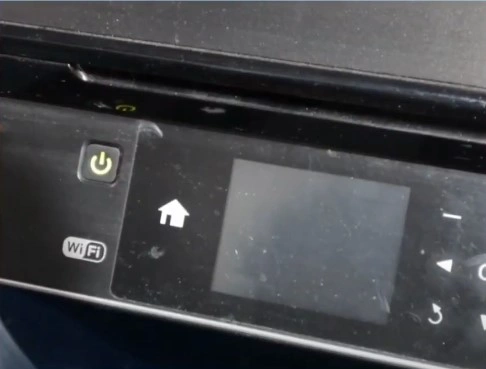
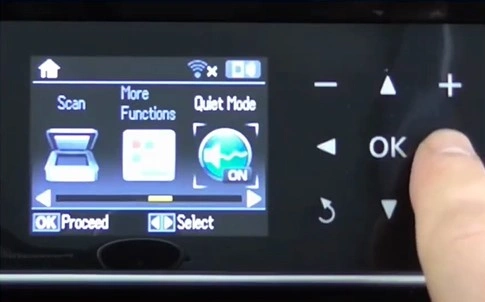
2. Navigate to Setup using the arrow buttons and press the OK button.
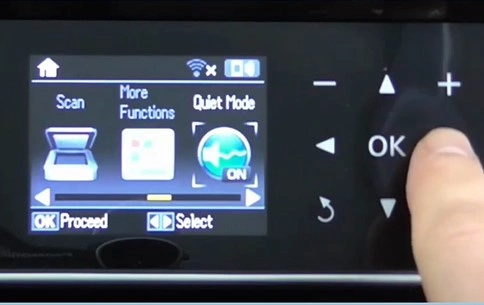
3. Then, select the Ink Level option and then choose OK to proceed.
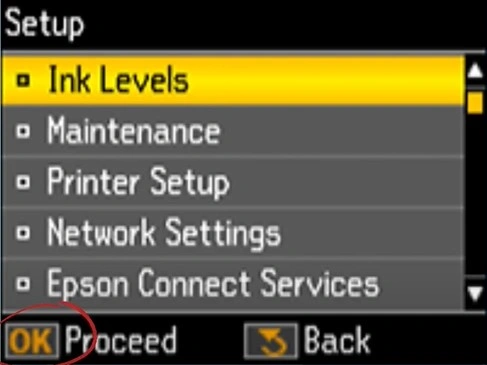
4. From Ink Levels, you can check low inks and check if any cartridges require replacements.
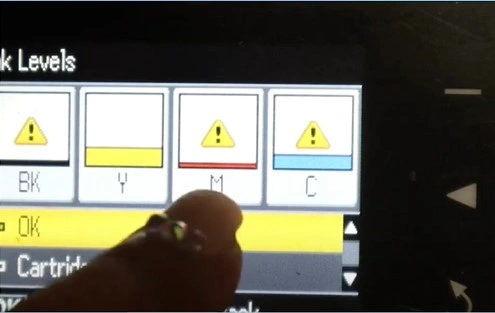
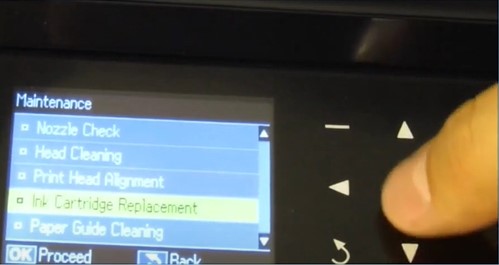
5. If any ink cartridges require replacement, select Cartridges Replacement and press the OK button.
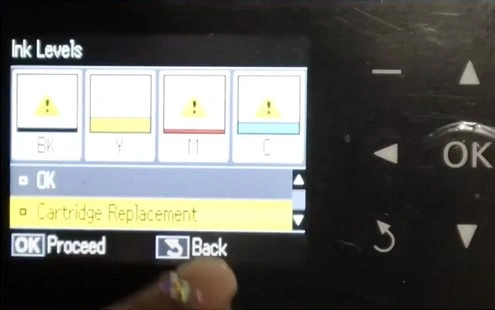
6. When you get the Replace Ink Cartridge (s) screen, open the top cover of the printer to access the ink cartridges.
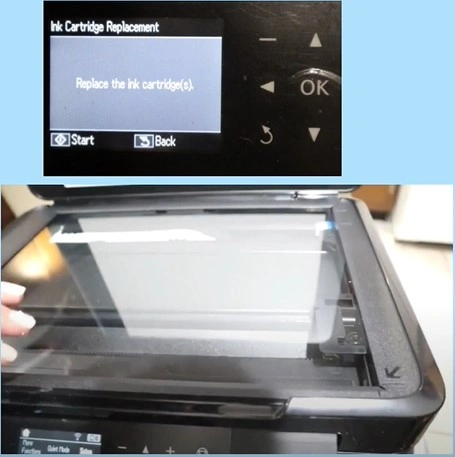
7. After that, press the Start button, and the ink cartridge will start to position.
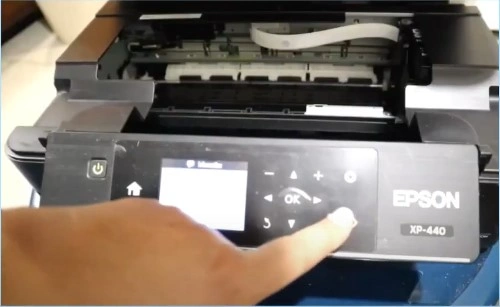
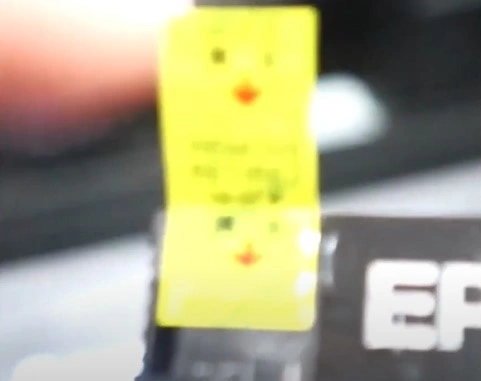
8. Now, grab the new ink cartridge, unpack it, and remove the sticker.
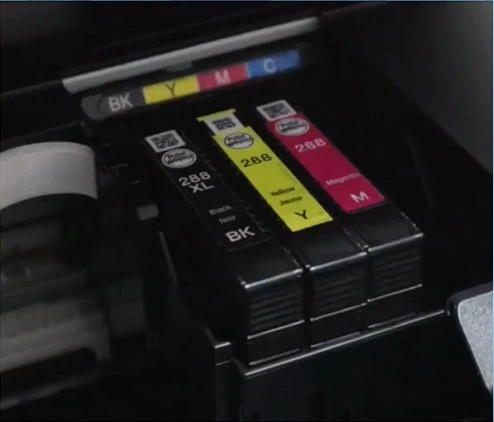
9. Remove the ink cartridges that need replacement and put the new ones in place.
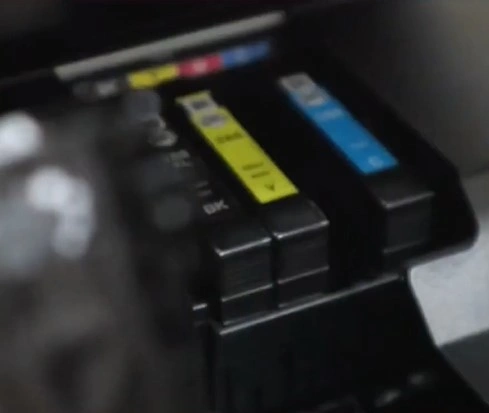
10. Repeat the same steps for all the cartridges that require replacement.
Also Read:- How to Fix HP Officejet Pro Not Printing?
11. Once done, close the top cover, load some sheets of paper, and press the print button.
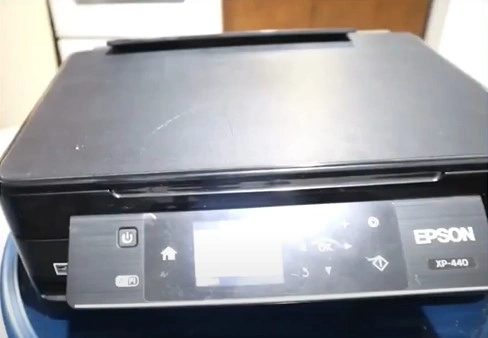
12. You will get charging ink on the display; choose Confirm and press the OK button.
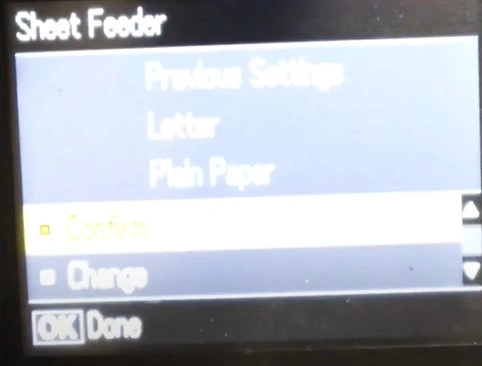
13. Now, print a new document copy to check if the printer is still facing the not printing problem.
Method 2: Changing the Printing Preference
Problems with the printing preferences can also show the problem with your Printer. Here is how you can do it.
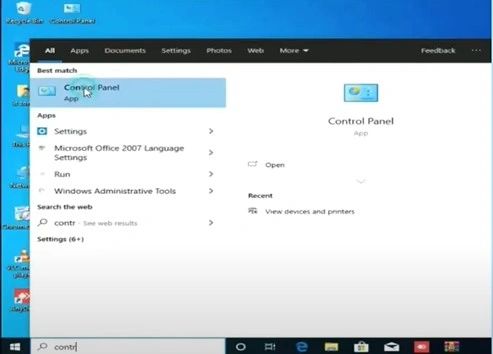
1. Initially, click on the Windows search bar and search Control Panel.
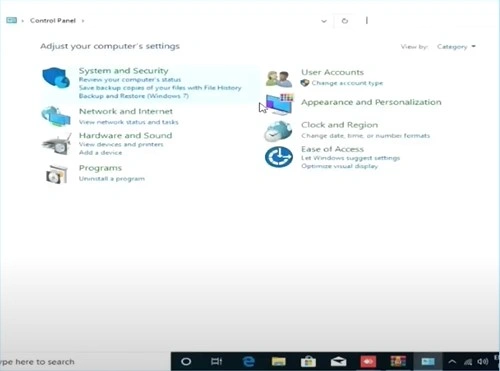
2. Then open the Control Panel window and click on View Devices and Printers under the Hardware and Sound option.
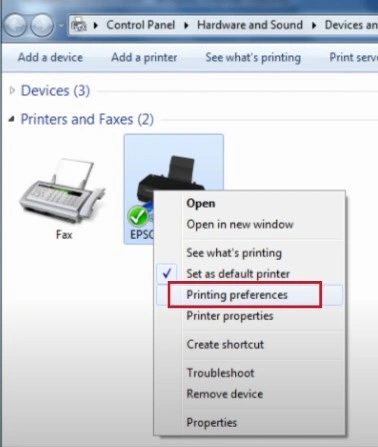
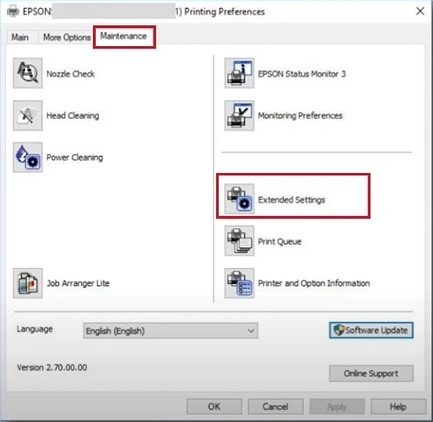
3. After that, right-click on the printer option and then choose Printing Preferences.
4. Next, move to the Maintenance tab and select the Extended Settings option.
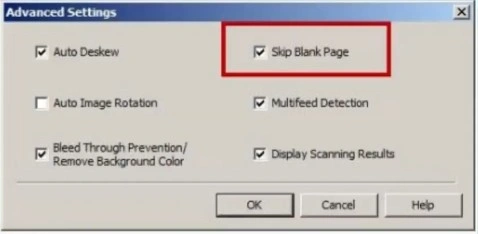
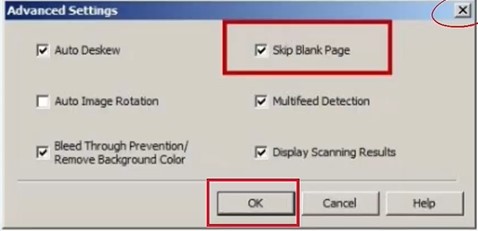
5. Ensure that the Skip Blank page is selected here.
6. Once done, choose the OK button and close the window.
Method 3: Run a Nozzle Check
If there are any issues with the print nozzle of the printer then here are the extensive steps to run a nozzle check.
1. In the beginning, make sure that your printer is turned on and you are on the home screen.
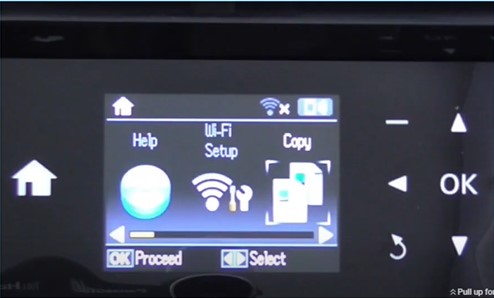
2. Next, navigate to the Setup using the arrow button and press the OK key.
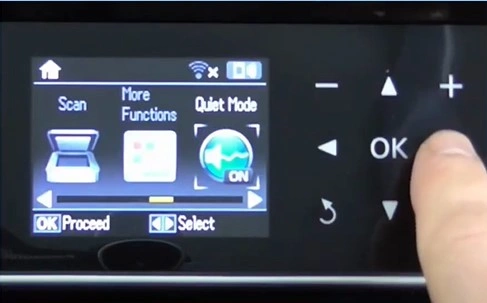
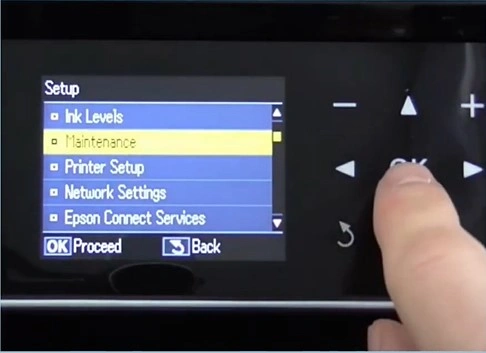
3. Using the down arrow buttons button, select Maintenance and press the OK button.
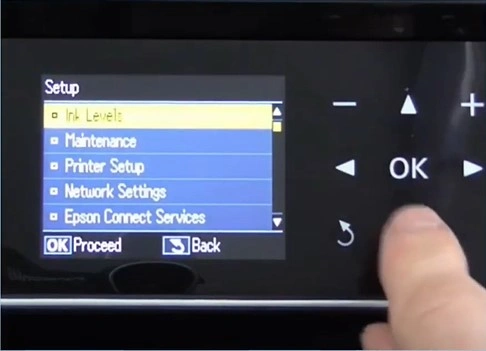
4. Next, select Nozzle Check and press the OK button.
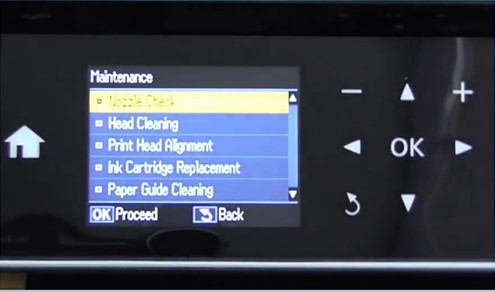
5. Make sure your printer is loaded with paper, then press the Print button.
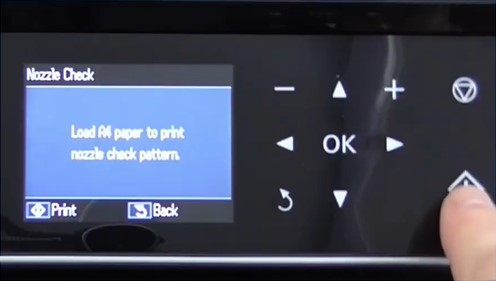
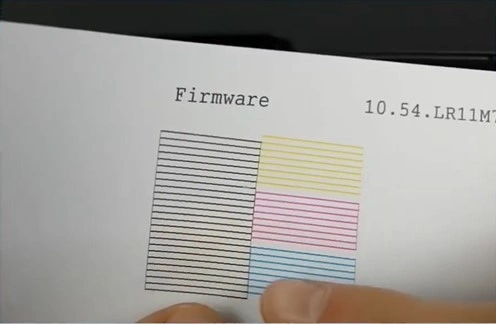
6. The printer will print a Nozzle Check pattern and look for any missing lines.
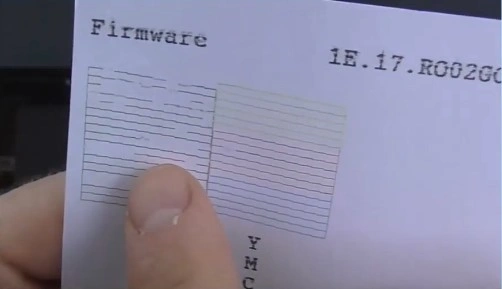
7. If there are any missing lines, select Head Cleaning and press OK.
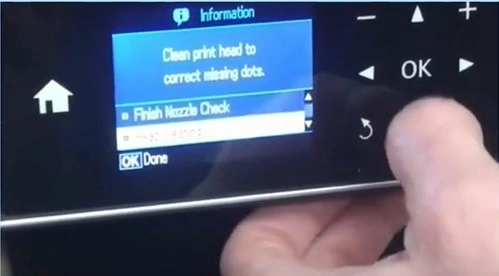
8. After that, press the Start button to start cleaning.
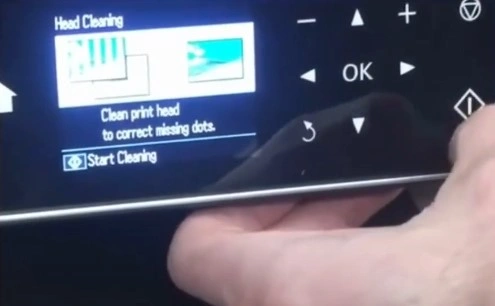
9. The head cleaning process can take a few minutes to complete.
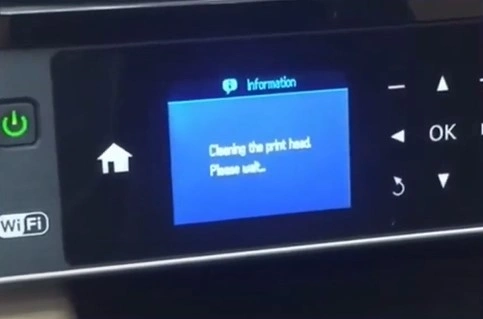
10. After that, check if the printing problem is gone from your device.
Method 4: Clean the Printhead Manually
Sometimes, the printer does not print the documents if the printhead is not clean and has some debris on it. Follow the below comprehensive guide to clear your printhead manually.
1. Begin with turning the printer power on, choosing the setup option using the arrow buttons, and selecting the OK option.
2. Then head to the Maintenance option and then click on OK.
3. After that, choose Ink Cartridge Replacement and press the Start button to proceed.
4. Now, you are required to open the top cover of the printer, and then the printhead should move to the middle.
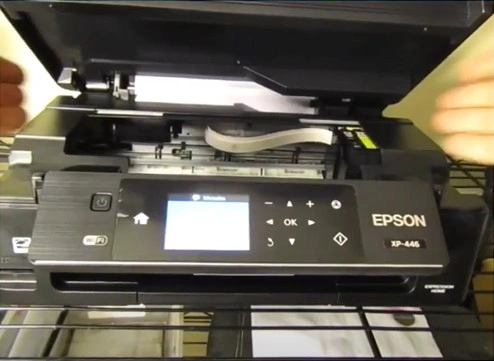
5. Go ahead and take out the cartridges from your printer.
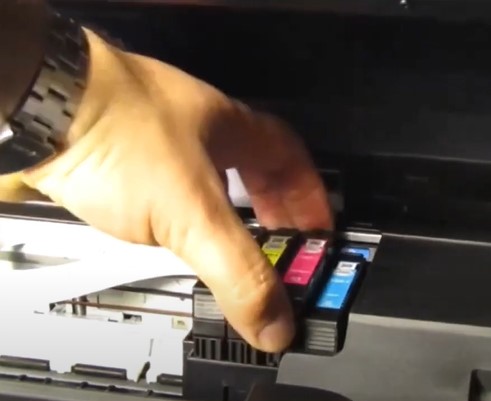
6. Moreover, get a paper towel and fold it.
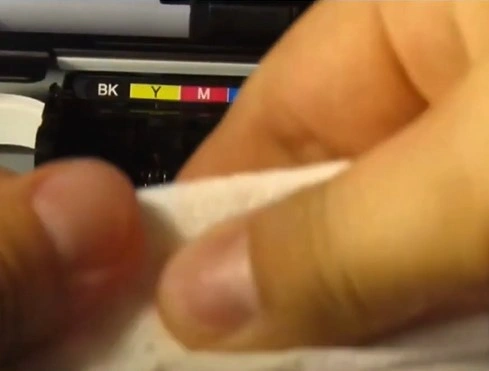
7. Then, grab the printhead in place and power off the printer. Hold it in place until the printer is completely turned off.
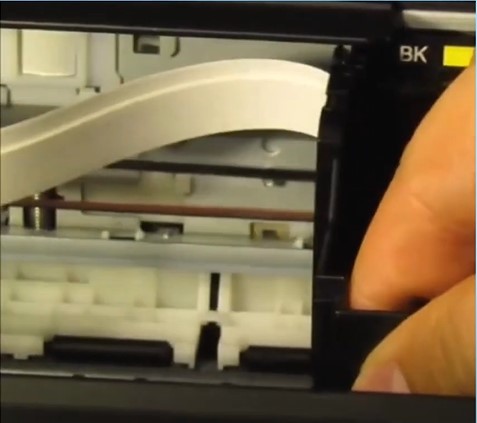
8. Now, move the printhead to the side, place the folded paper underneath the printhead, and move the printhead to its original position.
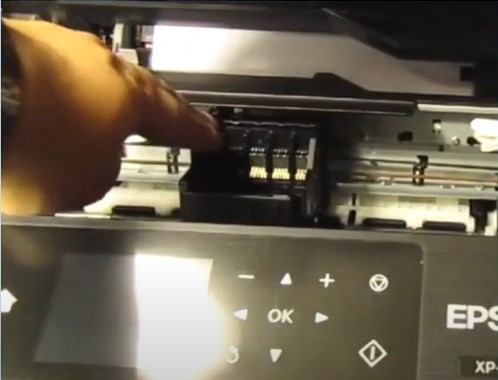
9. Grab your printhead cleaning kit that comes with a syringe.
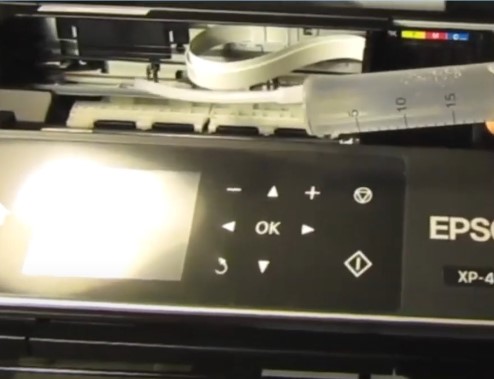
10. Insert the silicon tubing over the nozzle with the issue.
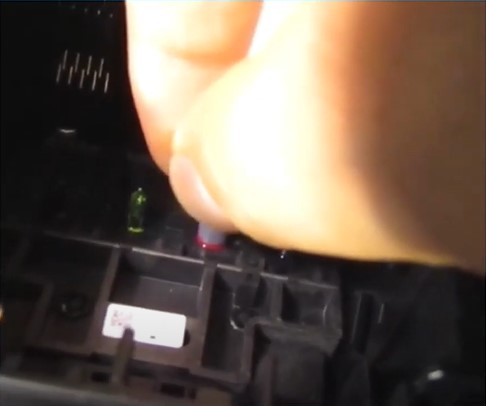
11. Gently push the solution until it unclogs the nozzle.
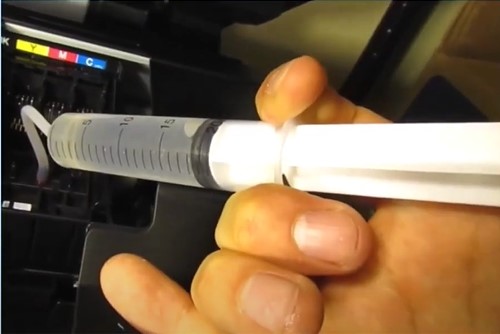
12. Once done, remove the syringe, then move the printhead to the side and take out the paper towel.
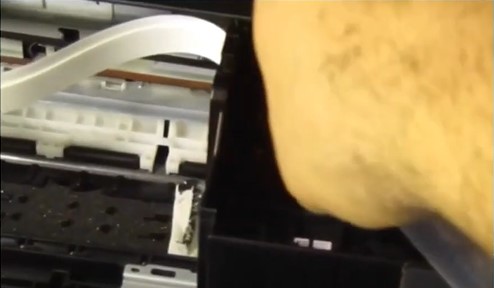
13. Then, go ahead and clean up any mess that happens during the process.
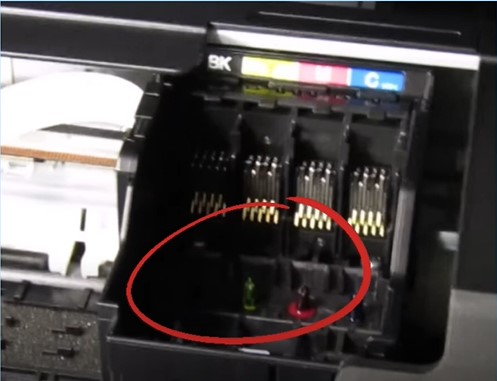
14. Now, place the ink cartridges back in their original position.
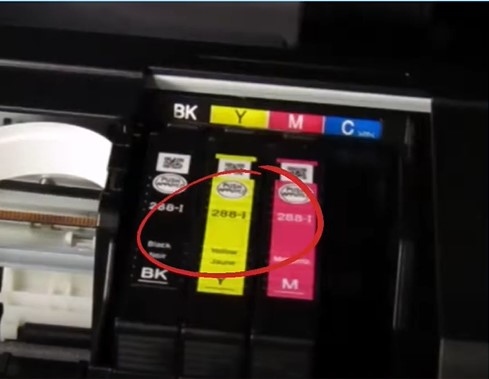
15. Close the top cover, then go ahead and power on the printer.
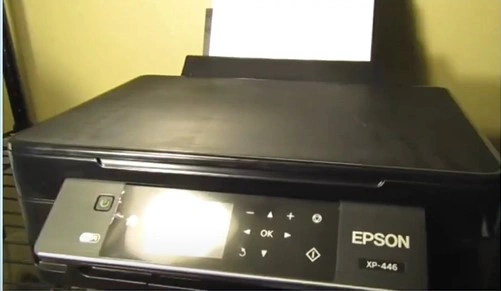
16. Finally, print a nozzle check pattern and see if the problem is resolved.
Conclusion
Among various problems, your Epson printer can show that ‘printer not printing’ is one of them. If you are seeing this problem on your device for the first time, then you don’t need to worry. To fix this problem, make sure everything is correct with your printer and the device it is connected to. After that, use our comprehensive methods one by one to troubleshoot the issue. However, if the problem still persists on your device, then we would suggest you to look for additional help.

