How to Fix HP Officejet 3830 Not Printing?
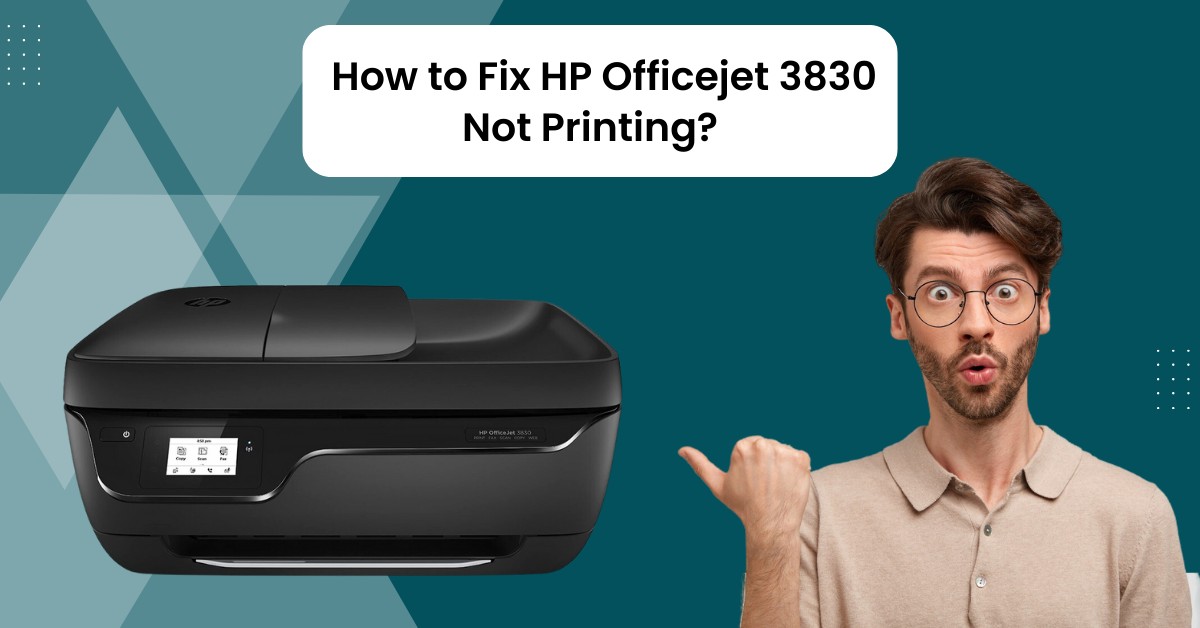
It could be annoying to have your HP Officejet 3830 printer stop printing. Some potential causes of this problem are low ink level, connection problem, outdated driver, problem with print spooler, ink cartridge not installed properly, and many more. The best way to fix the problem is to look for the root cause and fix it. Moreover, various other solutions are also available if you are unable to figure out the reason behind the issue.
Let’s discuss the top 4 well-tailored solutions to solve your HP Officejet 3830 printer printing issue. Read further to learn every method in depth.
Method 1: Perform the Hard Reset of Your Printer
If your HP OfficeJet 3830 printer is showing an error while printing the documents, then the first thing you should do is perform the hard reset. Here is how you do it.
1. Make sure your HP Officejet 3830 printer is turned On, and then remove the power from it.
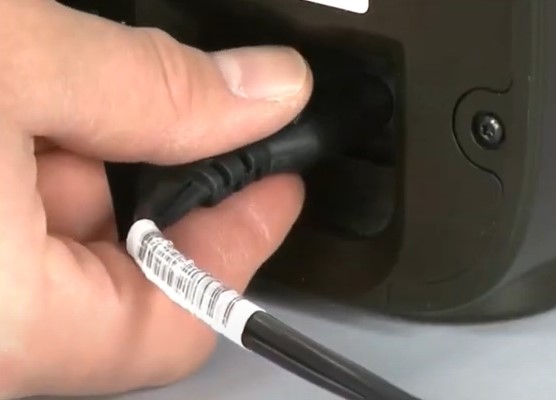
2. Next, unplug the other end of the power cable from the electric outlet.
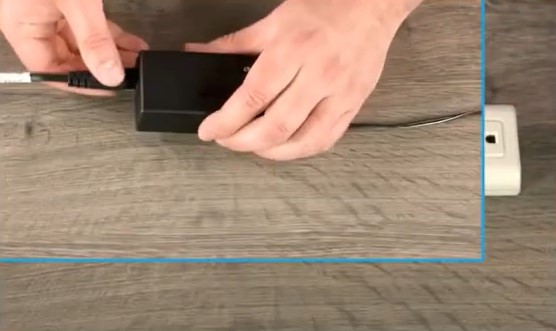
3. Now, you need to wait for a few minutes, at least wait for 60 seconds.
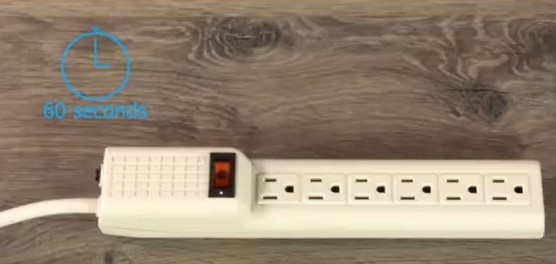
4. After that, reconnect the power cable to the printer and the wall outlet.
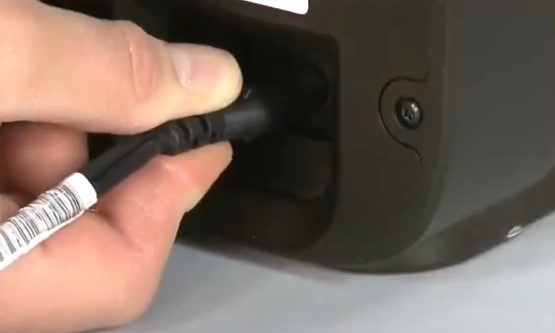
5. Then, the printer will start and will be reset automatically.
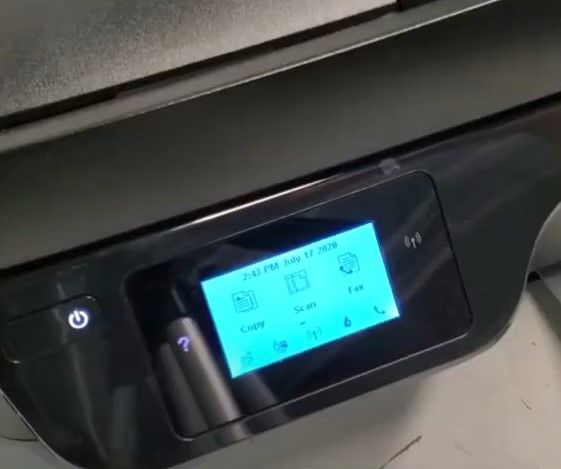
6. Finally, connect the printer to a device and check if it is able to print the documents.
Method 2: Reinstall the Printer Driver
Sometimes, printers do not print the documents due to outdated drivers. Follow the below steps to reinstall the driver for your HP printer.
1. First, you need to remove the cable from your printer, which is connected to your computer device.
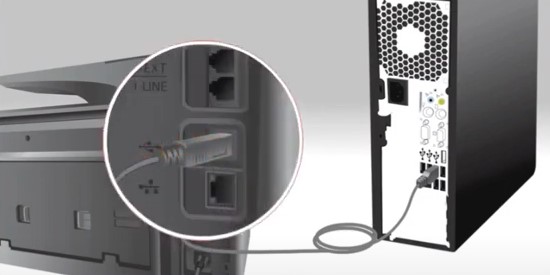
2. After that, move to your PC, click on the Start menu, and then choose Settings.
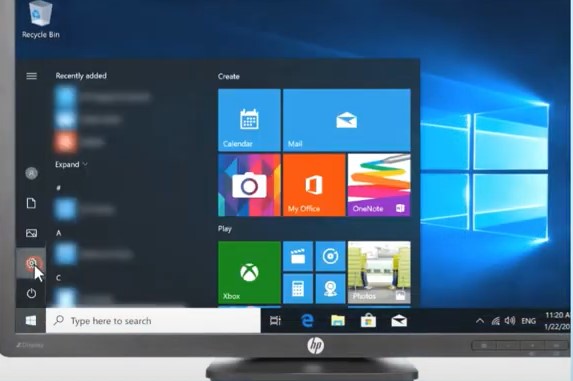
3. Now, on the Settings window, select the Apps option.
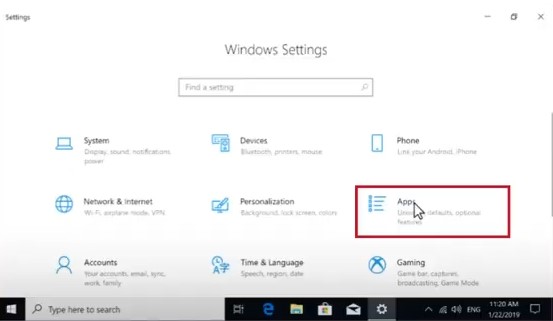
4. When the list of the installed apps appears on the screen, look for your HP printer driver and select it.
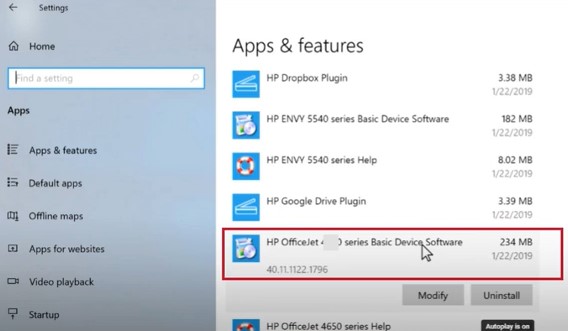
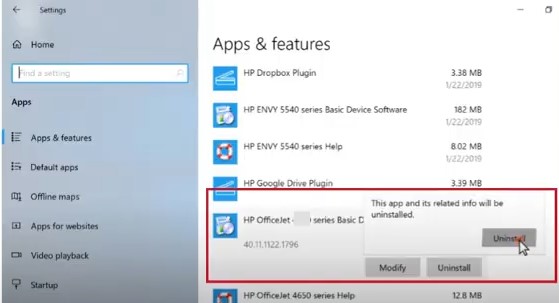
5. For your driver, choose the Uninstall option and click on Uninstall once again to confirm the process.
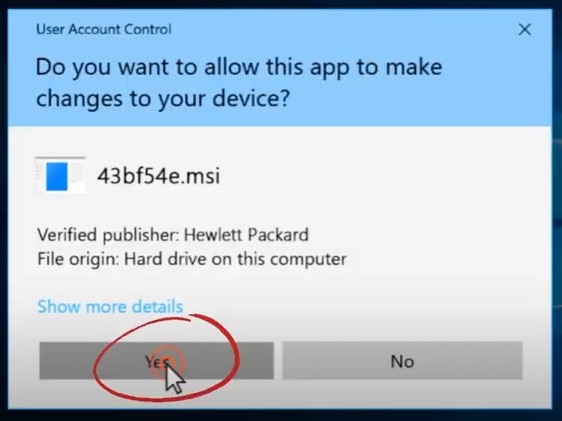
6. If you see a pop-up on the screen to confirm the action, click on Yes.
7. Now, head back to the Apps and Features list and repeat the uninstallation process from all the entries with your HP printer name.
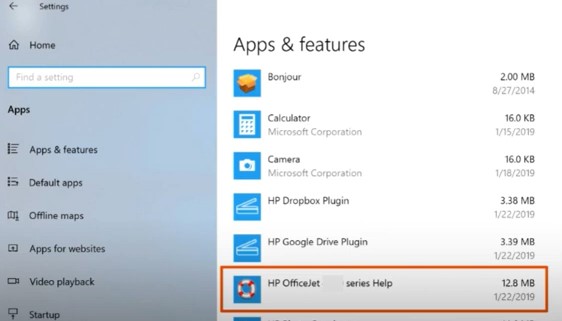
8. Once the process is complete, click on Done.
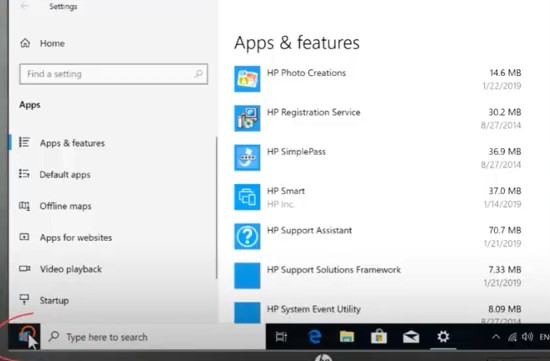
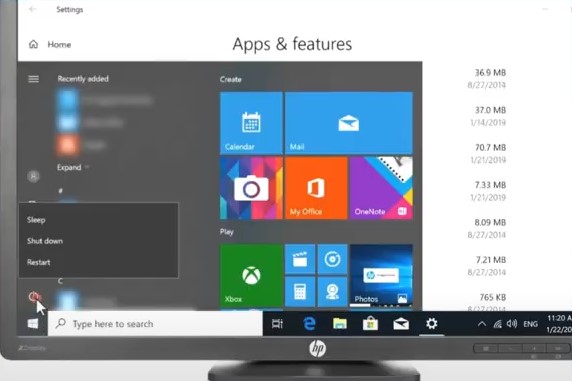
9. After that, you need to click on the power button and restart your PC.
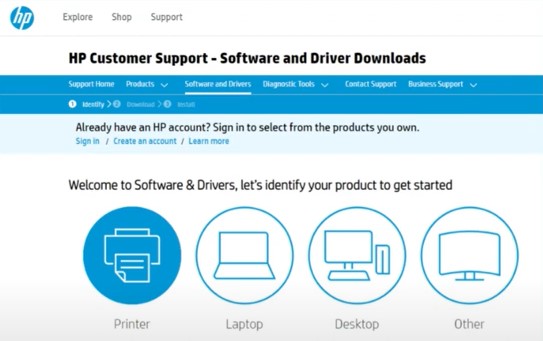
10. When the PC restart process is complete, visit the official HP website to download the compatible driver for your printer.
11. Then, perform a print to check if the problem is resolved; if not, then move to the next step.
Method 3: Check for the Ink Smears On the Back of Printouts
Here are the steps you can follow to check the ink smears on your printer and fix them easily.
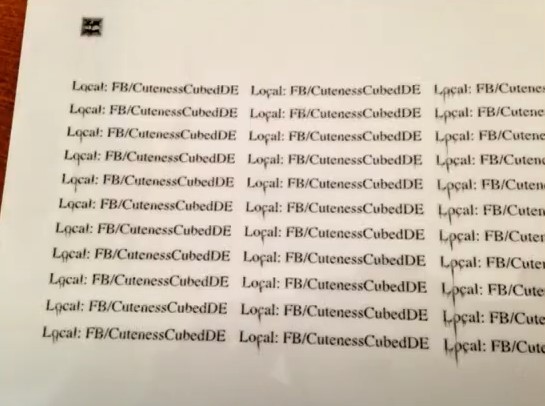
1. After the print is complete, check if there are ink smears on the back of the documents.
Also Read:- How to Fix 'HP Officejet Pro 6968 Not Printing' Issue?
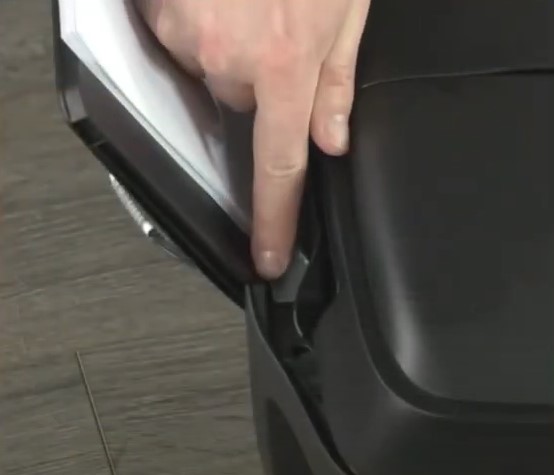
2. Next, ensure that the paper is loaded in your HP printer document tray.
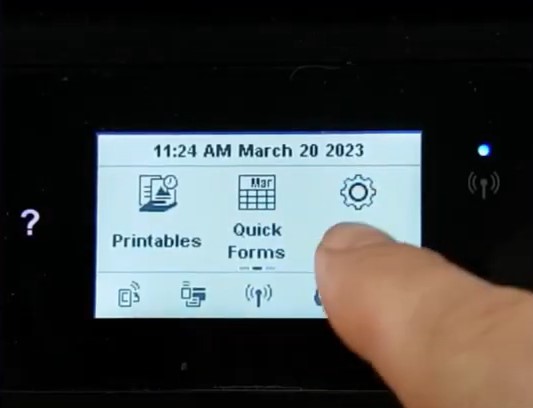
3. Now, go to the printer’s control panel and choose the Setup option.
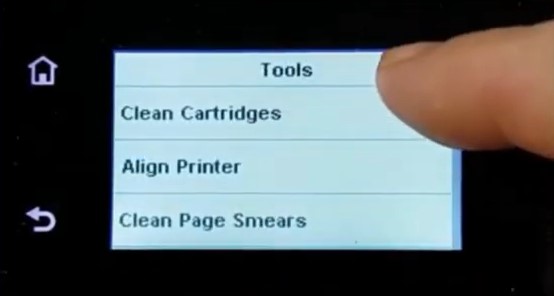
4. After that, choose Tools, then tap on the Clean Page Smears option.
5. Henceforth, the cleaning process will begin, and the printer will print a test document afterward.
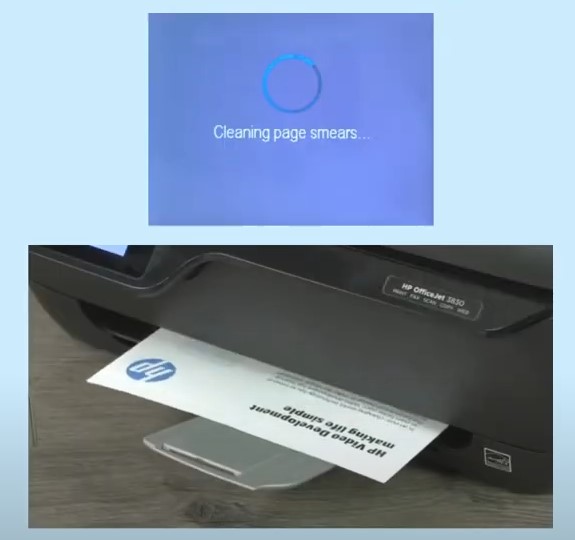
6. Then, examine the printed document to see if it requires more cleaning.
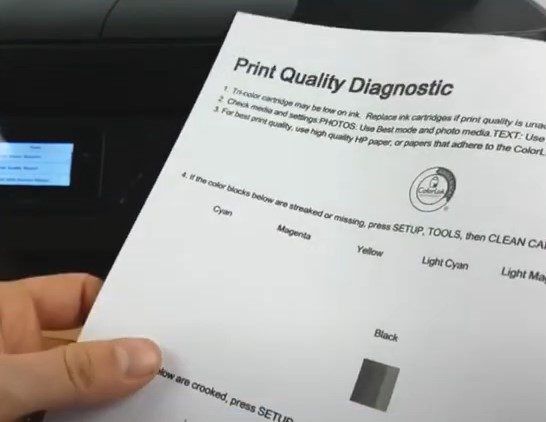
Method 4: Check the Estimated Ink Level & Replace Any Low Or Empty Ink Cartridge
Problems with the ink cartridge and low ink level can also show the printing error. The below guide will help you properly change the ink cartridge of your HP OfficeJet 3830 printer.
1. First, go to your printer’s control panel and tap on the ink drop icon.
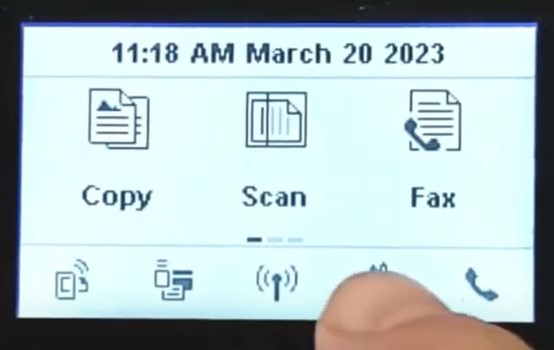
2. Check the Estimated Ink Level and see if any ink cartridges are low and require replacements.
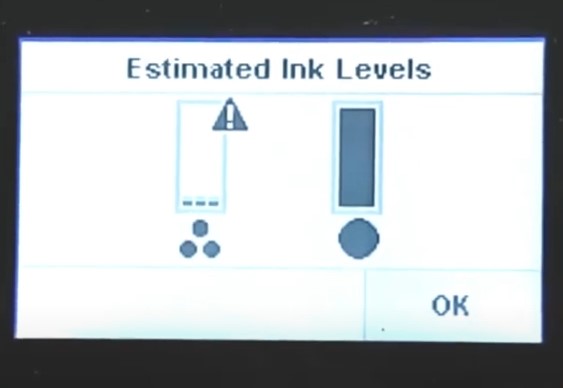
3. Then, tap on the OK option.
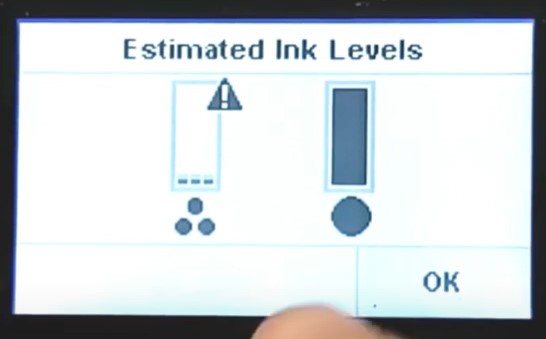
4. Next, open the exterior door and then the ink cartridge access door.
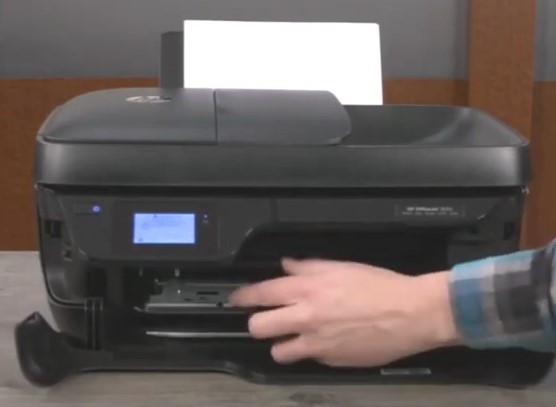
5. Now, wait for the ink cartridge to come to the position.
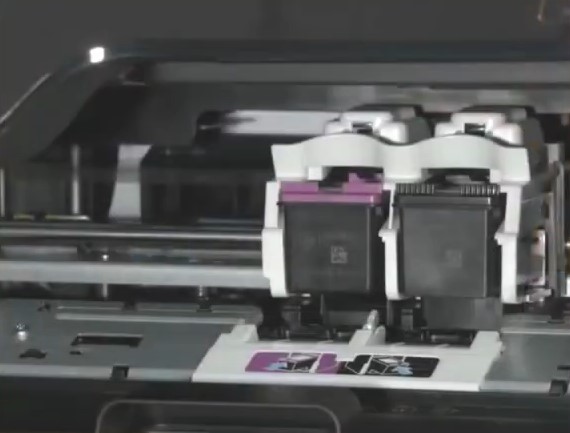
6. After that, push down the cartridge that needs to be replaced and then remove it.
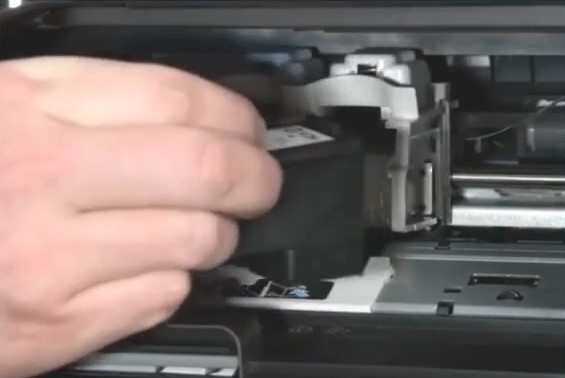
7. Henceforth, remove the replacement cartridge from the package, then remove the plastic tape.
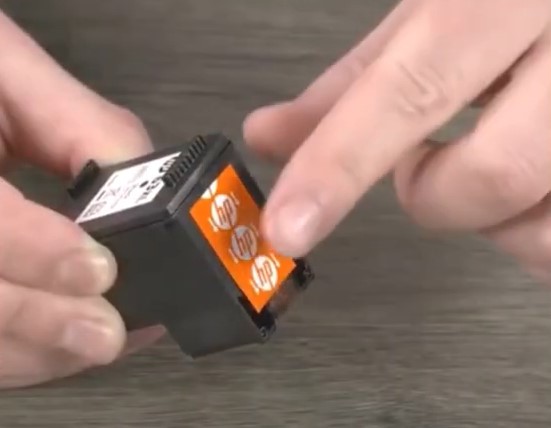
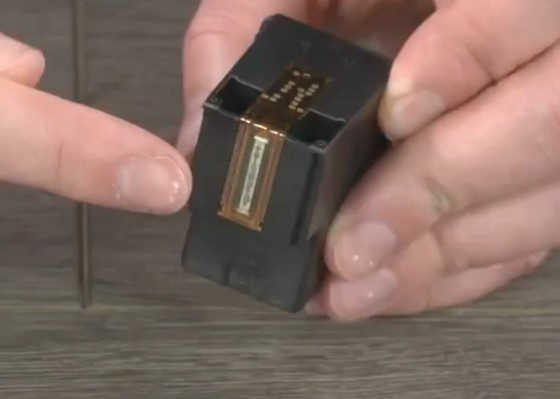
8. Make sure you do not make the copper contact or the ink nozzle to avoid clogs, ink failure, and bad electrical connections.
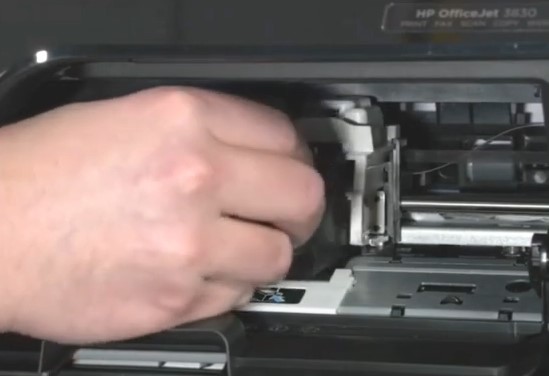
9. Side the ink cartridge into its slot at an upward angle until it snaps into its place.
10. Now, close your ink cartridge access door and the exterior door.
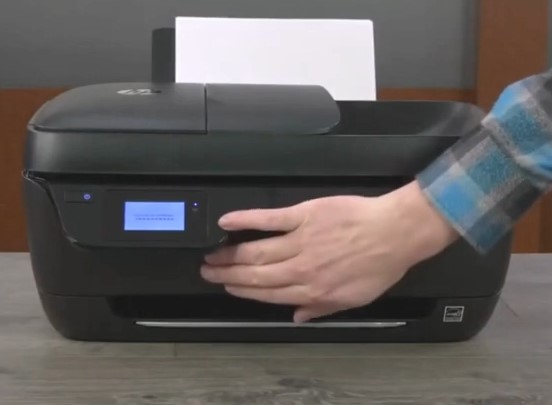
11. In addition, pull out the output tray and press OK on the display panel.
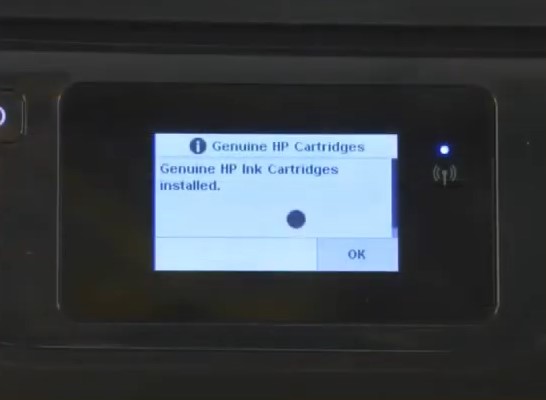
12. Click on the OK option to print an alignment page.
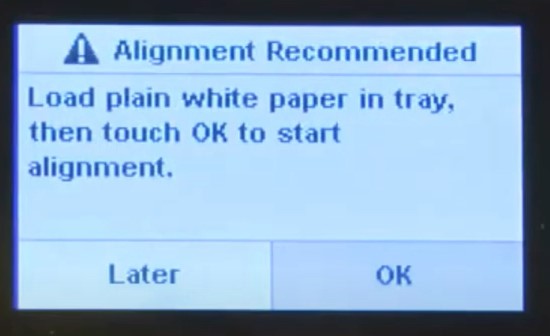
13. After that, lift the scanner lid and place the printed page down on the scanner glass using the guide for placement.
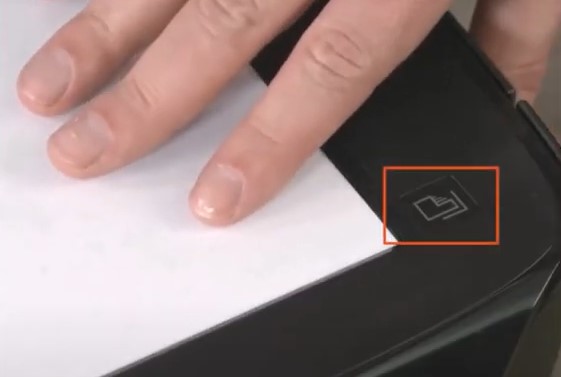
14. Moreover, close the scanner and press OK to scan the page.
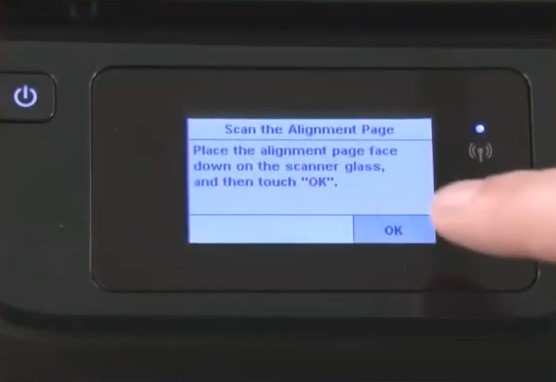
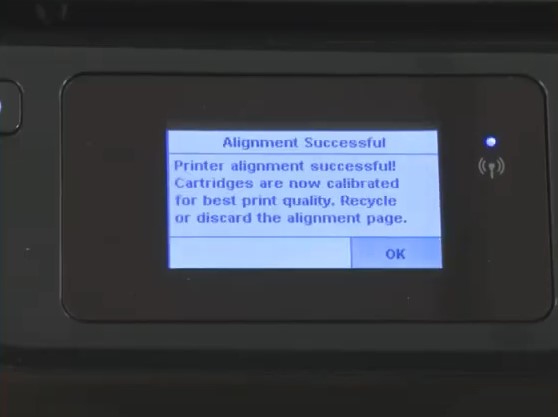
15. On the Alignment Successful screen, tap OK.
Conclusion
With the help of the right troubleshooting methods, you can easily get rid of the printing error in your HP printer. Also, to keep your printer always working, make sure to regularly update the driver, perform the correct configuration, and make sure the ink cartridge is installed properly. Moreover, try our simple and effective methods one by one to see if they are able to get rid of the problem. Apart from that, seek additional guidance if the exact problem still persists on your device.

