How to Clean HP Deskjet Print Head?
HP printers offer unmatched printing features and robust build quality. With an HP Deskjet printer, anyone can easily perform tasks like printing, scanning, and copying. However, like any other electronic device, your HP printer can show some errors, and sometimes, it could be a problem with the printhead. When the printer faces any issue with the printhead, it can interrupt the printing job. To get your printer working again perfectly, it is necessary to clean the print head.
If you do not know how to clean the HP Deskjet printer print head, then this is going to be beneficial for you. Here, you will attain a thorough understanding of the top 3 effective methods.
Method 1: Clean Via HP Smart App
You can use the HP Smart App to clean the HP printer print head. Follow the below steps to learn the complete process thoroughly.
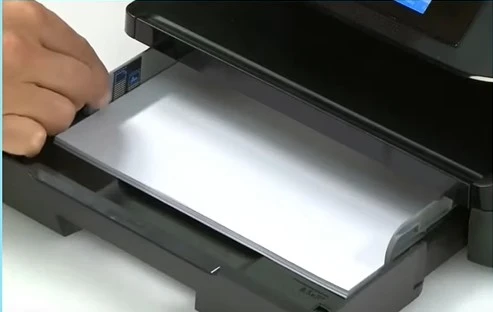
1. In the beginning, make sure that the printer is on and that there is paper loaded in the tray.
2. After that, open the HP Smart App on your device.
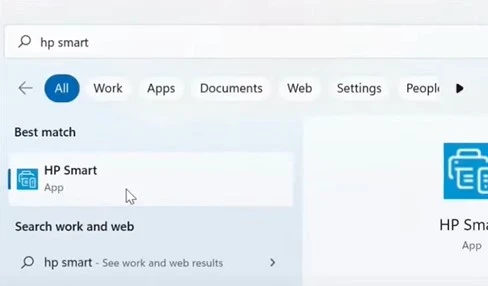
3. If you don’t have it, you can download and install it from the Microsoft Store.

4. If your printer is already listed on the app, click on it to open it.
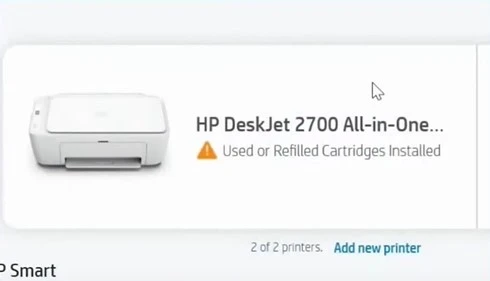
5. Next, scroll down to the Tools section and choose the Print Quality Tools option under it.
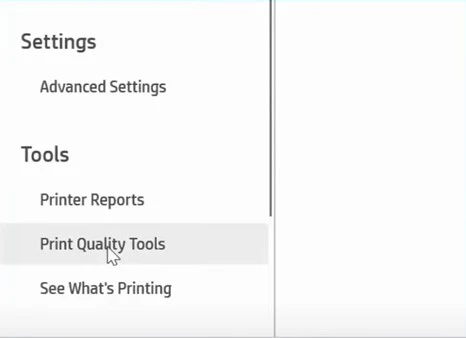
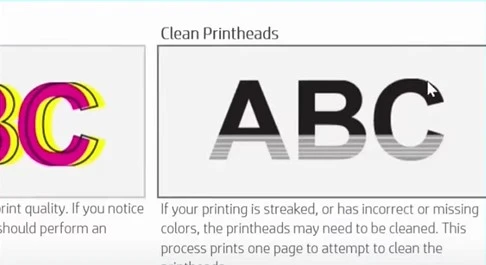
6. Then click on Clean Printheads; you will hear your printer making sounds while doing the cleaning, and the power light will flash.
Also Read:- How to Connect My HP Printer to WiFi Network [Top 3 Methods]
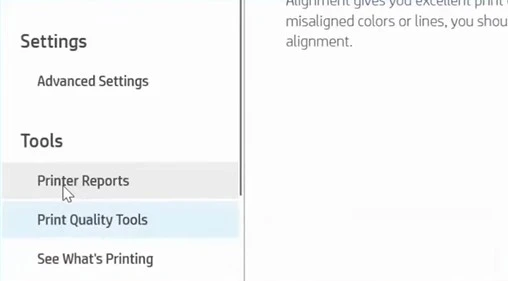
7. Once the power light stops flashing, go back to the screen and click on Printer Reports.
8. After that, select the Print Quality Report option and then click on Print.
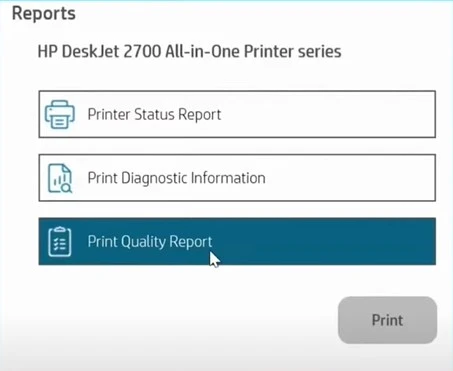
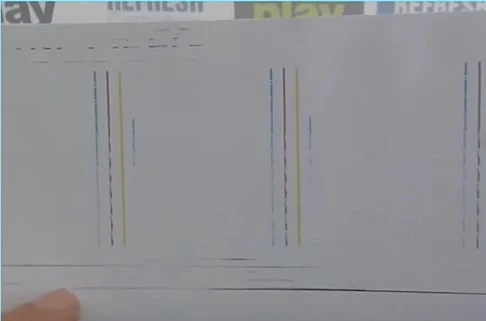
9. On the printed report page, check if there are any streaks or lines missing.
Method 2: Via Control Panel
Below are the steps you need to follow to clean the print head using the control panel.
1. First, make sure that the printer is on and move over to the control panel.
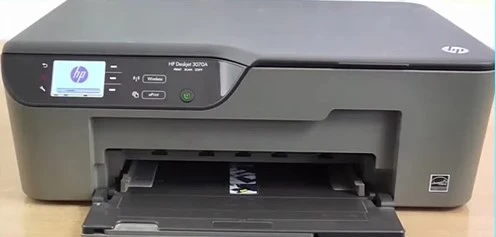
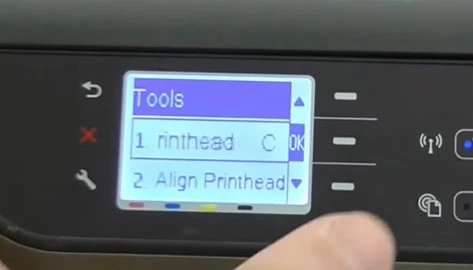
2. Press on the Settings icon, navigate to Tools, and press OK.

3. Now, choose Clean Printhead and choose the OK button.
4. Next, you will get a printer preparation screen, and once it’s done, you will get a printout.
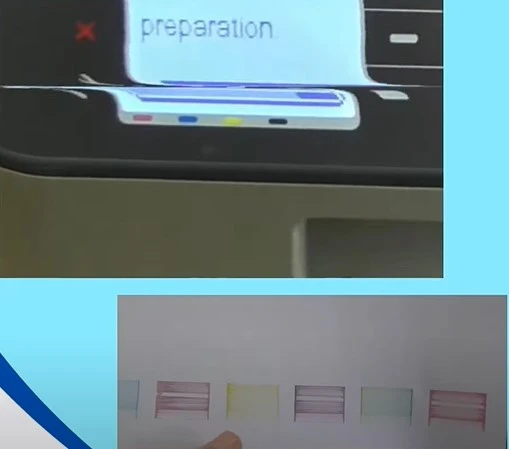
5. After that, check the printout and inspect it to see if it requires more cleaning.

6. Once you get the Check Print Quality screen, press OK to do some more cleaning.
_1726050016.webp)
7. If you are still not satisfied with the cleaning process yet, then move to the next step.
Method 3: Clean Manually
The following procedure will allow you to clean the HP printer print head manually.
1. Open the printer cover and remove the power plug from the back.
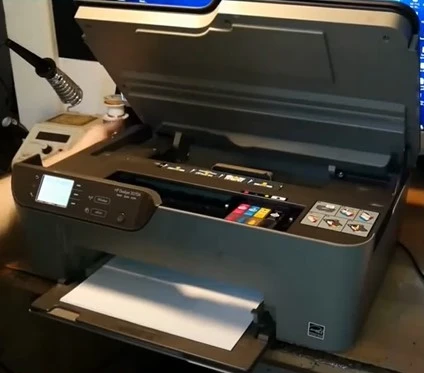
2. If there is paper inside the tray, remove them as well.
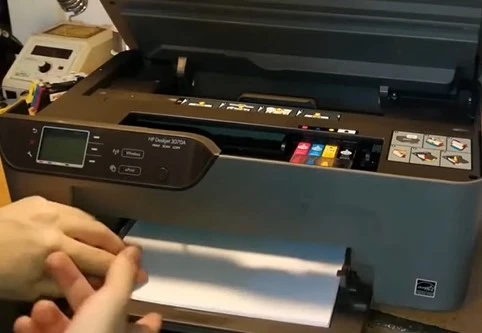
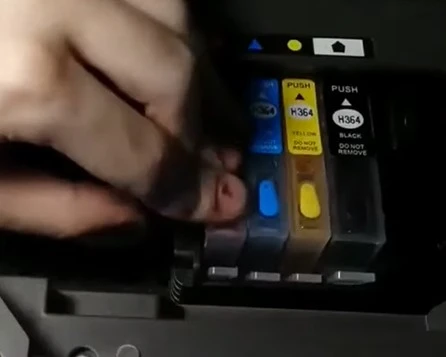
3. After that, take out all the ink cartridges and push the print head to the side.
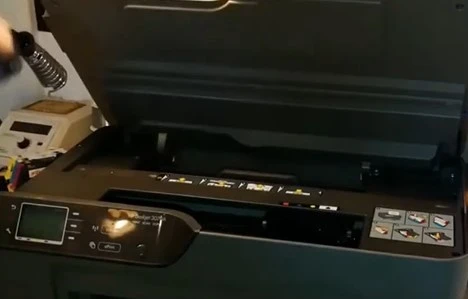
4. Now, take a disposable paper towel, fold it, and place it underneath the printhead.
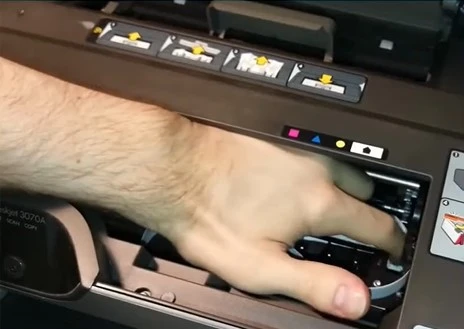
5. Next, move the print head back in the middle.
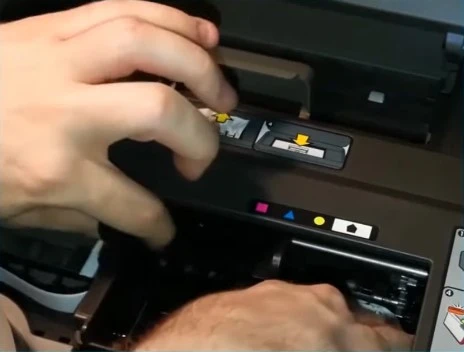
6. Moreover, take a syringe with a cleaning solution, put some drops in the ink port, and wait for the cleaning solution to go inside the printhead.
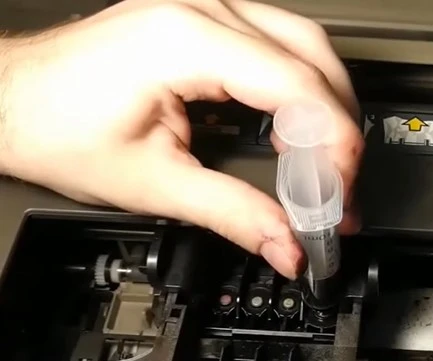
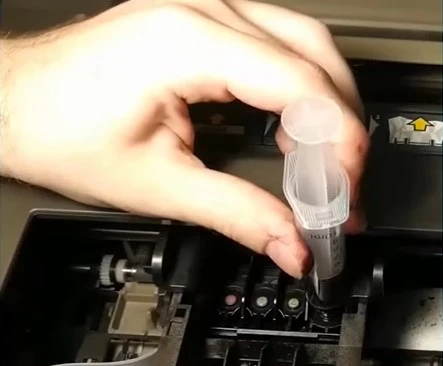
7. Repeat the same process for other ink ports.
8. Once done, move the printhead to the side and remove the paper towel.
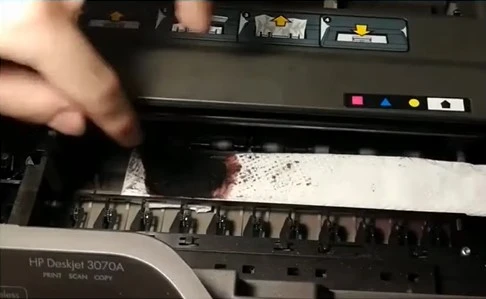
9. When the inside of the printer is completely dried, place the ink cartridges in their initial position.
Final Words
These are the proven and most helpful methods for properly cleaning the HP Deskjet printer print head. Use these methods one after another to ensure the print head is cleaned properly and is free of errors if you encounter any. Besides that, go for additional help if you have any other queries regarding print head cleaning or have any issues.

