How to fix 'HP Officejet Pro 8600 Printer Failure' Issue
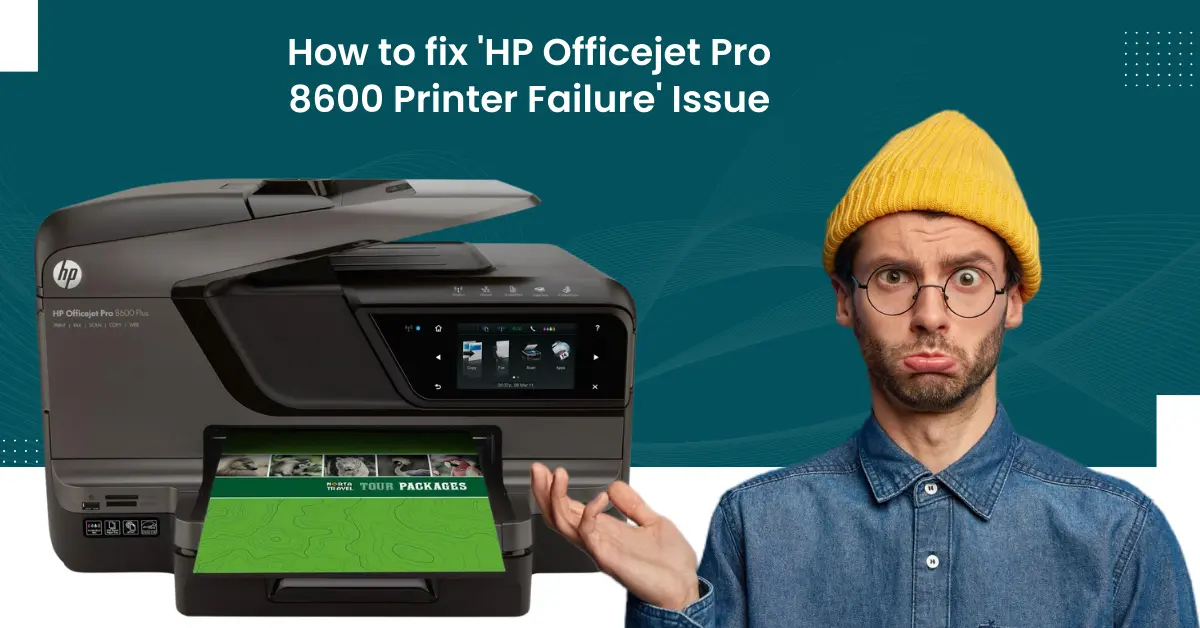
Getting printer failure is not new for printer users, but the problem could be daunting for some if they are new to this issue. In this case, you will not be able to print any documents or do any other work on your HP printer. Some possible reasons for your HP Officejet Pro 8600 could be paper jams, low ink levels, some technical glitches, and others. If you can identify the key cause of the problem, then you can take steps accordingly to fix the issue.
To streamline the process, here are the 3 most effective and well-tailored methods that can help you get your printer working again perfectly. So, continue reading the whole content to acquire a thorough knowledge of each step.
Solution 1: Check For Obstructions In the Cartridge Path
Here are the comprehensive steps you need to follow to get your HP Officejet Pro 8600 printer out of the failure state.
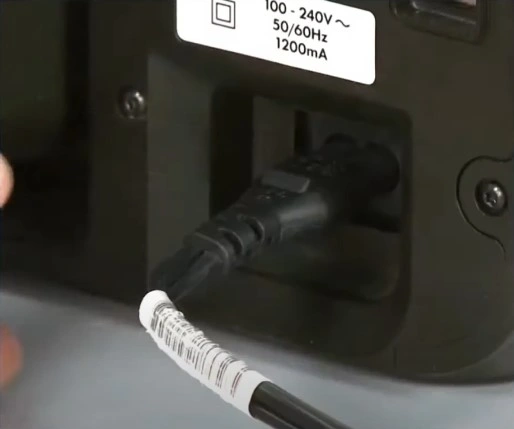
1. When the HP Officejet Pro 8600 printer is powered on, disconnect the power cord from the printer.
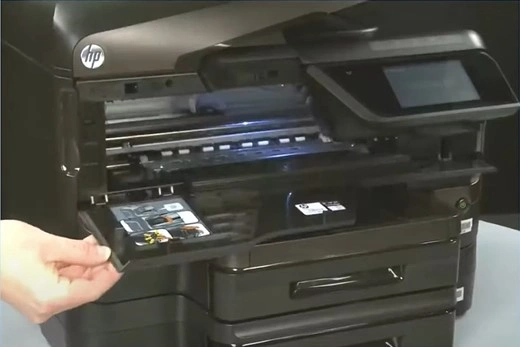
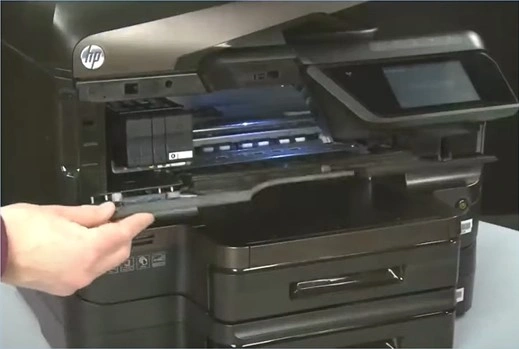
2. Then, open the ink cartridge access door.
3. Now, look in the carriage path for debris and remove if there are any.
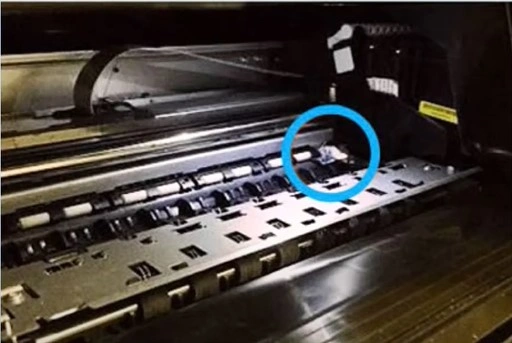
4. Slide the ink cartridge from one side to the other, making sure it moves freely.
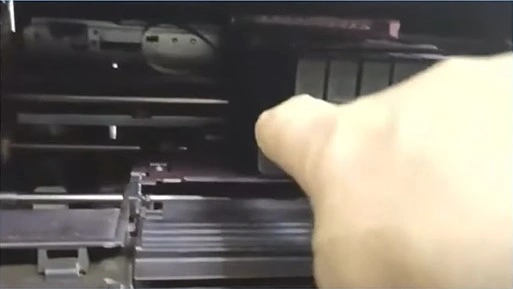
5. Reconnect the power cord to the printer, turn it on, and see if the issue persists.
Solution 2: Reset Your HP Printer
Sometimes, the printer can go into a failure state due to an unknown technical glitch. In this case, you can follow the below guide to reset the HP printer.
1. When the printer is turned on, disconnect the power cord from the printer.

2. After that, unplug the power source from your printer device.
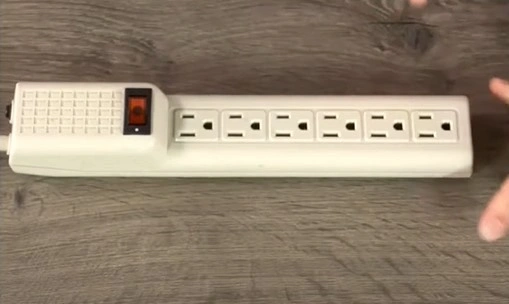
3. Now, you need to wait for some time (around 60 seconds).
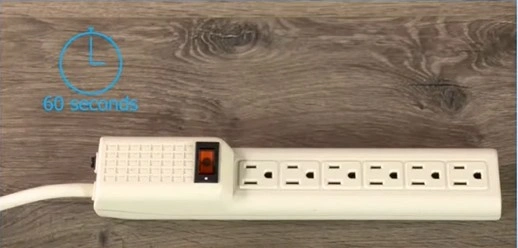
4. Reconnect the power cord to the wall outlet and the printer.
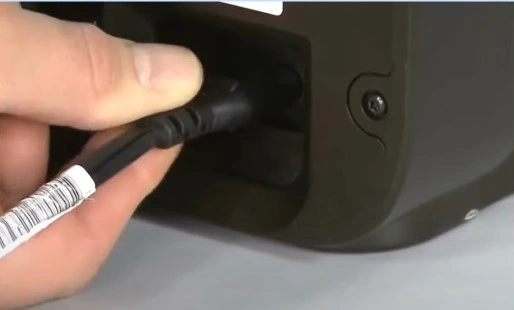
5. Now, check if the printer still shows any issues.
Solution 3: Replace the Ink Cartridge
You can get your printer in the error state if there are some issues with the ink level or cartridge. Below are the extensive steps you can follow to learn how to replace the ink cartridge.
1. When your printer is on, move to the LCD control panel and tap on the ink icon in the options.
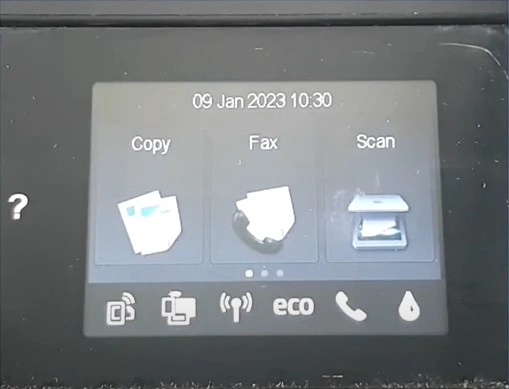
2. This will open the page of the estimated ink level in the cartridges.
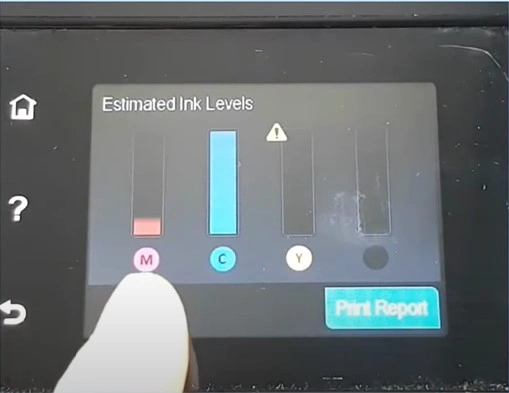
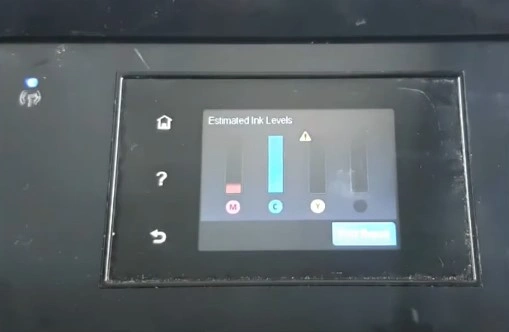
3. Check the ink level on all the cartridges and then specify which ones need replacement.
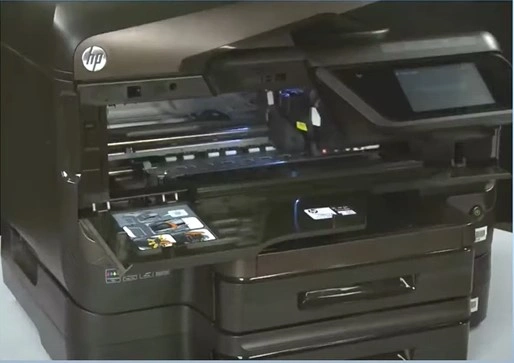
4. With the printer switched on, open the ink cartridge access door.
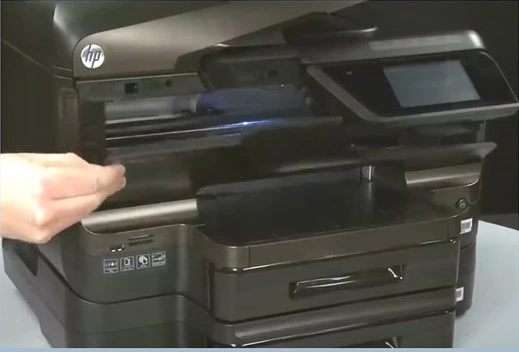
5. Wait for the printhead to side over to the left side.
Also Read:- Resolve the HP Officejet Pro 9015e Paper Jam Problem
6. After that, press the ink cartridge gently and pull it out of the printer.
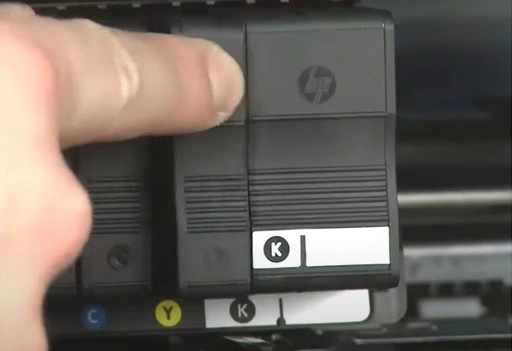
7. Now, take the new ink cartridge and snap it into its place.
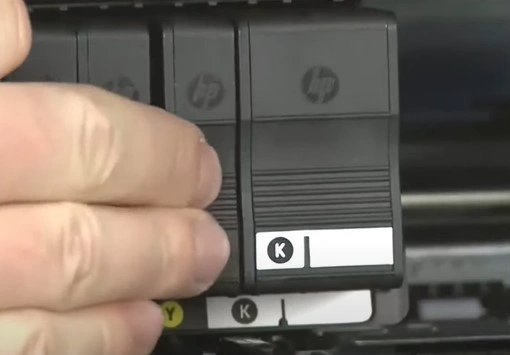
8. Next, close the ink cartridge access door and press OK on the display screen.
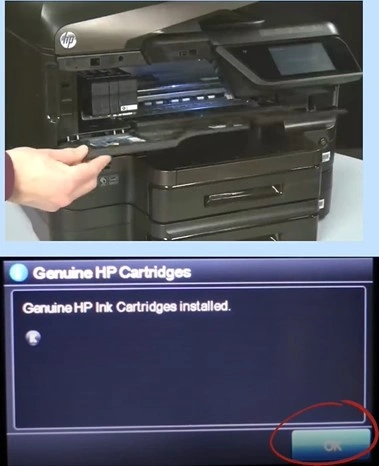
9. Finally, check if the printer failure issue is resolved.
Conclusion
With the use of the right solutions, you can get your HP printer out of the error state quickly. However, if you do not have a clue about the root cause, then it is best to use all of our troubleshooting methods one after another and see which one is successful in terminating the issue. On the other hand, we would suggest you ask for additional help if the problem still persists or if you require info to fix the issue.

