Fix the ‘HP Officejet Pro 8710 Not Printing’ Issue
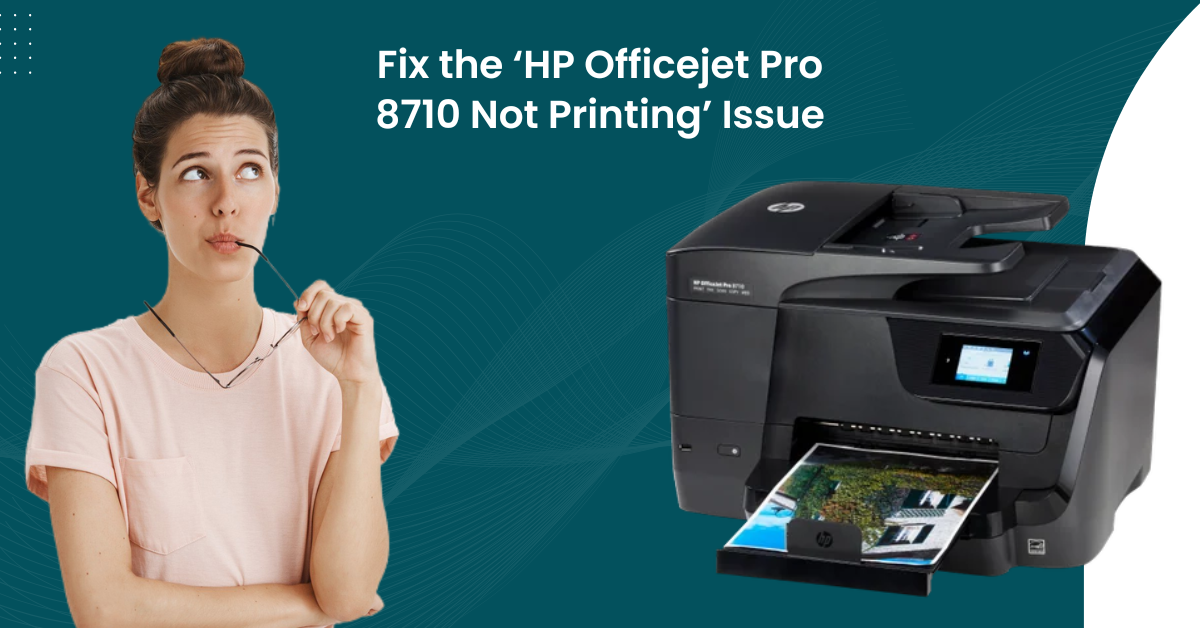
Your HP Officejet Pro 8710 printer can get into the “not printing” state out of the blue. But you do not need to stress because you are not alone in facing this situation. It is among the most common errors you can get on your device, and it is easy to resolve. This printer problem can occur for a bunch of reasons, such as software problems, crumpled papers, paper jams, low ink levels, outdated printer drivers, and several others.
As a result, it is prudent to learn about the right solution beforehand to fix the issue. Therefore, Here, we explained the 4 best resolved HP Officejet Pro 8710 not printing errors at utmost ease.
Solution 1: Reinstall Your Printer Driver Properly
Missing/outdated printer drivers is one of the key causes of getting printing issues. Use the following effective guide to install the suitable driver for your device.
1. At start, disconnect the USB cable from the printer and computer if they are using the wired connection.
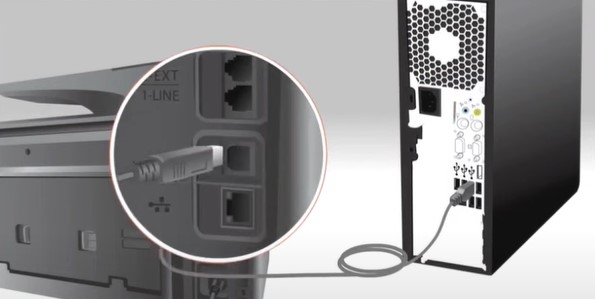
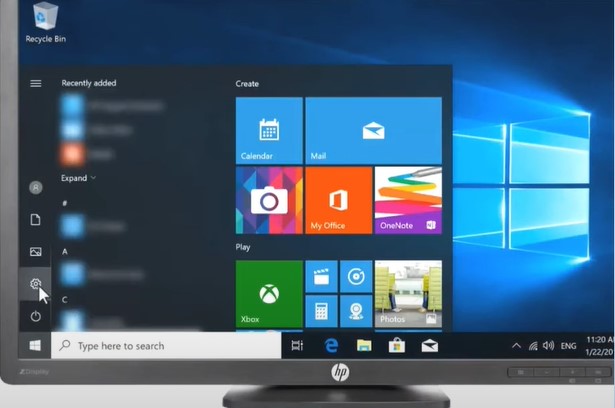
2. Now, move to your PC, open the start menu option, and click on Settings.
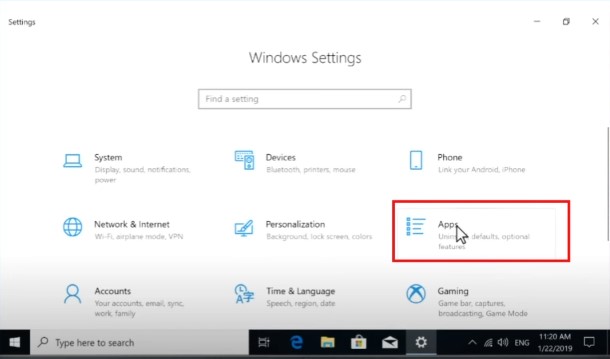
3. Once the setting window appears on the screen, click on the Apps option.
4. Then, you need to click on your HP printer driver name from the list of available printers.
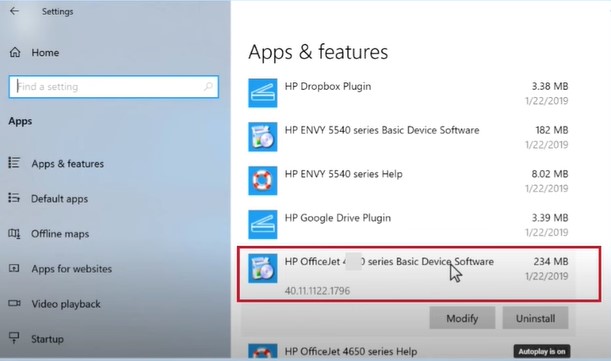
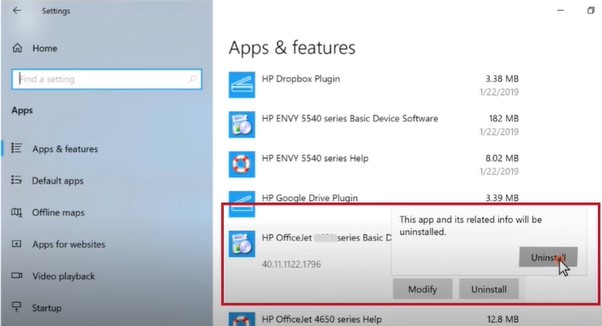
5. Furthermore, for your printer, click on the Uninstall option and then the Uninstall button once again.
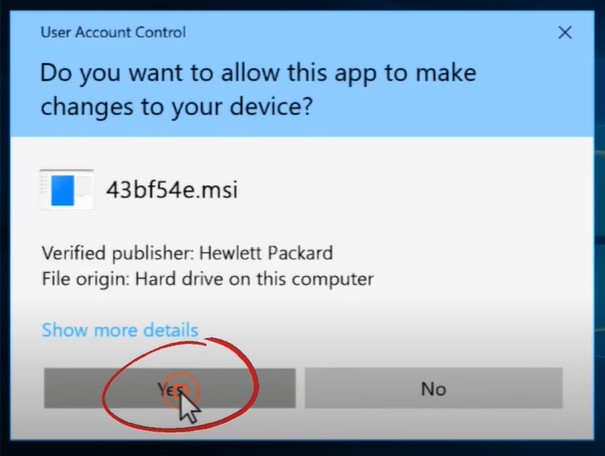
6. On the open prompt, click on Yes to move forward with the driver uninstallation process.
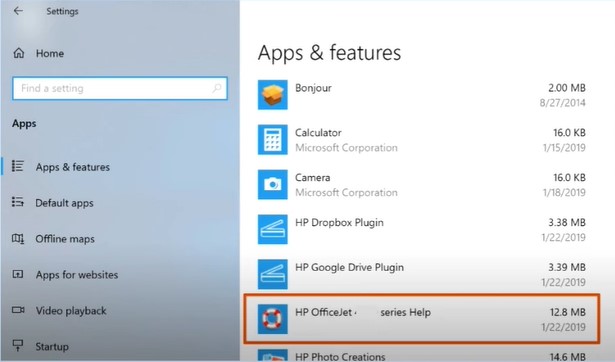
7. Next, head to the Apps & Features page and perform the same steps with other entries with your HP Officejet Pro 8710 printer name.
Also Read:- How to Factory Reset HP Deskjet 2700? (Methods)
8. Now, close that window and click on the Start menu to open the Control Panel page.
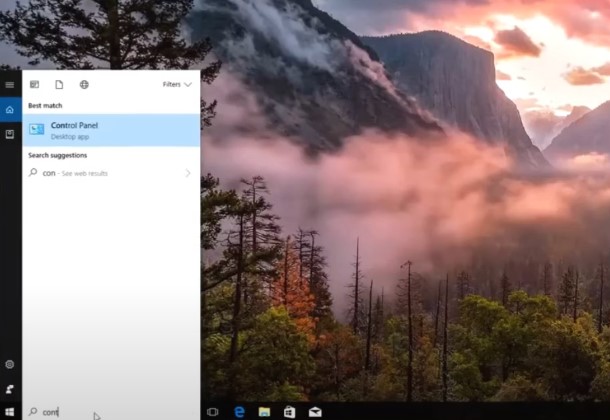
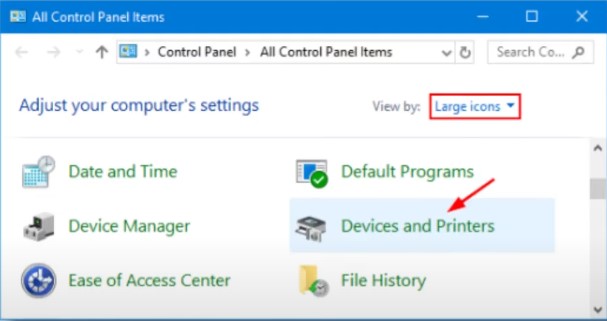
9. Once the control panel window appears on the screen, click on the Devices and Printers option.
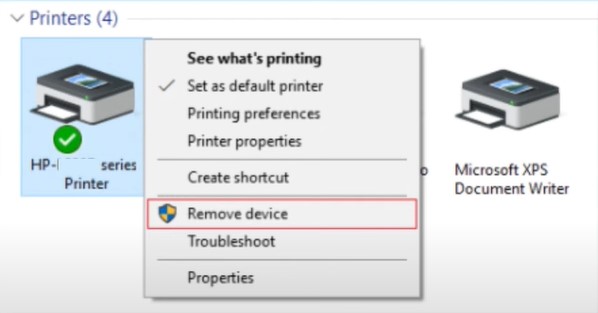
10. Afterward, look for your printer’s name; once you find it, right-click on it and choose Remove Device from the open lists.
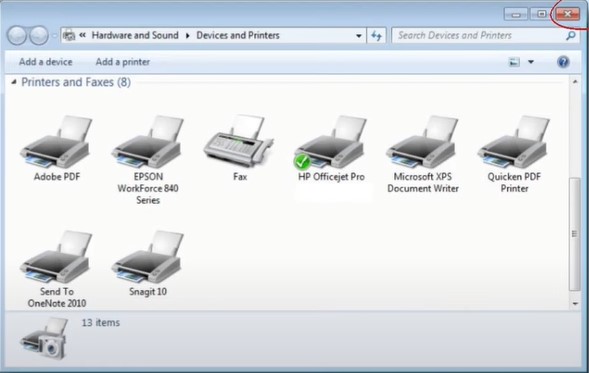
11. Once done, close the current window you are in.
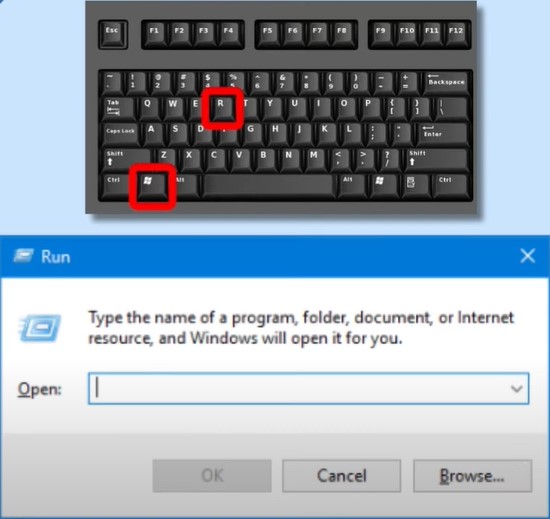
12. Now, hold down the Windows logo and R key together to launch the run command box.
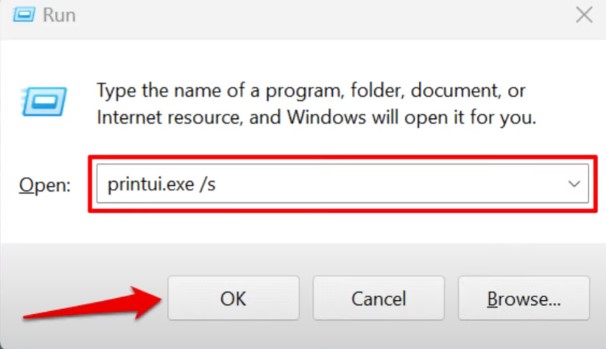
13. In the Run command search box, type print/ui.exe/s and then click on the OK button.
14. On the Printer Server Properties page, click on the Drivers tab.
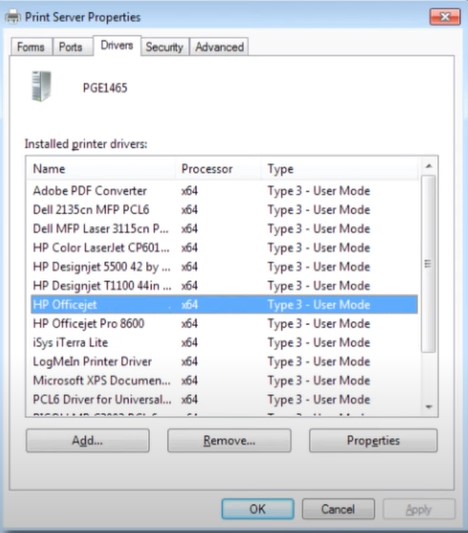
15. Now look for your HP printer driver name on the open page, select it, and then click on the Remove button.
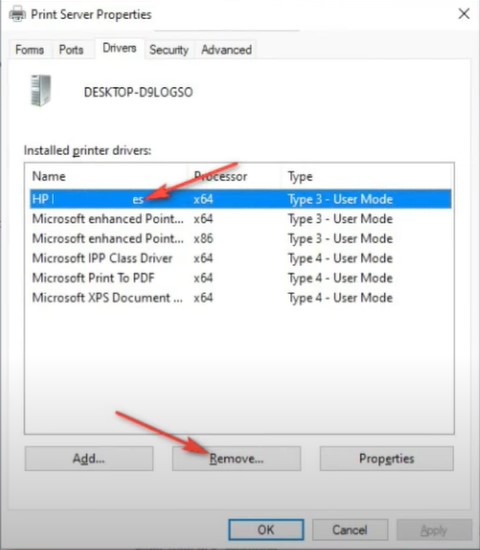
16. Next, choose the Remove Driver and Package radio button and click on OK.
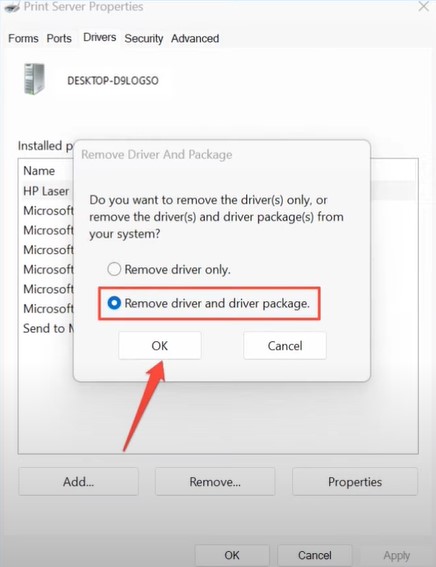
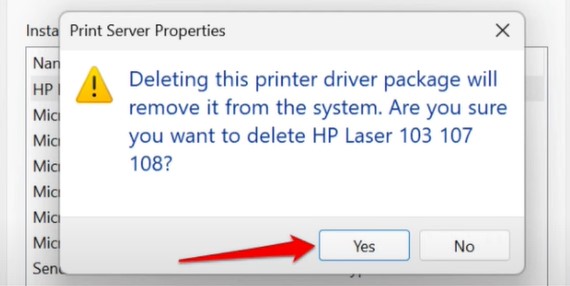
17. Choose Yes on the open pop-up to confirm your action.
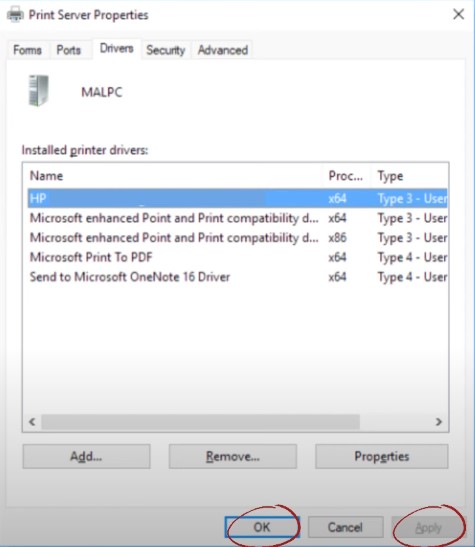
18. On the Print Server Properties window, first, select OK and then Apply options to save all the changes.
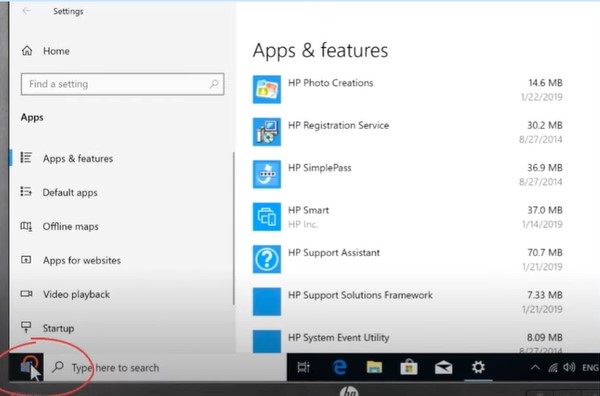
19. Furthermore, exit from the window and then click on the Start menu option from the desktop.
20. And then you are required to click on the Power icon and then select the Restart option.
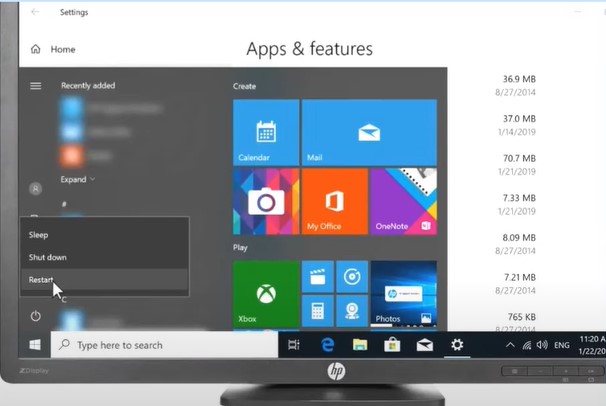
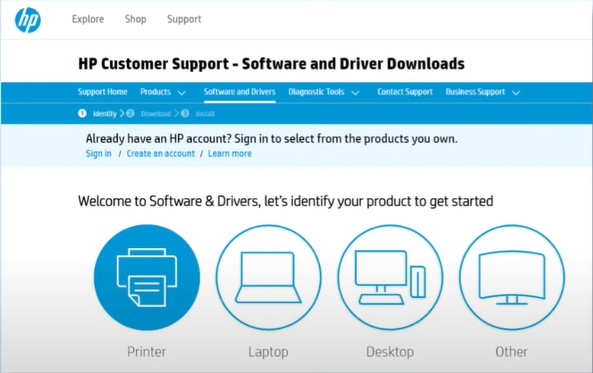
21. When the system restart process is complete, access the official HP support website/page to download and install the compatible driver.
22. Now, inspect the printer to check if your printer not printing issue has been resolved or not.
Solution 2: Reset Your HP OfficeJet Pro 8710 Printer
Here are the steps you can follow to reset your HP printer.
1. With your HP printer turned on, disconnect the power cable from the printer.
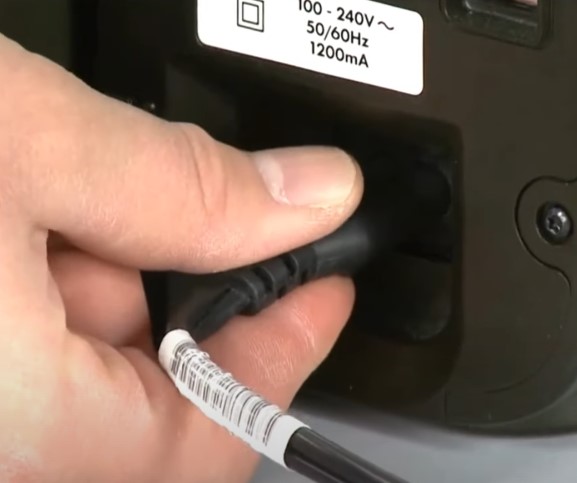
2. In addition, remove the printer power plug from the wall outlet or electric socket.
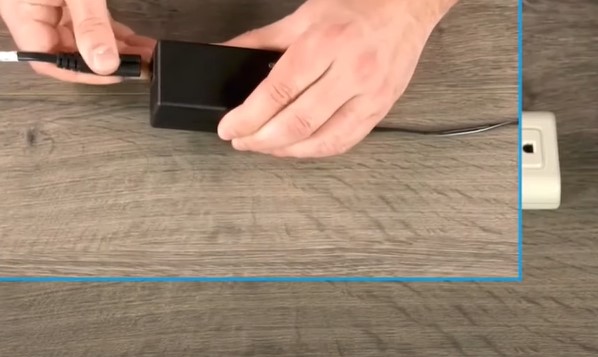
3. Now, you need to leave the system in such a condition for around 60 seconds.
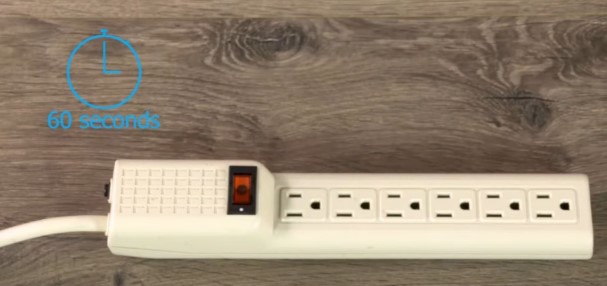
4. Afterward, reconnect the power cord to the wall outlet and your HP printer.
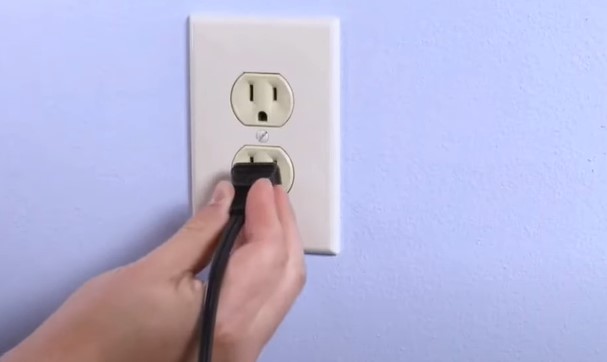
5. Finally, print a page to see if the ‘HP Officejet Pro 8710 Not Printing’ error still persists.
Solution 3: Assign a Manual IP Address To The Printer
If you are having a problem with your HP printer, then you can assign a manual IP address to it. Here are the complete steps you need to follow.
1. Go to your HP Officejet Pro 8710 printer control panel and scroll down the top bar.
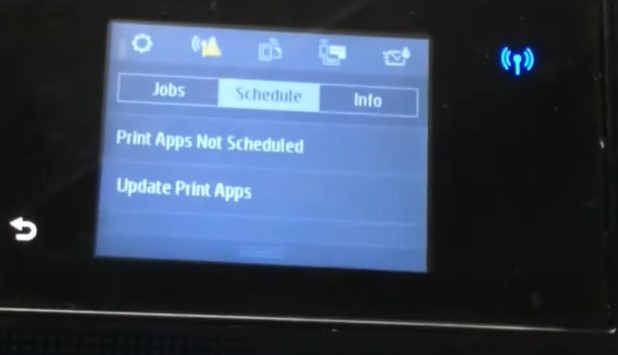
2. After that, tap on the settings icon and move to Reports.
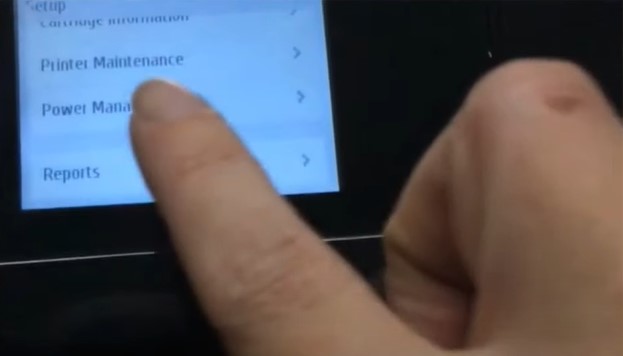
3. Next, select Printer Status Report, and the printer will print a test page.
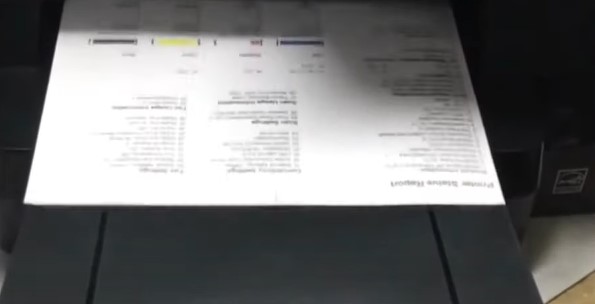
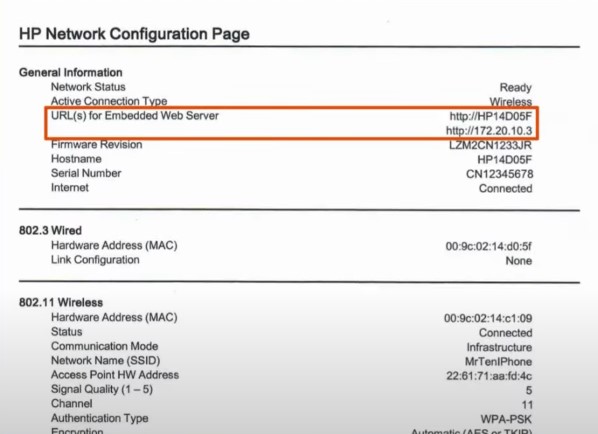
4. You can see the IP address of your HP printer there.
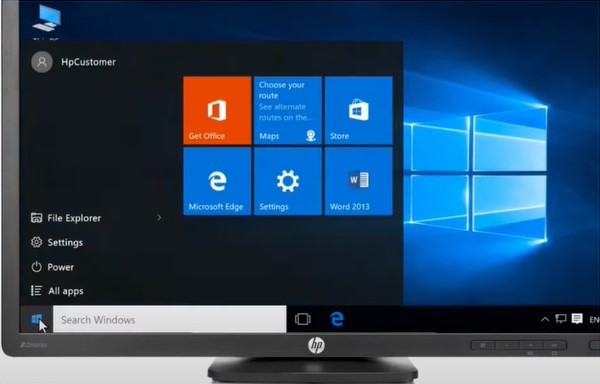
5. Now, open any web/internet browser on your device that is connected to your HP printer and is on the same network.
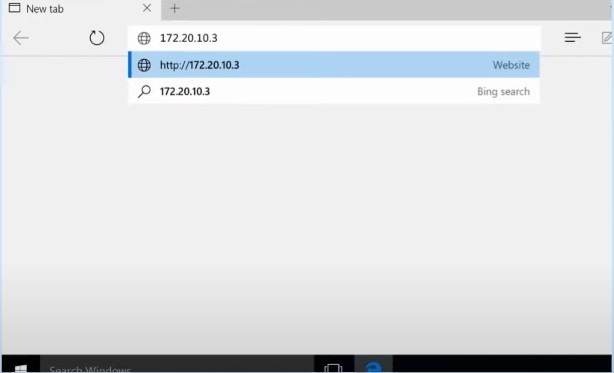
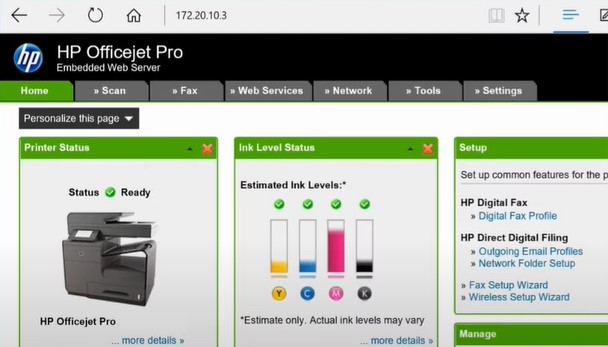
6. After that, type the IP address of your HP printer in the search bar and open the page from the result.
7. Moreover, from the embedded web server, move to the Network tab.
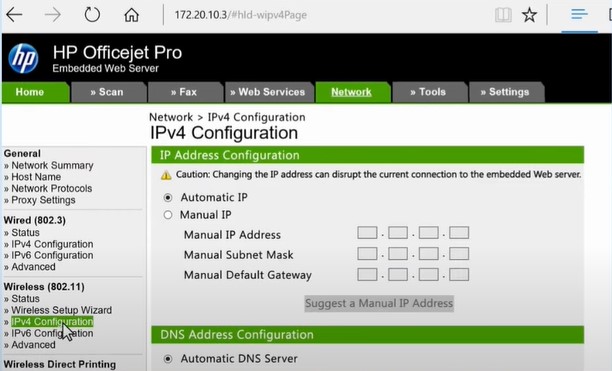
8. Under wireless click on the IPv4 configuration in the left panel.
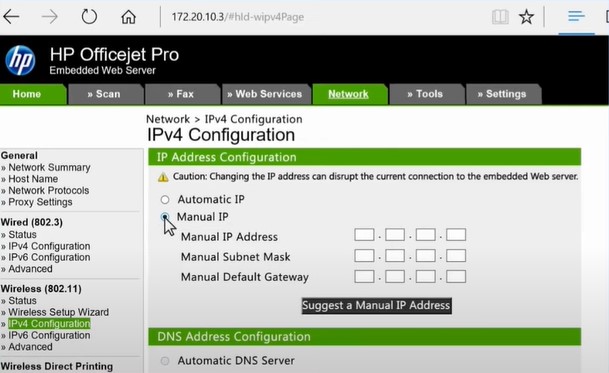
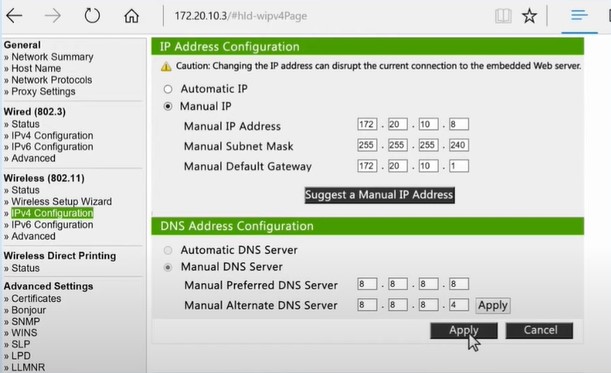
9. Click on Manual IP and then Suggest a Manual IP Address, and the information will automatically populate.
10. Once the process is complete, click on the Apply option.
11. Now, check if your printer issue is gone; if not, then move to the next solution.
Solution 4: Add a TCP/IP Port
The following steps will help you add a TCP/IP port for your HP Officejet 8710 printer.
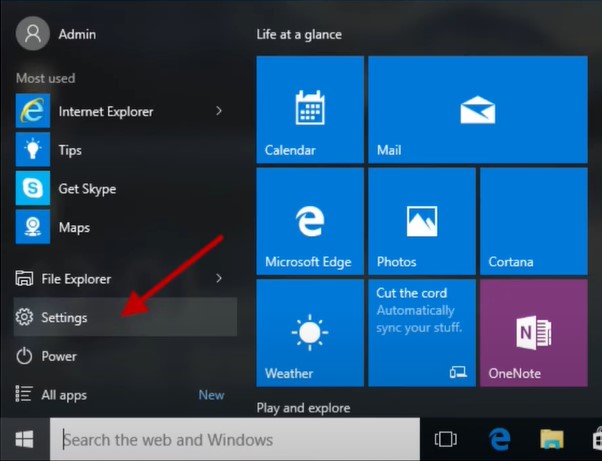
1. Initially, click on the Windows Start menu and go to Settings.
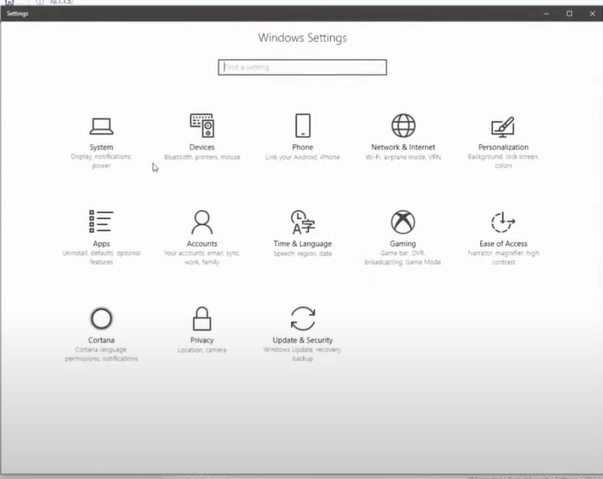
2. Go to the Devices, then select Printers and Devices.
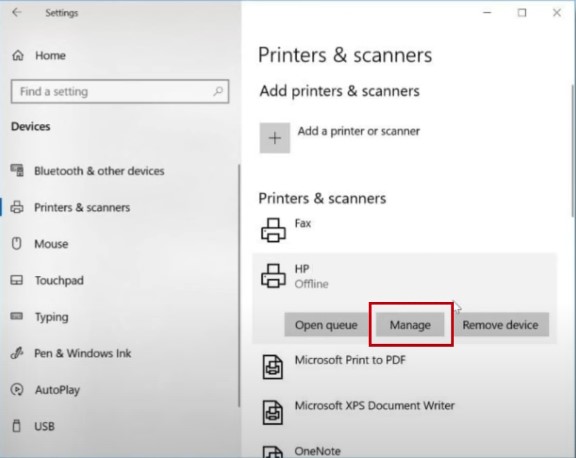
3. Choose your HP printer name and select the Manage button.
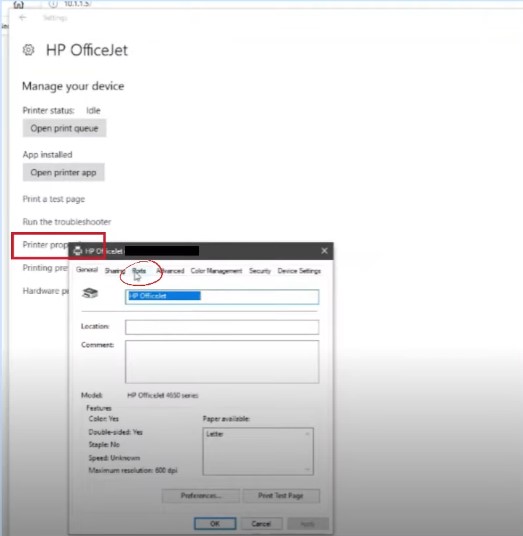
4. Then, you need to click on the Printer Properties option and then head to the Port tabs.
5. Next, click on Add Port and then select Standard TCP/IP Port.
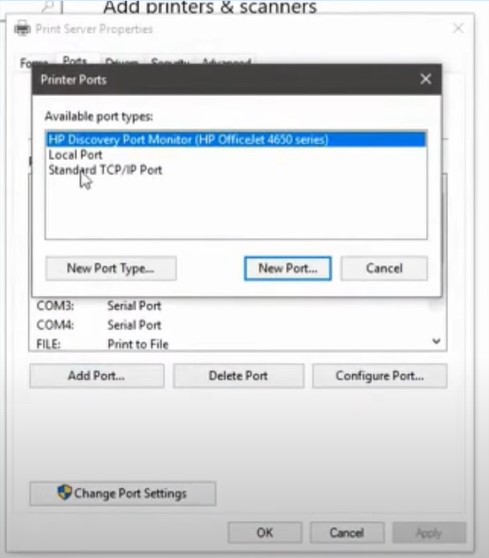
6. After that, choose New Port, then click on the Next button in the Add Standard TCP/IP Printer Port Wizard.
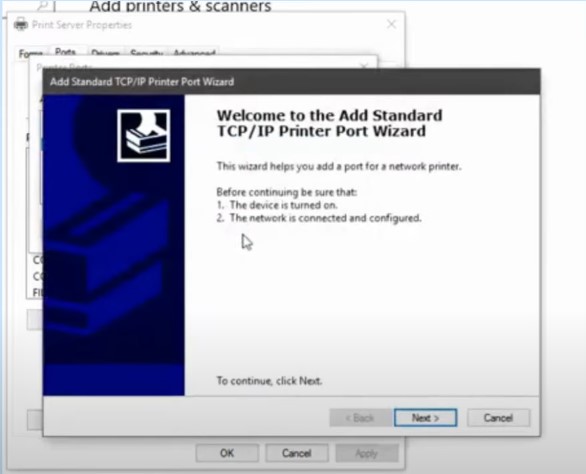
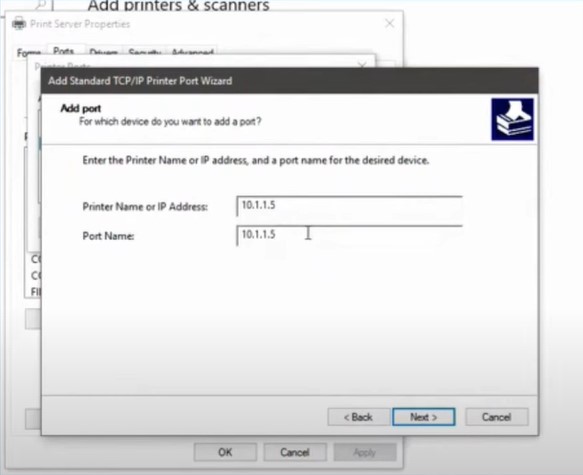
7. Now, enter your printer IP address and select Next.
Final Words
You can quickly get rid of the HP printer not printing problem by using the correct troubleshooting methods. For that, it could be worthwhile to figure out the key causes of the issue. Once you know the reason behind the issue, you can use specific solutions to get out of the problem. However, it would be beneficial to look for additional resources and help if you are unsuccessful in fixing your printer issue.

