How to do Lexmark Printer Setup on Windows and Mac?
The brand-new Lexmark printer has arrived at your doorstep. But you are very confused about how to set it up. You’ve taken the printer, cables, and other components out of the box, but you're not sure what to do next.
Connecting your Lexmark printer to Windows or Mac systems isn't complicated. As experts in printer setup, we have explained the entire process for setting up a Lexmark printer on Windows and Mac right here. So, have a quick look at it and no longer feel any confusion later. All instructions are tested on Windows 10, Windows 11, and the latest versions of macOS. Let’s start!
Initial Hardware Setup
These are a few steps that you should follow once you have received your all-new Lexmark printer:
Step 1: Unwrap all plastic packaging and remove any tape from the printer and cartridges.
Step 2: Adjust the guides.
Step 3: Load the print paper into the front tray.
Step 4: Plug the power cable into the wall outlet.
Step 5: Turn on the printer. From here, you are all set to connect your Lexmark printer to your computer.
Lexmark Printer Setup Via Control Panel
Here are all the steps to know to set up a Lexmark printer via its control panel:
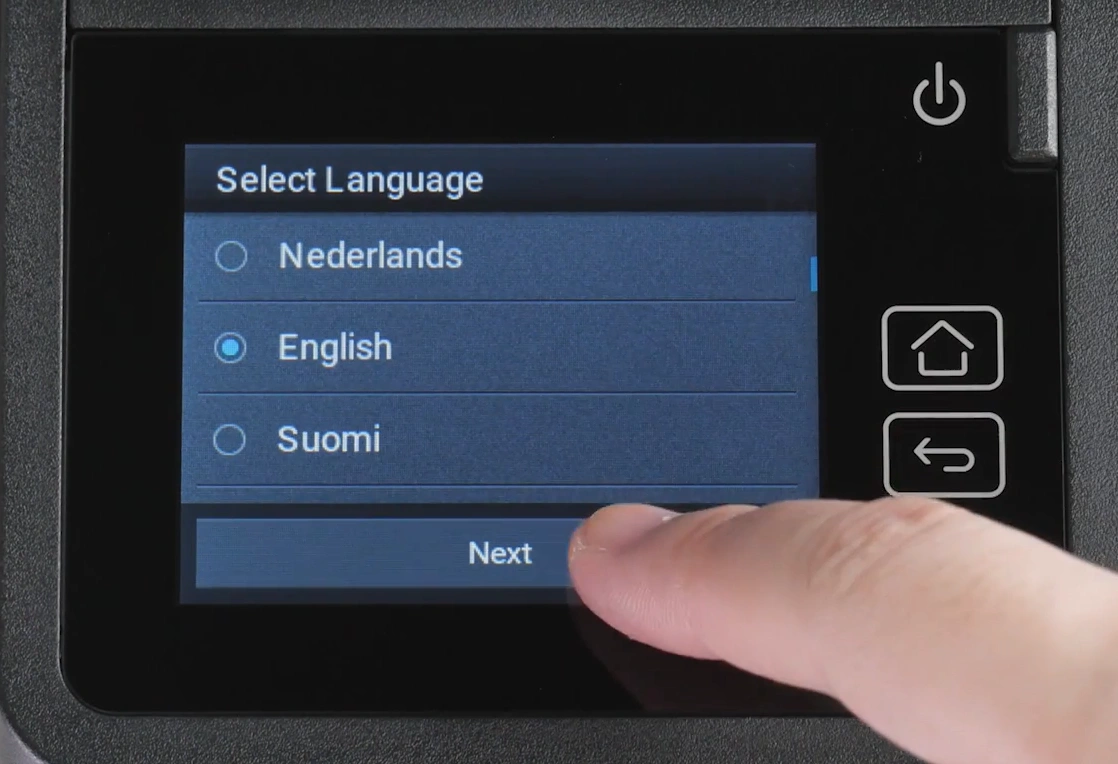
Step 1: On your printer’s digital control panel, select your preferred language from the home screen.
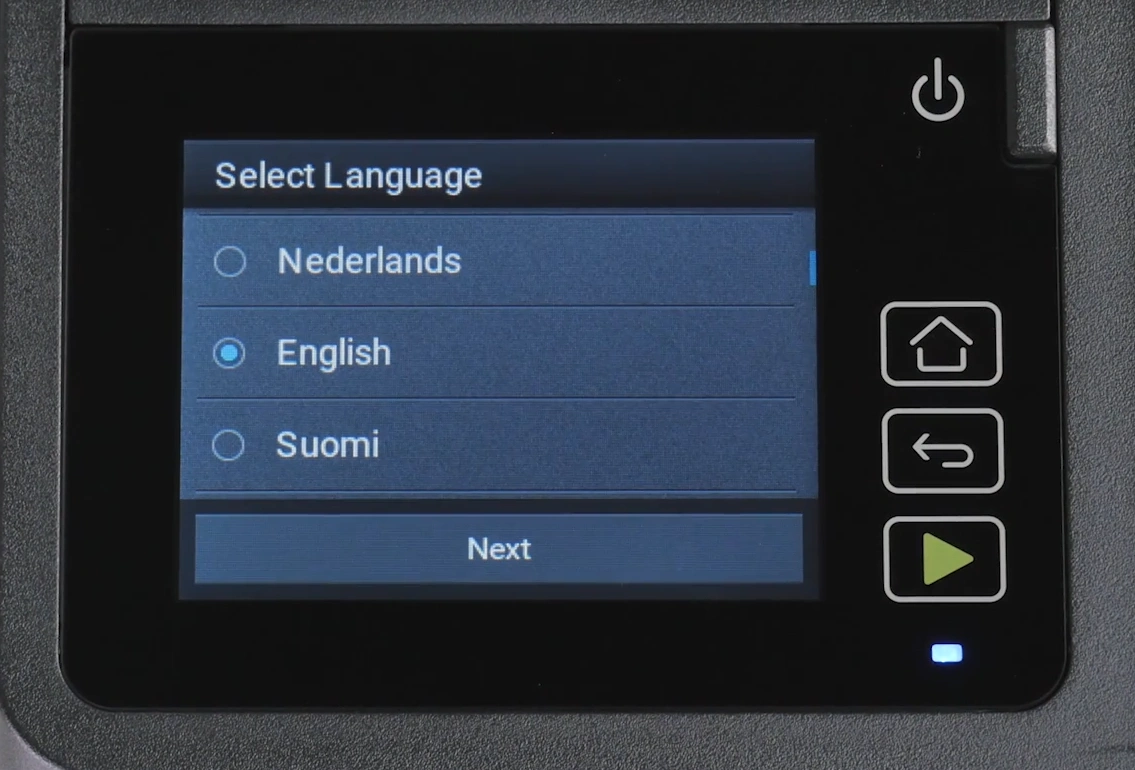
Step 2: After that, tap on “Next.”
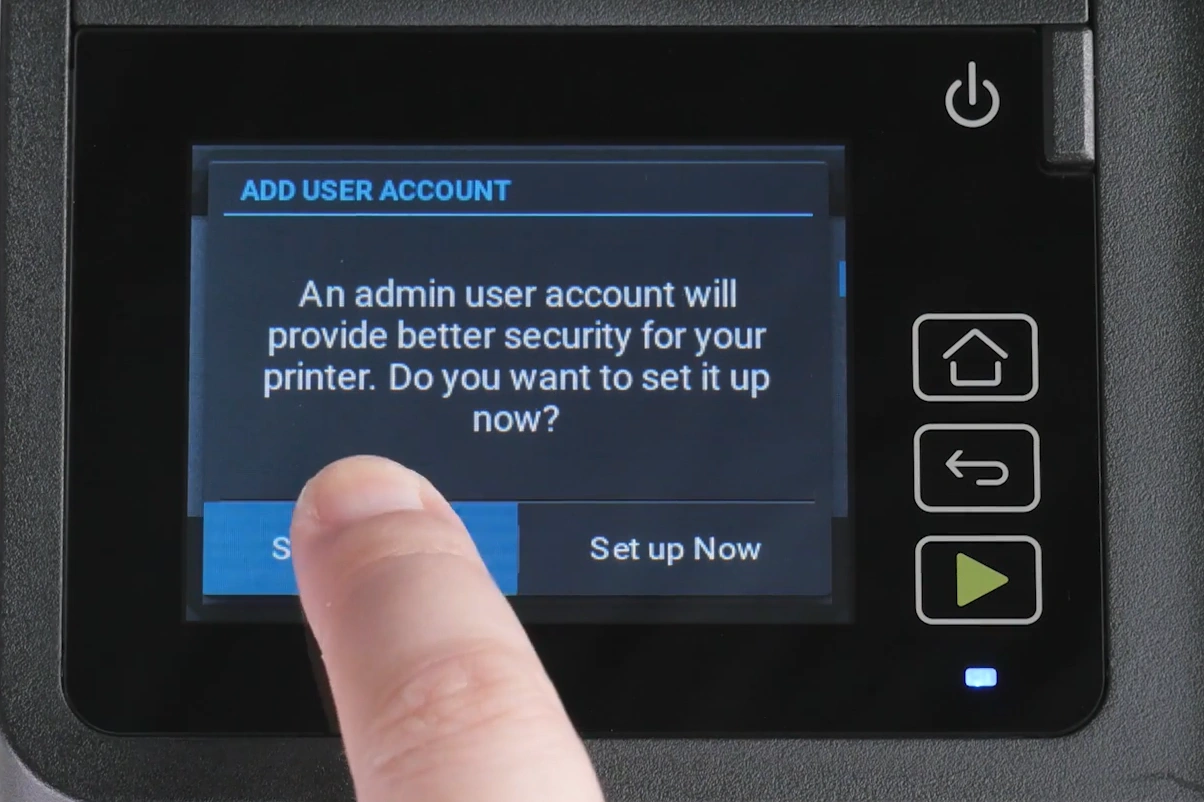
Step 3: Touch “Set up Now” to set up an admin user account for your printer.
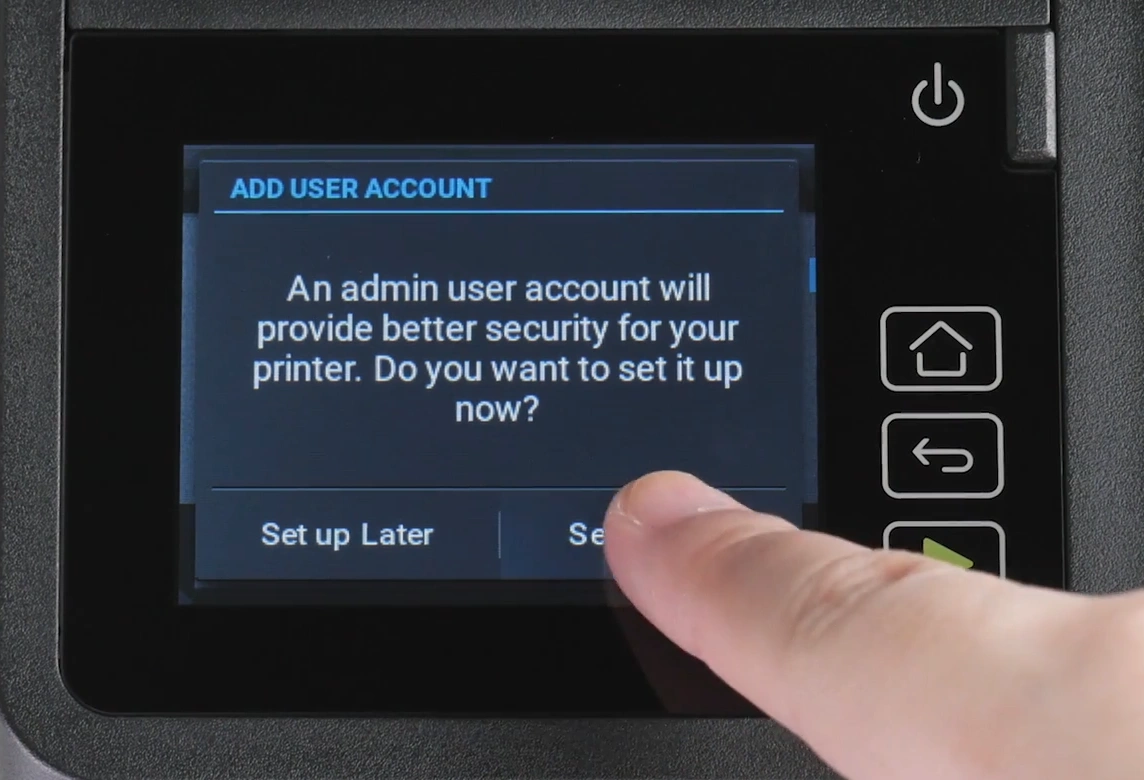
Note: In this Setup, you’ll be asked to enter a username and password before using the printer.
Step 4: Assign an admin username and password for the account.

Step 5: Once you have confirmed the credentials, tap on Next.

Step 6: If you don’t want to create an admin user account, tap on Set up Later.
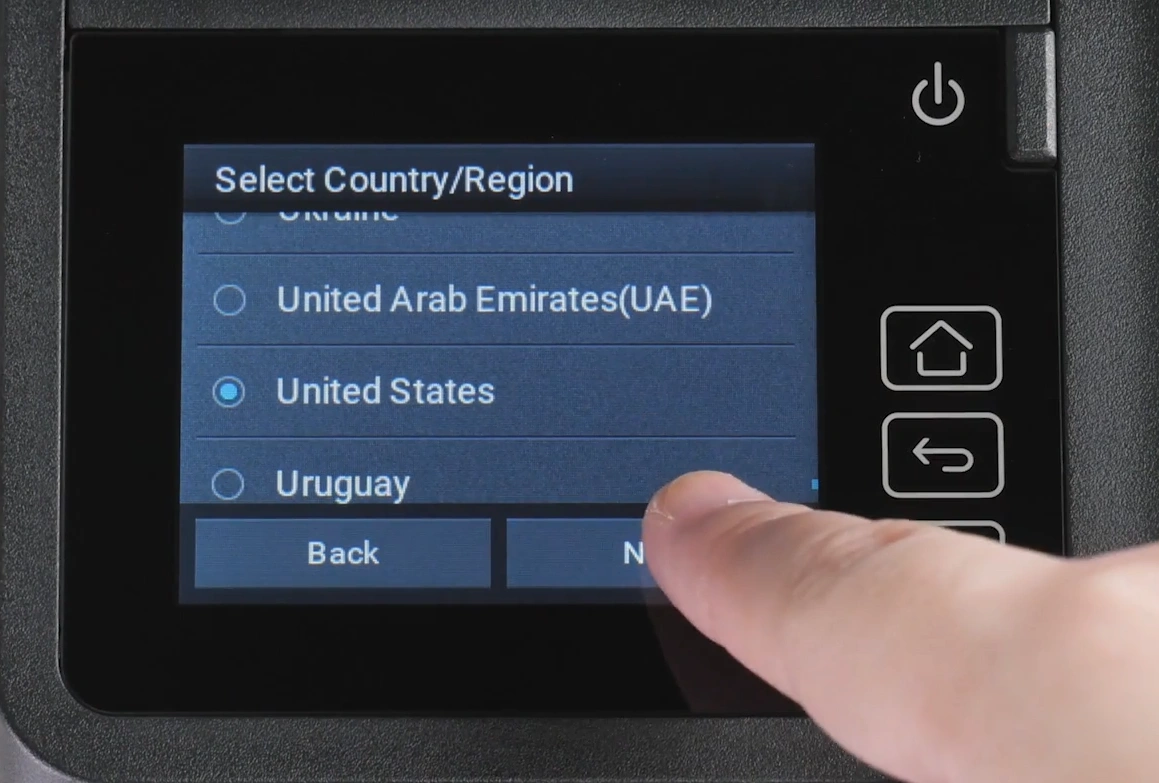
Step 7: Now, choose your country or region from the list, then tap on Next.
Step 8: Select either Device Usage and Performance Information or None, then tap on Next.

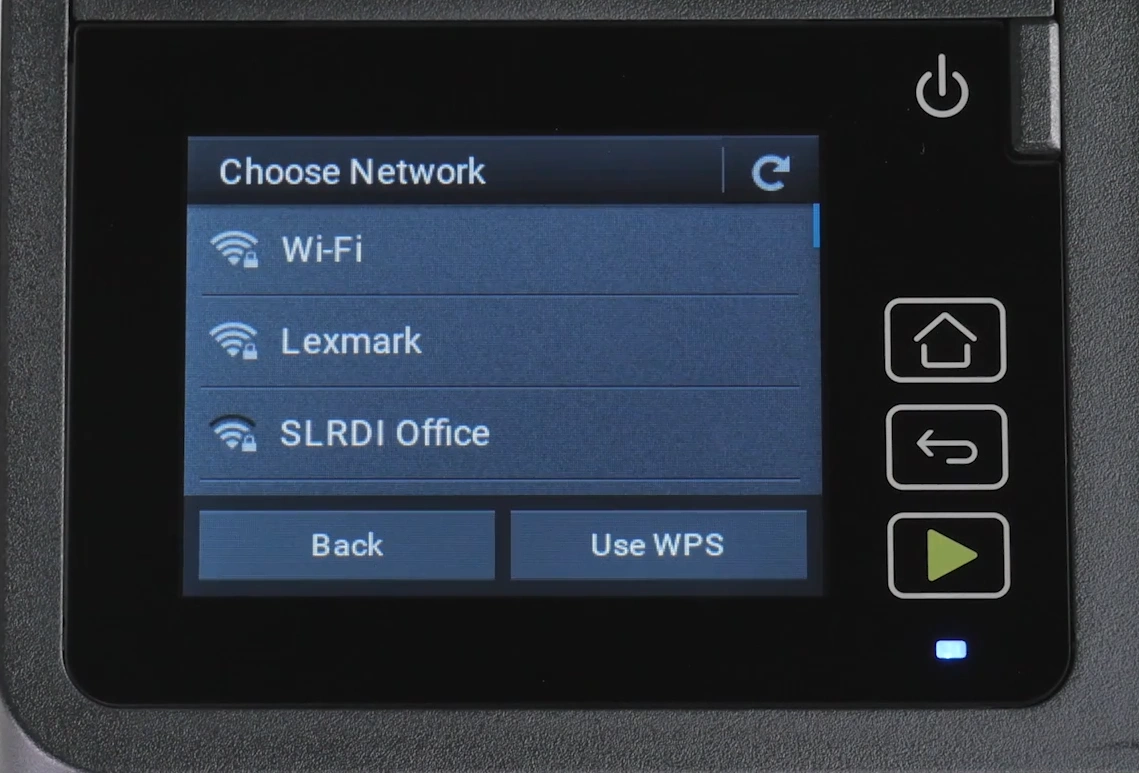
Step 9: Touch Set up Now to connect the printer to WiFi.

Step 10: Choose a WiFi network.
Step 11: Type the password for WiFi using the touch keyboard on the screen.
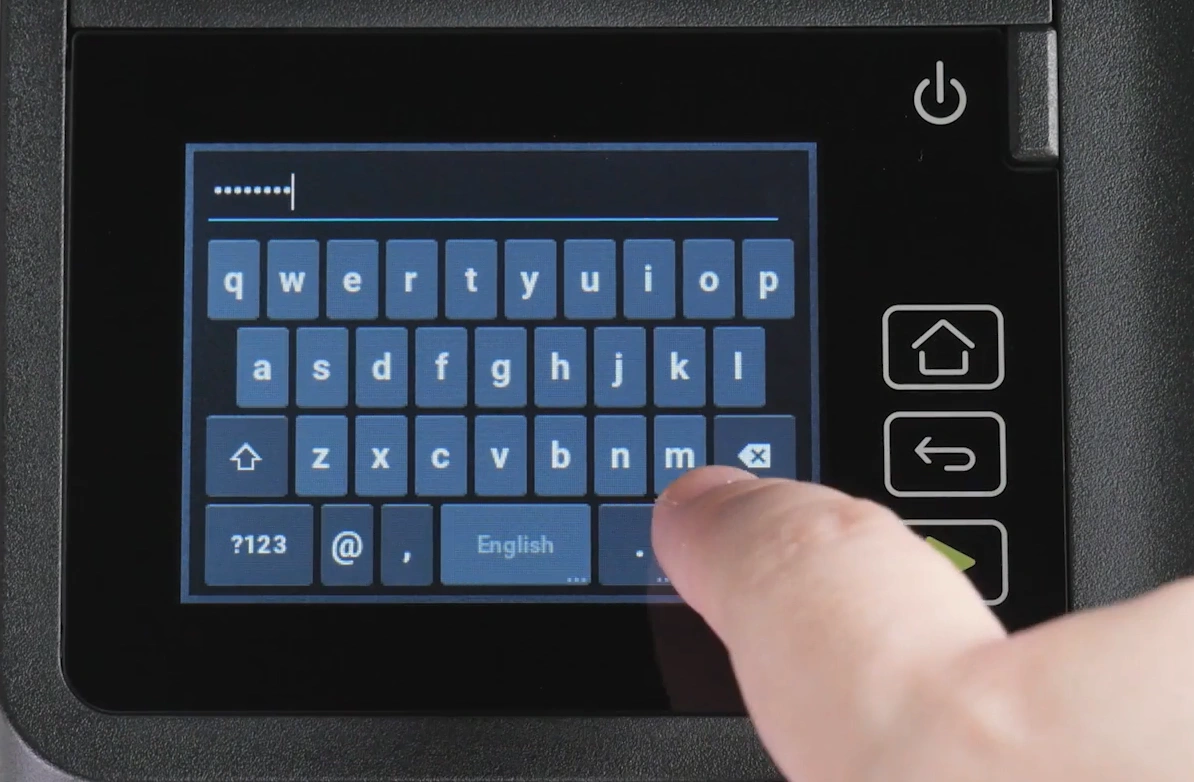
Step 12: Tap on OK.

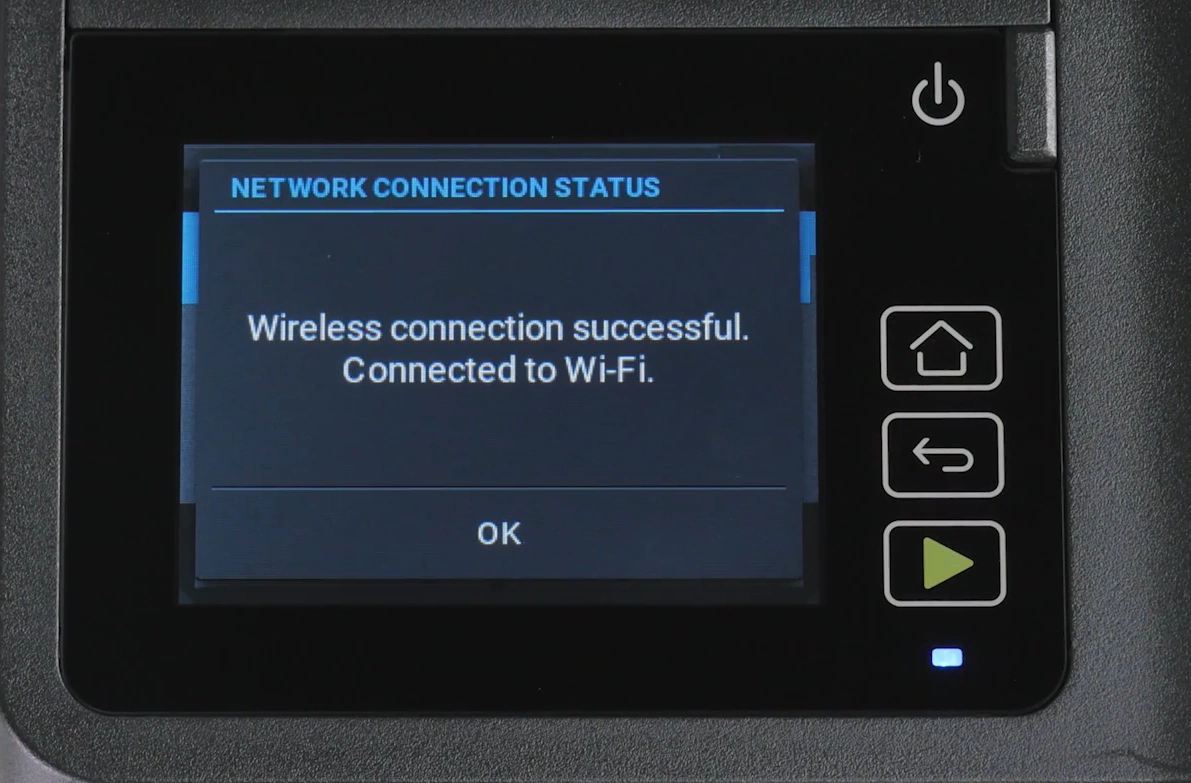
Step 13: Once the network is connected, tap OK. You can now start using your Lexmark printer.
How to Download Lexmark Printer Driver?
Downloading the drivers for your Lexmark printer is important. Here are the proper steps to download the latest Lexmark printer driver:
- On your computer (Windows/Mac), open any internet browser.
- Go to the official Lexmark support page (support.lexmark.com).
- In the search field, type the name of your printer model.
- Select “Drivers & downloads.”
- Click on the Download Driver Package. From here, the downloading will start.
Note: Always download from the official website to keep your computer system safe from malware or incompatible drivers.
Steps to Connect Lexmark Printer to Windows
The Lexmark printer is compatible with both Windows 10 and Windows 11. If you are working with any of these, here are the steps to connect your Lexmark printer to Windows:
USB Connection
Step 1: Press the power button on your printer.
Step 2: Plug the USB cable into the printer and your PC.
Step 3: Wait for a while and let Windows detect the printer. In most Windows 10 and 11 computers, the detection takes about 30 to 60 seconds. If nothing happens, unplug and reconnect the cable.
Step 4: If prompted, allow Windows to install the printer drivers.
Step 5: Follow the on-screen prompts to complete the installation.
Step 6: Print a test page to check if the connection is established.
Wi-Fi Direct
Step 1: On your printer, go to the control panel.
Step 2: Tap on the Settings icon > Network/Ports, and enable Wi-Fi Direct.
Step 3: On your PC, open Printers & scanners.
Step 4: Click Add a printer or scanner.
Step 5: Click Show Wi-Fi Direct printers, and then select the Wi-Fi Direct name.
Step 6: From the printer display, take note of the eight-digit PIN shown on your printer.
Step 7: Enter the PIN on the computer.
Steps to Connect Lexmark Printer to Mac
Follow the steps below to have your Lexmark printer successfully connected to your Mac system:
USB Connection
Step 1: Power on the printer.
Step 2: Get the USB cable and attach it to your printer and Mac system.
Step 3: If no previously installed printer is detected, you’ll see a dialog box showing- “Would you like to download and install software for <Lexmark Model >?” Click on the Install option.
Step 4: Verify the successful connection by clicking on System Settings > Print and Scan or System Preferences > Print and Fax.
Step 5: Print a sample page to ensure that the USB connection is working correctly.
Tip: If the printer isn’t detected, restart both your printer and Mac, and check if the USB cable is fully functional.
WiFi Connection
Step 1: Check that your printer is connected to the same WiFi network as your Mac computer. To connect the printer to WiFi: Go to the printer’s control panel. Select Settings > Network/Ports > Wireless > Setup On Printer Panel > Choose Network. Select your WiFi network and enter the password.
Step 2: On your Mac, click the Apple menu and open “System Settings.”
Step 3: Click on “Printers & Scanners.”
Step 4: Choose the Add Printer, Scanner, or Fax button.
Step 5: In a few moments, the name of your printer will show up in the list.
Step 6: In this step, select your printer.
Step 7: Ensure the correct driver is selected in the “Use” or “Print Using” field.
Step 8: Click on “Add” to finish the setup.
Step 9: After you’re through with this, print a test page to check if the wireless connection is functioning correctly.
Tip: If your printer doesn’t show up, check for firmware updates on your Lexmark device and ensure your macOS version is compatible with your model. You can also disable VPNs or firewall settings before starting the setup.
Also Read:- How to Download & Install Lexmark Printer Driver on Windows?
To Sum Up
That’s the right way to set up your Lexmark printer on both Windows and Mac computers. Once you are done, you’re all set to print or scan photos, important documents, etc., with ease.
Before you start, always check that your Lexmark printer and PC are connected to the same network. Also, you must ensure that you have the correct printer drivers installed.

