How to Remove Paper Jam from HP Officejet Pro 9010?
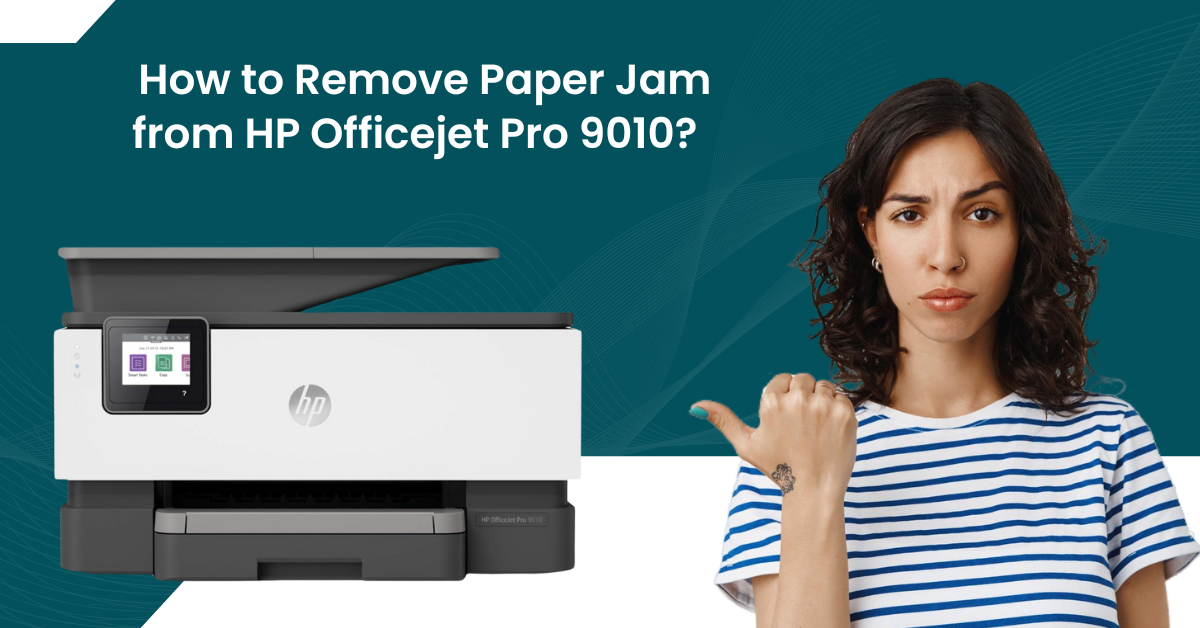
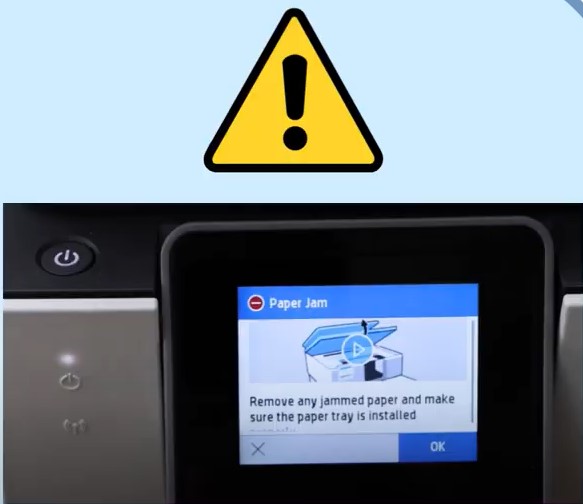
Sometimes, your HP Officejet Pro 9010 can show the paper jam problem out of the blue. This problem can arise due to several faults in your printer, such as paper stuck inside the printer, the print head not working properly, paper pick roller is not clean, not using the correct paper size, and some others. If your printer is facing the same problem, then you first need to check all these points and restart the device.
In addition, multiple troubleshooting solutions are also available to resolve the issue. Therefore, we are going to tell you about the two result-oriented and simple methods to learn the whole process thoroughly.
Solution 1: Clear the Jams From the Paper Path
If there is a problem with the HP printer paper path, then it can lead to a paper jam issue. Here is how you clear it.
1. First, you need to open the front door and lift the cartridge access door.
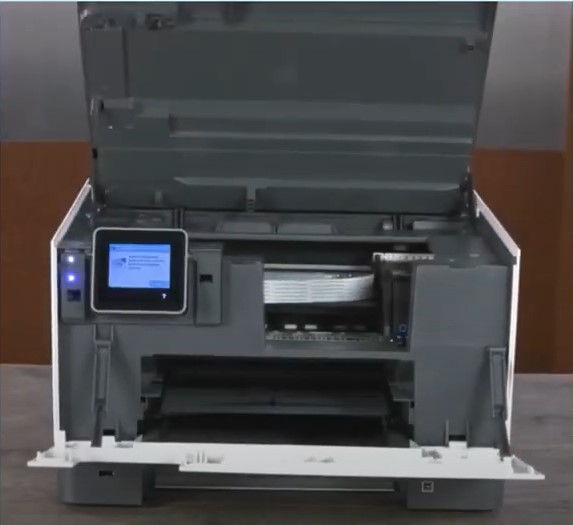
2. Next, side the carriage to the right and left to check if there are any papers stuck there.
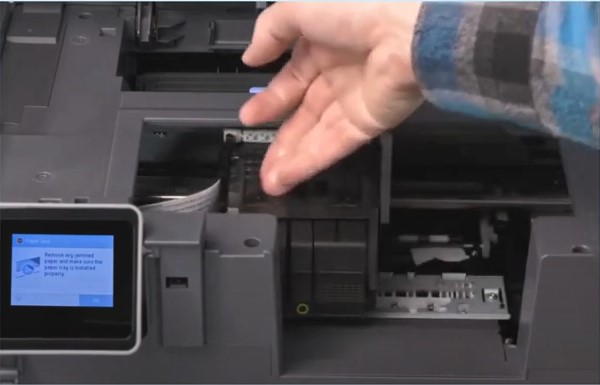
3. Once you find any torn piece of paper there, remove it.
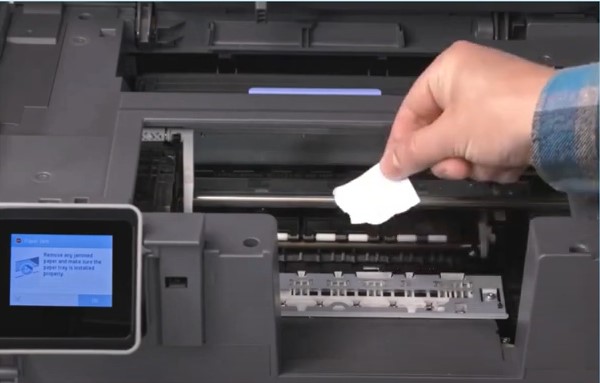
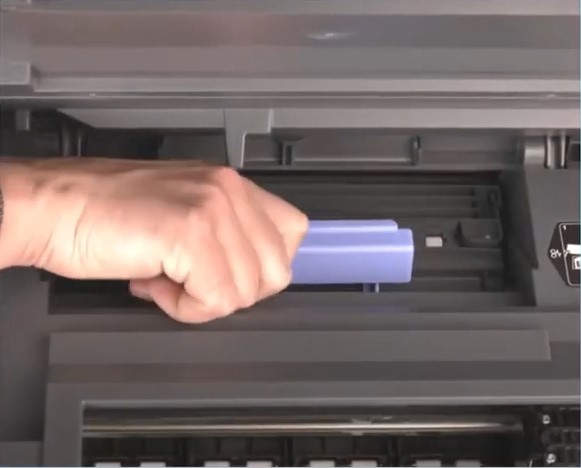
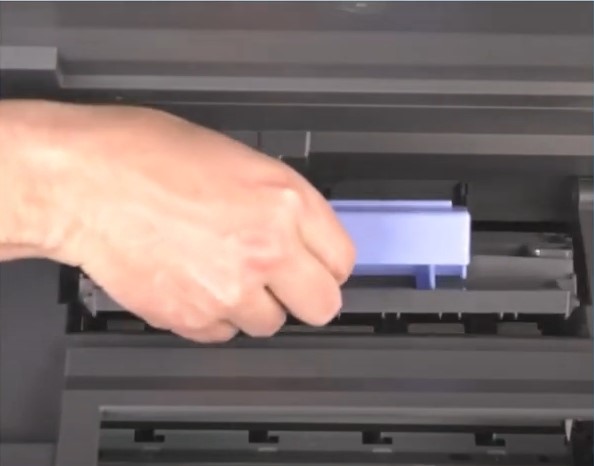
4. Now, locate the paper path cover and remove it.
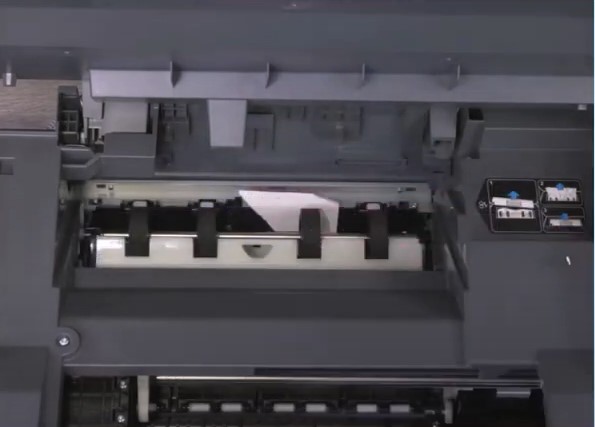
5. Furthermore, take out any paper or obstruction found there.
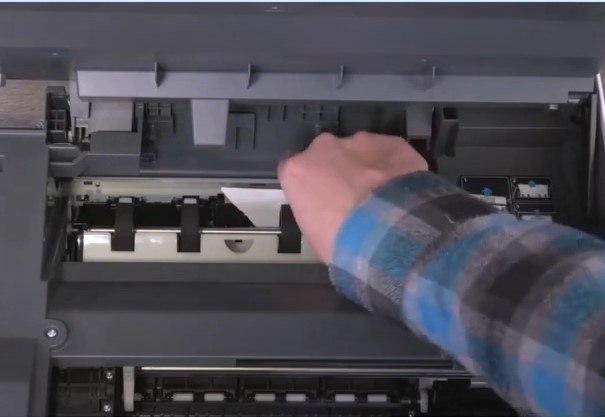
6. After that, place the paper path cover back to its initial position.
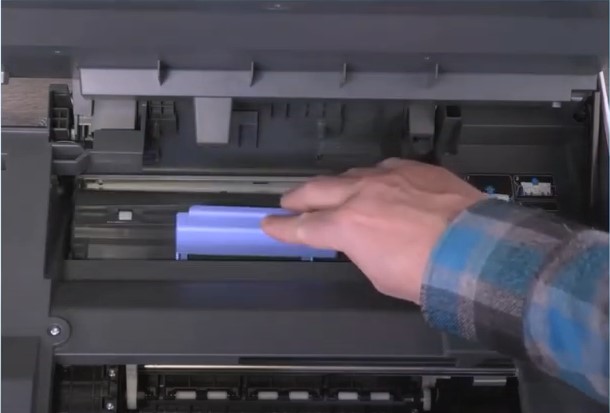
7. Then, lower the cartridge access door and close the front cover.
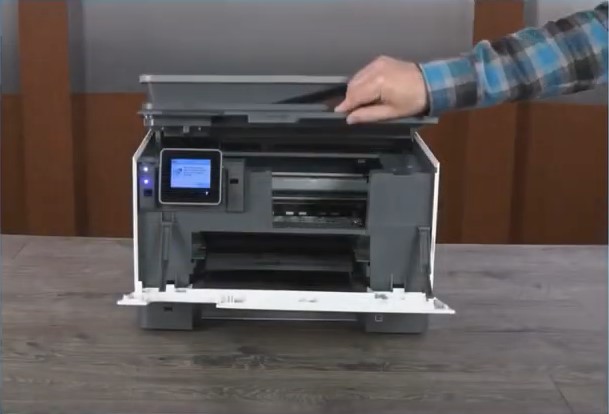
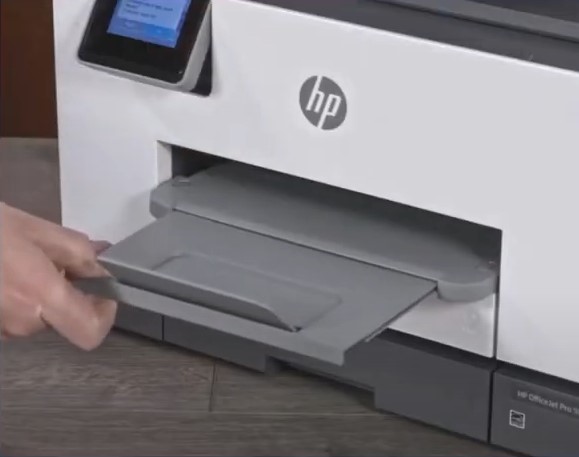
8. Next, pull out the output paper tray.
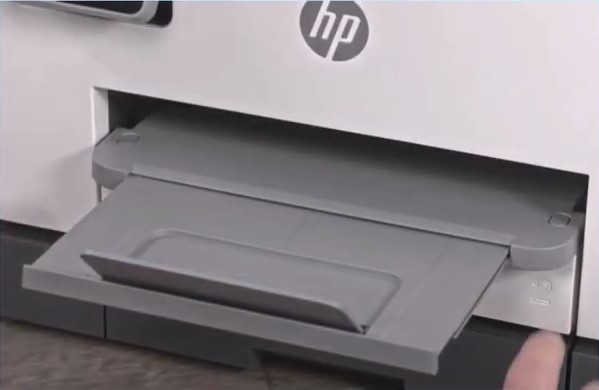
9. Furthermore, press and hold the two buttons on both sides of the tray and remove the tray from the printer.
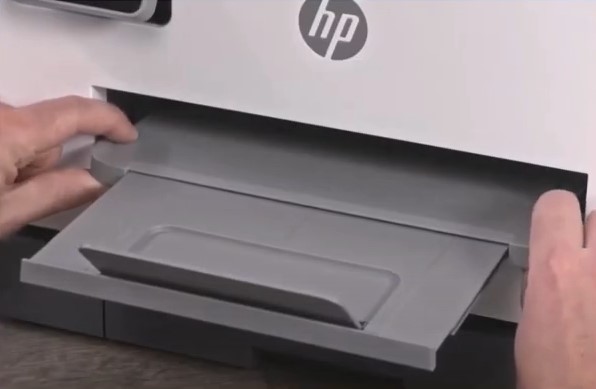
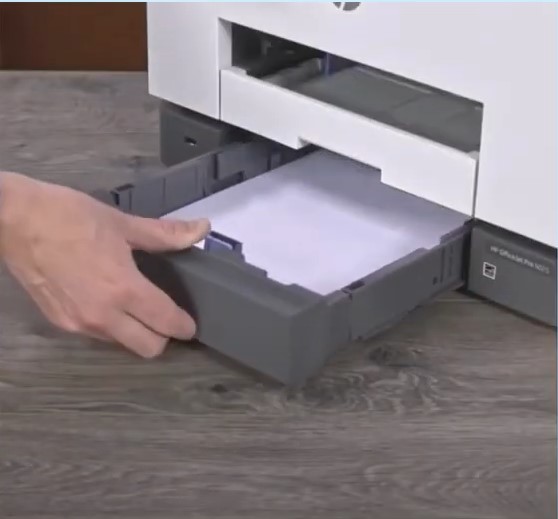
10. Afterward, pull out the input tray and set it aside.
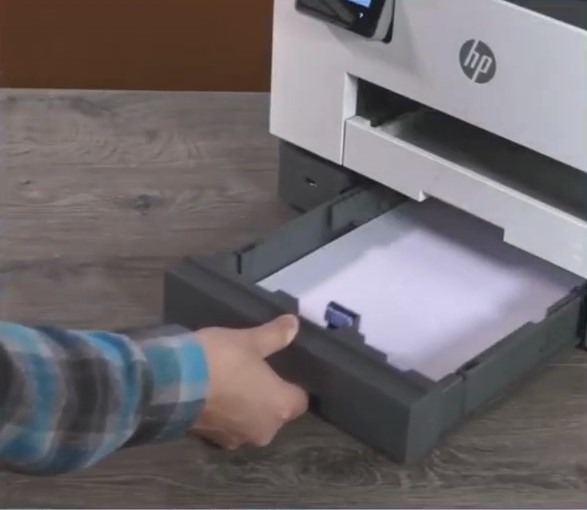
11. Look for the jammed paper and remove it.
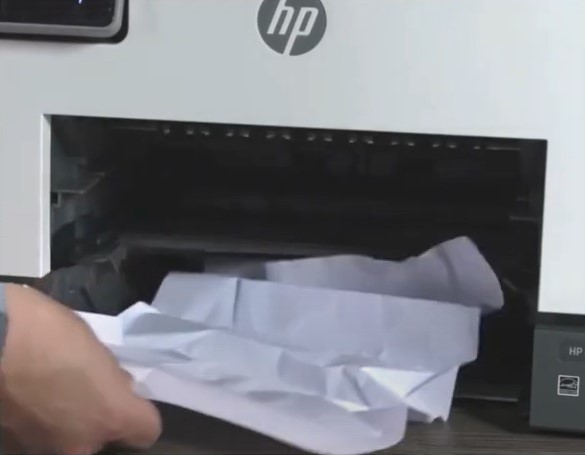
12. Now, place the input and output tray back inside and pull out the output tray.
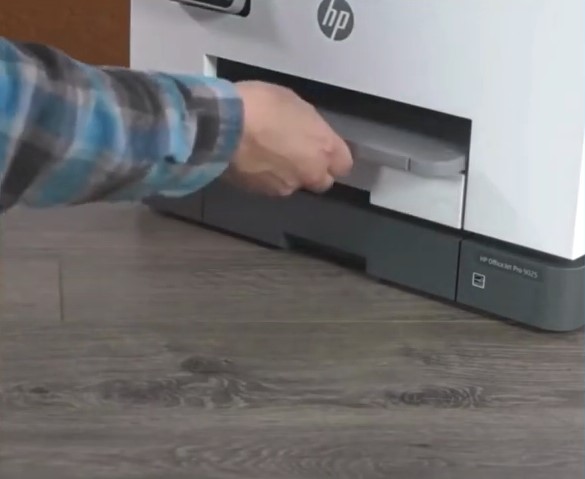
13. Next, go to the printer’s display screen, press OK, and try to print a document.
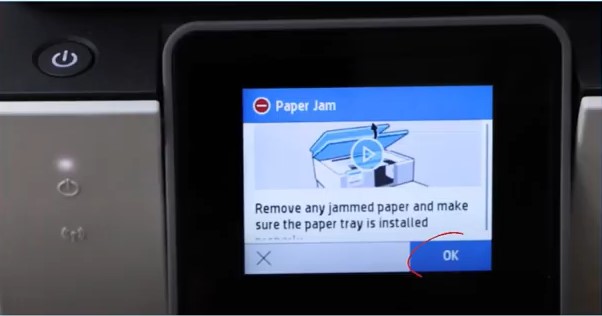
14. If the problem persists, follow the next method.
Solution 2: Clean the Paper Pick Roller
Follow the follow-up steps to clear the paper pick roller of your printer to resolve the paper jam problem.
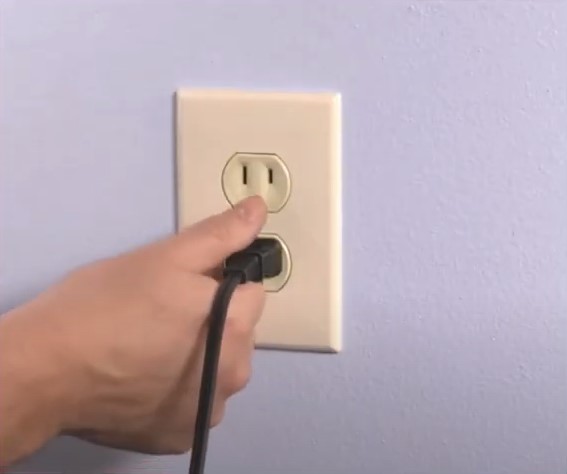
1. While your HP Officejet printer is powered on, unplug the power cord and all other cables from your printer.
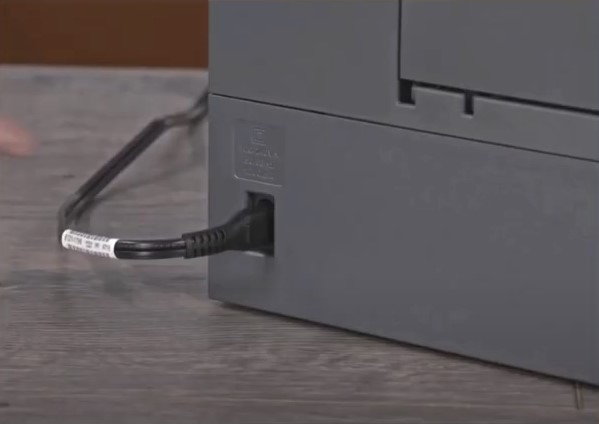
2. Now, unplug the power cord from the power source.
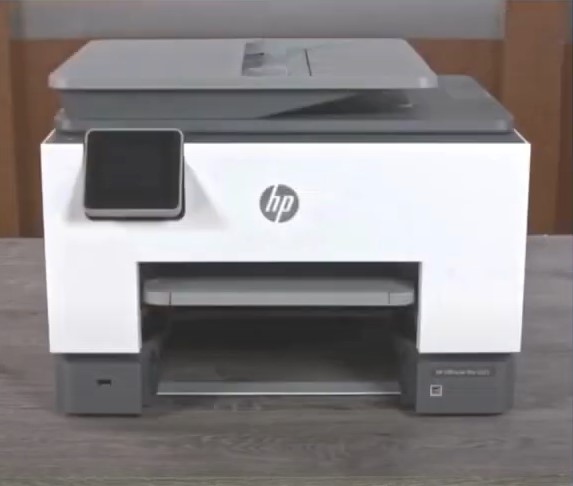
3. Put the output tray inside and remove the input tray.
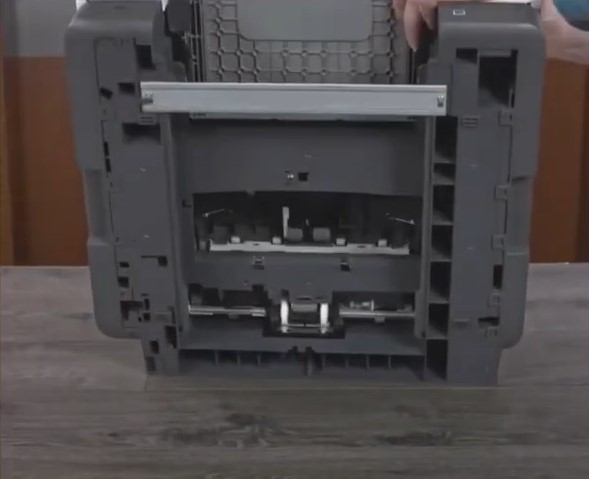
4. Next, rotate the printer carefully to access the bottom.
5. After that, you need to locate the gray paper pick roller.
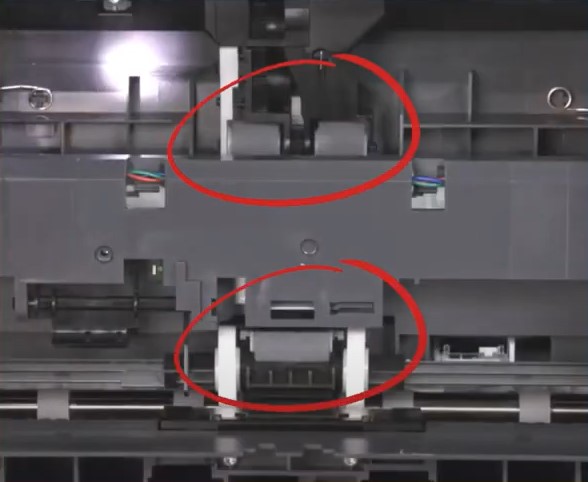
6. Now, dampen a lint-free cloth in distilled water, then squeeze to remove any excess water.
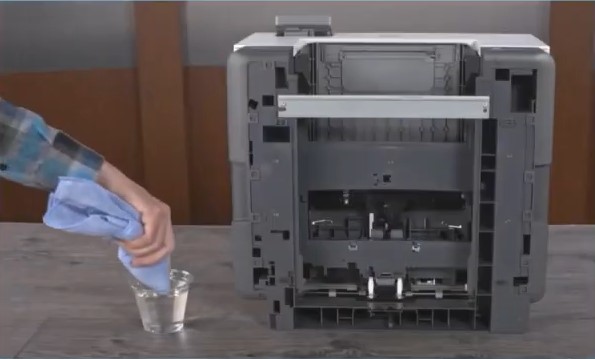
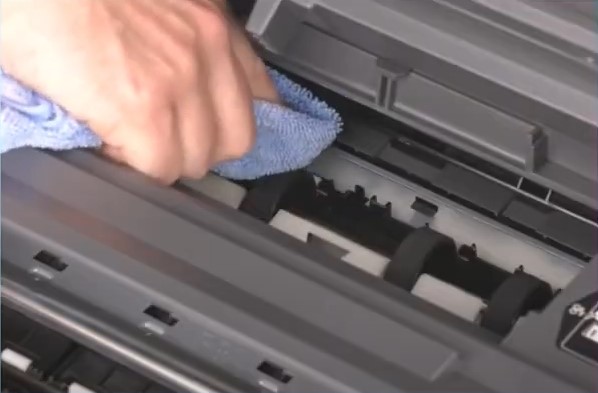
7. Clean the roller to remove any buildup or debris.
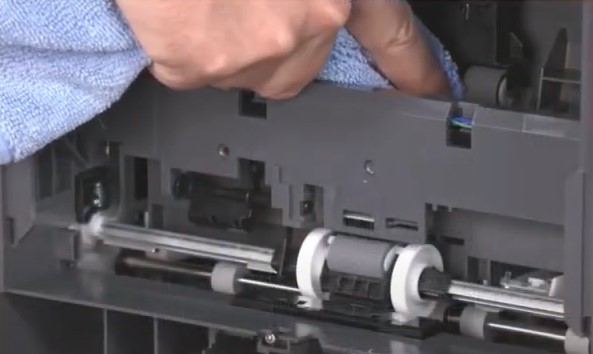
8. Make sure to rotate the roller to check every part is clean.
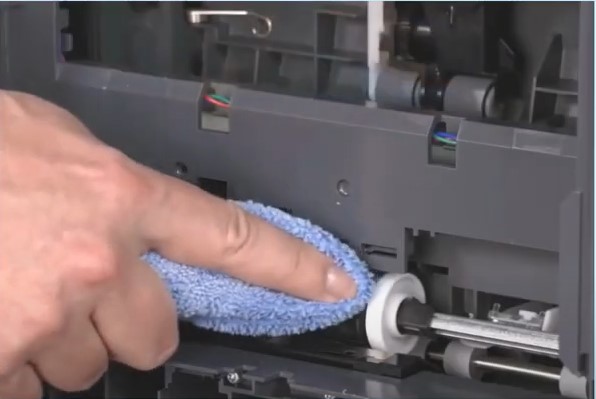
9. Once done, rotate the printer back to its original position.
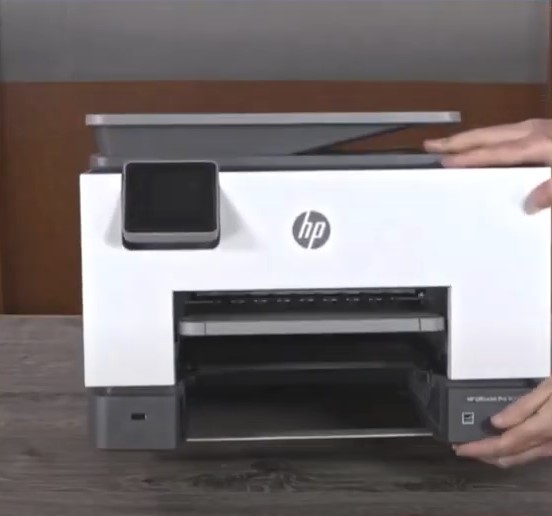
10. Afterward, reinstall the output tray.
11. Moreover, open the access cover and the ink cartridge access door.
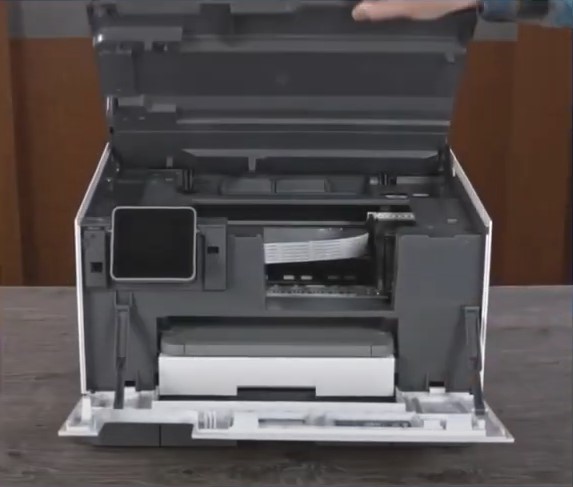
12. Locate the paper path cover and then remove it.
13. Next, clean the roller with the lint-free cloth to remove any buildup or debris.
Also Read:- 4 Easy Methods to Fix HP Printer Paper Jam
14. Place the paper path cover back to its original position.
15. Now, close the printer ink cartridge access door and the front cover.
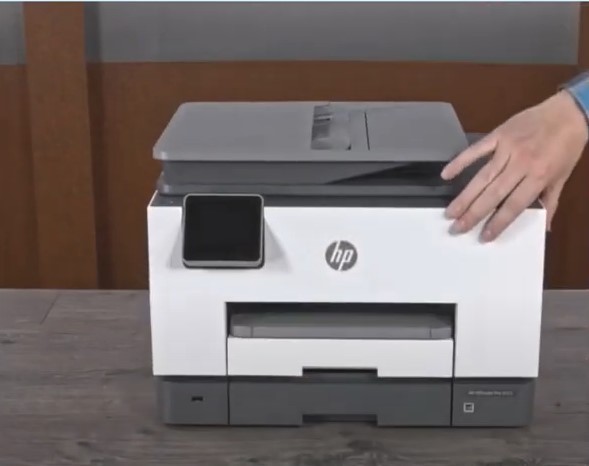
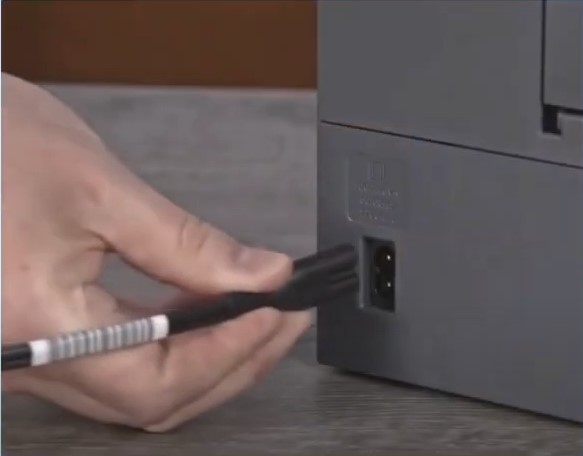
16. Henceforth, reconnect the power cord to the wall outlet and the printer.
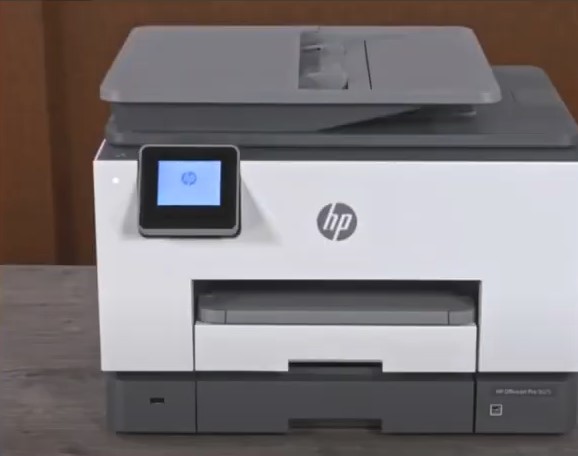
17. Wait for the printer to turn on automatically.
18. Load some papers into the input tray.
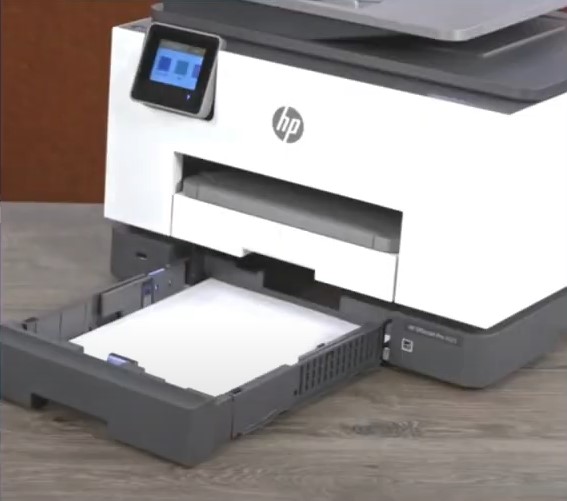
19. Pull out the output tray and try to print a document.
Conclusion
It is common to get the paper jam problem in your printer every now and then. To fix the issue and get your printer working perfectly once again use our effective methods. In addition, ensure that your device is in good condition and you are using everything according to the requirements. If the printer is still showing the same problem, then reach out for further help.

