How to Reset Lexmark Printer? - Printer Tales

Lexmark printers are cost-efficient and provide top-quality resolution. However, like other printers, users can experience issues with them. That is why it is essential to know how to reset it. Resetting helps eliminate all bugs and glitches in the printer.
However, some of the users may be unaware of how to reset the Lexmark printer. If you want to know how to do it, we’ve got you. Below, we have discussed the steps to reset Lexmark printer. To know the whole procedure, keep reading!
Steps to Reset Lexmark Printer
If you want to reset your Lexmark printer, you first have to log into the printer’s user interface. After you are done with the login, you can simply proceed with the reset process.
Method 1: Soft Reset
Step 1: Press the power button to turn off the printer.
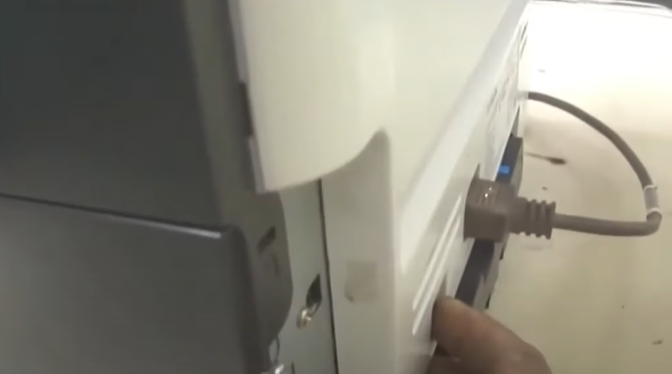
Step 2: Now, disconnect the power cord from the power source.
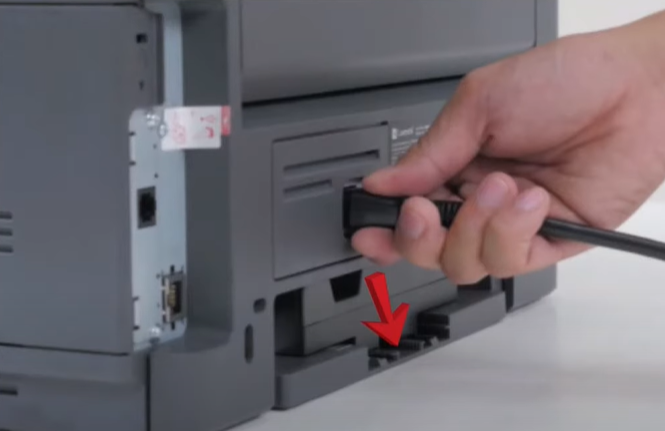
Step 3: Wait for about one minute to clear the temporary memory of the printer.

Step 4: Reconnect the power cord to the power source.
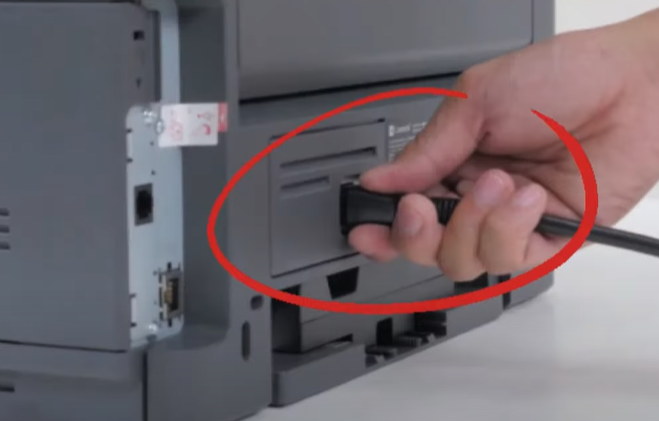
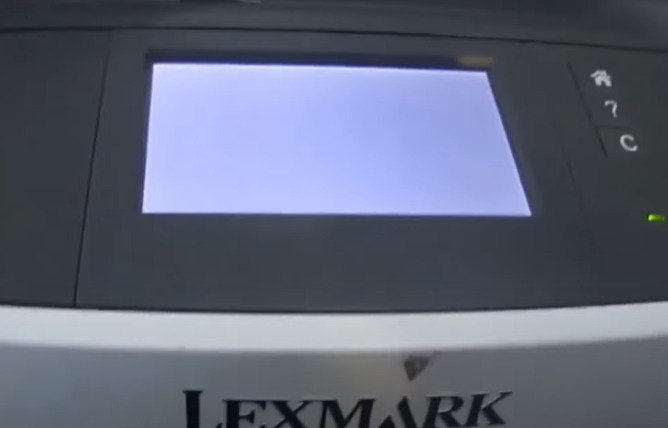
Step 5: Then press the power button to turn on the device.
Method 2: Factory Reset
Step 1: Press the power button and turn off the printer.
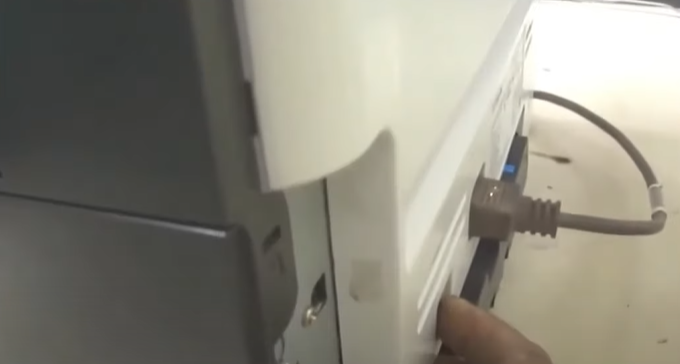
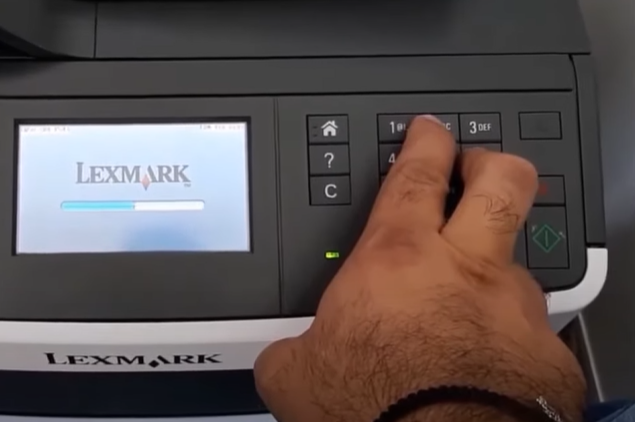
Step 2: Press and hold the 2 and 6 keys together on the printer until the configuration menu appears.
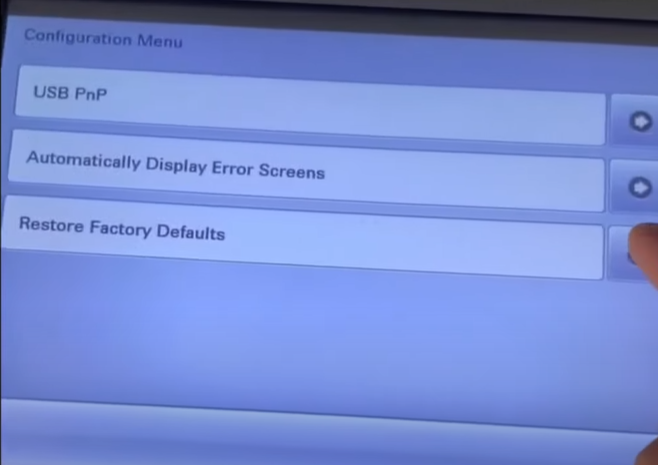
Step 3: Scroll on the configuration menu and select restore factory defaults.
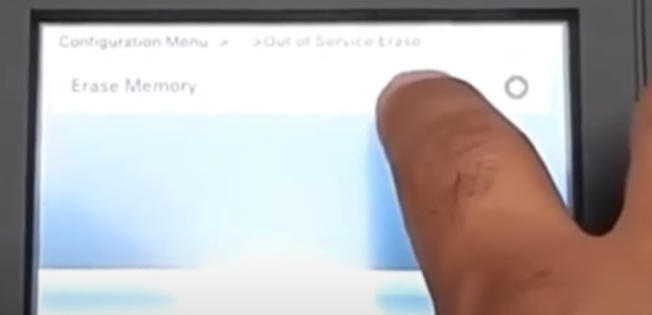
Step 4: Select out-of-service erase and press erase memory.
Step 5: Select yes to continue with the erase option on the following prompt.
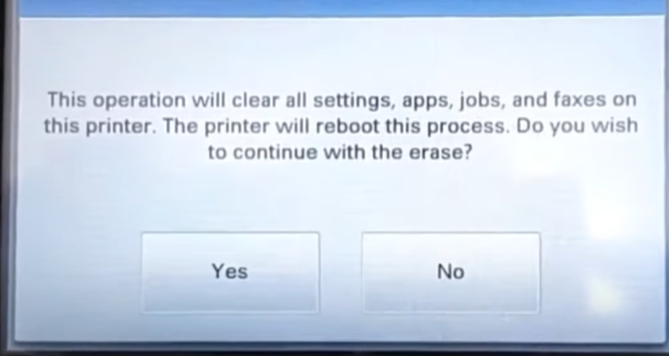
Step 6: It will take some time for the default settings to be restored on the printer.

Step 7: When the printer is restored, the orange light will stop blinking and turn green.
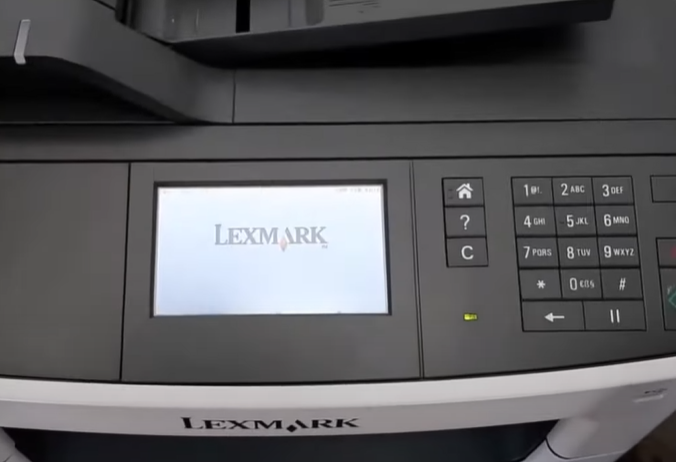
Step 8: Power off the printer when you get the out-of-service wipe complete prompt.
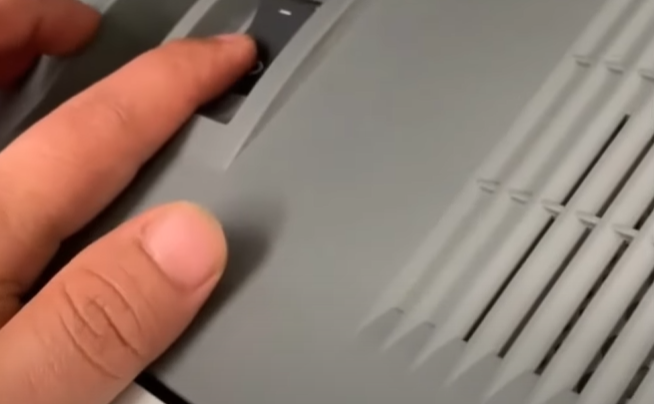
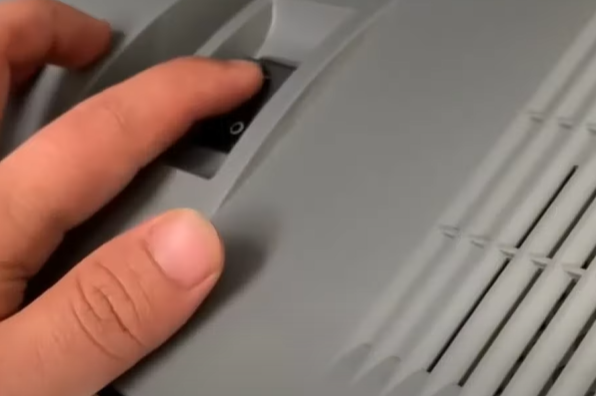
Step 9: Power on the printer.
Conclusion
Hopefully, after trying the steps to reset Lexmark printer, the issue you were facing should be gone, and the printer is back to working normally. However, if you are experiencing the same issue you must contact a trustworthy printer expert.

