How to Do Brother HL L2360DW Wi-Fi Setup
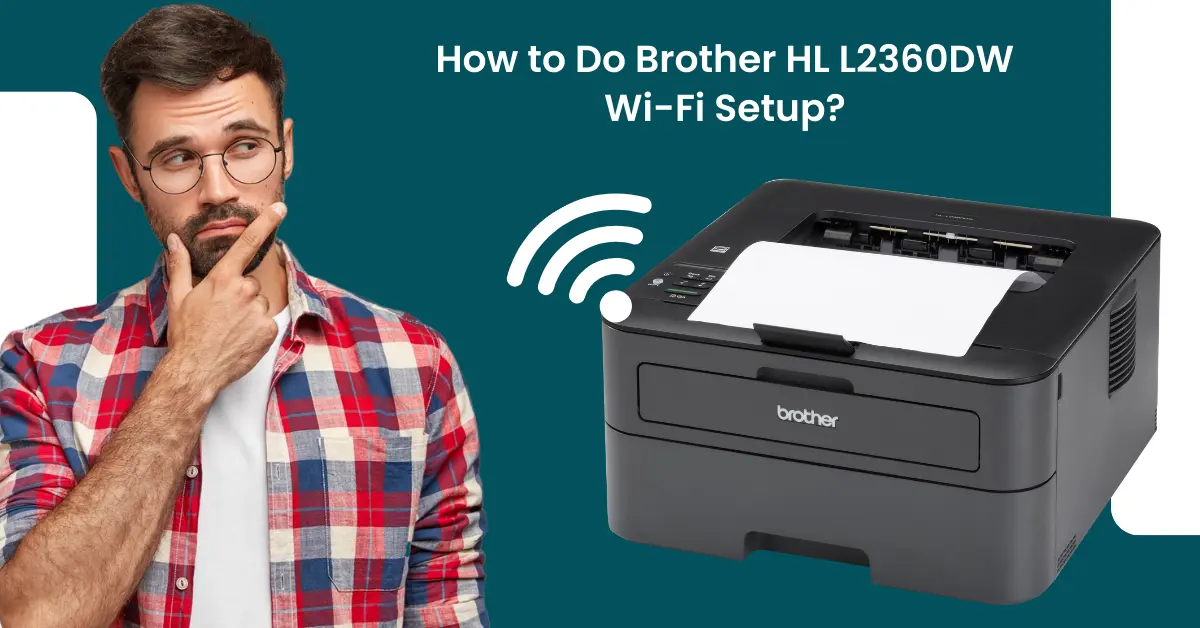
Don’t know where to start the Wi-Fi connection process of Brother HL L2360DW or having any issues. This printer comes with cutting-edge features and advanced connectivity options. Users can quickly connect the device to Wi-Fi and enjoy using the printing functionality right away. However, in some cases, problems can occur during the Wi-Fi setup of your printer. But, worry not if you are also struggling with the same problem because we are here to help you out.
Here, we will impart the full understanding of the two easy-to-follow and proven methods for completing Wi-Fi setup easily. Read the entire write-up to learn about each step thoroughly.
Method 1: Using the WPS Method
Here are the simple instructions for the WPS method that will allow you to connect the Brother HL L2360DW printer to Wi-Fi.
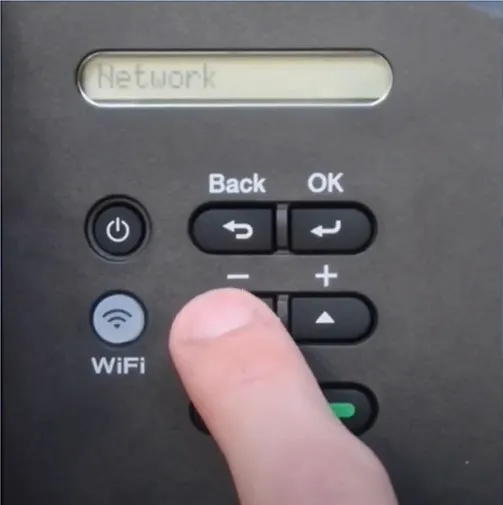
1. Utilizing your Brother printer’s control panel, navigate to the "Network" option with buttons and press the OK button
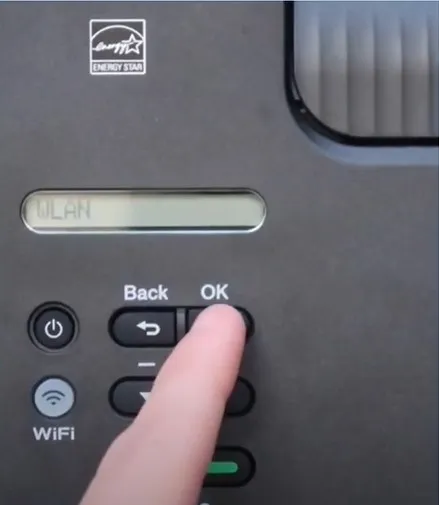
2. After that, choose the WLAN option and then select OK.
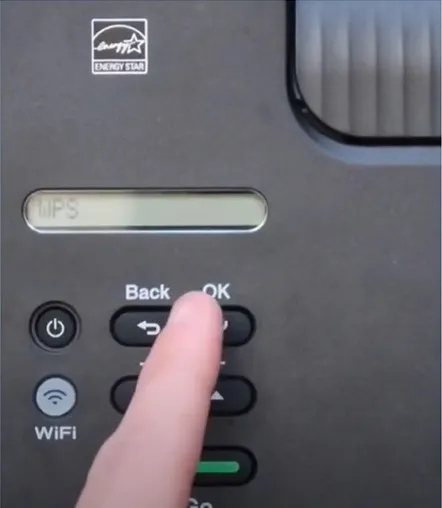
3. Next, choose the WPS option and press OK.
4. Furthermore, press the down arrow button to enable WLAN and then press the up arrow button to select Next.
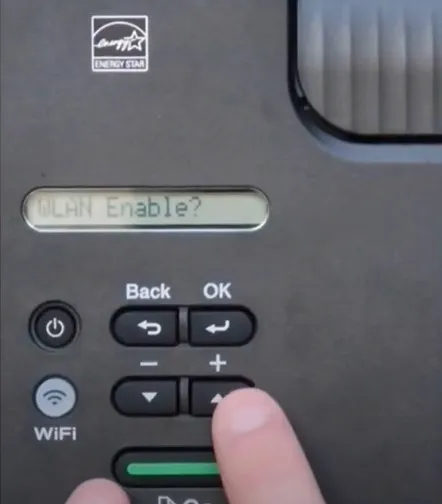
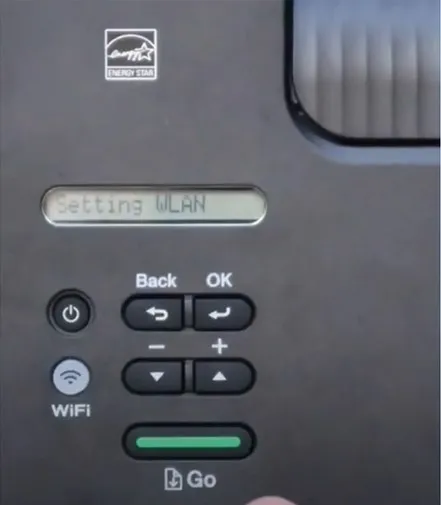
5. It will start setting WLAN, and the Wi-Fi light will start blinking.
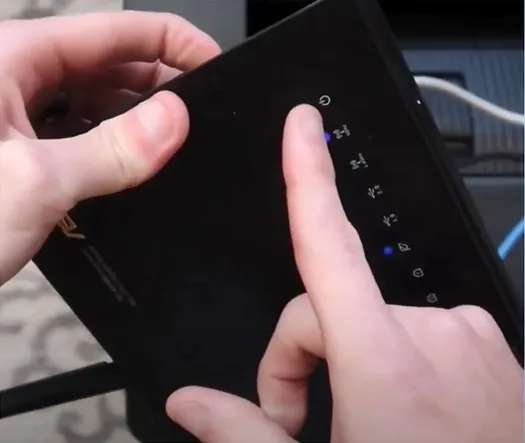
6. Now, go over to your router, then press and hold the WPS button until the power light starts blinking.
7. After that, the printer will start connecting to the router.
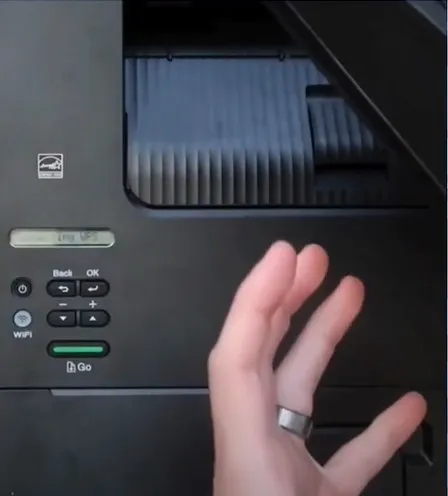
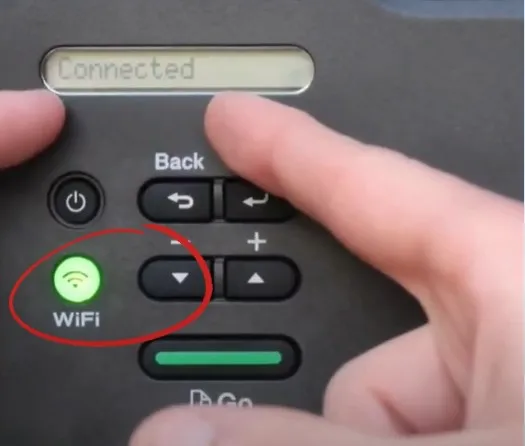
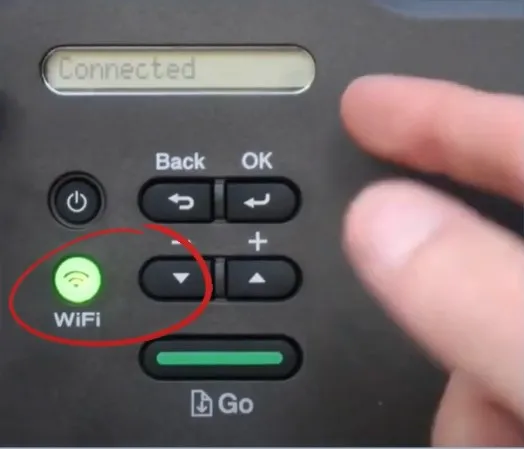
8. Once your printer connection is established, the printer will display a Connected message, and the Wi-Fi light will remain lit.
Method 2: Using the WLAN Setup Wizard
With the help of the WLAN setup wizard, you can establish the connection between your Brother printer and Wi-Fi router. Follow-ups are the quick steps you need to follow for that.
1. From the printer control panel, go to the network option and press OK.
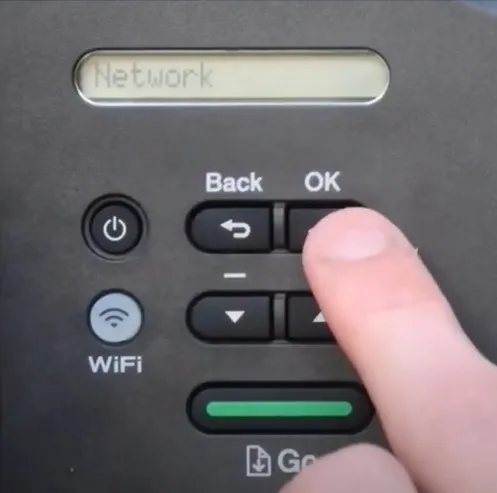
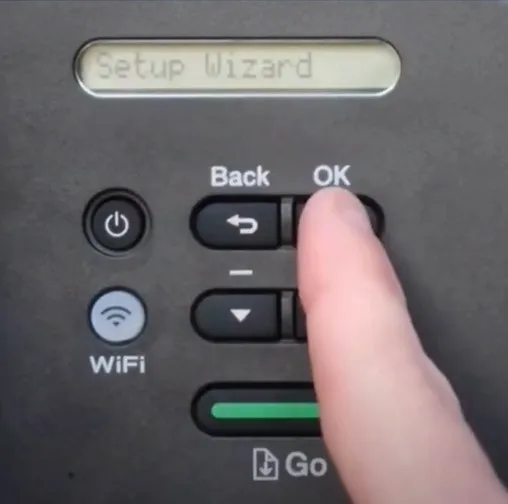
2. After that, select WLAN, press OK, and then press OK for the Setup Wizard too.
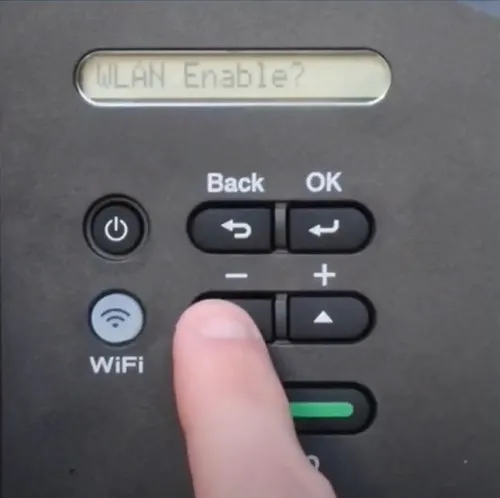
3. Now, press the down arrow button to enable WLAN, and it will start searching for the SSID.
Also Read:- How to Fix Brother Printer Is Not Responding (Quick Fixes)
4. Next, scroll through the list of available wireless networks and then choose OK.
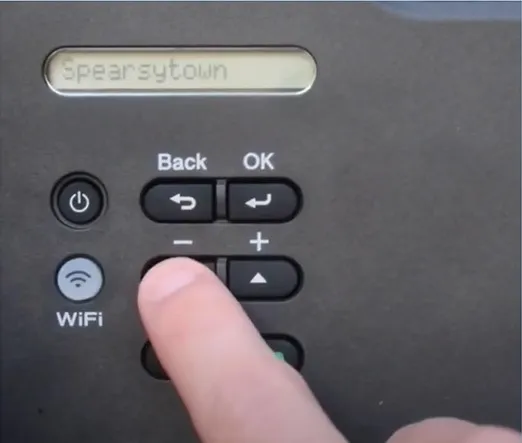
5. With the help of the up and down arrow buttons, enter your correct wireless network password.
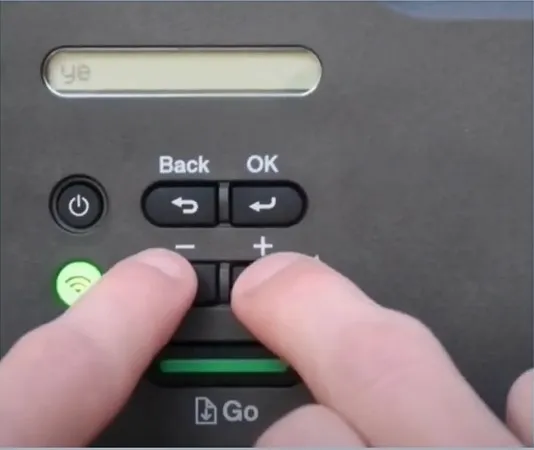
6. Press OK and then select the down arrow buttons to apply all the settings.
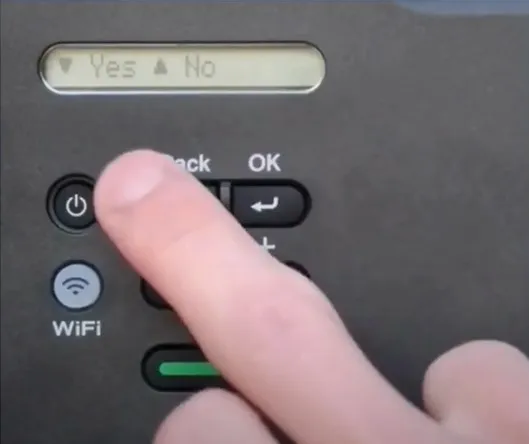
7. Press OK and then select the down arrow.
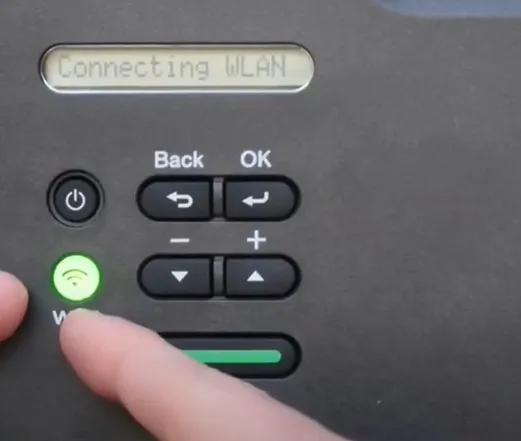
8. Once the printer connection is established, it will display a Connected message, and the Wi-Fi light will remain lit.
9. Here you go! The printer will be ready to use for printing documents.
Final Words
Here, you learned about the comprehensive guide with simple instructions to complete the Brother HL L2360DW printer in no time. Follow all the steps we have mentioned here to complete the connection process without any trouble. Apart from that, search for further help if any problem appears or if the connection process is not done properly.

