How to Do Brother HL L2370DW Wi-Fi Setup?
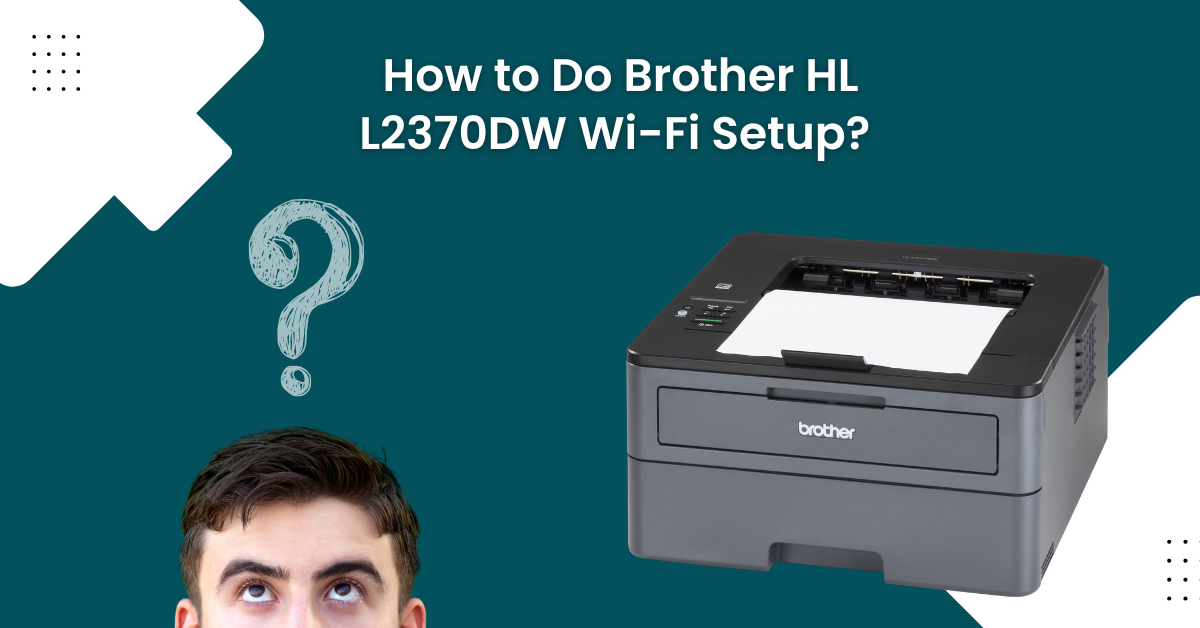
Setting up the Wi-Fi on the Brother printer can help enhance its functionality. Whether you are at home or busy in the office, with the help of wireless connectivity, you can eliminate the need for cables. Moreover, you can have a seamless printing experience on smartphones, tablets, and laptops.
In this guide, we have discussed methods by which you can set up Wi-Fi setup on the Brother HL L2370DW printer. With the help of the following steps, you will be able to connect Wi-Fi with the printer efficiently and quickly. Read further to learn about the steps in detail.
Steps to do Wi-Fi Setup on Brother HL L2370DW
Follow the two effective methods below to set up a Wi-Fi setup on the Brother HL L2370DW printer. The steps included in these two methods are:
Method 1: Via Control Panel
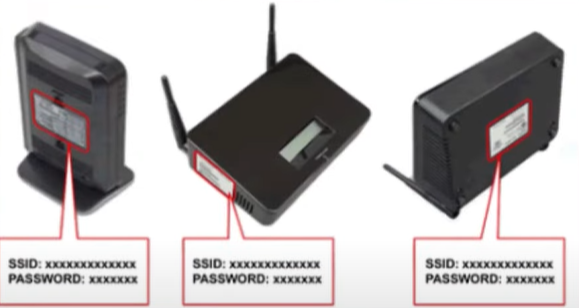
Step 1: First, find the network name and key from the router.
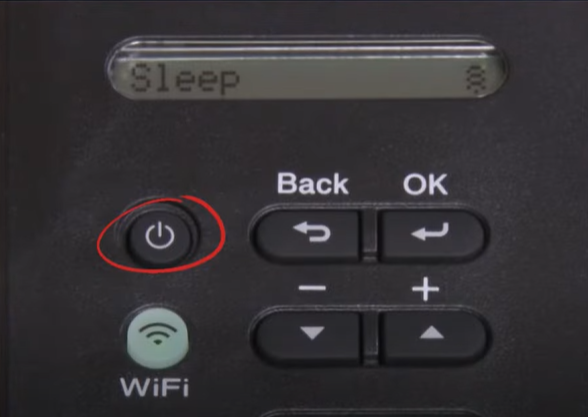
Step 2: Now, go to your printer and turn it on.
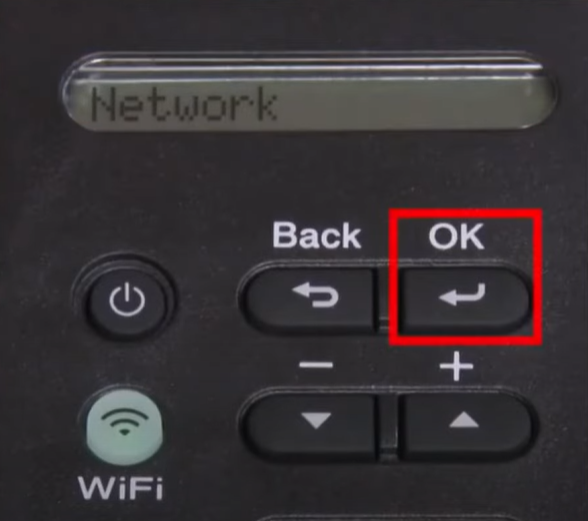
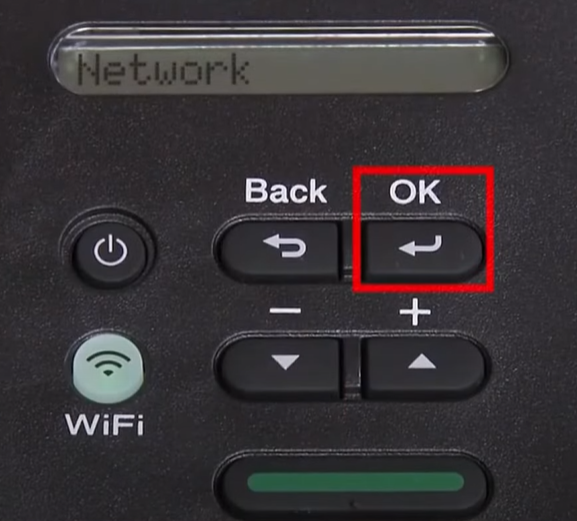
Step 3: Using the down arrow button, select network and press OK.
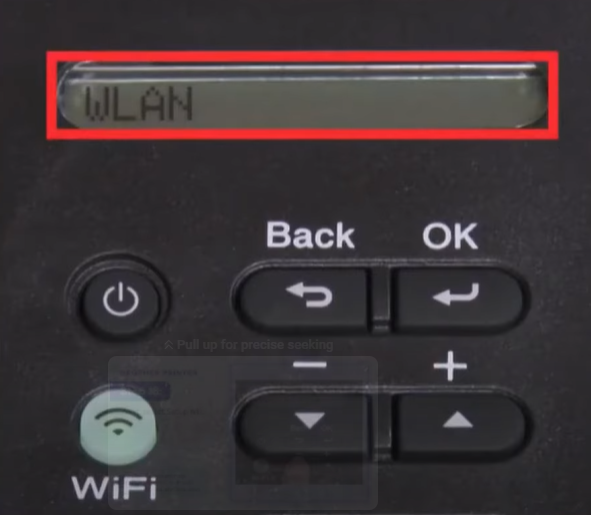
Step 4: Select WLAN and press OK.
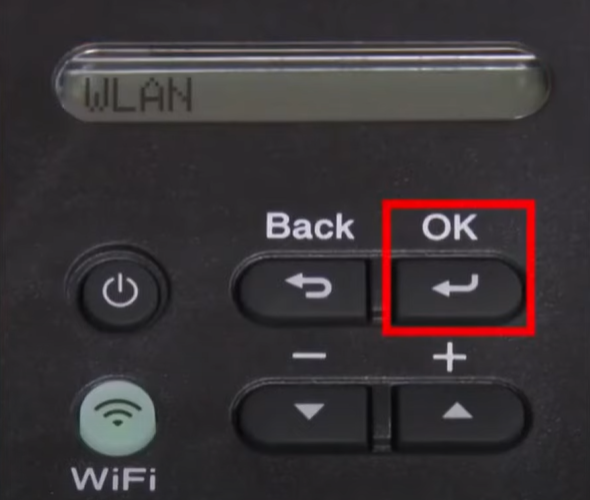
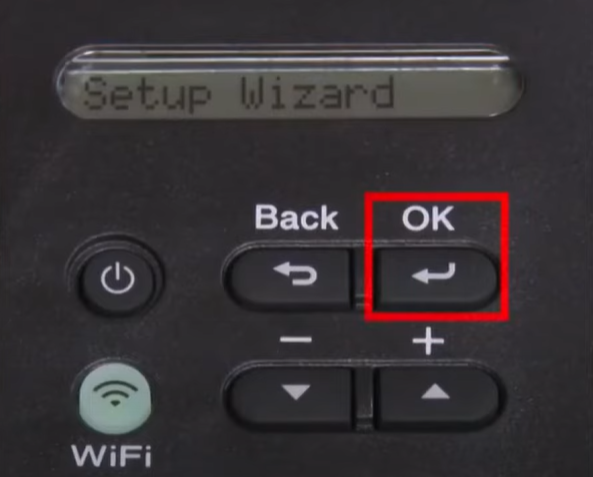
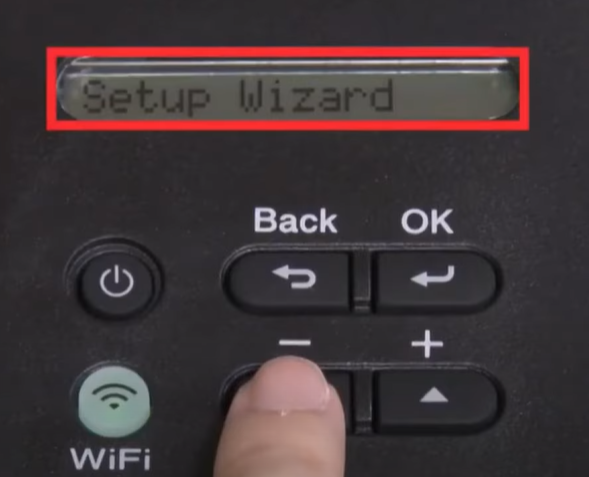
Step 5: Next, select Setup Wizard and press OK.
Step 6: The printer will start searching for SSID nearby.
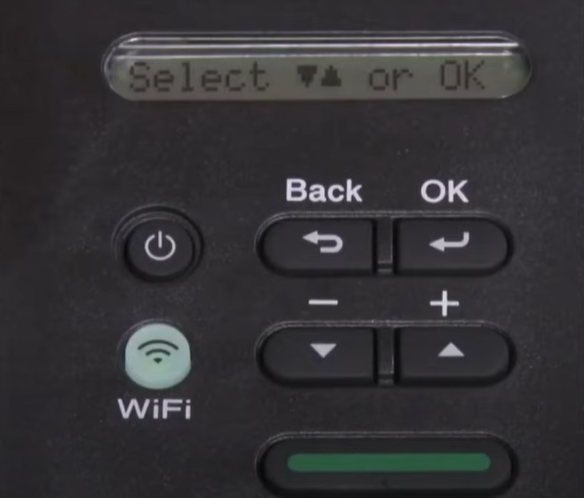
Step 7: Select your network and press OK.
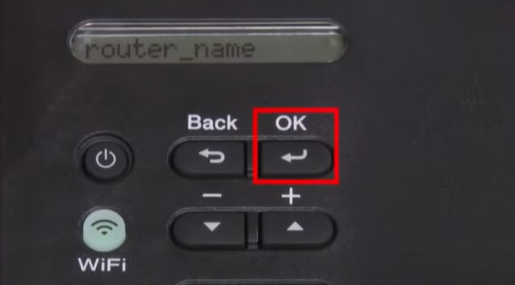
Step 8: Then enter the network key and press OK.
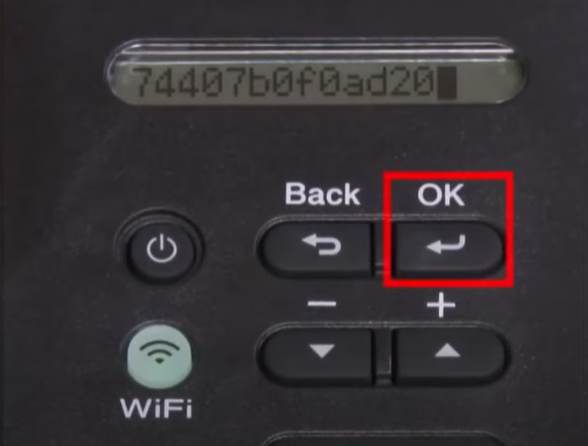
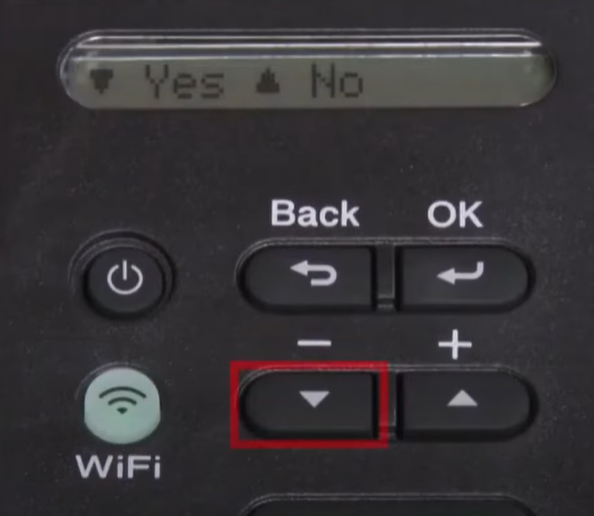
Step 9: When do you apply settings? In the display, press the down arrow button to select Yes.
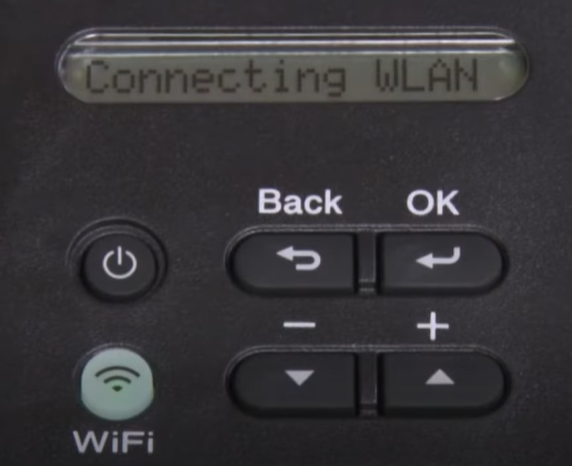
Step 10: It will start connecting to WLAN, which will take a few seconds.
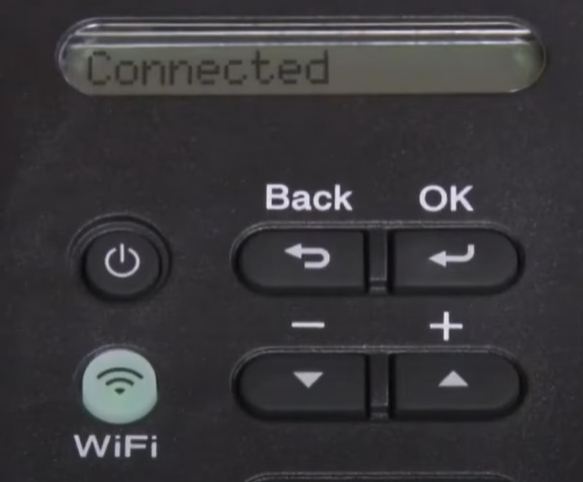
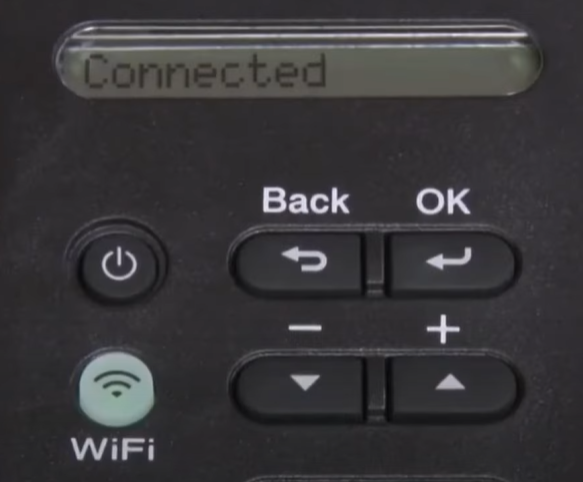
Step 11: Once the connection is established successfully, it’ll show connected on the display; press OK.
Also Read: How to Connect Brother HL-L2350DW to Wi-Fi?
Method 2: Using Setup Wizard
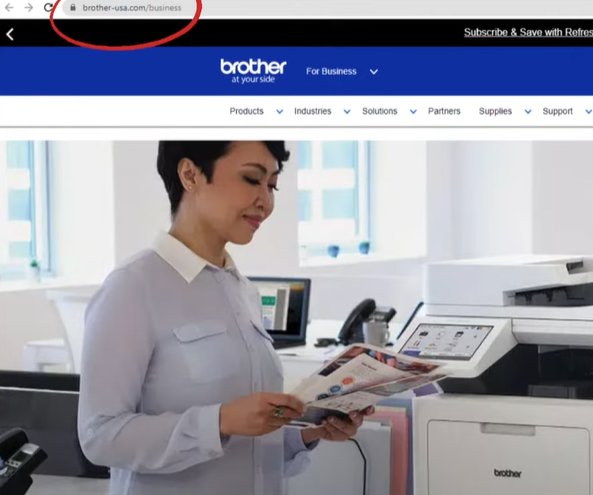
Step 1: Insert the installation disk or download the full driver software and package from the official website.
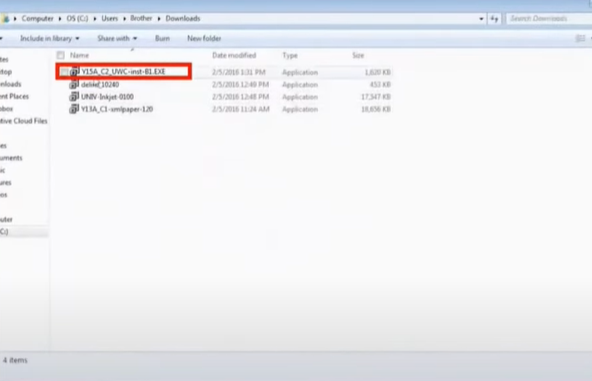
Step 2: Navigate to the install file and double-click on it to begin the installation.
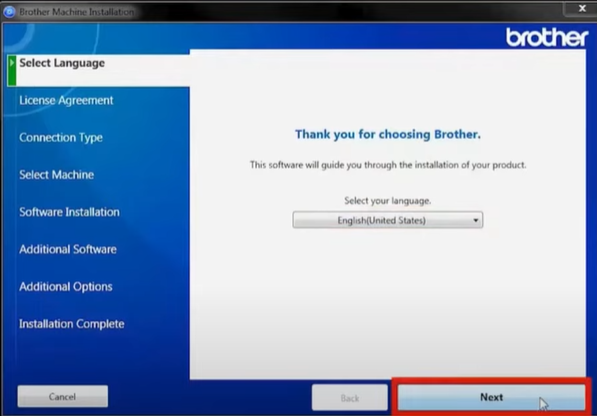
Step 3: When the device installation window opens, choose your language and click next.
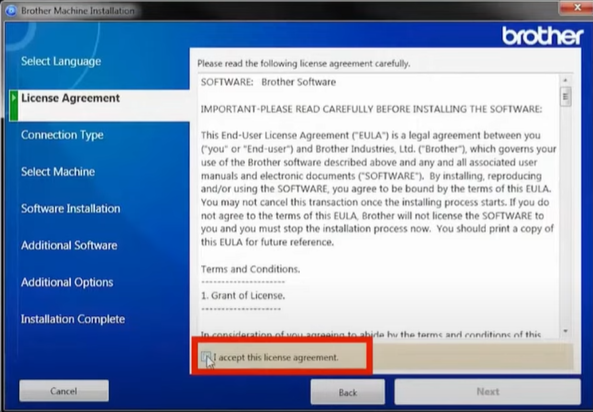
Step 4: Next, check the I accept this license agreement box and click next.
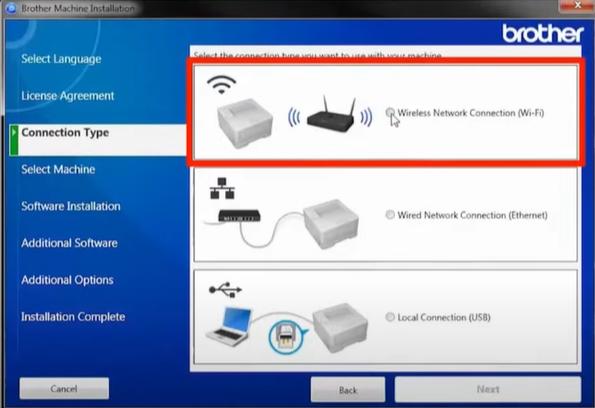
Step 5: In the connection type, select wireless network connection (Wi-Fi) and click next.
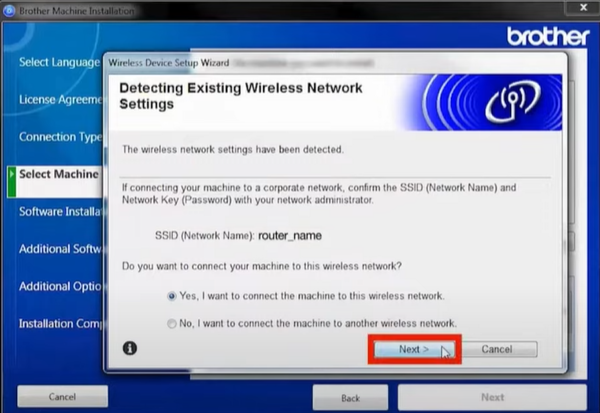
Step 6: When the detecting existing wireless network settings screen appears, confirm the network name, select yes, then click on next.
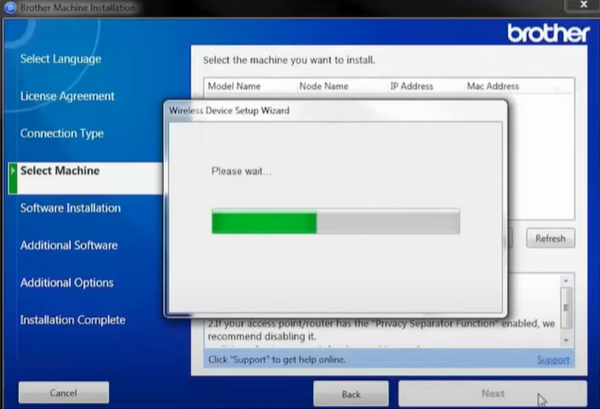
Step 7: The setup wizard will be able to connect automatically; if the printer is connected, proceed to step 24.
Step 8: If you were unable to connect, enable the wireless connection window to open.
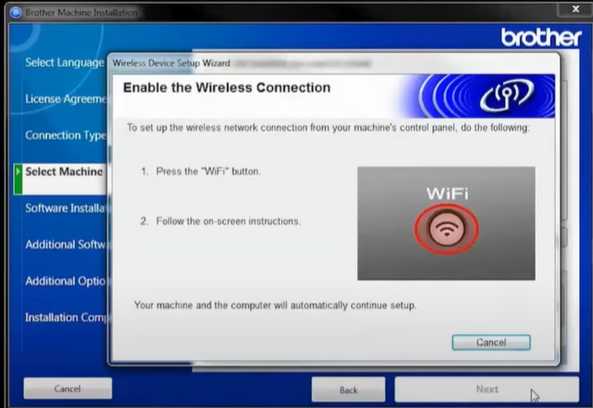
Step 9: Go to your Brother printer and press the Wi-Fi button.
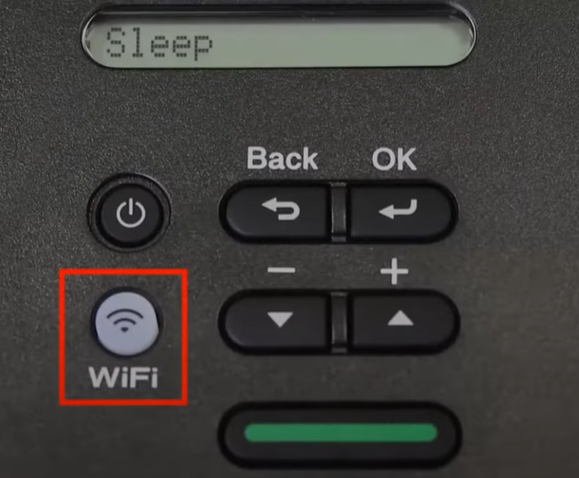
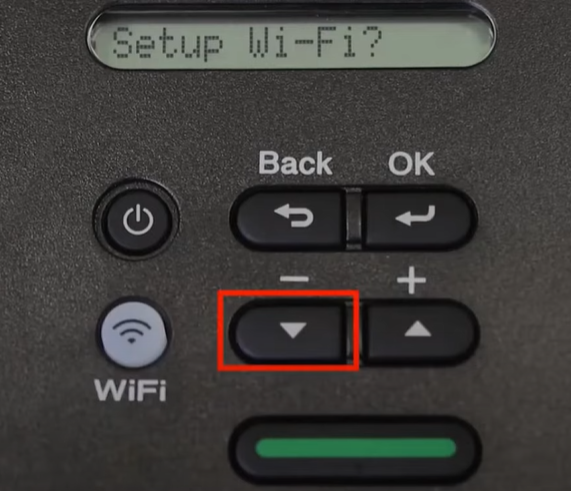
Step 10: When prompted, press the down arrow button to confirm, and the printer will start connecting to the network.
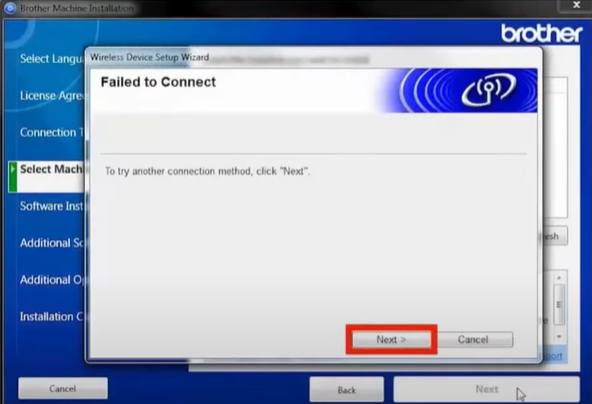
Step 11: If you get a message that says you failed to connect, click next.
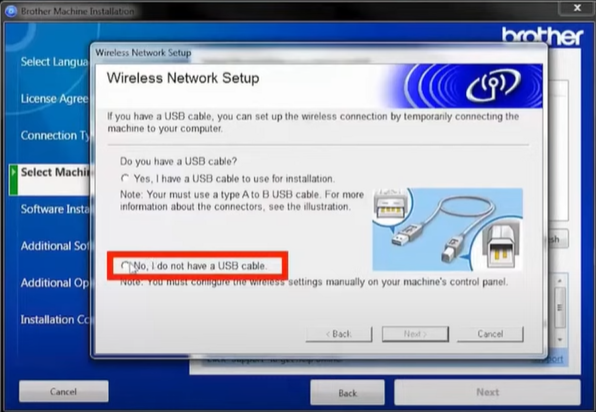
Step 12: When prompted to use a USB cable, select No and click Next.
Step 13: Next, locate your SSID and network key, then go to your printer.
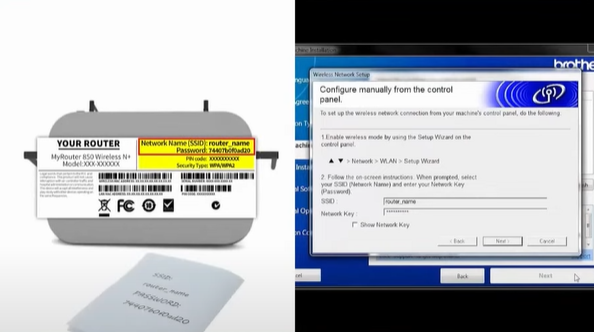
Step 14: Using the down arrow button, select network and Press OK.
Step 15: Select WLAN and press OK.
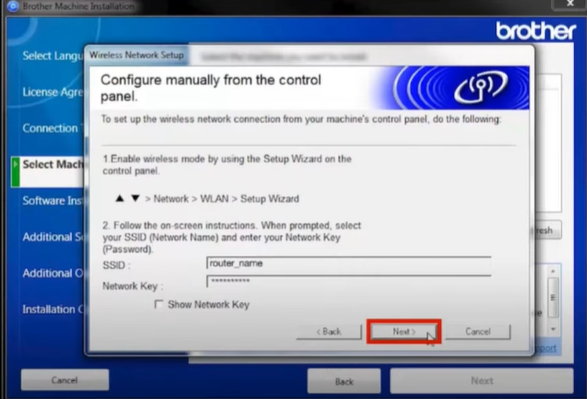
Step 16: Next, select Setup Wizard and press OK.
Step 17: The printer will start searching for SSID nearby.
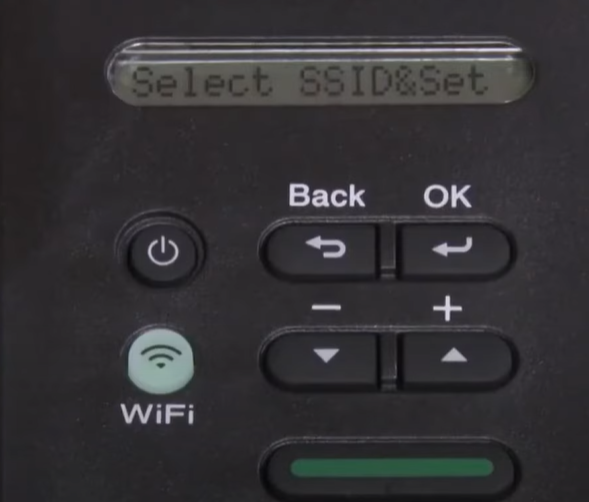
Step 18: Select your network and press OK.
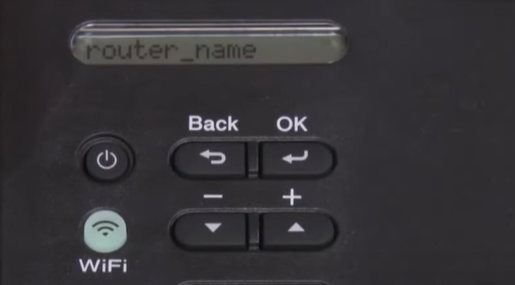
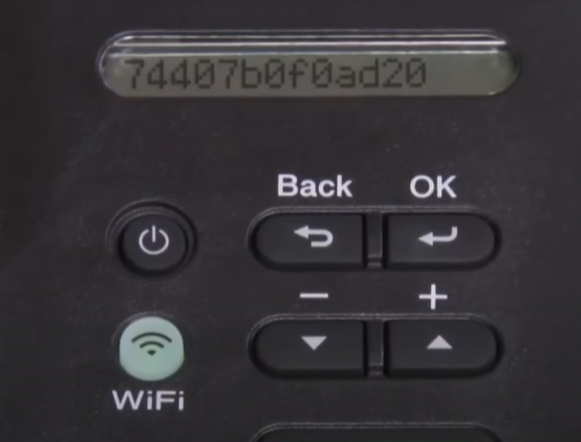
Step 19: Then enter the network key and Press OK.
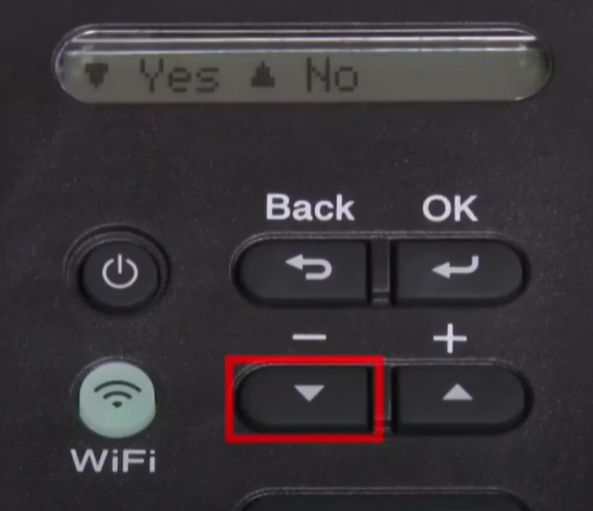
Step 20: When you’re prompted to apply settings, press the down arrow button to confirm.
Step 21: When you get the connected message on the display, press OK.
Step 22: Now, go back to the computer and click next.
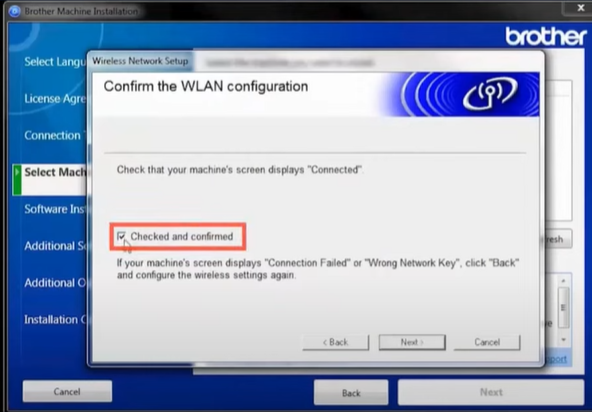
Step 23: To confirm the WLAN configuration, check the checked and confirmed box and click next.
Conclusion
Setting up the Wi-Fi setup on the Brother HL L2370DW printer is a simple process that can make your work more simple. By following the above mentioned methods, you can have the convenience of printing, can save your time and help enhance your productivity at the office or home.
But, if you are still facing issues in setting up the Wi-Fi setup on the Brother HL L2370DW printer, then reach out to a professional printer expert.

